DIY Bathroom Floor Tile Installation
Related Images about DIY Bathroom Floor Tile Installation
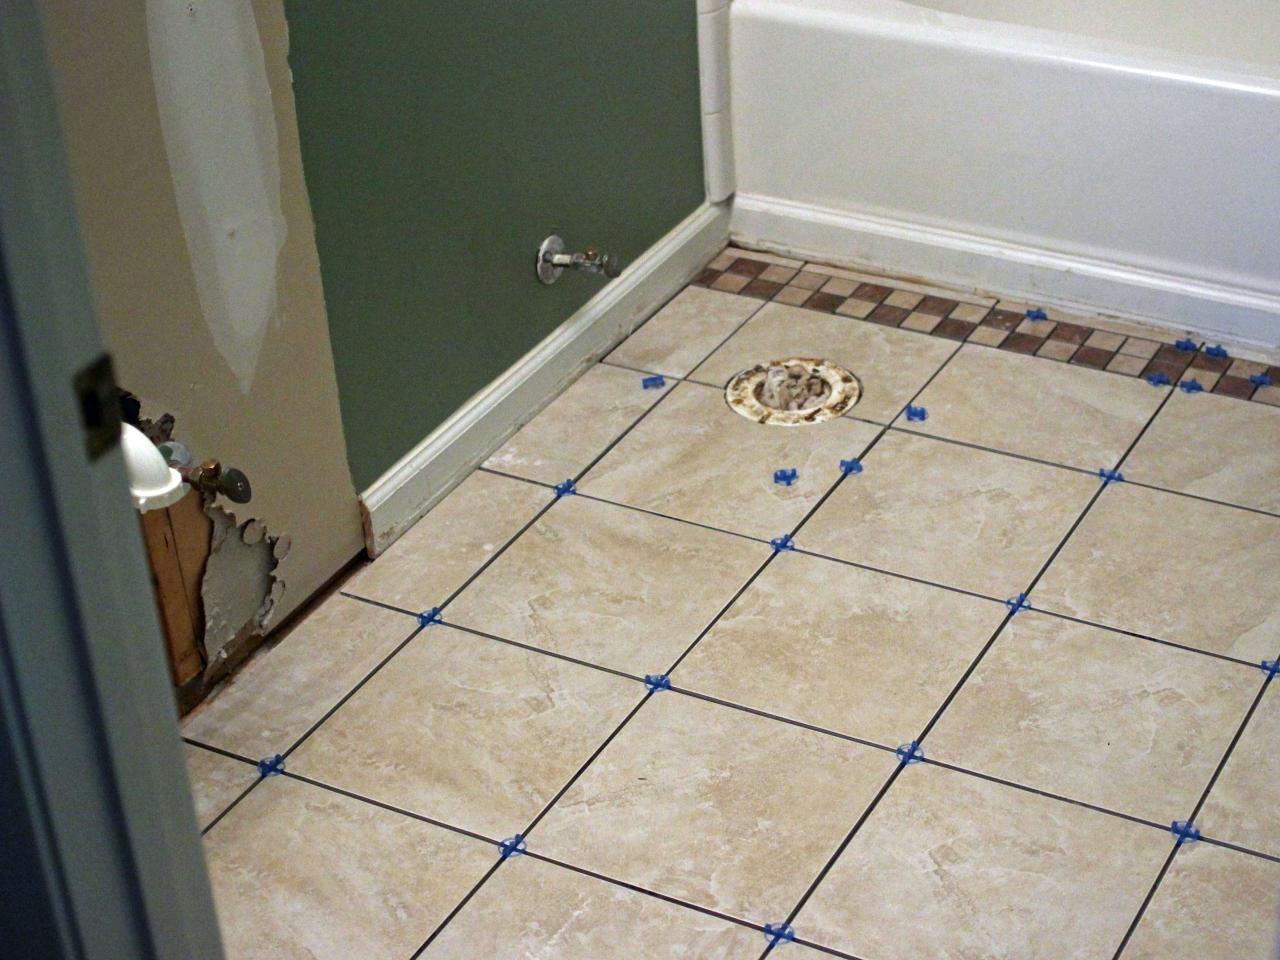
How to Install Bathroom Floor Tile how-tos DIY
Select bathroom flooring flooring that match the decor of the house of yours and blend nicely with the fixtures in your bathroom. While ceramic tile is actually wonderful to look for, it is able to additionally be unforgiving if somebody should happen to fall. For instance, a cream floors can be bordered by dark tiles with product print on it or simply plain black colored tiles.
Top 10 Useful DIY Bathroom Tile Projects
In case you are contemplating undertaking bathroom remodeling, make sure that you choose the proper contractor to advise you about the best flooring selections for the bathroom of yours. The bathroom is the spot in which you are able to visit unwind, and also you want it to be a comfortable and relaxing setting. Cork flooring provides your bathroom an alternative texture.
LVT Flooring Over Existing Tile the Easy Way – Vinyl Floor Installation DIY in 2020 Lvt

Bathroom floors need looking after perhaps more completely than a floor covering in other parts of the house due to the damp atmosphere that you will get in a bathroom on day basis. Bathroom flooring is actually an essential element for a bathroom remodel. For instance you can arrange some colored tiles to develop an underwater design for the bathroom of yours.
DIY Bathroom Floor Tile DIY Home Project

How To Demo A Bathroom Tile Floor – The Guide Ways

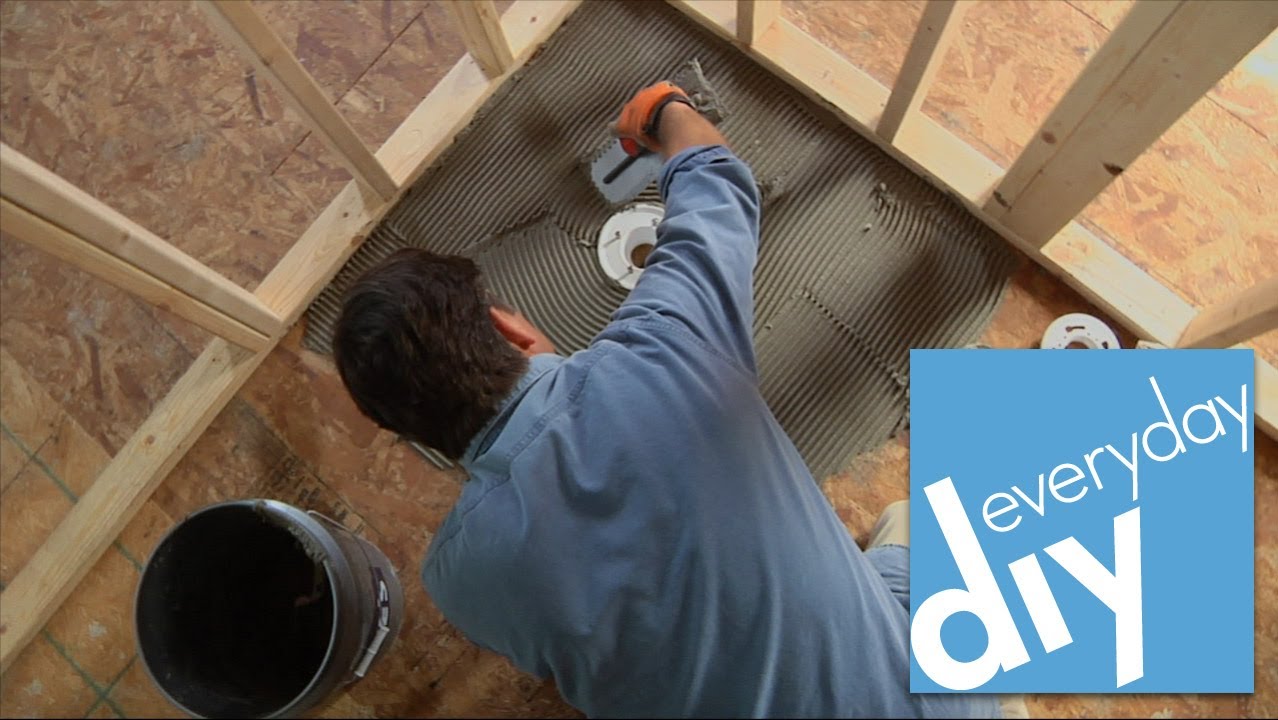
How to Install a Tileable Shower Base — Buildipedia DIY – YouTube
Simply DIY 2: Bathroom Floor – Part 3: Done

How to Install Tile on a Bathroom Floor HGTV
Tile Floor Installation in Bathroom – Part 1 – YouTube
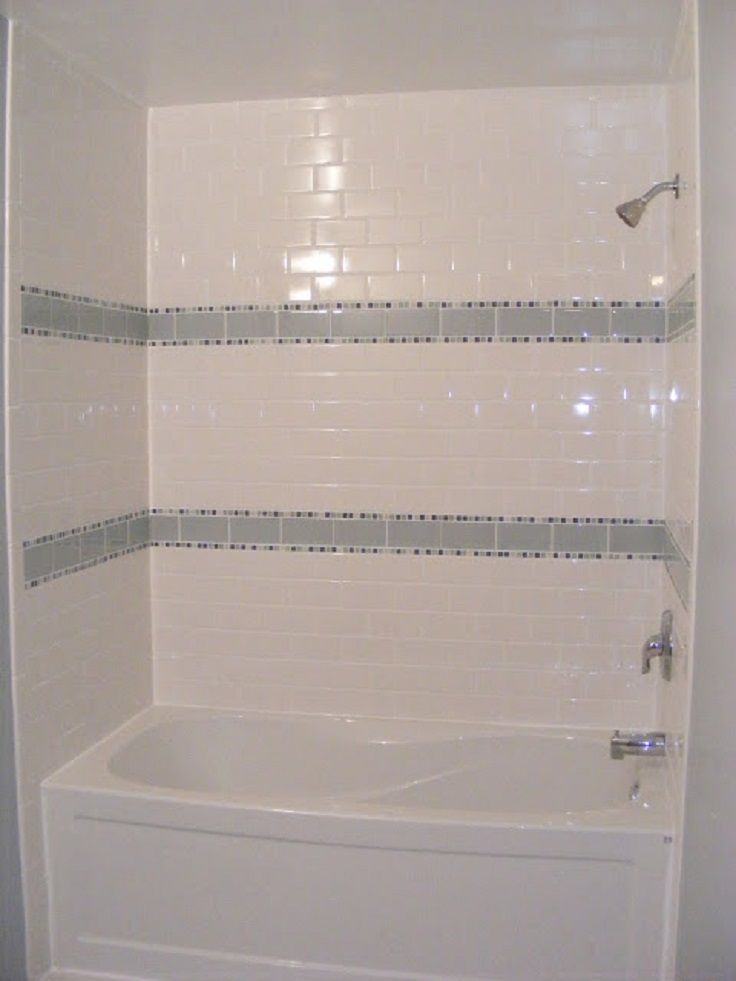
Top 10 Useful DIY Bathroom Tile Projects
Preparing Bathroom Floor For Tiling – Bathroom Decor

Installation Of New Tiles On A Bathroom Floor Photo – Getty Images

One Project at a Time – DIY Blog: #138- Bathroom Floor Tile
Remodelaholic How to Tile a Bathroom Floor

Related Posts:
- Bathroom Floor Tiles Price
- Cement Tile For Bathroom Floor
- Bathroom Floor Sky Painting
- Caught Me On The Bathroom Floor
- Heated Tile Floor Cost Per Square Foot
- Dirty Bathroom Floor
- Replace Bathroom Floor And Subfloor
- How To Make Bathroom Floor Waterproof
- Easy Bathroom Flooring Options
- Cheap Bathroom Floor Cabinets
DIY Bathroom Floor Tile Installation: A Step-by-Step Guide
Installing bathroom floor tiles is a great way to instantly upgrade your bathroom space. It’s a big job, but it’s also one that can be done in a weekend by any DIYer with the right tools and materials. In this article, we’ll take you step-by-step through the process of installing bathroom floor tiles so you can achieve professional results without hiring an expensive contractor.
Preparation
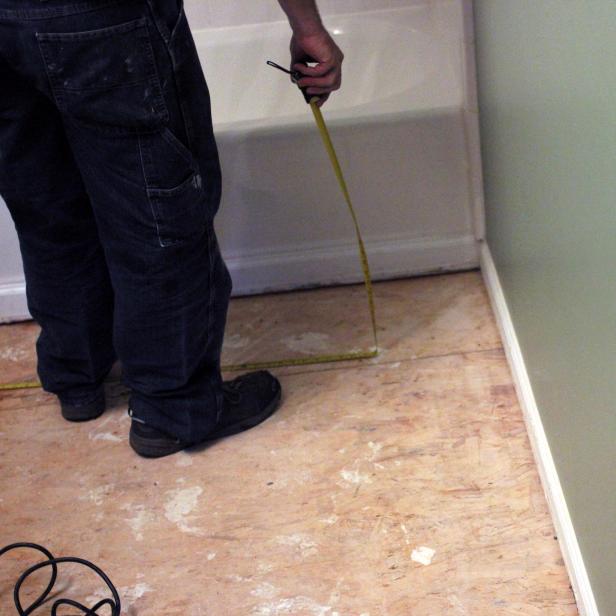
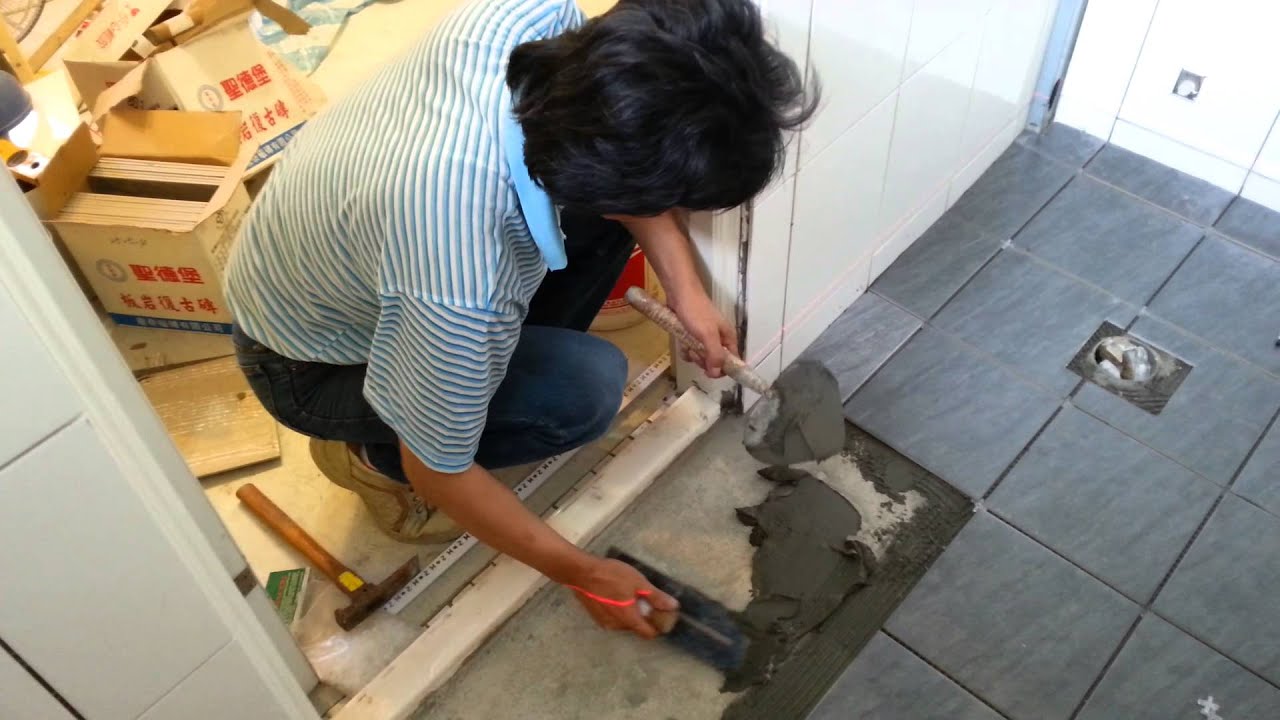
The first step in any successful DIY tile project is preparing the surface for installation. Before laying your tiles, you’ll need to make sure the subfloor is level and free from any debris or loose material. This will help ensure that your tiles have an even, secure surface to bond to.
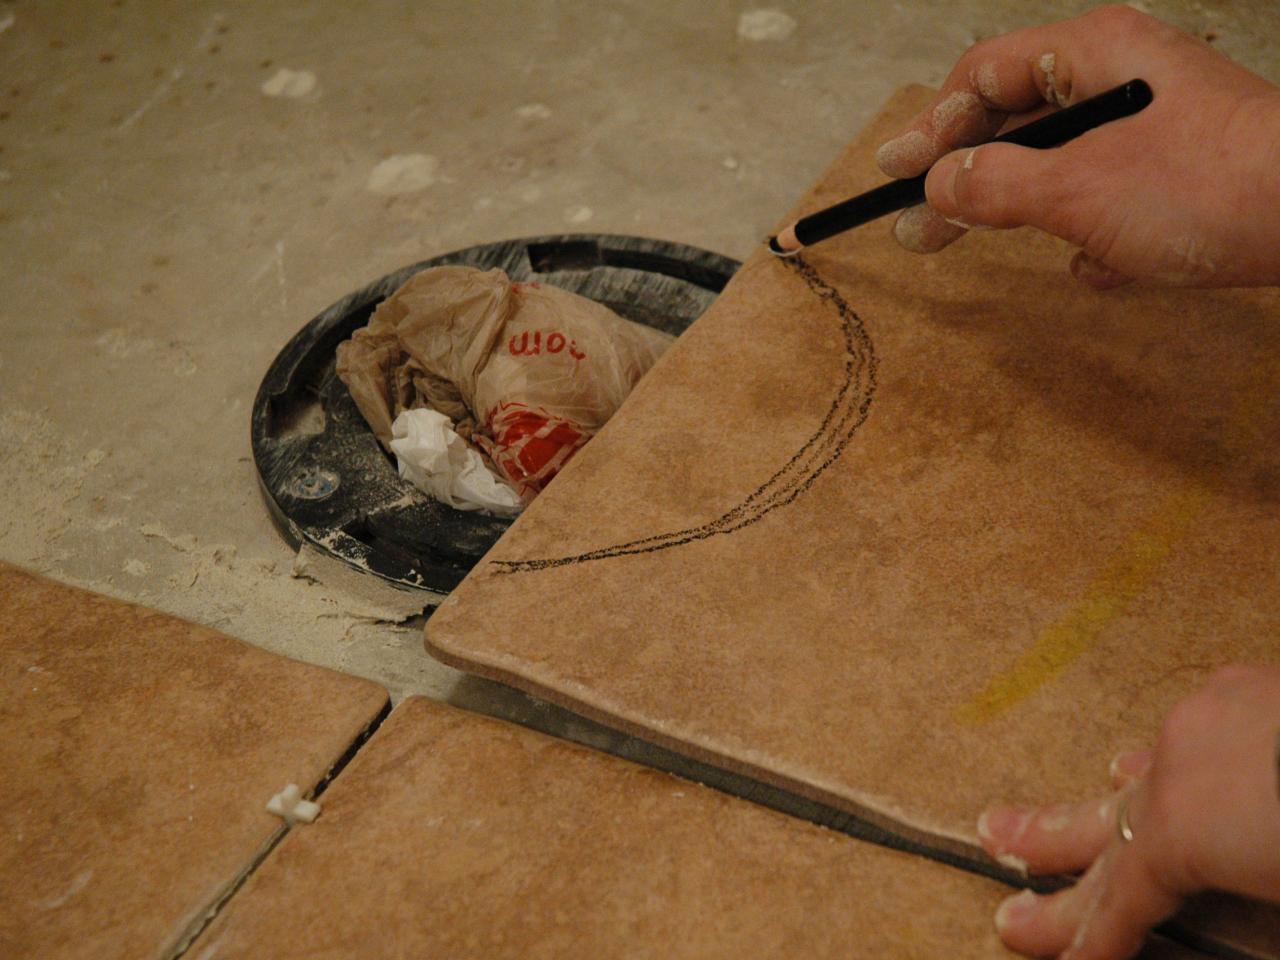
If there are any cracks or holes in the subfloor, use a concrete patch compound to fill them in before beginning your tile installation. Once the surface is prepped, you’ll want to measure the dimensions of the room and draw out a detailed plan on graph paper. This will help you visualize where each tile should go and ensure that you don’t end up with an odd-looking pattern once your project is finished.
Materials & Tools
The next step is gathering all of the materials and tools you’ll need for the job. You’ll need to buy enough tile to cover the entire area, plus some extra for potential mistakes or breakage. You should also invest in a high-quality grout and sealant to protect your newly installed tile from moisture damage and other wear-and-tear. Additionally, you’ll need several tiling tools for cutting and spacing the tiles, such as a wet saw, spacers, trowels, and caulk gun.
Mixing & Application
The next step is mixing up your grout according to package instructions. It should be fairly thick but still spreadable with a trowel. To apply it evenly over the surface of your floor, use a rubber float at a 45° angle while pushing away from yourself in overlapping arcs (hold it like an ice cream cone). Once all of the grout has been applied, let it sit for 10 minutes before wiping off any excess with a dry rag or sponge. Be sure to leave some of the grout behind so that it can settle into the joints between tiles for proper adhesion.
Caulking & Sealing
Once all of the grout has been applied and wiped off, you’ll want to caulk around all of the edges of your floor where it meets walls or other surfaces (such as tubs or showers). This will help seal out moisture and prevent water damage down the road. Use a high-quality silicone caulk applied carefully with a caulk gun along all edges of your flooring surface. Then use painter’s tape on either side to ensure even lines until it dries completely (usually 24 hours). Finally, it’s time to seal your newly installed tiles with a good quality sealant appropriate for bathroom flooring surfaces; this will keep them looking new for years to come!
FAQs About DIY Tile Installation
Q. What is the best way to measure for tile when doing a DIY installation?
A. The best way to measure for tile is to draw out a detailed plan on graph paper. This will help you visualize where each tile should go and ensure that you don’t end up with an odd-looking pattern once your project is finished.
Q. How long should I wait before walking on newly installed tiles?
A. You should wait at least 24 hours before walking on newly installed tiles. This will give the grout and sealant time to dry completely and bond properly with the surface of your flooring.
What tools are needed for DIY bathroom floor tile installation?
1. Notched trowel2. Thinset mortar
3. Tile adhesive
4. Sponge
5. Grout
6. Grout float
7. Spacer wedges
8. Grout sealer
9. Caulk gun
10. Level
11. Utility knife
12. Safety glasses