How To Remove Ceramic Tile From Bathroom Floor

Related Images about How To Remove Ceramic Tile From Bathroom Floor
Painting Ceramic Tile – YouTube

In case you get and put in unglazed tiles, they are going to need to be cleansed frequently as they absorb stains very easily. When choosing the floor of yours it’s essential to be able to remain within the budget of yours, also to select something that you are able to live with for a while, since replacing bathroom floors is not something that a lot girls do on a regular basis.
How to remove tiled shower walls

As one of the busiest rooms of the residence, it’s to stand up to its fair share of damage. Cut various colored vinyl into little squares or perhaps rectangles to make attractive borders for the bathroom floor. If you want wooden flooring for the bath room of yours, you will find a lot of prefinished alternatives that are water proof and in a position to stand up to heavy foot traffic.
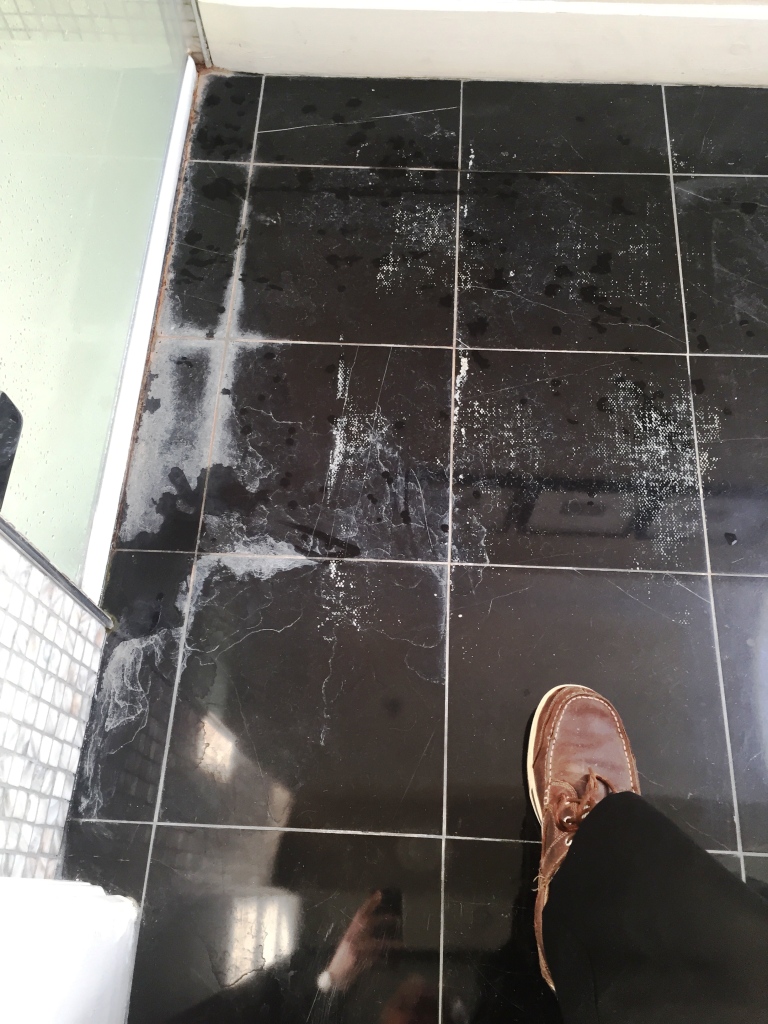
Removing Limescale from Polished Black Marble floor tiles in a Baldock Bathroom – Tile Cleaners
There less widespread bathroom flooring choices that you’ll still find used, including laminates or hardwood, cork, carpet, or rubber. You can add a touch of color by working with colored grout in between flooring or maybe by scattering brightly colored flooring in between plain whitish or even cream ones. You can sometimes cut them into the shape you would like and make unique borders and accents.
How to Regrout Ceramic Tile
/hand-spreading-grout-on-tiles-with-grout-spreader-80033352-583c5e073df78c6f6a2f22b6.jpg)
DIY: Painting A Ceramic Tile Backsplash

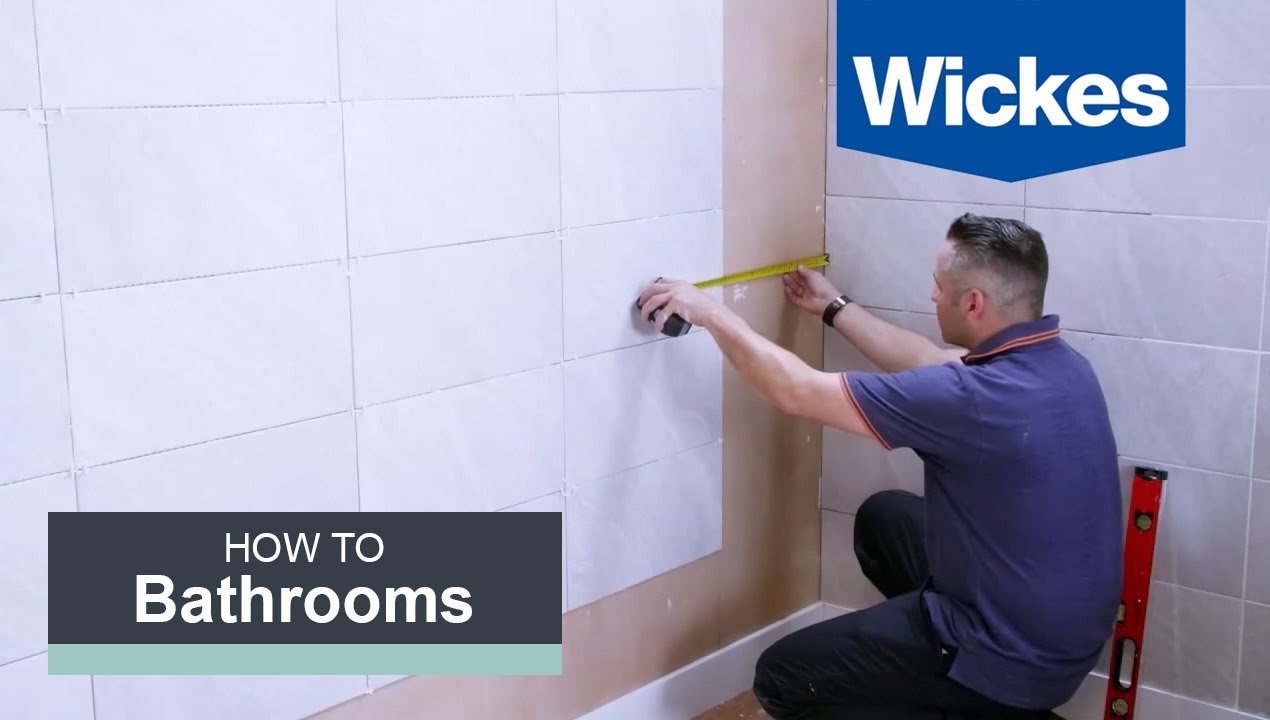
How to Tile a Bathroom Wall with Wickes – YouTube
Related Posts:
- Bathroom Floor Tiles Price
- Cement Tile For Bathroom Floor
- Bathroom Floor Sky Painting
- Caught Me On The Bathroom Floor
- Heated Tile Floor Cost Per Square Foot
- Dirty Bathroom Floor
- Replace Bathroom Floor And Subfloor
- How To Make Bathroom Floor Waterproof
- Easy Bathroom Flooring Options
- Cheap Bathroom Floor Cabinets
How to Remove Ceramic Tile From Bathroom Floor
Removing ceramic tile from a bathroom floor is not a task that should be taken lightly. It requires an understanding of the proper techniques and tools used to ensure the job is done safely and effectively. If you are considering taking on this project, it is important to understand the steps involved in order to ensure that the job is done right and that your bathroom floor looks great when finished. In this article, we will discuss how to remove ceramic tile from bathroom floor, as well as some tips and tricks that can help you along the way.
Gather Tools and Supplies
Before beginning any project, it is important to make sure you have all of the necessary tools and supplies at your disposal. This includes items such as a hammer, chisel, utility knife, rubber mallet, protective eyewear, dust mask, gloves, pry bar, and safety glasses. Additionally, you may need a wet saw or power drill if you have larger tiles or need to cut them into smaller pieces for removal. Make sure you have all of these items before beginning so that you don’t have to stop in the middle of the project to buy more supplies.
Prepare for Removal
Once you have all of your supplies gathered together, it is time to begin preparing for the task at hand. Start by turning off the power in the room where you will be working on the tile. You will also want to cover any furniture or other items in the room with plastic sheeting or drop cloths to protect them from debris created during removal. Finally, make sure that all windows and doors are closed so that no dust can escape into other parts of your home.
Remove Baseboards
The first step in removing ceramic tile from a bathroom floor is to remove any baseboards that may be in place around the perimeter of the room. This can be done with a pry bar or a hammer and chisel. If possible, try to keep intact any trim pieces that may be attached or leave enough space for reinstallation once you are finished removing tile. If not possible or if trim pieces are rotted or damaged beyond repair, they should be replaced once new tile has been installed.
Break Up Tiles
Once baseboards are removed, it’s time to start breaking up existing tiles with a hammer and chisel or a rubber mallet. Carefully work your way around each tile until it breaks apart into several pieces. Keep in mind that there may be some adhesive left behind once tiles are removed so make sure you take extra care when breaking up tiles so as not to scratch or damage your existing flooring underneath.
Remove Adhesive
After tiles have been broken up into smaller pieces and removed from the flooring beneath them, it’s time to remove any remaining adhesive left behind. This can be done with an adhesive remover product specifically designed for ceramic tiles or with a solvent such as mineral spirits or rubbing alcohol applied directly onto adhesive residue and wiped away with a cloth or sponge until all residue has been removed completely. Be sure not to scrub too hard as this could damage underlying flooring material beneath adhesive residue.
Clean Floor
Once all adhesive residue has been removed from tile surface area , it’s time to give the floor a thorough cleaning. This can be done with a mop and warm, soapy water or with a vacuum cleaner to remove any remaining debris left behind from tile removal. Once floor is free of debris, allow it to dry completely before beginning installation of new tile.
Removing Ceramic Tile from a Bathroom Floor
Removing ceramic tile from a bathroom floor is not an easy task and should only be done by experienced DIYers. Before starting the project, it is important to gather the necessary supplies such as a hammer, chisel, pry bar, rubber mallet, adhesive remover product and safety glasses. Additionally, you may need a wet saw or power drill if you have larger tiles or need to cut them into smaller pieces for removal. Make sure you have all of these items before beginning so that you don’t have to stop in the middle of the project to buy more supplies.
Prepare for Removal
Once you have all of your supplies gathered together, it is time to begin preparing for the task at hand. Start by turning off the power in the room where you will be working on the tile. You will also want to cover any furniture or other items in the room with plastic sheeting or drop cloths to protect them from debris created during removal. Finally, make sure that all windows and doors are closed so that no dust can escape into other parts of your home.
Remove Baseboards
The first step in removing ceramic tile from a bathroom floor is to remove any baseboards that may be in place around the perimeter of the room. This can be done with a pry bar or a hammer and chisel. If possible, try to keep intact any trim pieces that may be attached or leave enough space for reinstallation once you are finished removing tile. If not possible or if trim pieces are rotted or damaged beyond repair, they should be replaced once new tile has been installed.
Break Up Tiles
Once baseboards are removed, it’s time to start breaking up existing tiles with a hammer and chisel or a rubber mallet. Carefully work your way around each tile until it breaks apart into several pieces. Keep in mind that there may be some adhesive left behind once tiles are removed so make sure you take extra care when breaking up tiles so as not to scratch or damage your existing flooring underneath.
Remove Adhesive
After tiles have been broken up into smaller pieces and removed from the flooring beneath them, it’s time to remove any remaining adhesive left behind. This can be done with an adhesive remover product specifically designed for ceramic tiles or with a solvent such as mineral spirits or rubbing alcohol applied directly onto adhesive residue and wiped away with a cloth or sponge until all residue has been removed completely. Be sure not to scrub too hard as this could damage underlying flooring material beneath adhesive residue.
Clean Floor
Once all adhesive residue has been removed from tile surface area , it’s time to give the floor a thorough cleaning. This can be done with a mop and warm, soapy water or with a vacuum cleaner to remove any remaining debris left behind from tile removal. Once floor is free of debris, allow it to dry completely before beginning installation of new tile.