Vinyl Plank Flooring Installation Bathroom

Related Images about Vinyl Plank Flooring Installation Bathroom
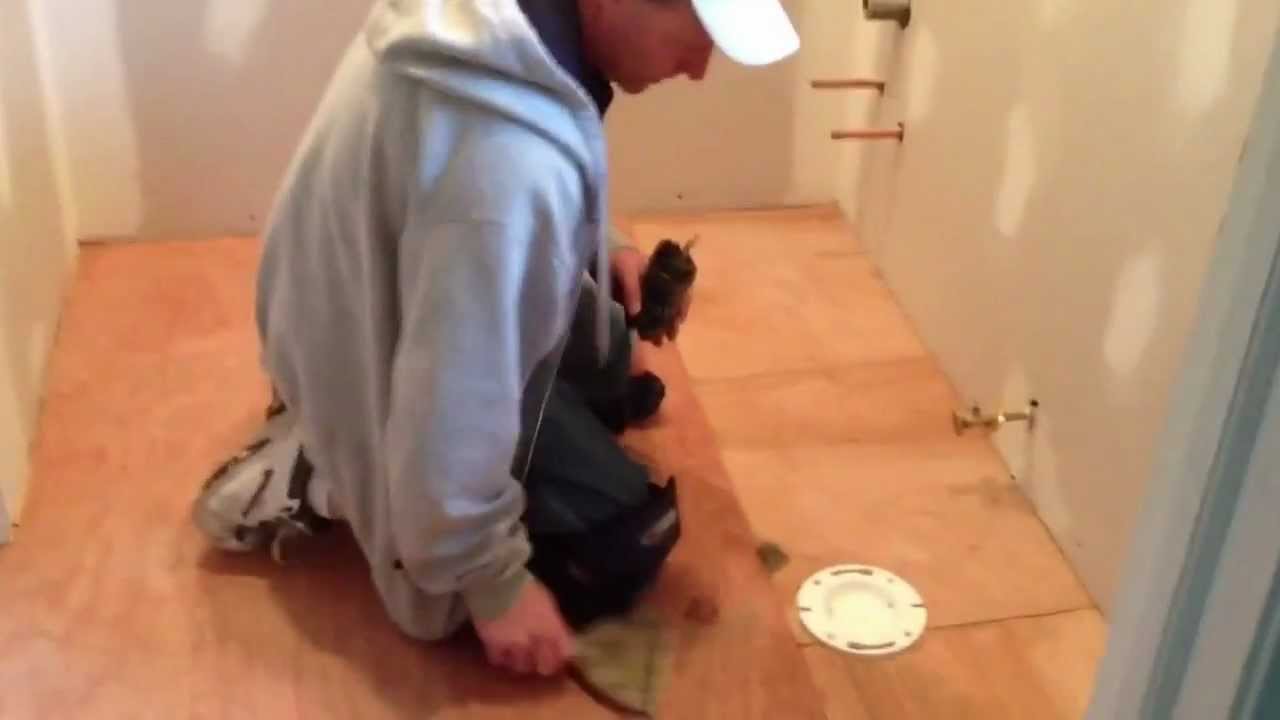
How To Install Vinyl Flooring In A Bathroom – YouTube
The installation could very well be the most essential stage in the total procedure. Let your creativity flow to acquire a fantastic ambiance and feel. You are able to use bath room floor ceramic to make your bath room warm as well as appealing or maybe dramatic or perhaps feminine or modern. The procedure for laying the vinyl tiles is so easy. If perhaps you have a good budget, you are able to go in for marble or granite flooring.
The Master Bathroom: Floors are Complicated

Almost all of the time, bathroom flooring is not the component which gets a great deal of attention from decorators and homeowners. Not to mention, new flooring for the bathroom of yours can take a big chunk of the remodeling spending budget. Use your uniqueness and creativity to customize the bathroom of yours to match your style and your home.
How To Cut Vinyl Plank Flooring Around Toilet – VINYL FLOORING ONLINE

These supplies come in a wide variety of designs and patterns which implies you will undoubtedly be able to find one which suits your tastes. If you want the typical white or maybe cream, try using colored grout so that the bath room of yours gets a splash of hue. The greatest thing about bathroom floor vinyl tiles is you can change theme easily and with no professional help.
My new bathroom floor. Vinyl floor planks. Flooring, Vinyl flooring, Plank flooring

LifeProof Chiffon Lace Oak 8.7 in. x 47.6 in. Luxury Vinyl Plank Flooring (20.06 sq. ft. / case

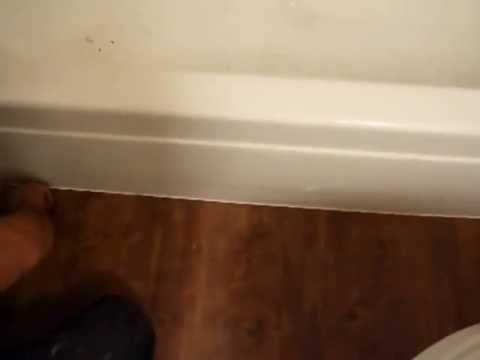
Caulking Vinyl Plank Bathtub in Denver – YouTube
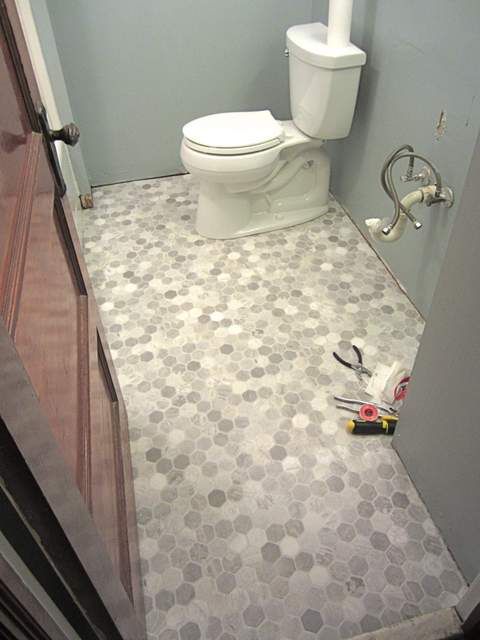
30 Ideas for hexagon ceramic bathroom tile
Lifeproof Dark Oak 8.7 in. W x 59.4 in. L Luxury Vinyl Plank Flooring (21.45 sq. ft. / case

Vinyl Plank Flooring Design Ideas & Remodel Pictures Houzz

Vinyl Plank Flooring In Bathroom
/Stocksy_txp9eea0bd1UGT200_Medium_2637850-898aac01f52f4c258c882ef3e7151be7.jpg)
Vinyl Plank Flooring Bathroom – Decoomo

Lifeproof Restored Wood 8.7 in. W x 47.6 in. L Luxury Vinyl Plank Flooring (20.06 sq. ft. / case

Vinyl Plank Flooring In Bathroom

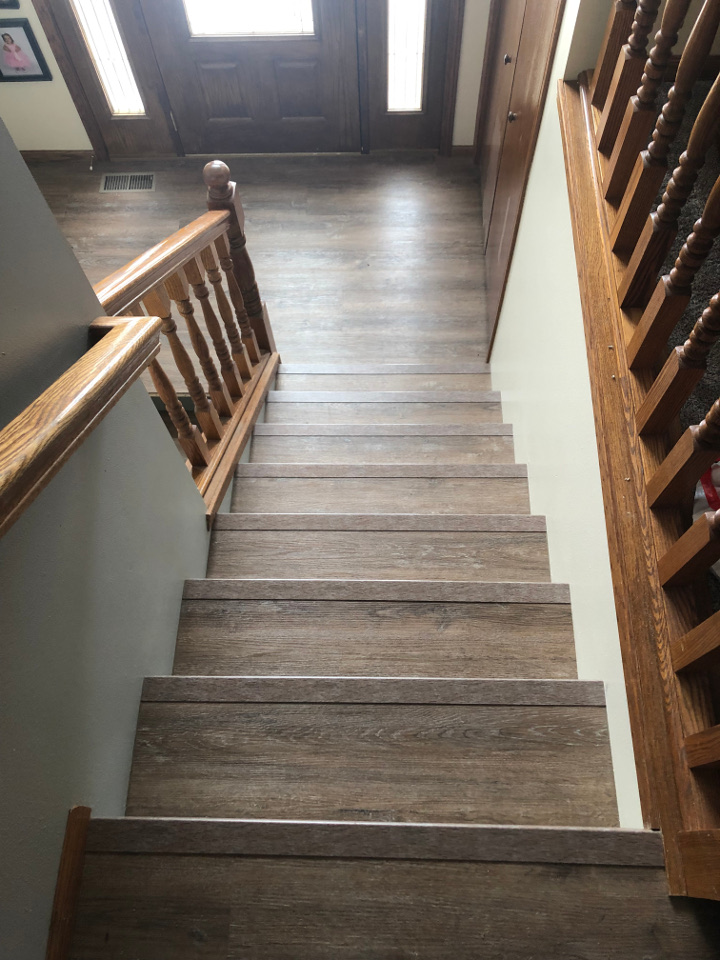
Sioux Falls Vinyl Plank Flooring, Stair Installation Luxury Vinyl Planking
Related Posts:
- Bathroom Floor Tiles Price
- Cement Tile For Bathroom Floor
- Bathroom Floor Sky Painting
- Caught Me On The Bathroom Floor
- Heated Tile Floor Cost Per Square Foot
- Dirty Bathroom Floor
- Replace Bathroom Floor And Subfloor
- How To Make Bathroom Floor Waterproof
- Easy Bathroom Flooring Options
- Cheap Bathroom Floor Cabinets
Introduction to Vinyl Plank Flooring Installation in Bathrooms
When it comes to flooring, vinyl plank flooring is becoming increasingly popular for bathrooms due to its affordability, durability, and water-resistance. It is especially desirable because it can be installed quickly and easily over existing flooring. Additionally, vinyl plank flooring is an excellent choice for bathrooms because it is easy to clean and maintain. With these advantages, it’s no wonder why more people are choosing vinyl plank flooring for their bathroom renovations.
In this article, we will discuss the steps involved in installing vinyl plank flooring in a bathroom and the tools you’ll need. We’ll also answer some frequently asked questions about vinyl plank flooring installation in bathrooms.
Choosing the Perfect Vinyl Plank Flooring for Your Bathroom
Before you start your installation project, it’s important to select the right type of vinyl plank flooring for your bathroom. You should consider factors such as safety, moisture resistance, durability, and ease of cleaning when making your selection.
If you plan on installing the vinyl plank flooring in a wet environment such as a shower or tub surround, then you should opt for waterproof vinyl plank flooring that has been designed specifically for wet environments. Waterproof vinyl plank flooring has a built-in waterproof membrane that helps protect against water damage and keeps your floors looking great longer. If you are installing your vinyl planks in an area where water won’t be present then you can opt for non-waterproof options such as luxury vinyl planks or luxury rigid core planks. These types of planks are not as durable as waterproof options but they are still a great choice for bathrooms due to their realistic wood look and feel.
Tools Needed for Installing Vinyl Plank Flooring in Bathrooms
Before beginning the installation process, make sure that you have all the necessary tools on hand:
• Tape measure
• Pencil
• Utility knife
• Straight edge or T-square
• Chalk line or laser level
• 100-grit sandpaper
• Tapping block
• Mallet
• Putty knife
• Vacuum cleaner with hose attachment
• Notched trowel
• Spacers (if necessary)
Preparation Before Installing Vinyl Plank Flooring in Bathrooms
Before beginning the installation process, there are several steps that must be taken to prepare the space properly:
1. Clear out the room and remove any furniture or other obstructions from the area where you will be installing the planks. This will give you plenty of room to work and allow easy access to all areas of the room.
2. Make sure that the subfloor is clean and free of dirt and debris before laying down your new vinyl planks. This will help ensure that everything adheres properly during installation. You may need to use a vacuum with a hose attachment if there is any built up dust or dirt on the subfloor surface.
3 . Check the subfloor for any damage or irregularities that could affect the installation. If you find any, make sure to repair them before installing your vinyl planks.
4. Make sure that the subfloor is level and flat before beginning the installation process. If you find any high spots or low spots, make sure to either sand them down or use a self-leveling compound to fill them in.
5. Lay out your planks and mark off where you would like to begin your installation so that you know exactly where to start and end. This will help ensure that your installation is even and straight throughout the entire room.
6. Lastly, make sure that all of your tools are ready and within reach before beginning the installation process. This will help ensure that everything goes as smoothly as possible.
Installing Vinyl Plank Flooring in Bathrooms
Now that you’ve prepared the space and have all of your tools at hand, it’s time to begin the installation process! Follow these steps for a successful installation:
1. Begin by laying down your first row of planks along the marked line that you previously made. Make sure to stagger the planks so that their ends don’t meet up directly with one another. This will help ensure that your floor looks seamless and uniform.
2. Use your tapping block and mallet to make sure that each plank is properly secured to the subfloor. Make sure to tap lightly as you don’t want to damage the planks during installation.
3. Cut any planks that need to be trimmed down to size using a utility knife or a jigsaw if necessary.
4. Continue laying down the planks until you reach the end of the room or until you reach an obstruction such as a doorway or wall. At this point, measure and cut any pieces that need to be trimmed down in order to fit around these obstacles.
5. Once all of your planks are laid out, use spacers or shims if necessary to ensure that your floor is even and level throughout. This will also help prevent any gaps between planks due to shrinking or expansion over time.
6. Finally, use a putty knife or other appropriate tool to caulk any seams between planks and walls in order to keep water from seeping through and damaging your new flooring. You may also need to apply grout if you are using tile-style vinyl plank flooring for extra protection against water damage in high-moisture areas such as bathrooms and kitchens.