How To Start Tiling A Bathroom Floor
Related Images about How To Start Tiling A Bathroom Floor
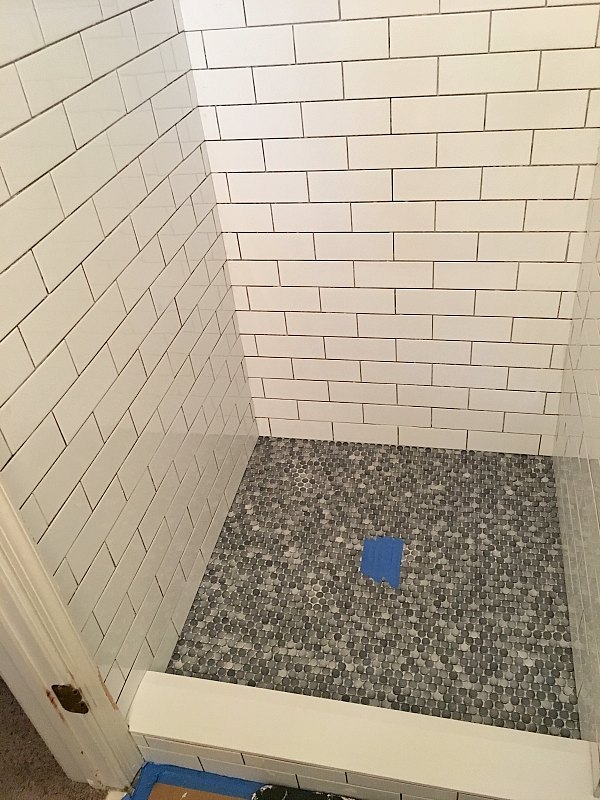
One Project at a Time – DIY Blog: #138- Bathroom Floor Tile

An additional concept while trial and error with bathroom ceramic tiles is using a single large printed tile for the reason that the centerpiece and encircle it with plain colored flooring. They are okay to be arranged as swirls, sectors, waves and so on Different colored mosaics can be utilized to piece together a job of art form like an underwater design or maybe a flower. They come in colors which are different and textures.
Bathroom Tiling : How to Install 12 x 12 Tiles on Bathroom Floor – YouTube

If you are thinking about undertaking bathroom remodeling, be sure that you opt for the correct contractor to encourage you about the most beneficial flooring options for the bathroom of yours. The bathroom is an area where you can visit unwind, and also you want it to be a comfortable and relaxing setting. Cork flooring gives your bathroom an alternative texture.
This is starting to happen between my bathroom tiles. What’s causing this and how can I fix it
In order to extend the life of the floor of yours it should be fitted by an expert who’s experienced in installing the sort of floor you are using. These tiles are actually made of distinct materials like glass, metal, marble, pebbles etc. Choose tiles which blend best with the ambiance in your bathroom. Designing or renovating a bathroom is a lot of work. You are able to likewise choose tiles with pages on them.
Tile Kitchen Floor with Natural Terracotta Tiles – Tiling job in Nottingham, Nottinghamshire

Part 10: Bathroom tiling – YouTube

Vinyl Floor Fitted to Small Bathroom – Flooring job in Kettering, Northamptonshire – MyBuilder

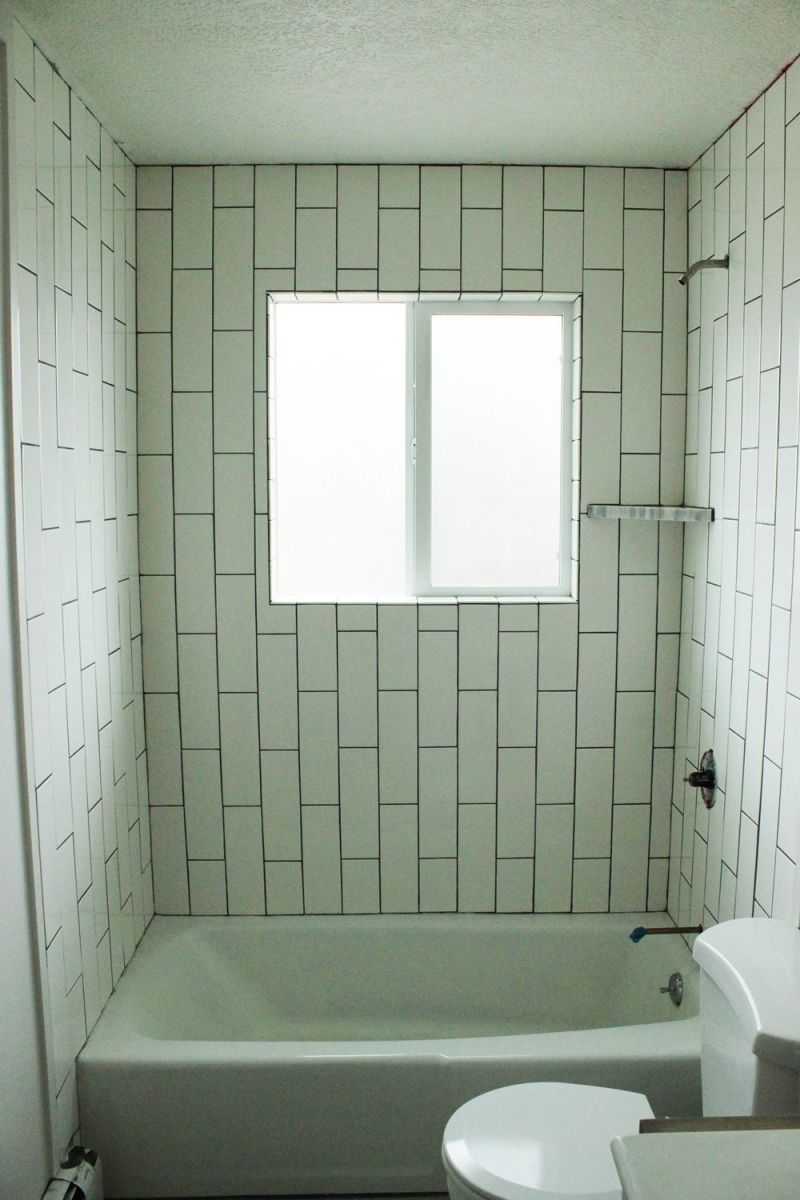
How to Tile a Shower/Tub Surround, Part 1: Laying the Tile
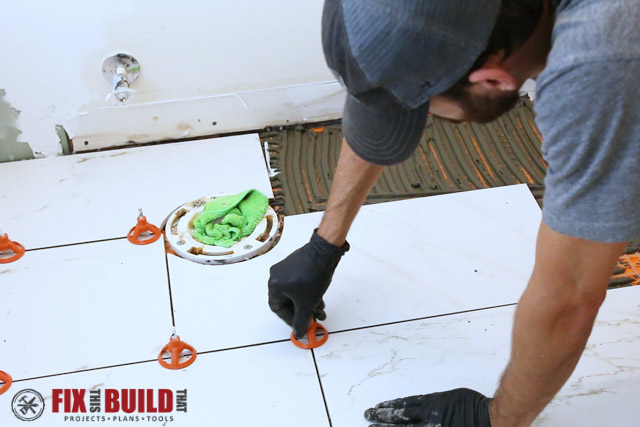
How to Tile a Bathroom Floor FixThisBuildThat

How to Tile a Bathroom Floor FixThisBuildThat
How to step by step DIY projects – for around your home Habitat magazine
![]()
ARGYLE PROPERTY SERVICES: Bathroom Fitter in Oxford

31 best Tile images on Pinterest Kitchens, Bathroom ideas and Bathroom remodeling

How to Install Tile on a Bathroom Floor HGTV
Bathroom Floor Tile Border Ideas Tile floor, Patterned bathroom tiles, Flooring

Related Posts:
- Bathroom Floor Tiles Price
- Cement Tile For Bathroom Floor
- Bathroom Floor Sky Painting
- Caught Me On The Bathroom Floor
- Heated Tile Floor Cost Per Square Foot
- Dirty Bathroom Floor
- Replace Bathroom Floor And Subfloor
- How To Make Bathroom Floor Waterproof
- Easy Bathroom Flooring Options
- Cheap Bathroom Floor Cabinets
Tiling a bathroom floor can be a daunting task for many homeowners, but with the right tools and know-how, it can be a rewarding project that will transform the look of your bathroom. In this article, we will guide you through the process of starting to tile a bathroom floor, from preparation to finishing touches.
Preparation
Before you start tiling, it’s important to prepare the surface of the floor. This includes removing any existing flooring, cleaning the subfloor, and ensuring that it is level and free of any debris. You may need to use a self-leveling compound to even out any uneven areas. It’s also a good idea to lay out your tiles in the desired pattern before starting to ensure that they fit properly.
Next, you’ll need to gather your materials and tools. You’ll need tiles, tile adhesive, grout, spacers, a trowel, a tile cutter, and a sponge. Make sure you have enough tiles to cover the entire floor with some extras for cuts and mistakes.
Laying the Tiles
Start by applying tile adhesive to the subfloor using a trowel. Work in small sections at a time to prevent the adhesive from drying out before you can lay the tiles. Place spacers between each tile to ensure even spacing. Use a tile cutter to make any necessary cuts around edges or obstacles.
Once all the tiles are laid out, allow the adhesive to dry according to manufacturer’s instructions. Then, mix grout according to package instructions and apply it between the tiles using a grout float. Wipe off excess grout with a damp sponge before it dries.
Finishing Touches
After the grout has dried completely, seal it with a grout sealer to protect it from moisture and stains. Clean off any remaining residue with a clean cloth or sponge. Finally, replace any baseboards or trim that was removed before tiling.
Common Mistakes to Avoid:
1. Not properly preparing the subfloor can lead to uneven tiles and cracked grout.
2. Using too much adhesive can cause it to ooze out between tiles.
3. Not using spacers can result in uneven spacing between tiles.
4. Rushing through the grouting process can lead to messy grout lines and uneven application.
FAQs:
1. How long does it take for tile adhesive to dry?
Tile adhesive typically takes 24-48 hours to fully dry before grouting.
2. Can I tile over existing flooring?
It is not recommended to tile over existing flooring as it can lead to uneven surfaces and potential issues down the line.
3. Do I need special tools for tiling?
While having specialized tools like a tile cutter can make the job easier, basic tools like a trowel and sponge are essential for tiling.
4. Can I cut tiles without a tile cutter?
You can use alternatives like a glass cutter or nipper for small cuts, but a tile cutter is recommended for larger cuts.
5. How do I clean my tiled floor?
Regularly sweeping and mopping with mild detergent is usually sufficient for cleaning tiled floors. Avoid harsh chemicals that can damage the grout.
Overall, tiling a floor can be a rewarding DIY project that can add value and beauty to your home. By properly preparing the subfloor, laying the tiles carefully, and finishing with grout and sealer, you can achieve a professional-looking result. Just remember to take your time, follow instructions carefully, and avoid common mistakes to ensure a successful tiling project. If you have any questions or concerns, don’t hesitate to consult with a professional for guidance.