Polish Marble Floor DIY
Related Images about Polish Marble Floor DIY
How to Polish a Concrete Floor – The Concrete Network
These marble floors must not be treated like the cemented floors. However, you have to know how to effectively use and store it to avoid more damages. Consequently it's crucial that any marble floor surfaces you do have installed is actually cleaned and resealed expertly every nine to eighteen weeks in order that it's stays in the best condition possible and so can last for years to come.
Party dress, children party dresses, women party dresses, prom dresses, Baby Dresses, Bridesmaid

Although marble is actually heat resistant and will not catch fire making it ideal for the kitchen if you set a favorite container straight on a marble surface area, it may discolor permanently. You ought to personally stay in connection with installers and ask for personal references from anyone who gives you a bid for using marble flooring surfaces. Never make your marble floor overly wet.
Party dress, children party dresses, women party dresses, prom dresses, Baby Dresses, Bridesmaid

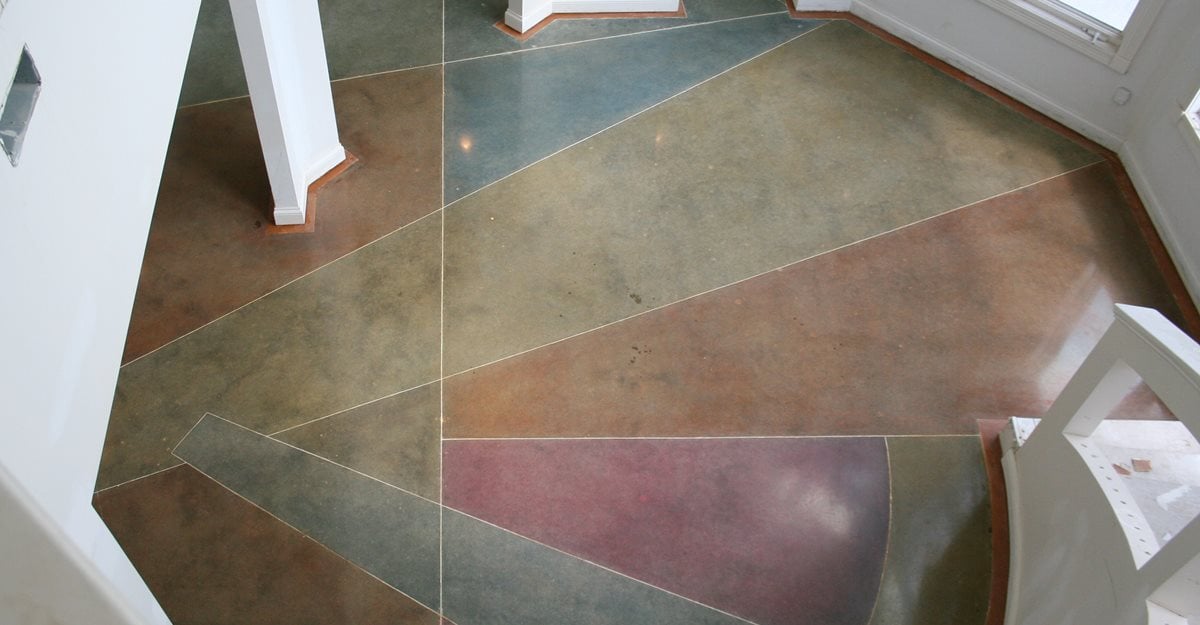
Due to the fact it comes in a varying range of healthy patterns & colors almost all of which have the natural pattern of veins running through it the option of marble flooring to decide on from is immense and this is one reason that explain why marble flooring never appears to go out of vogue. If you consider this marble flooring will last 2-5 times longer than less expensive flooring, you will soon recognize that the replacement fees are significantly smaller with marble flooring.
Party dress, children party dresses, women party dresses, prom dresses, Baby Dresses, Bridesmaid

Party dress, children party dresses, women party dresses, prom dresses, Baby Dresses, Bridesmaid

Party dress, children party dresses, women party dresses, prom dresses, Baby Dresses, Bridesmaid
Party dress, children party dresses, women party dresses, prom dresses, Baby Dresses, Bridesmaid

Related Posts:
- How To Restore Shine To Marble Floors
- Marble Floor Tiles Ireland
- Marble Floor Medallions Sale
- Marble Floor Repair Kit
- How To Wash Marble Floor
- Botticino Marble Floor Tiles
- Crazy Marble Flooring Designs
- How To Maintain Marble Flooring
- Marble Floor Tile Care Maintenance
- Hexagon Marble Floor
Polish Marble Floor DIY: A Comprehensive Guide to Achieving Stunning Results
Introduction:
Marble floors are renowned for their elegance and timeless beauty. However, over time, they can lose their luster and become dull due to wear and tear. Professional marble floor restoration services can be costly, but with the right tools, techniques, and a little bit of patience, you can achieve stunning results with a do-it-yourself (DIY) approach. In this comprehensive guide, we will provide step-by-step instructions on how to polish your marble floor to restore its natural shine and beauty.
I. Preparing for the Polish:
Before diving into the actual polishing process, it is crucial to prepare your marble floor properly. This ensures that you get the best possible results while minimizing any potential damage.
1. Clear the Area:
Begin by removing all furniture and objects from the room where the marble floor is located. This will create an unobstructed space for you to work in and prevent any accidental damage or obstacles during the process.
2. Protect Surrounding Surfaces:
Marble polishing involves using abrasive materials, which can potentially scratch or damage adjacent surfaces such as walls or baseboards. To avoid this, cover these surfaces with painter’s tape or protective plastic sheets.
3. Sweep and Vacuum:
Thoroughly sweep or vacuum the entire marble floor surface to remove any loose dirt, dust, or debris. This step is essential as particles can act as abrasives during the polishing process and cause scratches on the surface.
FAQs:
Q: Can I use a regular vacuum cleaner on my marble floor?
A: It is recommended to use a vacuum cleaner specifically designed for hard floors to prevent scratching or damaging your marble surface.
Q: Should I wet mop my marble floor before polishing?
A: No, it is not advisable to wet mop your marble floor before polishing as excessive water can seep into cracks or joints and weaken the adhesive beneath the marble tiles.
II. Removing Stains and Etching:
Before proceeding with the actual polishing, it is crucial to address any stains or etch marks on your marble floor. Stains can occur due to spills, while etching is caused by acidic substances that react with the marble’s calcium carbonate composition.
1. Identify Stains and Etch Marks:
Carefully examine your marble floor for any visible stains or etch marks. Common culprits include wine, coffee, citrus juices, and certain cleaning products.
2. Prepare a Poultice:
A poultice is a paste-like substance that helps draw out stains from porous surfaces like marble. To make a poultice, mix a powdered absorbent material (such as baking soda or talcum powder) with a liquid chemical cleaner appropriate for marble surfaces.
3. Apply the Poultice:
Spread the poultice evenly over the stained areas, ensuring a thickness of about ¼ inch. Cover it with plastic wrap and let it sit for at least 24 hours to allow the poultice to absorb the stain.
4. Remove the Poultice:
After the recommended time has passed, remove the plastic wrap and gently scrape off the dried poultice using a plastic scraper or putty knife. Rinse the area thoroughly with water and dry it completely.
FAQs:
Q: Can I use bleach to remove stains from my marble floor?
A: No, bleach is highly corrosive and can damage your marble surface rather than removing stains effectively. It is best to Avoid using bleach and opt for a marble-specific cleaner or a poultice instead.
Q: How often should I remove stains and etch marks from my marble floor?
A: It is recommended to address stains and etch marks as soon as they occur to prevent them from becoming more difficult to remove over time. Regular maintenance and prompt cleaning can help maintain the quality of your marble floor.
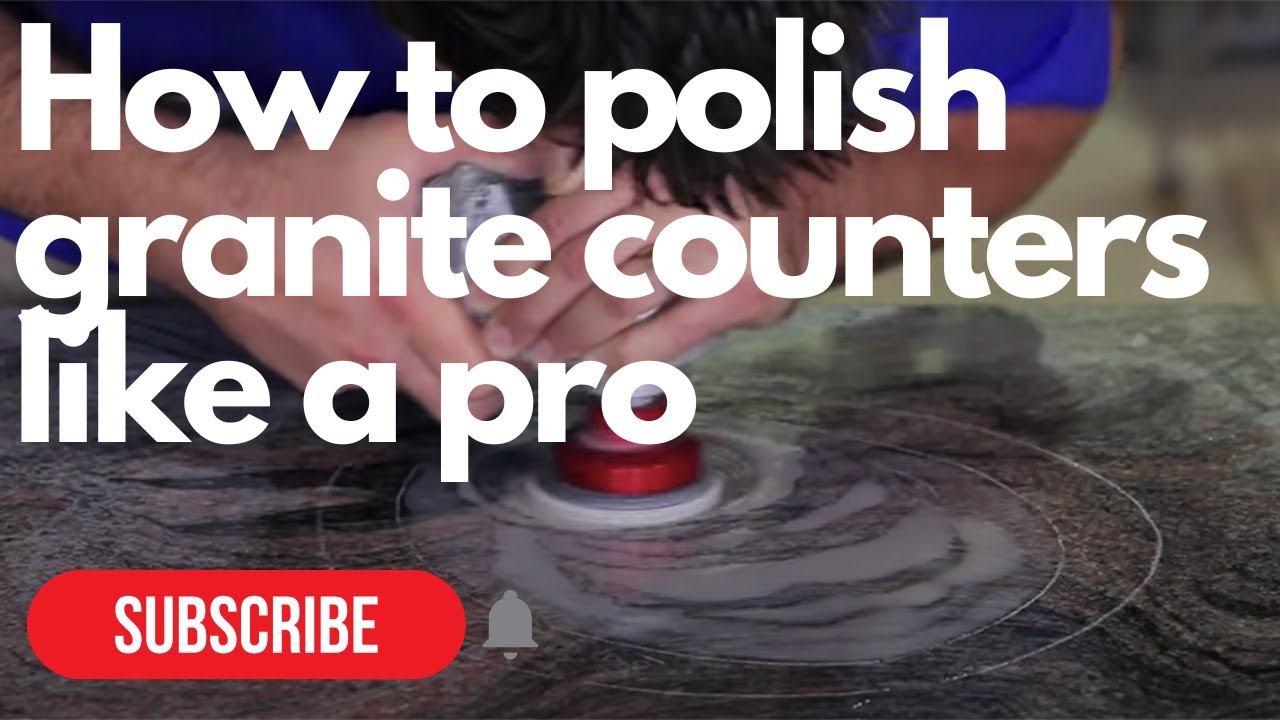
III. Polishing the Marble Floor:
Once any stains or etch marks have been addressed, you can proceed with polishing your marble floor to restore its shine and luster.
1. Choose the Right Polish:
Select a high-quality marble polish that is specifically formulated for your type of marble. Different types of marble may require different polishes, so it is essential to read the product instructions carefully.
2. Apply the Polish:
Follow the manufacturer’s instructions on how to apply the polish. Typically, you will need to pour a small amount onto the marble surface and use a clean, soft cloth or a polishing machine to spread it evenly over the floor. Work in small sections for best results.
3. Buff the Surface:
Using a clean, dry cloth or a buffing pad attached to a polishing machine, buff the polished areas in circular motions. This step helps distribute the polish evenly and brings out the natural shine of the marble.
4. Repeat if Necessary:
If desired, you can repeat the polishing process for an extra layer of shine. However, be cautious not to overpolish as this can lead to an unnatural-looking finish.<