Hardwood Floor Installation Techniques
Related Images about Hardwood Floor Installation Techniques
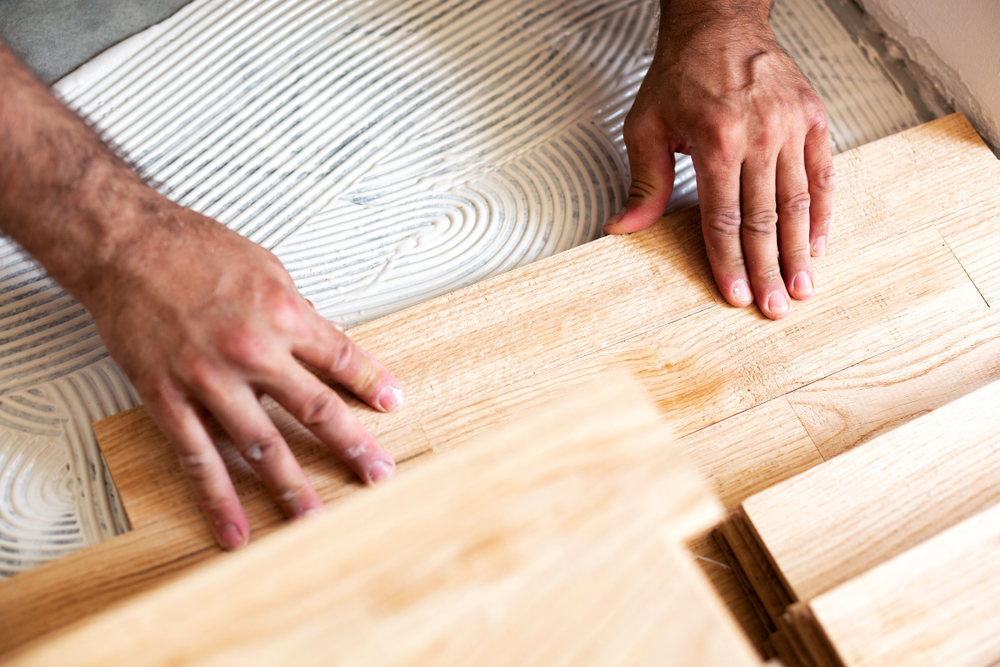
installing-engineered-hardwood-floor – EnduraColor Hardwood Flooring

Where you are in doubt, it's best to contact your manufacturer or seller and they will be in a position to offer you the steps you need. All dust as well as dirt must be removed. The advantage to prefinished engineered wood flooring surfaces is the fact that the factory is frequently able to coat the finish as many as seven times or more.
Hardwood Floor Repair Discover Hardwood Flooring

Whereas the terminology connected with "hardwood", often results in purchasing a floor which does not fit allotted budget guidelines or installation limitations to that will the floor is actually intended, only some hardwood floors are in fact; "natural hardwood". You need to be careful when moving elements around on hardwood floors. Putting in natural hardwood flooring is actually labor intensive and time intensive.
Munich Birch 3/8" Thick x 5" Wide x Varying Length Engineered Hardwood Flooring Hardwood

If you're purchasing flooring surfaces on a supply and install basis you want to ensure that the business justifies their installers work and the installers are competent. Typically often called wood laminate floor surfaces, engineered wood floor surfaces are easily available in a variety of specifications, each meant to coincide with a certain room of the home.
Expert Recommendations On How To Install Hardwood Floors – TONY FLOOR
Hardwood Floor In The Installation Process High-Res Stock Photo – Getty Images

Hardwood Floor Installation Stock Image – Image of indoor, installing: 91036273

Wood Floor Repair Union County, NJ – ABC Flooring NJ Since 1995

Wood flooring installed around a corner hallway Decor ideas -Floors Flooring, Foyer flooring

Herringbone Woods Floor Chevron Pattern Herringbone wood floor, Wood floor design, Engineered

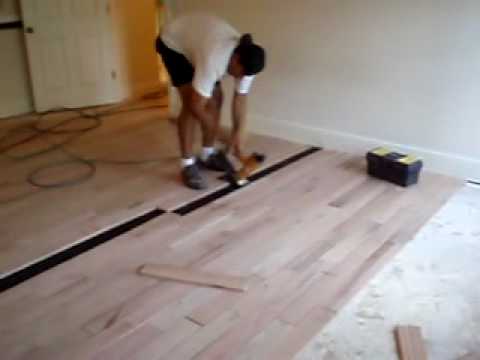
Hardwood floor installation – YouTube
HOME – Signature Hardwood Flooring

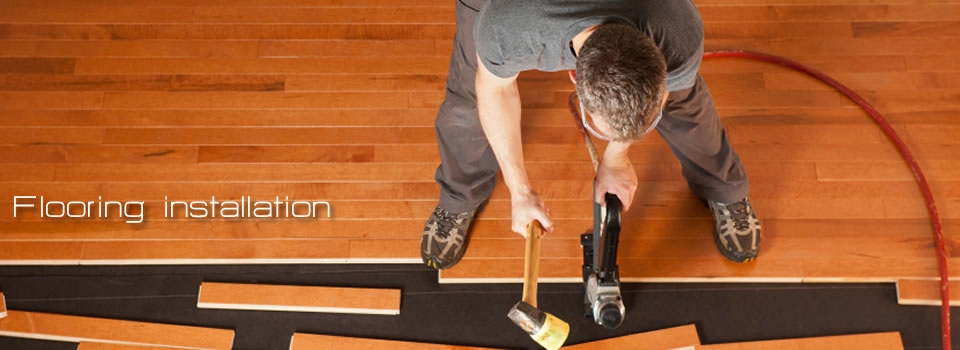
Flooring Installation – Quality Hardwood Floors

Gunstock White Oak Macon Hardwood

Vintage Ivory Eastern Flooring, Inc. – Prefinished Wood Floorings in Minneapolis, Minnesota

Related Posts:
- Hardwood Floor Cupping Causes
- Hardwood Floor Tile Inlay
- Hardwood Floor Filler Putty
- Canadian Oak Hardwood Flooring
- Wood Filler Hardwood Floor Repair
- Hardwood Floor Cleaner Best
- Hardwood Floor Compass Inlay
- Hardwood Flooring For Dog Owners
- Brazilian Cherry Bamboo Hardwood Flooring
- Hardwood Floor Cleaner Vinegar Olive Oil
Hardwood Floor Installation Techniques
Introduction:
Installing hardwood floors is a popular choice for homeowners seeking to enhance the beauty and value of their homes. However, proper installation is crucial to ensure a long-lasting and visually appealing result. In this article, we will explore various hardwood floor installation techniques, providing detailed information and expert tips on each method.
1. Nail-Down Method:
The nail-down method is one of the most traditional and widely used techniques for installing hardwood floors. This method involves securing each individual plank to the subfloor using nails or cleats. Here’s a step-by-step breakdown of the process:
a) Subfloor Preparation:
Before starting the installation, ensure that the subfloor is clean, level, and dry. Remove any existing flooring materials and fix any imperfections in the subfloor.
b) Acclimation:
Allow the hardwood planks to acclimate to the room’s temperature and humidity for at least 48 hours before installation. This helps prevent future issues, such as warping or buckling.
c) Starting Point:
Choose an appropriate starting point, preferably along a straight wall or in a high-visibility area. Snap chalk lines to create guidelines for alignment.
d) Underlayment:
Install an underlayment material over the subfloor to provide moisture protection and sound insulation. Use an appropriate underlayment based on your specific needs and flooring type.
e) Plank Installation:
Begin by laying the first row of planks perpendicular to the floor joists. Leave a 1/2-inch expansion gap between the planks and walls to accommodate wood movement. Use a pneumatic flooring nailer or a hammer and nail set to secure each plank by nailing it through its tongue at a 45-degree angle.
f) Subsequent Rows:
Continue installing subsequent rows by connecting the groove side of each plank with the tongue side of the previous row. Stagger the end joints between rows by at least six inches to enhance stability and aesthetics.
g) Finishing Touches:
Once all the planks are installed, remove any protruding nails or cleats using a nail punch. Fill the nail holes with wood putty that matches the color of your hardwood floor. Finally, sand and finish the floor according to your desired look.
FAQs:
Q: Can I install hardwood flooring over an existing floor?
A: In some cases, yes. However, it is essential to evaluate the condition and stability of the existing floor before proceeding. Consult with a professional to determine if it is suitable for your project.
Q: Is it necessary to acclimate hardwood planks before installation?
A: Yes, acclimation is crucial for hardwood flooring installation. It allows the planks to adjust to the room’s temperature and humidity, minimizing potential issues like shrinking or expanding after installation.
2. Floating Method:
The floating method is another popular technique for installing hardwood floors. Unlike the nail-down method, this approach does not involve attaching the planks directly to the subfloor. Instead, they float on top of an underlayment material. Let’s explore this technique in detail:
a) Subfloor Preparation:
Similar to the nail-down method, prepare the subfloor by ensuring it is clean, level, and dry. Remove any existing flooring materials and fix any imperfections.
b) Underlayment Selection:
Choose an appropriate underlayment for floating hardwood floors. Common options include foam underlayment, cork underlayment, or combination underlayment with moisture barrier .
c) Underlayment Installation:
Lay the underlayment material over the subfloor, starting at one corner of the room. Use adhesive or tape to secure it in place. Make sure to overlap the seams of the underlayment and trim any excess material.
d) Plank Installation:
Begin by laying the first row of planks along one wall, leaving a 1/2-inch expansion gap between the planks and the wall. Connect each plank by its tongue and groove system, using adhesive or clicking them together. Continue installing subsequent rows, staggering the end joints for stability.
e) Finishing Touches:
Once all the planks are installed, trim any excess underlayment along the edges of the room. Install baseboards or quarter-round molding to cover the expansion gap. Finally, clean and maintain your floating hardwood floor according to manufacturer recommendations.
FAQs:
Q: Can I install floating hardwood floors in any room?
A: Floating hardwood floors can be installed in most rooms, including bedrooms, living rooms, and kitchens. However, they are not suitable for areas with excessive moisture, such as bathrooms or basements.
Q: Can I install floating hardwood floors over existing flooring?
A: Yes, floating hardwood floors can be installed over existing flooring like laminate, vinyl, or tile. However, make sure to evaluate the condition and stability of the existing floor before proceeding.