Krono Laminate Flooring Installation

Related Images about Krono Laminate Flooring Installation
Product Matched Stair Nosing Swiss Krono Laminate Flooring

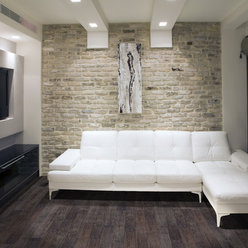
When setting up laminate floors you are going to want to look at just how they will be utilized in your house. Such floorings have a smooth finish and they also look highly attractive. With there being lots of options where installation formats, basically anyone can install the own laminate floor of theirs, should they really choose. Laminate floors is made up of compressed wood and as compressed wood needs space to move when the climate changes outdoors.
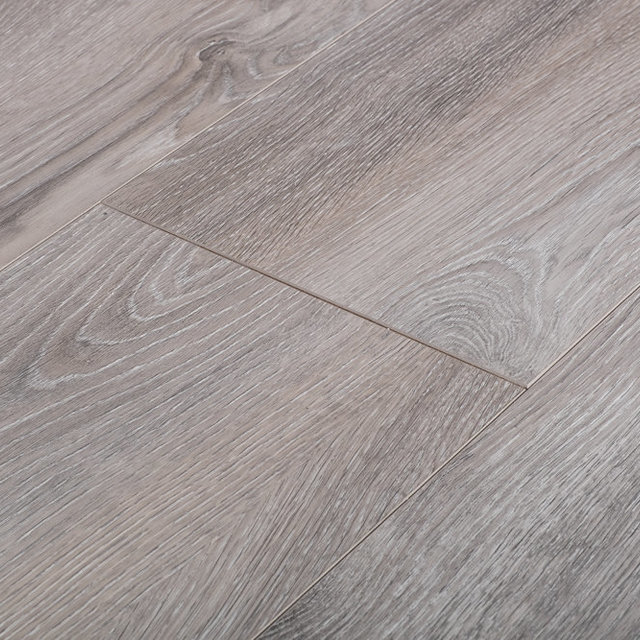
Krono Dreamfloor Classic Collection Laminate 12 MM – MADRID – Hardwood Flooring in Toronto

Laminate floors offer the outcome of hardwood floors and come with ease of maintenance and installation. You can get yourself a glue laminate, that needs the application of glue to every piece before you lay it down. Laminate flooring is extremely popular due to its' do it yourself' characteristics, it's convenient and easy to set up. Just before mopping the floor, sweep the surface. You can forget about thinking as the past.
Krono Dreamfloor Classic Collection Laminate 12 MM – MADRID – Hardwood Flooring in Toronto

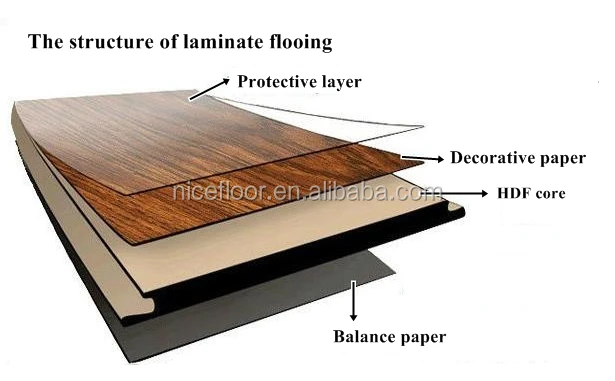
The direct pressure method is a one step method where they fuse all of the layers directly to the center all simultaneously by using melamine resins and pressure and heat they're impregnated and in concert to develop a very durable laminate plank flooring. Although laminate floor surfaces tend to be cheap, you will find various types without almost all of them have the same quality. Just like any other laminates, their floors are long lasting.
Krono Laminate Flooring: Up to 30 years Quality Guarantee

Krono Laminate Flooring 7mm eBay

Krono Original Eurohome Kronofix 7mm Studio Oak Laminate Flooring (K071) Leader Floors

Laminate Flooring – Our Pick of the Best Ideal Home

BuildDirect®: Toklo by Swiss Krono Laminate – My Floor – Villa 12 mm Collection Flooring

Laminate Flooring: April 2014
Kronospan Stone Impression Palatino Travertine Laminate Flooring

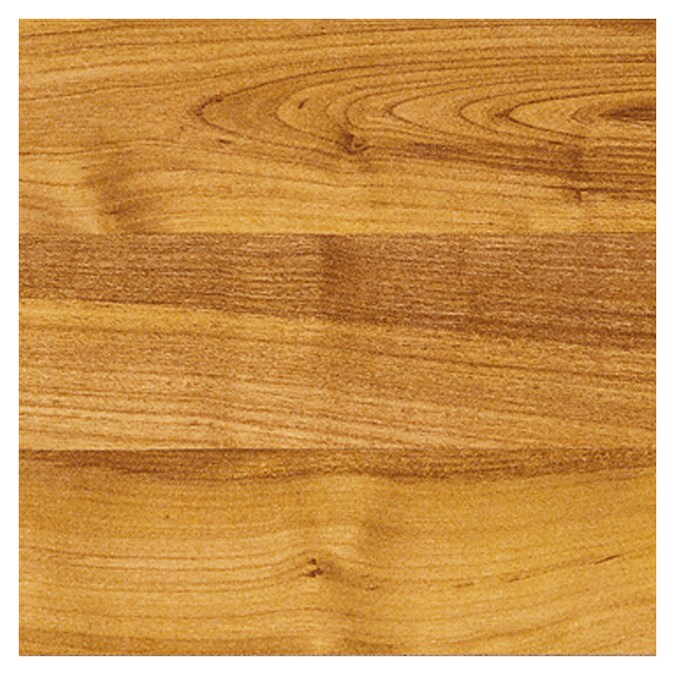
Kronotex Cherry Laminate Flooring in the Laminate Flooring department at Lowes.com
Swiss Krono USA Names New CEO and President 2017-11-01 Floor Trends Magazine

China Popular Kronoswiss Laminate Flooring With Factory Price Ac4 12mm – Buy Laminate Flooring
Wood and Laminate Flooring Ideas: laminate floor change direction
Related Posts:
- Select Surfaces Click Laminate Flooring Canyon Oak
- Kaindl Laminate Flooring Installation
- Curly Walnut Laminate Flooring
- Laminate Flooring Lumber Liquidators Reviews
- Laminate Flooring 8mm Sale
- Can You Have Laminate Flooring On Stairs
- Laminate Flooring On Concrete Base
- Pergo Golden Butternut Laminate Flooring
- Ceramic Tile Vs Laminate Flooring In Basement
- Laminate Flooring Shoe Molding
– Intend the article to be used as highly valuable information for the reader
Krono Laminate Flooring Installation: A Comprehensive Guide
Krono laminate flooring is an excellent choice for homeowners looking to add a practical yet stylish touch to their living space. This robust and resilient flooring option is easier to install than other natural options, such as hardwood, and can last for many years with proper maintenance. In this comprehensive guide, we will provide you with tips and techniques on how to install Krono laminate flooring in your home.
Preparation
Before you begin the installation process, it is important to make sure that your subfloor is level and clean. If your subfloor is not level, it may cause the laminate flooring planks to be unevenly spaced or bowed. To check your subfloor for evenness, use a long spirit level or laser level to measure the difference in height across the entire surface. If any areas are higher than others, use a self-leveling compound or sandpaper to sand down any bumps or dips.
Once your subfloor is leveled, vacuum it thoroughly before beginning installation. This will ensure that no debris gets trapped between the planks and potentially causes damage later on. It also helps create a smoother surface for a better installation result.
Acclimatization
Before installing Krono laminate flooring, it is important to acclimatize the planks in the room where they are going to be laid. This ensures that the laminate will expand and contract naturally without causing any damage or buckling due to temperature changes. To do this, lay out all of the planks in their original packaging in the room where they are going to be installed at least 24 hours before beginning installation. This allows them to adjust to the temperature of the room and prevents any potential damage caused by expansion or contraction from sudden changes in temperature.
Layout
Once all of your material has been acclimatized, it is time to begin laying out your planks for installation. Begin at one wall of the room and measure out enough planks so that they reach at least one foot away from all other walls (this will help prevent buckling). Once you have measured out enough planks using a tape measure, use chalk lines to draw out where each plank should go on the subfloor (this makes installation much easier). It is important not to skip this step as it ensures a more accurate and uniform layout throughout the entire room.
Installation
Now that everything has been properly prepared and laid out, you can begin installing your Krono laminate flooring planks. Begin by inserting tongue-and-groove pieces into each other along their edges until all of them form one continuous row along the wall (make sure that each plank is properly aligned with its neighbors). Once all of the planks have been connected together, press firmly on each plank until its edges click into place (this ensures a better fit between them). Continue this process until all of your planks are installed in their respective positions.
Finishing Touches
Once all of your Krono laminate flooring has been installed correctly, take some time to make sure everything looks Neat and tidy. Use a broom or vacuum to clean up any dirt or debris that may have been left behind during installation. Check all of the seams between planks to make sure no gaps are visible and use a damp cloth to wipe away any excess glue or adhesive. Finally, apply a sealant to the entire floor surface to prevent moisture from seeping in and damaging your new laminate flooring.