How To Replace Bathroom Floor Vinyl

Related Images about How To Replace Bathroom Floor Vinyl
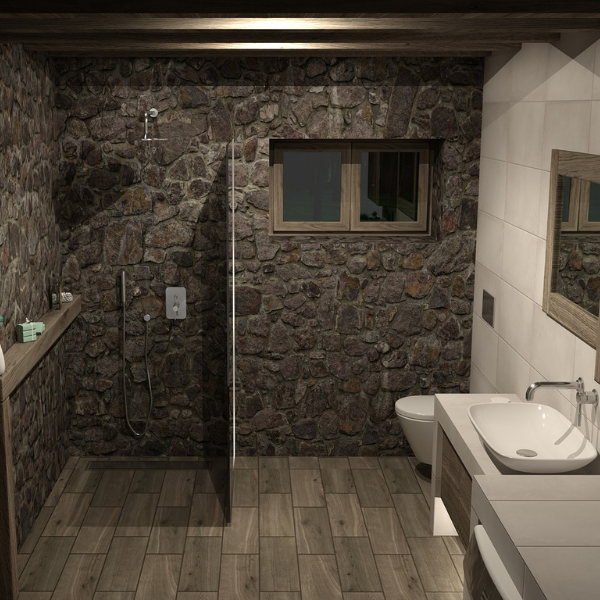
Genesis: the bathroom vinyl floor DIY for the inexperienced

You will find porcelain tiles in a variety of shapes, including square, hexagonal along with octagonal styles – this is a large advantage if you want your remodeling contractors to personalize the bathroom of yours and give it a distinctive appearance. Some vinyl go with sticker backing. You can also find bathroom vinyl tiles which are printed to resemble mats, floor tiles in sole strong colors etc.
Top 6 Reasons Why Vinyl Flooring Is The Best Fit For Bathroom Renovation – Torres Tile
Almost all of the time, bath room flooring just isn't the component that gets a great deal of attention from homeowners and decorators. Not to mention, new flooring for the bathroom of yours can have a large chunk of the remodeling budget. Make use of your originality and imagination to personalize the bathroom of yours to match your style and your house.
Rotten Subfloor under Bathtub and Plumbing Wall – DoItYourself.com Community Forums

Whatever floor covering you choose to go with in your bathroom you shouldn't only consider the atmosphere of the bathroom but bear in mind the fact that more frequently than not you are going to have bare foot when walking in the bathroom so picking a flooring that's comfy under foot is actually an important need. The threat is often understood easily.
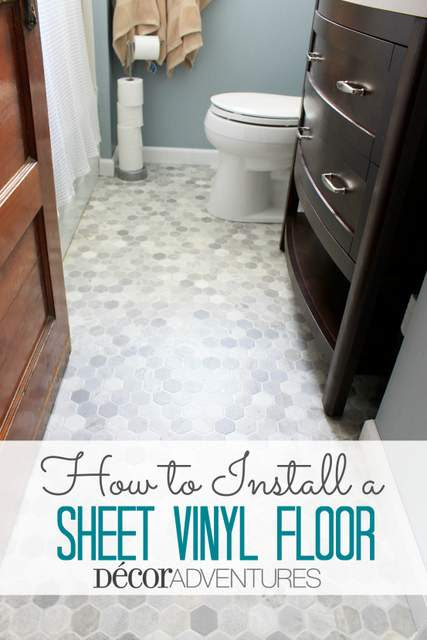
How To Vinyl Flooring Bathroom Vinyl Flooring
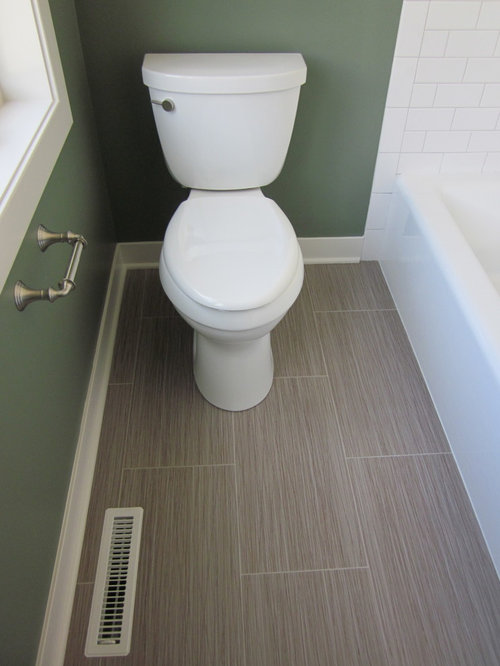
Screen printed bathroom floor. Bathroom floor coverings, Vinyl flooring bathroom, Fancy bathroom

Home [www.higginsflooring.co.uk]
Choosing Vinyl or Tile Bathroom Flooring – The Ideas House

Replacing Mobile Home Floor Insulation Gurus – Get in The Trailer

DIY Project: Replace Vinyl Flooring with Laminate

Vinyl Flooring Bathroom Ideas, Pictures, Remodel and Decor
Best Roll Vinyl Flooring – Modern House

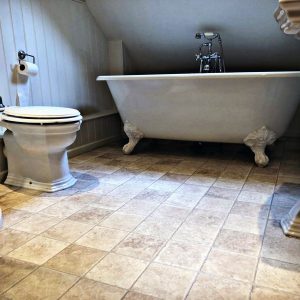
A Trendy Choice for Your House – Travertine Flooring How To Build A House

20 great pictures and ideas of vintage bathroom floor tile patterns 2020
broken floor tiles in basement and sunroom (flooring, vinyl, foundation) – House -remodeling

Related Posts:
- Bathroom Floor Tiles Price
- Cement Tile For Bathroom Floor
- Bathroom Floor Sky Painting
- Caught Me On The Bathroom Floor
- Heated Tile Floor Cost Per Square Foot
- Dirty Bathroom Floor
- Replace Bathroom Floor And Subfloor
- How To Make Bathroom Floor Waterproof
- Easy Bathroom Flooring Options
- Cheap Bathroom Floor Cabinets
How To Replace Bathroom Floor Vinyl
Replacing the bathroom floor vinyl is a great way to spruce up your bathroom without spending a lot of money. It’s also relatively straightforward and easy to do, even for people who are new to home improvement projects. With some basic tools, a few materials, and a bit of patience, you can have your bathroom looking like new in no time.
Tools and Materials Needed for Replacement
The first step in replacing the bathroom floor vinyl is to gather the necessary tools and materials. You’ll need a utility knife, scissors, measuring tape, putty knife, miter saw, hammer, screwdrivers, adhesive remover, sandpaper or grinder, and caulking gun. In addition to these tools, you’ll also need to purchase vinyl flooring, underlayment material (if needed), adhesive, and caulk. Make sure you measure the area carefully before purchasing materials so that you purchase enough of each item.
Prepping the Area for Installation
Once you have gathered all the necessary materials and tools, it’s time to begin prepping the area for installation. This includes removing any existing flooring or underlayment material on the floor as well as any nails or other fasteners that may be present. If there is any adhesive residue left on the floor after removal of the old material, use an adhesive remover to remove it before beginning installation of the new vinyl flooring. Once all debris is removed from the area, use sandpaper or a grinder to sand down any rough spots on the subfloor before laying down the new vinyl flooring.
Installing New Vinyl Flooring
Now that the area is prepped for installation of new vinyl flooring, it’s time to start laying it down. Begin by unrolling the vinyl sheet and cutting it to size with a utility knife or miter saw if necessary. Once cut to size, apply an adhesive evenly across the back of the sheet and carefully press it into place on the subfloor. Use a putty knife or other flat utensil to ensure that there are no air bubbles underneath the sheet as you go along. After all sheets are in place, use a roller or heavy object to press them securely into place and then allow them to dry completely before continuing with installation.
Adding Underlayment Material
If desired or necessary (check manufacturer’s instructions), add an underlayment material beneath the vinyl sheet prior to installation. This should be done while laying down each sheet of vinyl as opposed to being added after all sheets are in place. Underlayment materials come in various forms such as foam or rubber padding which provide extra cushioning and insulation while reducing noise transfer and wear on floors over time.
Caulking Seams and Perimeter
Once all sheets are in place and dried completely if an adhesive was used during installation, it’s time to caulk along all seams between sheets as well as around the perimeter of each sheet. Caulk helps fill gaps between sheets which can help prevent water from seeping through which can cause damage over time if left unchecked. Use a caulking gun filled with silicone-based caulk and apply it evenly along each seam as well as around edges where possible before allowing it sufficient time To dry completely. Once dry, your new vinyl flooring is ready to enjoy.
What tools are needed to replace bathroom floor vinyl?
1. Utility knife2. Tape measure
3. Pencil
4. Chalk line
5. Safety glasses
6. Knee pads
7. Putty knife
8. Hammer and nails
9. New vinyl flooring
10. Adhesive, trowel, and putty knife for laying the new vinyl floor Ing
11. Caulk gun and silicone caulk for caulking seams and perimeter of vinyl floor Ing