Chipboard Bathroom Floor
Related Images about Chipboard Bathroom Floor
Insulated chipboard flooring in Stepps, Glasgow Gumtree
An additional idea while experimenting with bathroom ceramic flooring is to use a single large printed tile for the reason that the centerpiece and surround it with plain colored tiles. They are okay to be arranged as swirls, circles, waves and so on Different colored mosaics are able to be used to piece together a job of art form like an underwater design or maybe a flower. They are available in colors which are different & textures.
How to Paint Chipboard Floors to Look Like Hardwood Hunker
An important benefit of using mosaic bathroom floor tiles is you are able to deviate from the popular practice of installing tiles in a row by row fashion. Below, an overview of the most popular content for bathroom floors is outlined for your convenience. Hardwood floors for toilets are sealed so as to maintain moisture, grime and dirt from penetrating as well as ruining the wood.
Pin on DIY

Bathroom floors tiles tend to gather dirt, grime and moisture so they must be easy to clean and shouldn't be slippery. Nonetheless, if you've used hardwood floor surfaces with the rest of your home, you might like to use it in the bathroom too. Ceramic tiles with different types of pages are also available.
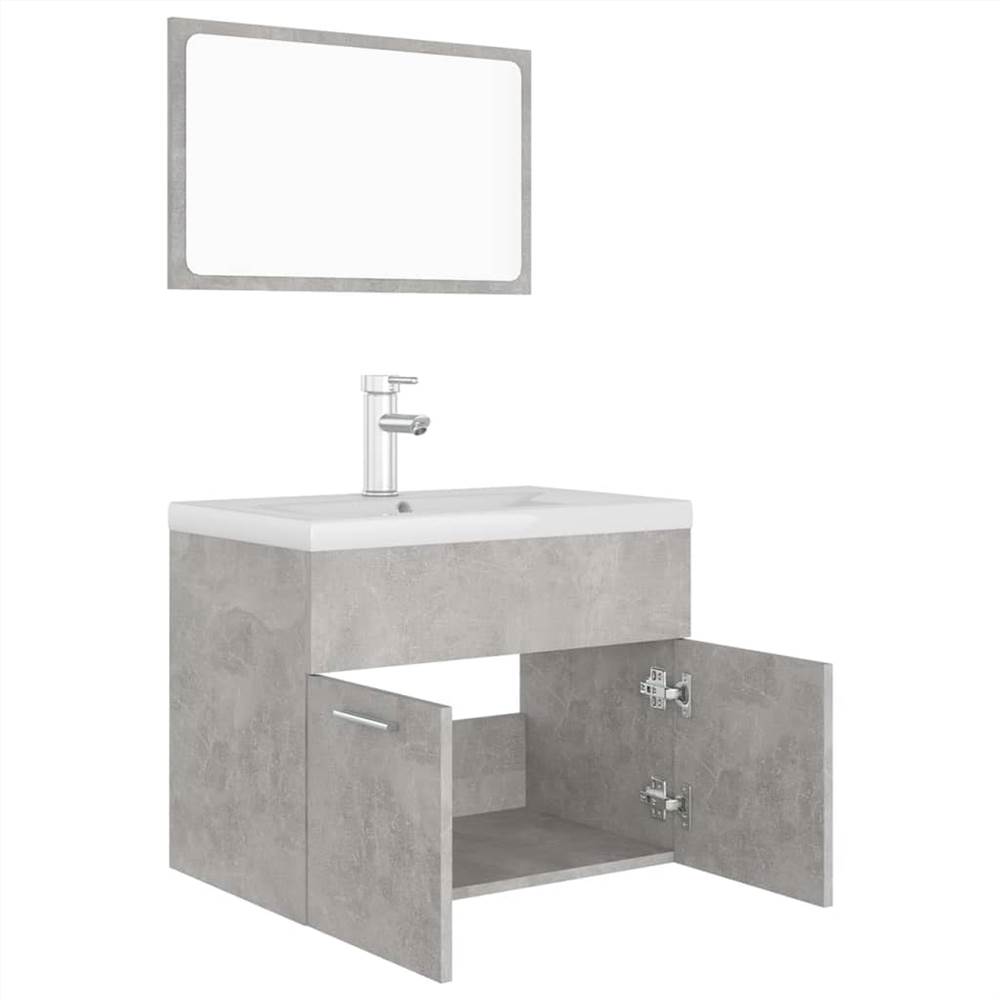
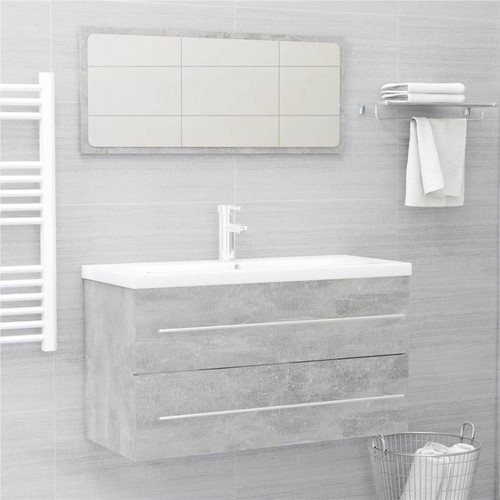
2 Piece Bathroom Furniture Set Concrete Grey Chipboard
paint osb subfloors Finished Osb Floor Flooring Pinterest Stains, Workshop and House

Bathroom Furniture Set Concrete Grey Chipboard
DPI Bath Tileboard Wall Panel – Metroliner White – 4′ x 8′ sheet $25 HOUSE Bathroom

What to Do About Chipped Tiles in the Bathroom? – The New York Times

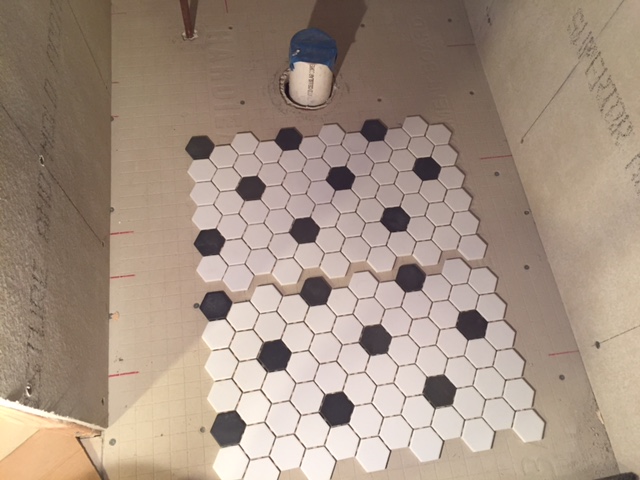
DIY: How to Tile a Bathroom Floor HuffPost
Twelve For Tuesday: Wood Plank Tile In The Bathroom

Screws Chipboard 3.5 X 40mm Per 250 – Alberton Hardware Online Store
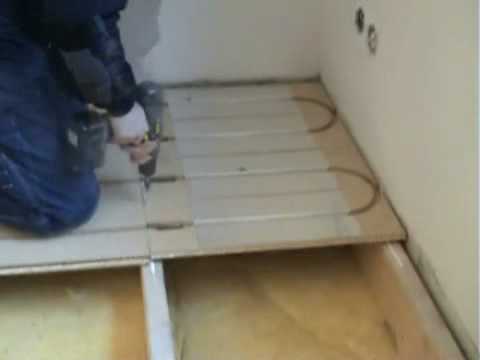
LK Wood 22 Underfloor Heating Install Demo – YouTube
Fake chipboard tile on bathroom walls?

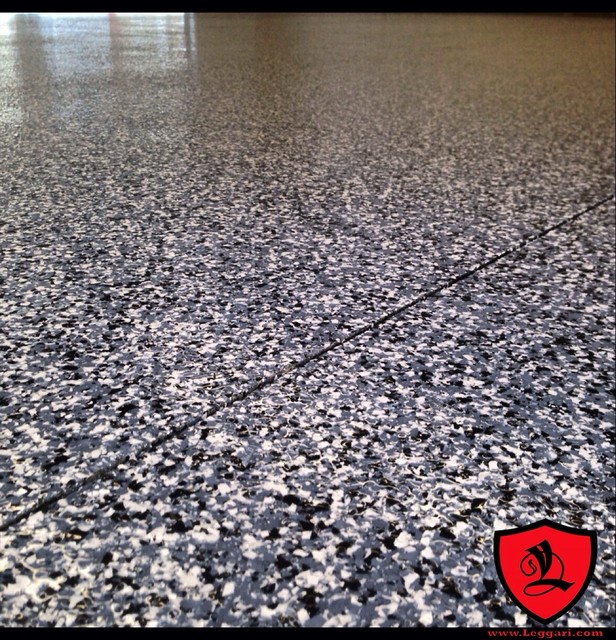
Leggari paint chip epoxy floors
Related Posts:
- Bathroom Floor Tiles Price
- Cement Tile For Bathroom Floor
- Bathroom Floor Sky Painting
- Caught Me On The Bathroom Floor
- Heated Tile Floor Cost Per Square Foot
- Dirty Bathroom Floor
- Replace Bathroom Floor And Subfloor
- How To Make Bathroom Floor Waterproof
- Easy Bathroom Flooring Options
- Cheap Bathroom Floor Cabinets
Introduction
Chipboard bathroom flooring is a strong and affordable option for bathroom floors. It is made from compressed wood material, usually particleboard or MDF (medium-density fiberboard). Chipboard flooring is becoming increasingly popular due to its durability, moisture resistance, and ease of installation. It is available in a variety of finishes and styles, making it a great choice for updating or remodeling your bathroom. In this article, we will discuss the advantages and disadvantages of chipboard bathroom flooring, as well as provide tips on how to install and maintain it.
Advantages of Chipboard Bathroom Flooring
When it comes to flooring for the bathroom, chipboard has many advantages over other materials. One of the biggest benefits is that it’s incredibly affordable. Chipboard is also very durable and can withstand heavy foot traffic without showing signs of wear or tear. It also resists moisture very well and will not warp or buckle if exposed to water. Another great advantage of chipboard flooring is that it’s easy to install and can be laid by a DIYer with just a few simple tools.
Disadvantages of Chipboard Bathroom Flooring
While chipboard has many advantages, there are some downsides to consider before installing it in your bathroom. One of the biggest drawbacks is that it doesn’t have the same level of comfort as other materials like tile or hardwood. It can also be hard to clean if dirt and grime become embedded in its surface. Additionally, chipboard doesn’t last as long as more expensive options like ceramic tile or solid hardwood.
How To Install Chipboard Bathroom Flooring
Installing chipboard bathroom flooring is relatively simple for anyone with basic DIY skills. The first step is to measure the area you want to cover and cut the pieces accordingly using a circular saw. Next, you’ll need to remove any existing flooring from the subfloor before laying down the new pieces. Once everything is ready, you can glue each piece down securely using construction adhesive or nails and then seal around the edges with caulking or silicone sealant. Finally, let the adhesive dry completely before adding any furniture or fixtures back into the room.
How To Maintain Chipboard Bathroom Flooring
Once your chipboard bathroom floor is installed, you’ll need to take steps to maintain its appearance and longevity. The best way to keep your chipboard looking great is by sweeping regularly with a soft-bristled broom or vacuum cleaner and mopping occasionally with warm water mixed with mild dish soap. You should also avoid using harsh abrasives or chemicals when cleaning as these can damage your floor’s finish over time. Additionally, you should avoid standing water on your chipboard surfaces as this can cause warping or buckling over time.
FAQs about Chipboard Bathroom Flooring
Q: Is chipboard bathroom flooring waterproof?
A: While chipboard does resist moisture better than other materials such as hardwood or carpet, it is not 100% waterproof since it does absorb some water over time when exposed to high humidity levels or standing water. It’s important to protect your chipboard surfaces from excessive moisture by wiping up spills immediately and avoiding standing water on your floors whenever possible.
Q: How long Does chipboard bathroom flooring last?
A: Chipboard is a very durable material and can last for many years with proper maintenance and care. However, its lifespan may be shorter than more expensive materials like tile or hardwood due to its susceptibility to water damage.