Bathroom Floor Drain Installation

Related Images about Bathroom Floor Drain Installation
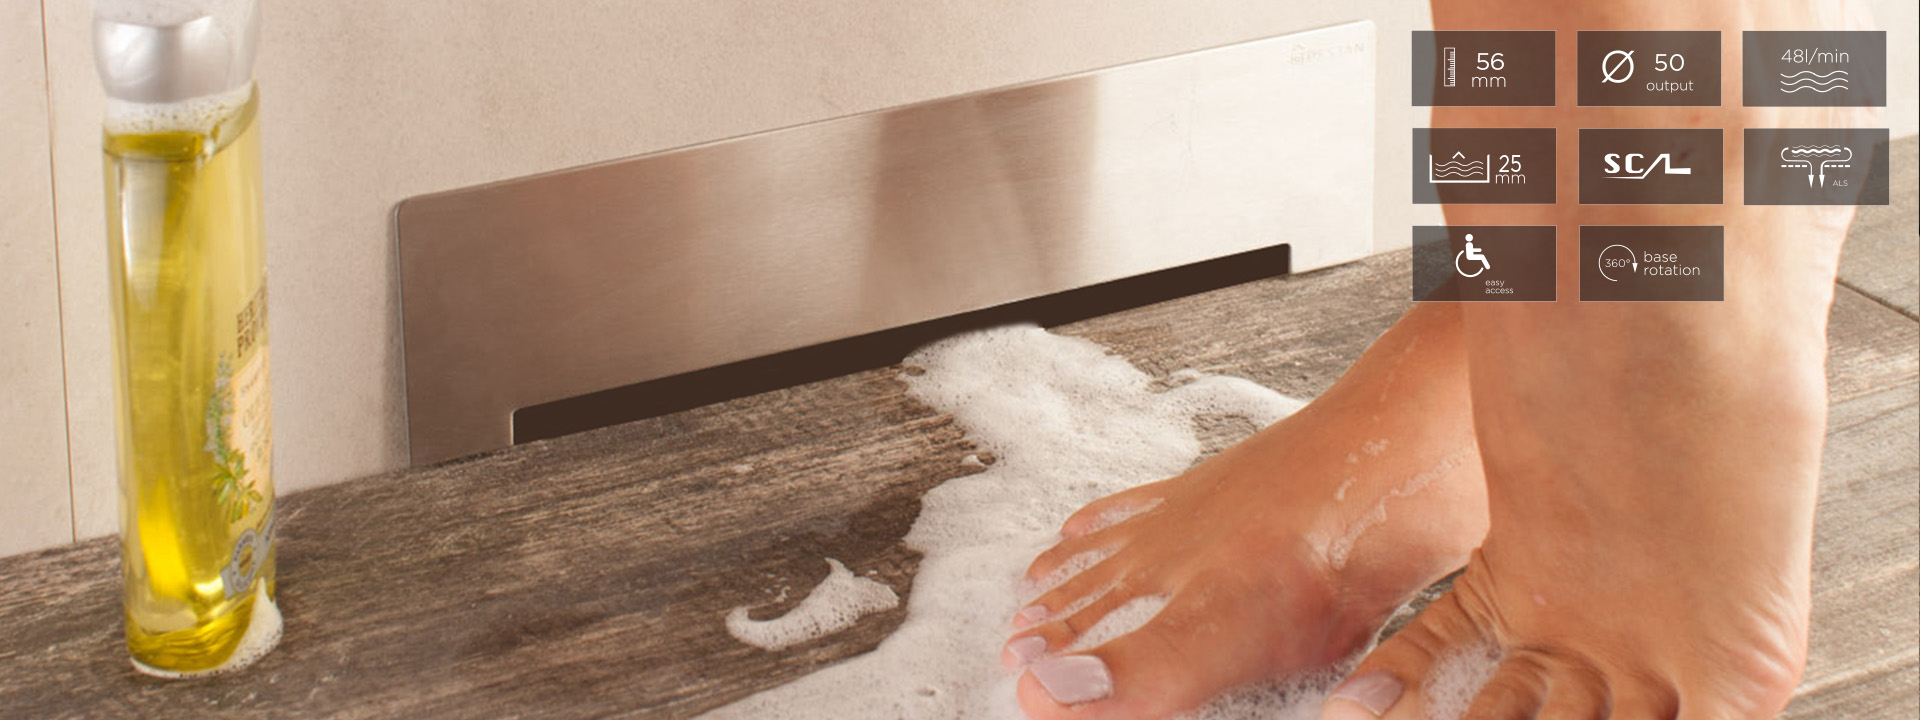
Confluo Wall drain Peštan
As for tiles for the bathroom of yours, you need to place porcelain at the top of your listing. Nonetheless, at an economical $3 – ten dolars a square foot, fitted, it’s a big option for bathroom flooring. They are available in a wide array of styles and you can effortlessly mix as well as match or arrange them in patterns which are different.
1000+ images about Cottage shower on Pinterest Shower drain, Shower faucet and Plumbing

Utilize bath room tile tips to help you’ve that special bathroom you are able to enjoy daily. These’re just some great bath room floor tiles ideas. While laminate has a lot of the choices folks are searching for, like durability, ease of set up and cost, it’s not immune for water damage.
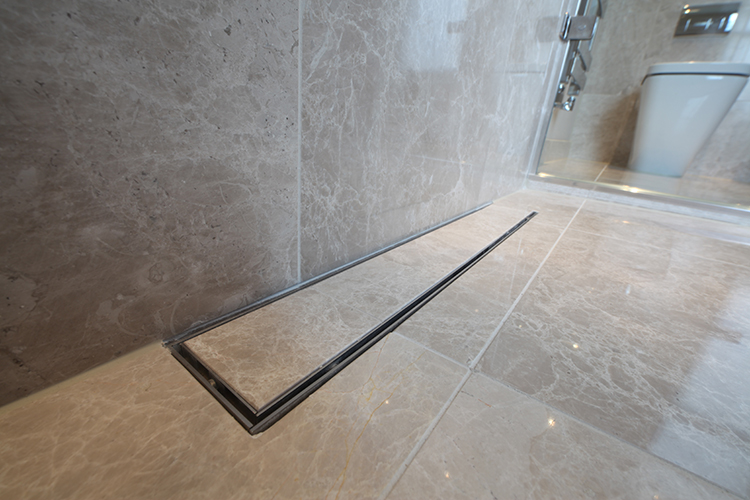
Wet Room Drains Wet room Drainage Products CCL Wetrooms
Vinyl and laminate tiles are furthermore a good choice since they are easy and affordable to keep. This gives them a shiny and smooth appearance and also protects the tiles from damage. This can give the bathroom of yours a contemporary feel. Vinyl tiles are usually coated with enhanced urethane or urethane. They’re not hard to keep and stays warm even when it’s in winter.
Common Bathroom Remodeling Issues House Findings

HIDEEP Shower Linear Floor Drain Factory Direct Sales Brass Anti odor Black Floor Drain Toilet

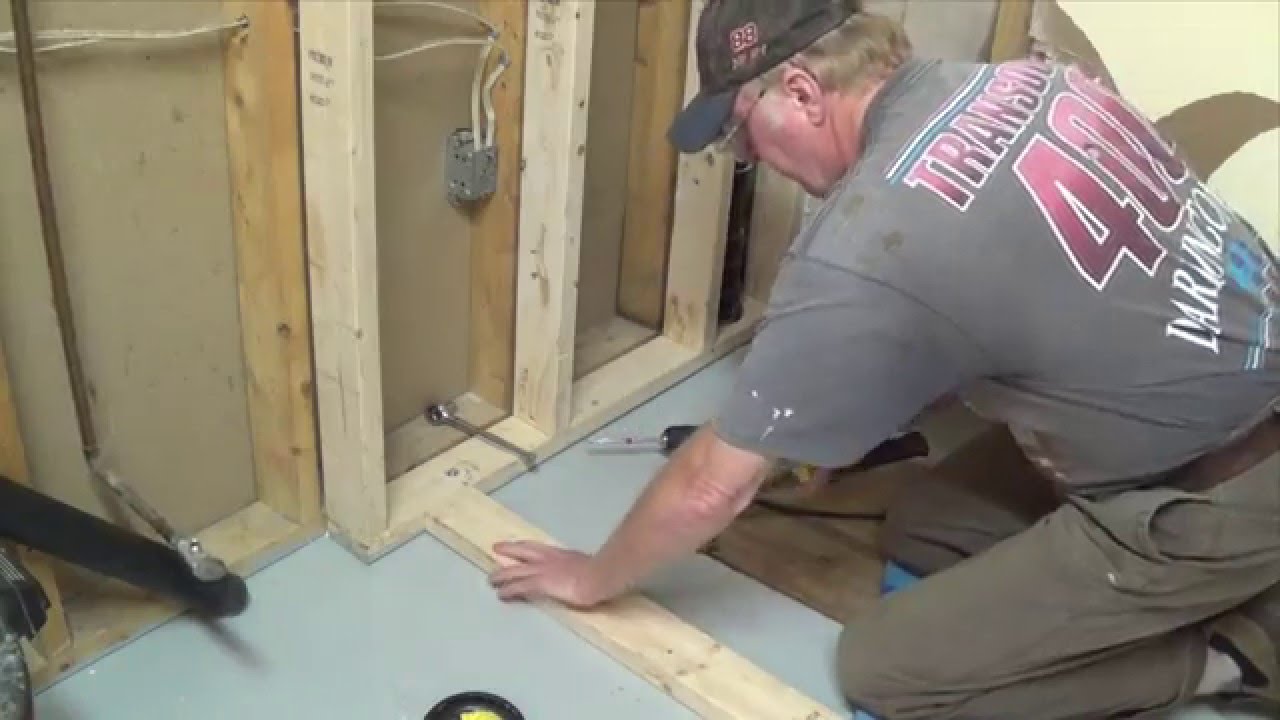
Need Help With Bathroom Drain Install – Plumbing – DIY Home Improvement DIYChatroom

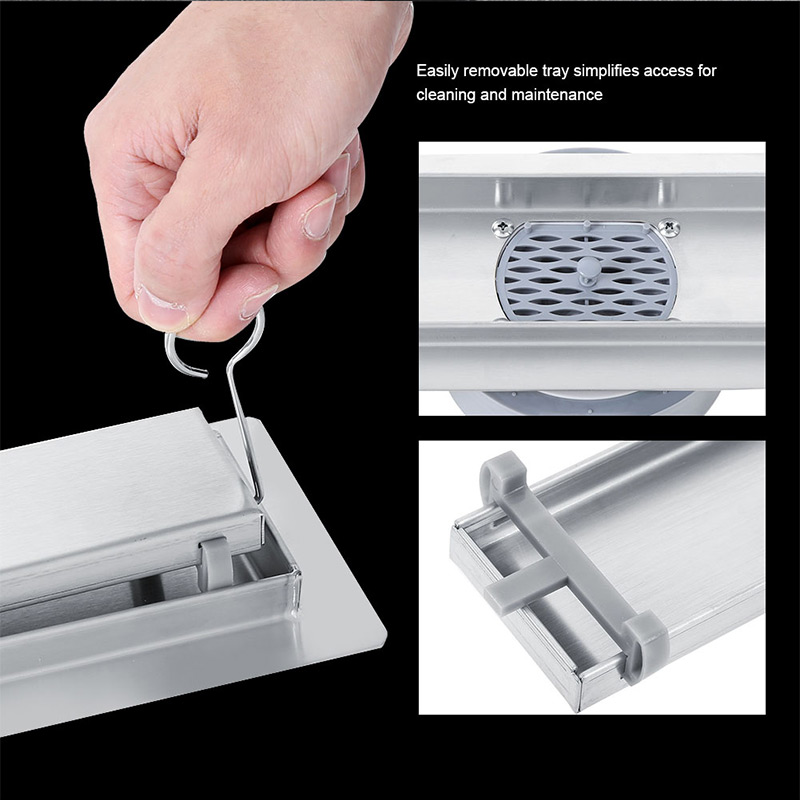
Wall Drain floor Large Traffic SUS304 30cm Drainer Bathroom Shower Drainage Waste Drain Big Flow

Floor Drain – Installation – YouTube

DIY Basement Bathroom Part 1 – Shower Stall Frame & Drain – YouTube
Tile Shower, Start to Finish – How to not build a mud shower. Tile Your World

Bathroom Hardware – Win Construction New Technology Group Limited

Pin on Quick Saves

90cm Floor Water Linear Drain Waste Trap Wet Room Shower Bathroom Anti Blocking eBay
Linear drain in tile shower – YouTube
Related Posts:
- Bathroom Floor Tiles Price
- Cement Tile For Bathroom Floor
- Bathroom Floor Sky Painting
- Caught Me On The Bathroom Floor
- Heated Tile Floor Cost Per Square Foot
- Dirty Bathroom Floor
- Replace Bathroom Floor And Subfloor
- How To Make Bathroom Floor Waterproof
- Easy Bathroom Flooring Options
- Cheap Bathroom Floor Cabinets
Bathroom Floor Drain Installation: A Comprehensive Guide for Homeowners
Introduction:
When it comes to bathroom renovations or new construction, one often overlooked but crucial aspect is the installation of a floor drain. A properly installed floor drain ensures efficient drainage, prevents water damage, and helps maintain a clean and hygienic bathroom environment. In this comprehensive guide, we will walk you through the step-by-step process of bathroom floor drain installation, covering everything from preparation to finishing touches.
I. Planning and Preparation:
Before diving into the installation process, it is essential to plan and prepare adequately. This involves several key steps that will help ensure a successful and hassle-free installation.
1. Assessing Drainage Requirements:
Start by assessing your bathroom’s drainage requirements. Consider the size of the space, the expected water flow, and any additional fixtures that may require drainage, such as a shower or bathtub. This information will help determine the type and size of floor drain required.
2. Choosing the Right Floor Drain:
There are various types of floor drains available in the market, including center drains, linear drains, and corner drains. Each type has its own advantages and is suitable for different bathroom layouts. Consider factors such as aesthetics, functionality, and ease of maintenance when selecting the right floor drain for your bathroom.
FAQ: What is the difference between a center drain and a linear drain?
A center drain is positioned in the middle of the bathroom floor and allows water to flow in all directions towards it. On the other hand, a linear drain is typically installed along one wall or near the shower area, allowing water to be directed towards it in a straight line.
3. Gathering Tools and Materials:
Next, gather all the necessary tools and materials required for installation. These may include a measuring tape, level, adjustable wrench, pipe cutter or saw, PVC pipes and fittings, epoxy adhesive or mortar mix (for securing the drain), waterproofing membrane or sealant, and a drain cover.
II. Installation Process:
With the planning and preparation complete, it’s time to move on to the actual installation process. Follow these steps carefully to ensure a successful floor drain installation.
1. Marking and Cutting:
Start by marking the location of the floor drain based on your bathroom layout and drainage requirements. Use a measuring tape and level to ensure accurate placement. Once marked, use a pipe cutter or saw to cut an opening in the floor for the drain.
2. Connecting the Drain Pipe:
Attach a PVC pipe to the bottom of the drain using an adjustable wrench. Ensure a secure connection by tightening it properly. The length of the pipe should be enough to reach the main sewer line or an existing drainage system.
FAQ: Can I connect multiple fixtures to a single floor drain?
Yes, it is possible to connect multiple fixtures such as a toilet, sink, or shower to a single floor drain. However, it is important to consult with a professional plumber or adhere to local building codes to ensure proper drainage and prevent any issues in the future.
3. Securing the Drain:
To prevent any leakage or movement, secure the drain in place using epoxy adhesive or mortar mix. Apply the adhesive or mix as per the manufacturer’s instructions, making sure all sides are sealed properly.
4. Waterproofing:
Once the drain is securely in place, it is crucial to waterproof the surrounding area to prevent water damage and mold growth. Apply a waterproofing membrane or sealant around the edges of the drain, ensuring complete coverage.
FAQ: Why is waterproofing important for a floor drain installation?
Waterproofing is important for a floor drain installation because it helps to prevent water from seeping into the surrounding areas, such as the subfloor or walls. This can help to prevent water damage, mold growth, and structural issues. Waterproofing also helps to ensure that water is directed towards the drain properly, improving the overall functionality of the drain system. Additionally, waterproofing helps to maintain the integrity of the floor and prevent any potential damage that may occur over time due to moisture exposure. It is an essential step in ensuring the longevity and effectiveness of the floor drain installation.
5. Installing the Drain Cover:
After completing the waterproofing process, install the drain cover over the drain opening. Make sure it fits securely and does not interfere with the flow of water towards the drain.
6. Testing the Drainage System:
Once the installation is complete, it is important to test the drainage system to ensure it is functioning properly. Run water through all connected fixtures and observe if it flows towards the drain without any obstructions or leaks. If any issues are detected, make necessary adjustments or seek professional assistance.
7. Cleaning and Maintenance:
Regular cleaning and maintenance of the floor drain are crucial to keep it functioning efficiently. Remove any debris or blockages from the drain cover periodically and flush it with water to prevent clogging.
8. Additional Considerations:
It is important to check local building codes and regulations before starting a floor drain installation project. Some areas may have specific requirements regarding drain placement, size, or materials used. Adhering to these guidelines will ensure a successful and compliant installation.
In conclusion, installing a floor drain requires careful planning, preparation, and attention to detail. By following these steps and considering important factors such as waterproofing and proper connection to the drainage system, you can successfully install a functional and efficient floor drain in your bathroom or shower area.