1950s Bathroom Tile Floor
Related Images about 1950s Bathroom Tile Floor
13 best Bathroom with Vintage Green 1960s Tiles images on Pinterest 1960s, Room tiles and

Tiles however are a lot simpler to set up but garage area tile flooring does come with the own pros of its positives and negatives as we shall see going forward. And then, wipe the thin excess off the flooring and hang on a minimum of 24 hours for them to set. Mosaic tile flooring is among the most loved designs due to the high level of creativity you can use in having them in the home of yours.
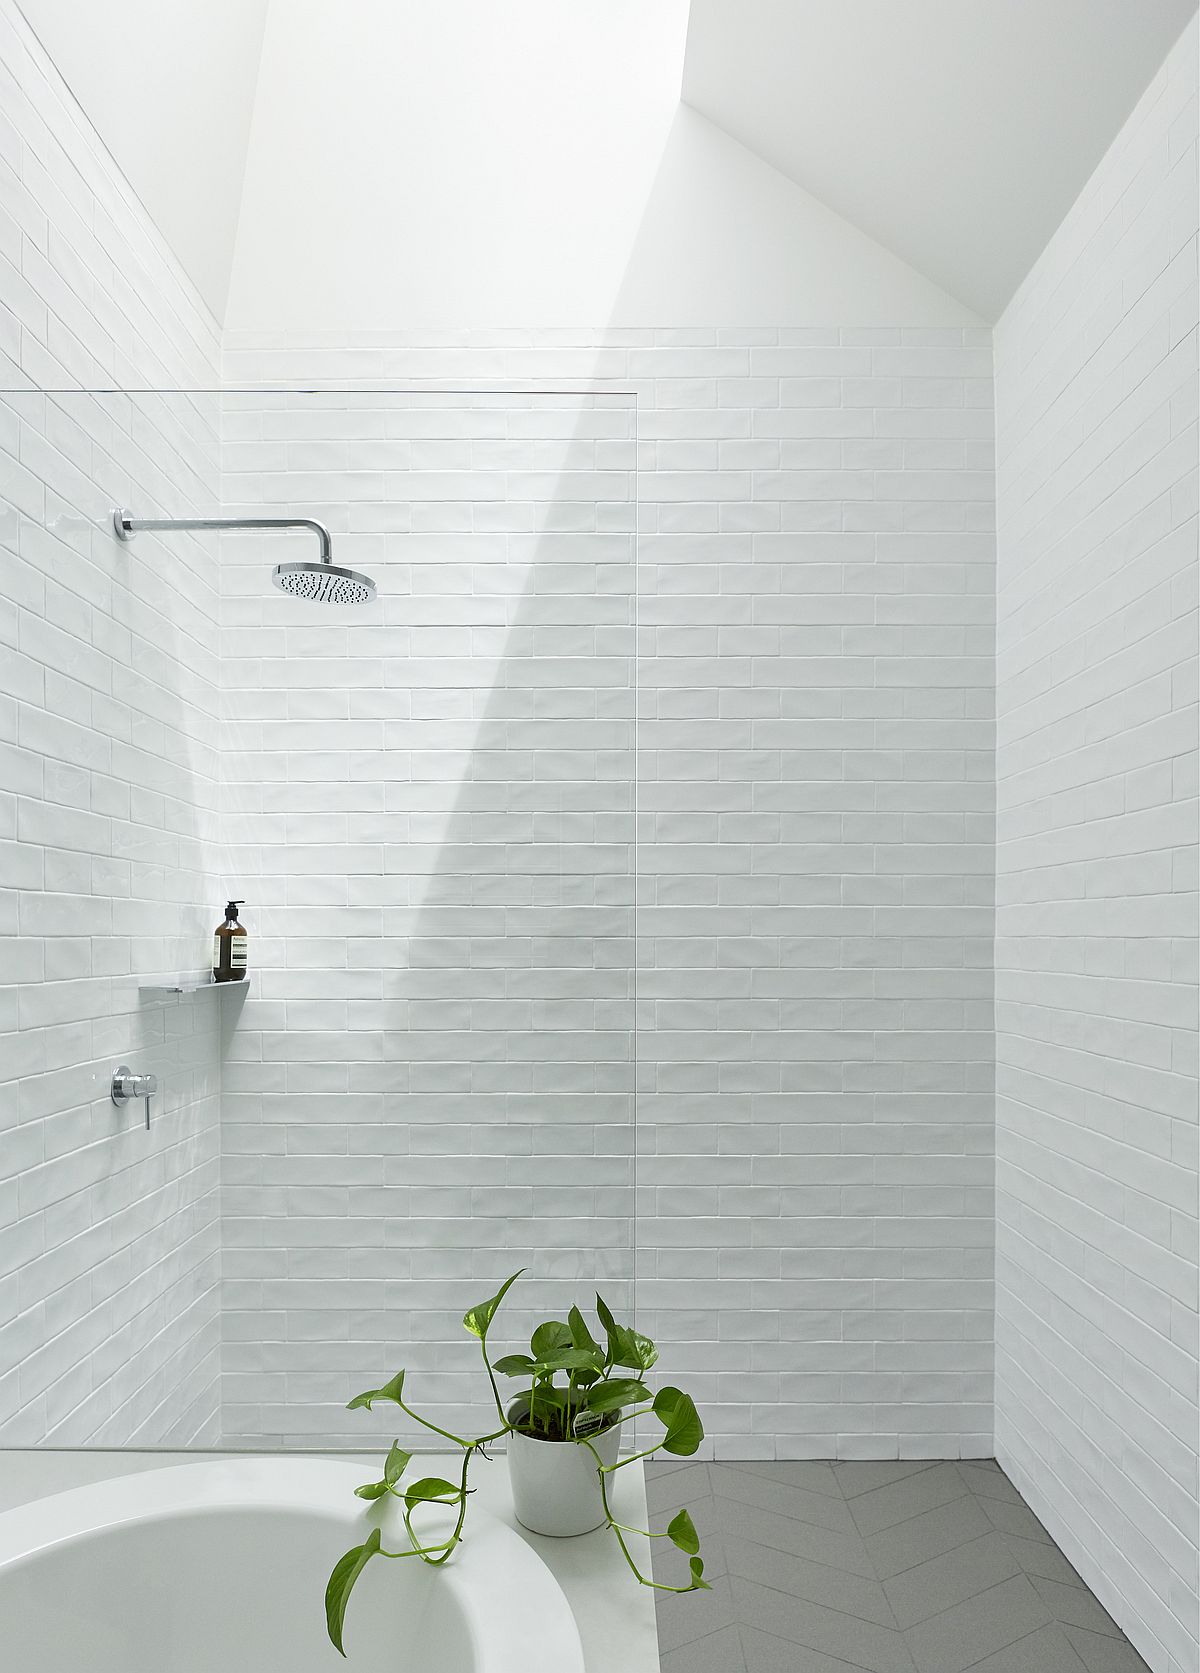
1950’s Bungalow in Sydney Renovated with an Array of Brilliant Skylights
Ceramic tiles are usually simple to keep. When you are getting prepared to setup the tile flooring you will need to get the ceramic or porcelain floor tiles, cement backer board, tile for the floor nippers, sponges, tape measure, knees pads, floor tile cutter or maybe tile saw, grout, square, man-made materials float, chalk model, lots of drinking water, eye protection, slim set, buckets, hammer, notched trowel, and nails.
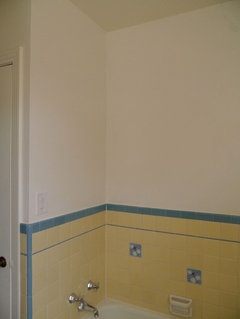
Bathroom with original 1940s tile! Need help!
Since marble is not the hardest of organic stones, it wouldn't thrive as a flooring covering in specific, really high traffic areas, nevertheless, they are ideal floor tiling for regular residential and light industrial uses, and marble is able to hold up fine. Additional use polished granite all over their counter tops which become very popular to the point they're practically necessity in customized kitchen.
Bathroom Porcelain Floor Tile Installation Canadian Tile Pro
Modern Designs Vintage bathroom floor, Vintage bathroom tile, Patterned floor tiles

35 best 1930’s Bathroom images on Pinterest Bathrooms, Art deco bathroom and Bathroom

Ideas for the House on Pinterest Traditional Bathroom, Bathroom Tile Designs and Cottage Kitchens

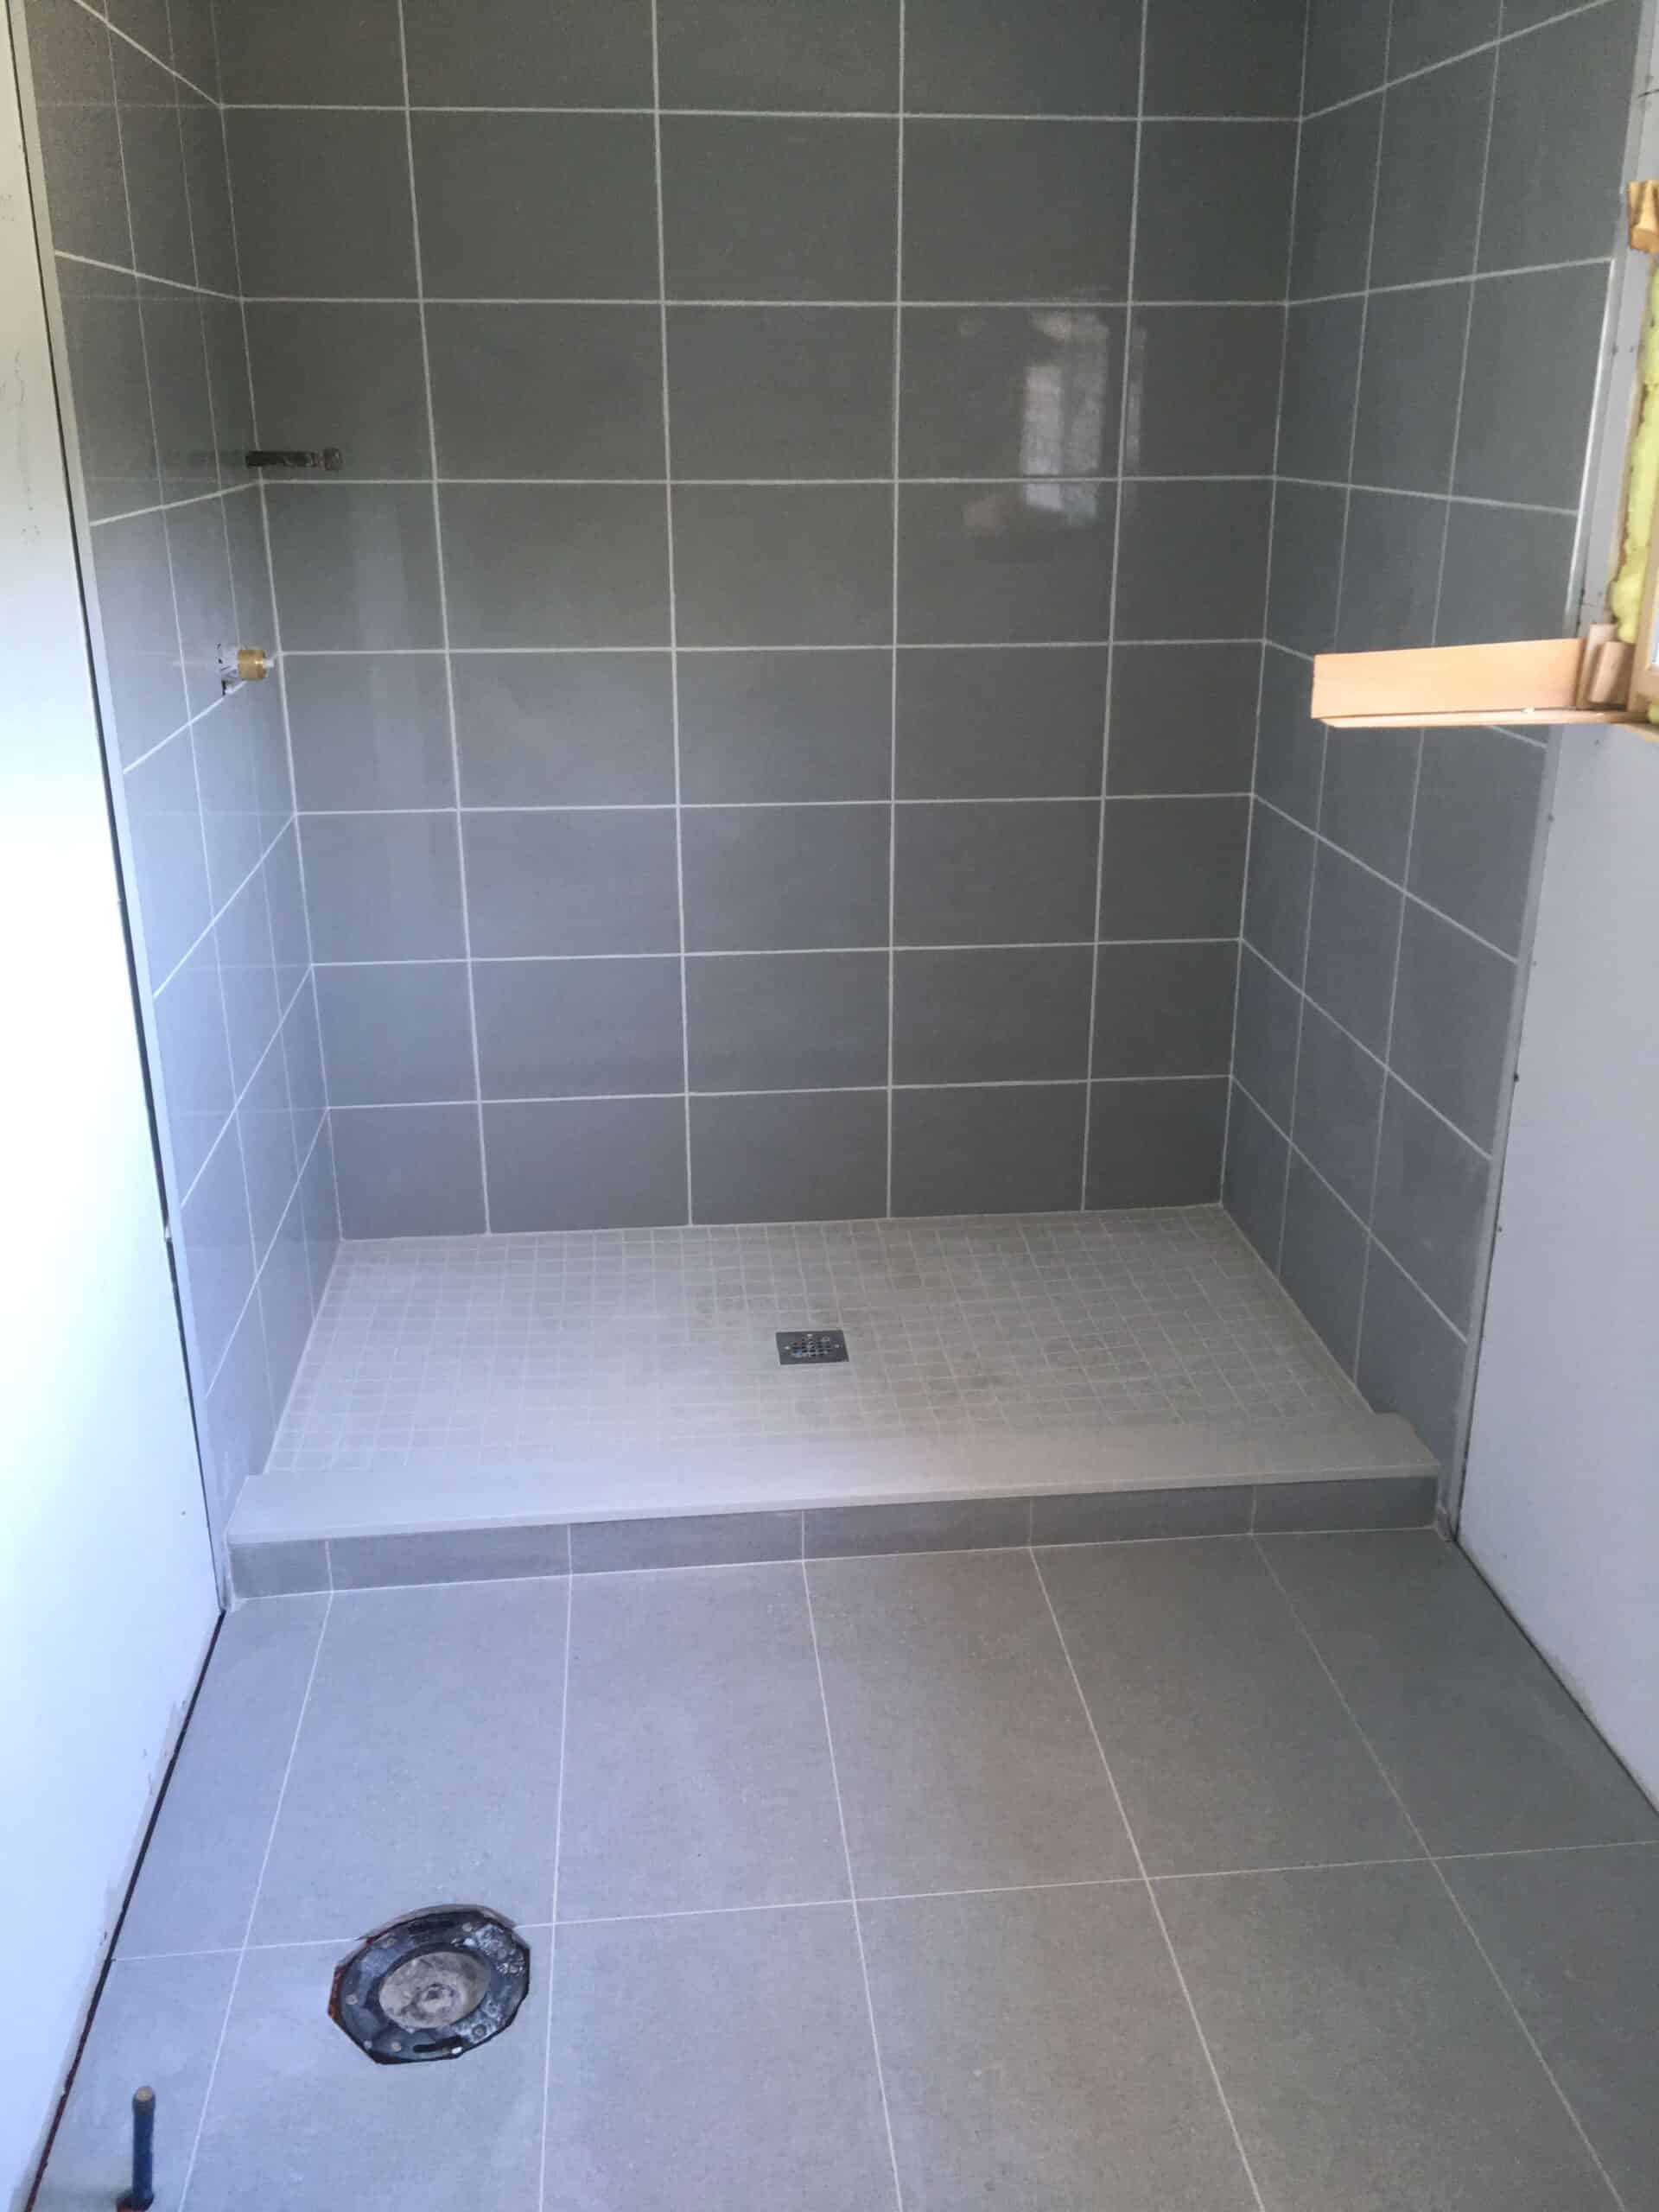
charcoal tile bathroom floor grey herringbone tile floor photo 1 of charcoal gray herringb

1930s, Tile and Traditional on Pinterest

Tile Patterns – a gallery on Flickr

Bathroom Tile Cairns Architecture
Restored 1928 bathroom. The floor is original and was hidden under the removed tiles. This

Related Posts:
- Commercial Porcelain Tile Flooring
- Ideas Covering Tile Floors
- Steam Mop For Hardwood And Tile Floors
- Shaw Vinyl Tile Flooring
- Herringbone Wood Look Tile Floor
- Chair Casters For Tile Floors
- Bona Mops For Tile Floors
- How Clean Porcelain Tile Floor
- How To Install Natural Stone Tile Flooring
- How Much To Install Tile Floor Per Square Foot
Title: The Timeless Elegance of 1950s Bathroom Tile Floors
Introduction:
Bathroom tiles have always been a significant element in interior design, and the 1950s bathroom tile floor stands as an iconic symbol of mid-century charm and sophistication. This era witnessed an explosion of creativity in home decor, and the bathroom was no exception. With unique color palettes, intricate patterns, and durable materials, these tile floors still captivate homeowners today. In this article, we will delve into the fascinating world of 1950s bathroom tile floors, exploring their features, popular designs, installation techniques, maintenance tips, and frequently asked questions.
I. Features of 1950s Bathroom Tile Floors:
1.1 Material Quality:
The 1950s saw a surge in tile production using high-quality materials such as ceramic, porcelain, and even marble. These tiles were renowned for their durability and longevity. They were designed to withstand heavy foot traffic while retaining their original luster.
1.2 Size and Shape Varieties:
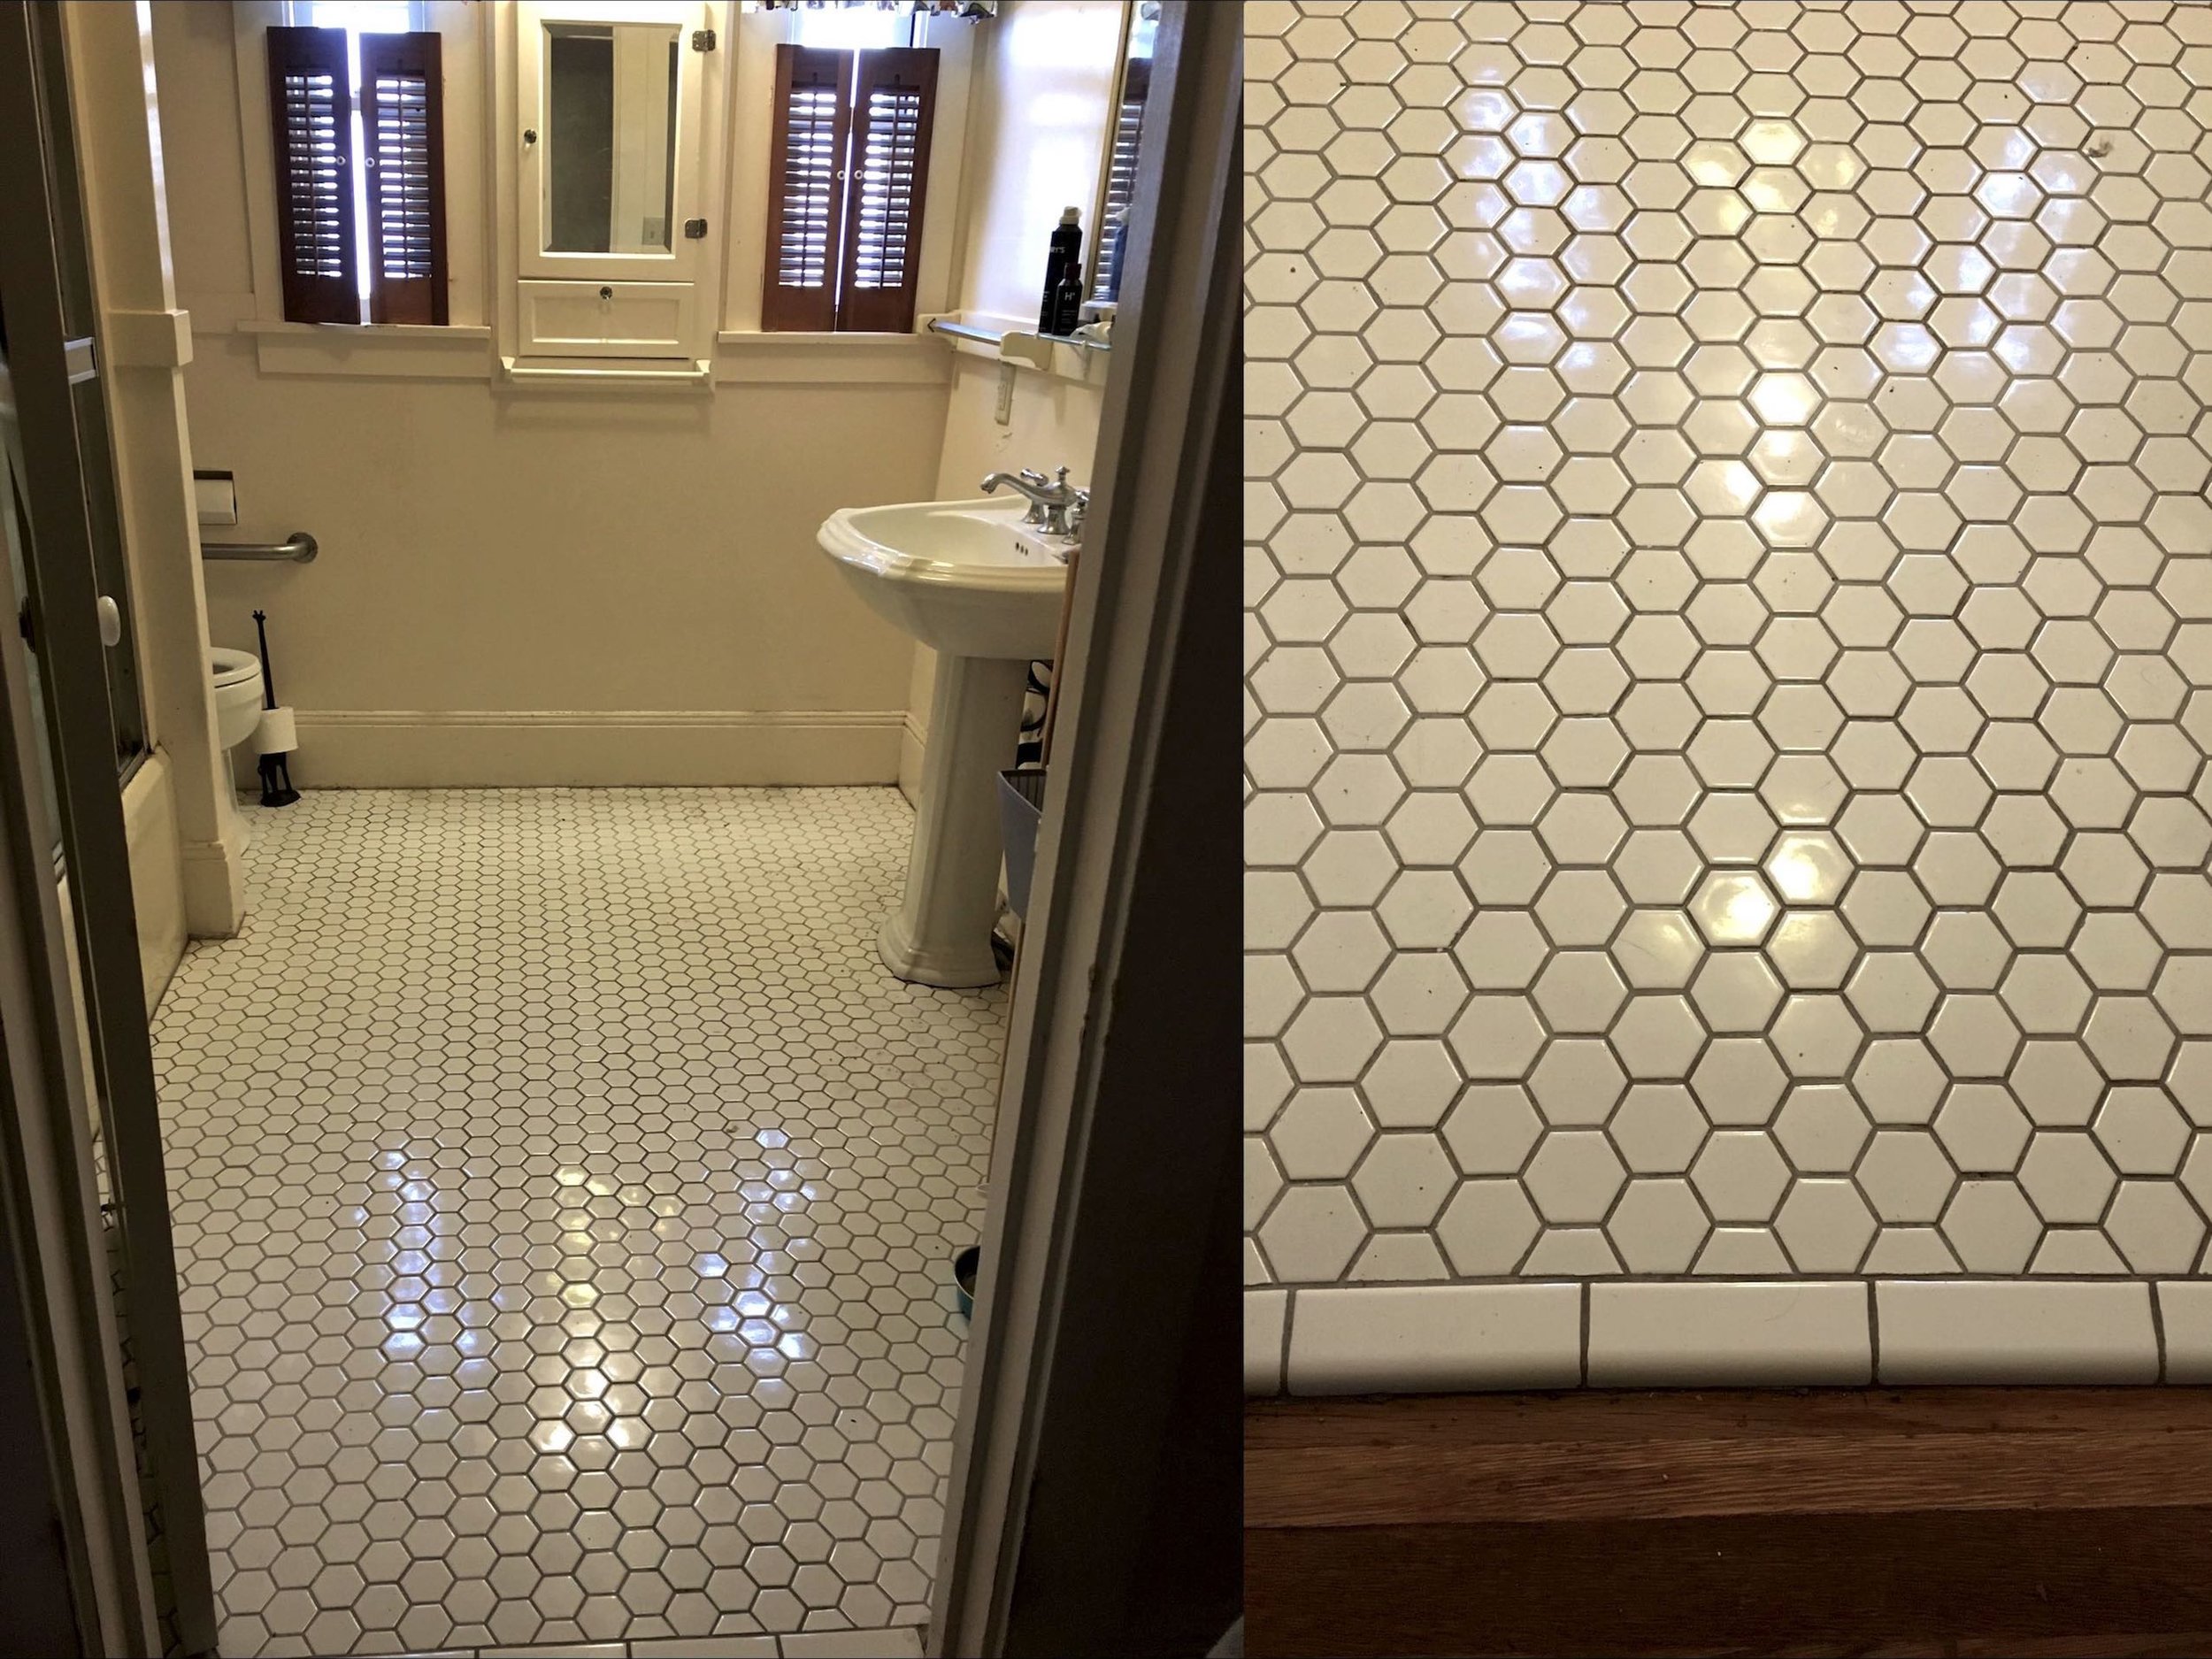
During this era, bathroom tiles ranged from small mosaic squares to large rectangular sizes. Hexagonal tiles also gained popularity due to their versatility in creating intricate patterns on the floor.
1.3 Color Palette:
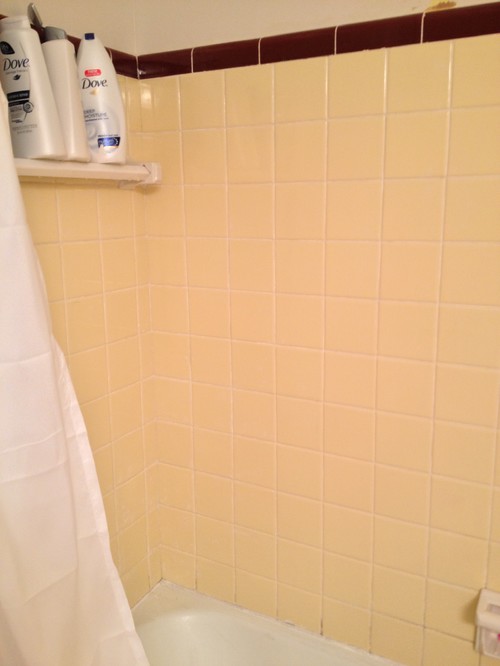
The color palette of 1950s bathroom tiles encompassed a broad spectrum of hues, reflecting the vibrant spirit of the time. Pastel shades like pink, blue, mint green, and buttery yellow were particularly favored. Bold contrasting colors were also occasionally used to create eye-catching patterns.
FAQs:
Q: Can I find 1950s bathroom tiles in different shapes other than squares or rectangles?
A: Yes! Hexagonal tiles were quite popular during this era due to their ability to create stunning geometric patterns.
Q: Are there any specific color combinations that were commonly used?
A: Yes! A popular combination was black and white tiles arranged in a checkerboard pattern—classic and timeless.
II. Popular Designs of 1950s Bathroom Tile Floors:
2.1 Checkerboard Pattern:
The checkerboard pattern was an iconic design element of the 1950s. Black and white tiles were arranged alternately, creating a visually striking effect. This design remains a timeless classic that adds elegance and sophistication to any bathroom.
2.2 Mosaic Patterns:
Mosaic patterns were also widely used in 1950s bathroom tile floors, adding intricate beauty to the space. These patterns often incorporated various colors and shapes, resulting in mesmerizing designs that became the focal point of the room.
2.3 Geometric Patterns:
Geometric patterns, such as diamonds, stars, and waves, were another hallmark of 1950s bathroom tile floors. These designs added a touch of whimsy and playfulness to the overall decor while maintaining an air of sophistication.
FAQs:
Q: Can I mix different tile patterns in my bathroom?
A: Absolutely! The 1950s embraced eclectic design elements, so feel free to experiment with various patterns to create a unique and personalized look.
Q: Are there any specific tile brands known for their iconic 1950s designs?
A: Yes! Companies like American Olean, Armstrong, and Grespania were renowned for producing high-quality tiles with distinctive mid-century patterns.
III. Installation Techniques for 1950s Bathroom Tile Floors:
3.1 Mortar Bed Method:
The most common installation technique during the 1950s was the mortar bed method. This involved placing a layer Of mortar on the subfloor and then pressing the tiles into the mortar. The tiles were spaced with plastic spacers to ensure even spacing and then grouted after the mortar had dried.
3.2 Thinset Method:
Towards the end of the 1950s, the thinset method started gaining popularity. This technique involved applying a thin layer of mortar or adhesive directly onto the subfloor and then pressing the tiles into it. This method allowed for faster installation and a stronger bond between the tiles and the subfloor.
3.3 Floating Method:
The floating method was also used in some cases, especially for larger tiles. This involved placing a layer of cement board or other underlayment material over the subfloor and then attaching the tiles to this surface using mortar or adhesive. This method provided additional stability and prevented cracking or shifting of the tiles.
FAQs:
Q: Can I install 1950s bathroom tiles over existing tile flooring?
A: It is possible, but proper preparation is crucial. The existing tile flooring should be clean, level, and free from any loose or damaged tiles. It may also be necessary to use a leveling compound to ensure a smooth surface before installing the new tiles.
Q: What type of grout was typically used with 1950s bathroom tiles?
A: Cement-based grout was commonly used during this era. It was available in various colors to match or contrast with the tiles, allowing for a customized look.