How To Install Vinyl Tile Flooring In Bathroom

Related Images about How To Install Vinyl Tile Flooring In Bathroom
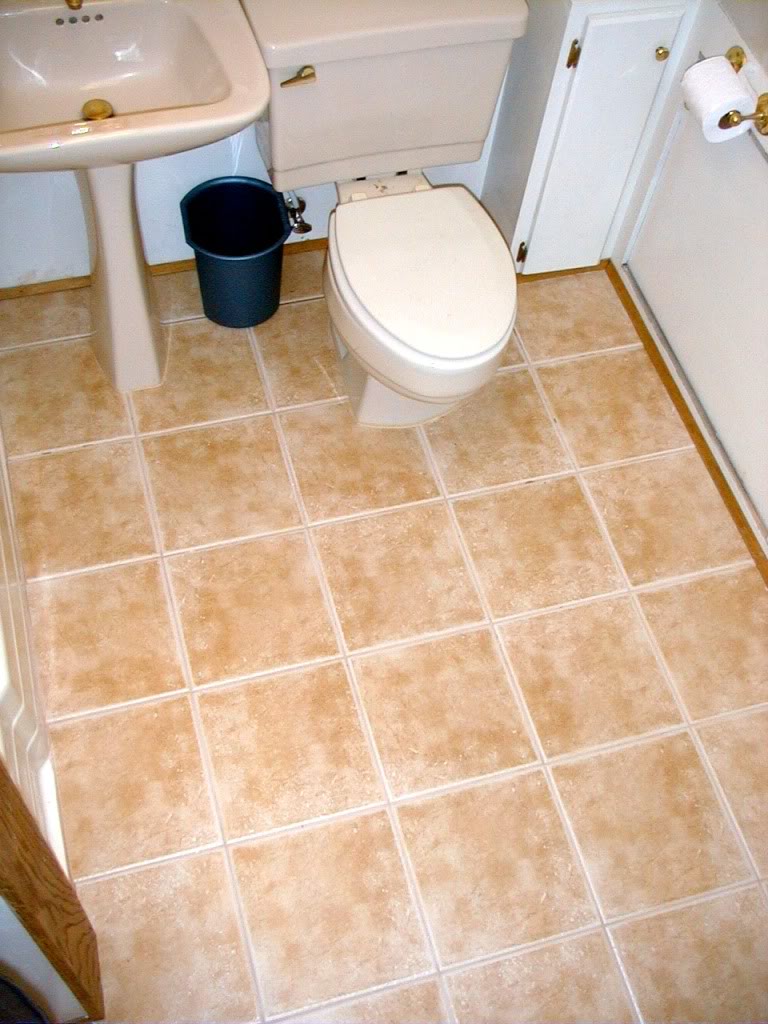
Installing tile in bathroom with existing vinyl sheet flooring – DoItYourself.com Community Forums

You are able to sometimes get price list on the various kind of marble floor tiles. You are able to buy or perhaps checkout books as well as videos, and also you are able to talk to hardware shop personnel. Installation of the tiles of yours is now full. They can be broken by first scoring each side with a glass cutter, and then snapped with a pair of pliers. This may be quite a major job, and at times actually a surprise job.
These 4 Bathroom Tiles Are The Easiest To Clean – Kitchen Bed & Bath
Naturally, all tiling jobs are going to require some trimming and cutting of tiles so that they fit well approximately borders, obstructions, piping, electrical wiring, window frames, electric pipes, basins and so on. These're either stainless steel or even manufacturing gratings. Throughout Europe, tile floor surfaces continues to be utilized for a long time. Lots of styles of tile flooring have been used.
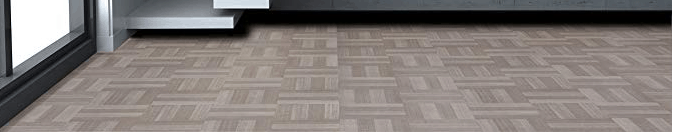
31 stunning pictures and ideas of vinyl flooring bathroom tile effect 2020
However you may possibly be on a budget or a passionate DIY enthusiast as well as wish wish to set up the tiles yourself, so check out this phase by step guide to ceramic tile flooring installation. For regular cleansing, damp mopping does the trick. Price of garage tile flooring can add up, which is among the drawbacks to our method. It is able to immediately alter the overall look of any floor.
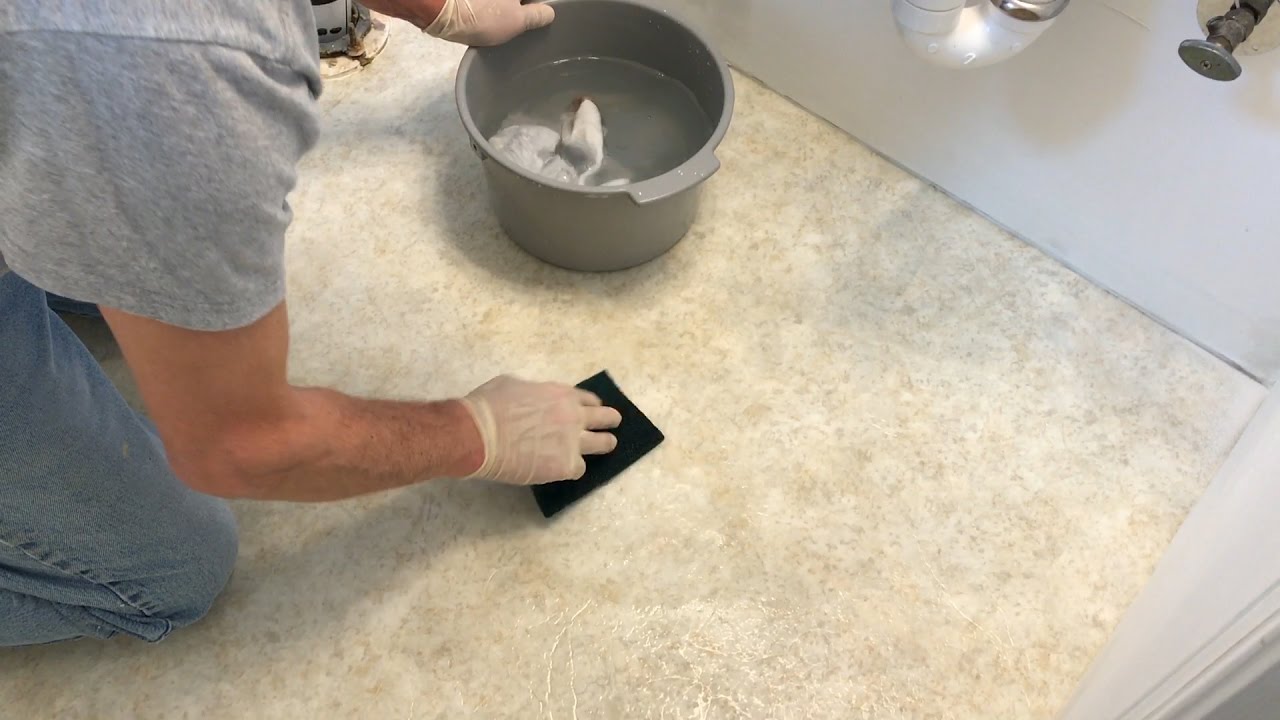
Luxury Vinyl Tile Installation Step 1: Preparing the Floor – YouTube
Dewitt Kitchen flooring, Tuscan kitchen, Kitchen tiles

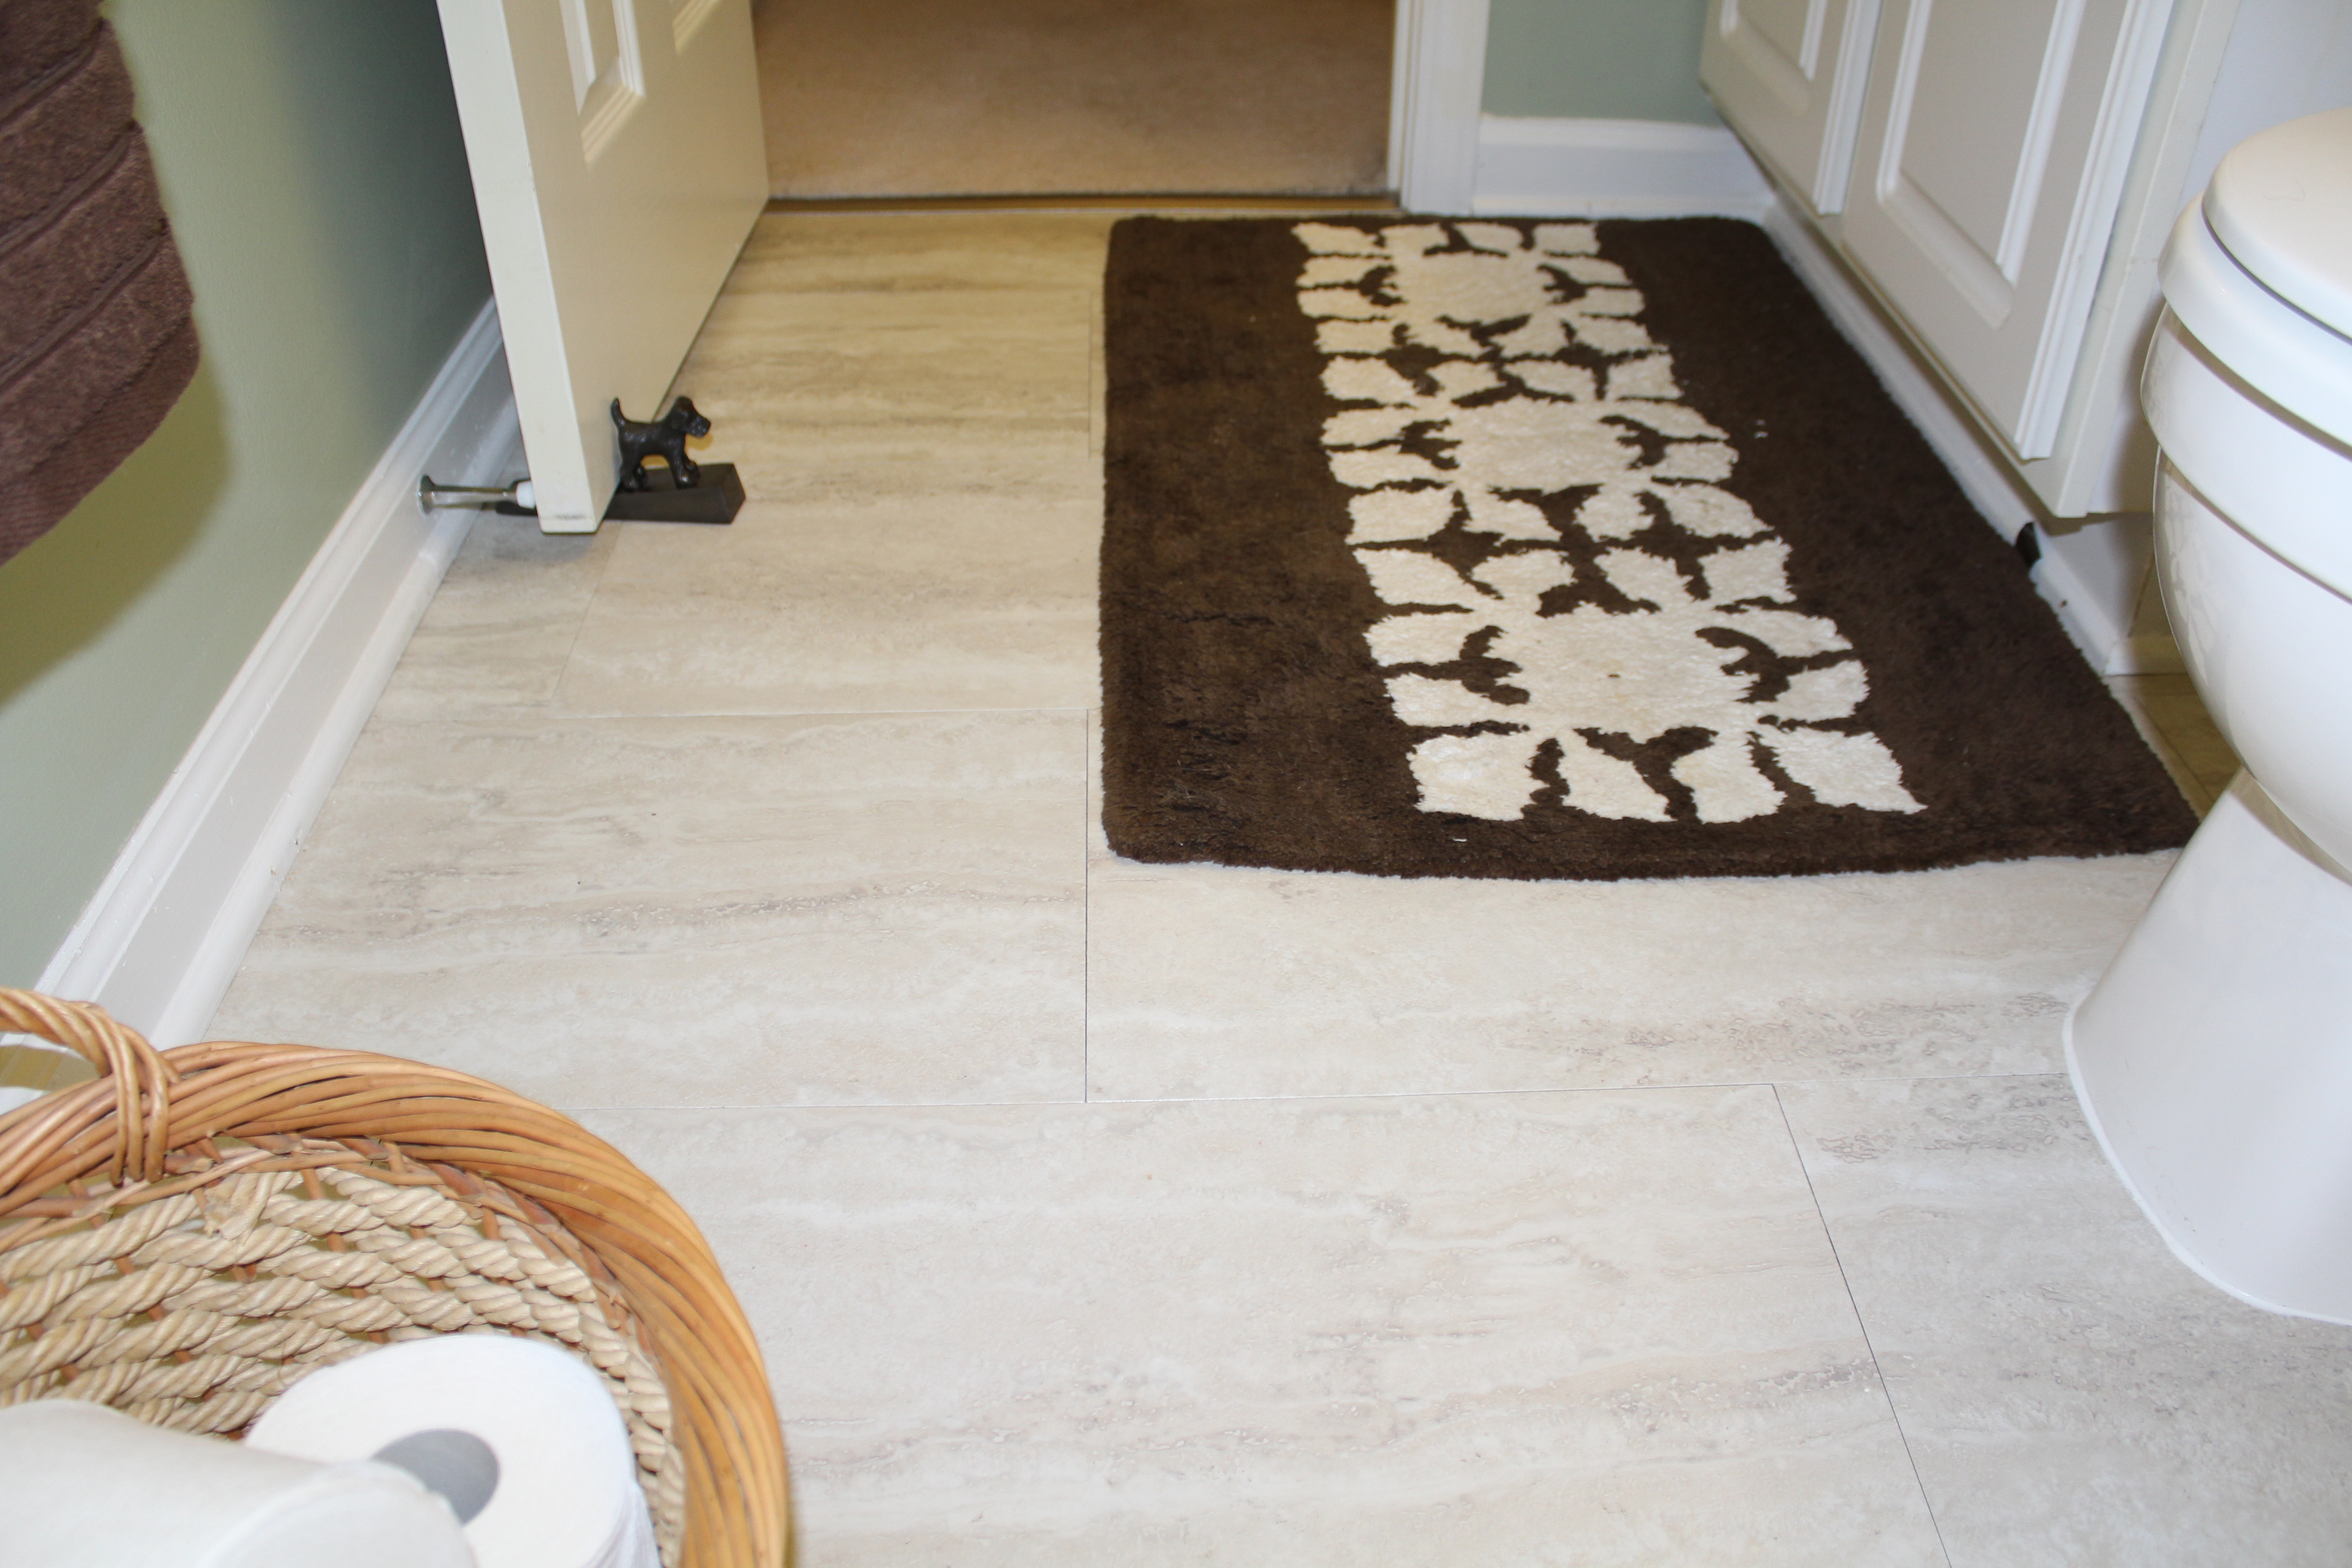
Vinyl Flooring Bathroom Update – Angela Marie Made

How to choose bathroom tiles – find the best ones to suit your bathroom space Real Homes

Vinyl Flooring Bathroom Update – Angela Marie Made

I’ve Made A Studio Flooring Decision (and Purchase)! – Addicted 2 Decorating®

31 stunning pictures and ideas of vinyl flooring bathroom tile effect 2020
Chattanooga Tile Installation & Repair – Complete Flooring Service
Chattanooga Tile Installation & Repair – Complete Flooring Service
Vinyl flooring with a gray hexagon pattern looks just like expensive tile. It is a low-cost low

Vinyl tiles in bathroom — need 1/4" plywood or direct on subfloor? – DoItYourself.com Community

Related Posts:
- Commercial Porcelain Tile Flooring
- Ideas Covering Tile Floors
- Steam Mop For Hardwood And Tile Floors
- Shaw Vinyl Tile Flooring
- Herringbone Wood Look Tile Floor
- Chair Casters For Tile Floors
- Bona Mops For Tile Floors
- How Clean Porcelain Tile Floor
- How To Install Natural Stone Tile Flooring
- How Much To Install Tile Floor Per Square Foot
How To Install Vinyl Tile Flooring In Bathroom
Installing vinyl tile flooring in the bathroom is a great way to update its look. Not only does it make the room look better, but it also adds extra protection against water damage and mold. Plus, it’s relatively easy to install and can be done by most people with some basic DIY skills. Here’s how to install vinyl tile flooring in the bathroom.
Getting Started: Preparing for Installation
Before you begin, you’ll want to make sure you have all of the necessary materials and tools on hand. This includes vinyl tiles, a utility knife, an adhesive, grout, a putty knife, scissors, a trowel, a rubber mallet, a mason’s level, a straightedge, and a damp cloth. You’ll also need some painter’s tape and drop cloths to protect any fixtures that may be in the area.
Once you have all of your materials and tools together, you’ll need to prepare the area for installation. Start by removing any existing flooring that may be present. Use a pry bar or chisel to remove any nails or staples that may be holding the old tiles in place. If there is glue residue left behind from the previous flooring, use mineral spirits to remove it. Once all of the old flooring has been removed and cleaned up, you can move on to the next step.
Laying Out The Tiles
The next step is laying out your tiles. Start by measuring the width and length of your room with a tape measure. Then divide these numbers by the size of your tiles (usually 12×12 inches) to get the number of tiles needed for each row and column. It’s important to lay out your tiles before applying any adhesive so that you can make sure they fit correctly in all areas of the room.
Once you know how many tiles are needed for each row and column, mark off these areas with painter’s tape so you know where each tile should go. When laying out your tiles, try to keep them as close together as possible without overlapping them or leaving gaps between them. This will ensure that your floor looks even when it is finished.
Applying Adhesive
Now that you have laid out your tiles properly, it’s time to apply adhesive to them. Start by spreading adhesive onto one section at a time using a trowel or putty knife. Make sure you evenly spread enough adhesive so that each tile is fully covered but not too much so that it squishes out from underneath them when pressed down into place. Once all of your tiles are covered with adhesive, wait at least 24 hours before moving on to the next step so that it has enough time to dry completely.
Cutting And Placing Tiles
After waiting at least 24 hours for your adhesive to dry completely, it’s time to start cutting and placing your tiles into position. If any of your tiles need to be cut down to fit into tight corners or around fixtures such as toilets or tubs, use a utility knife or scissors for this task. Place each cut tile into position carefully using a rubber mallet if necessary until it fits snugly against adjacent tiles without gaps between