Wood Floor Installation Tips

Related Images about Wood Floor Installation Tips
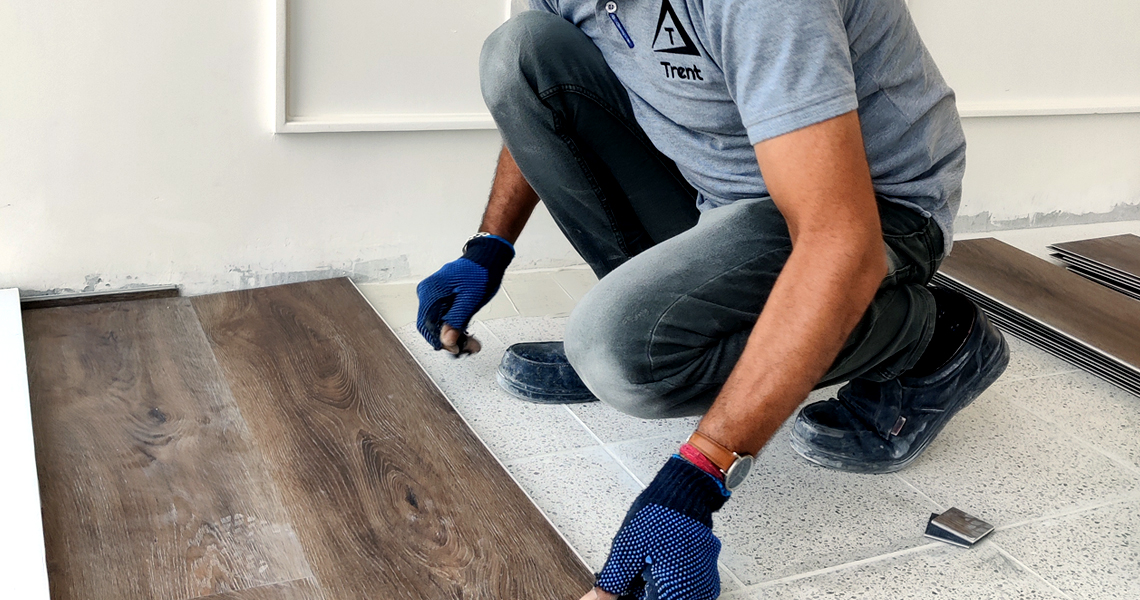
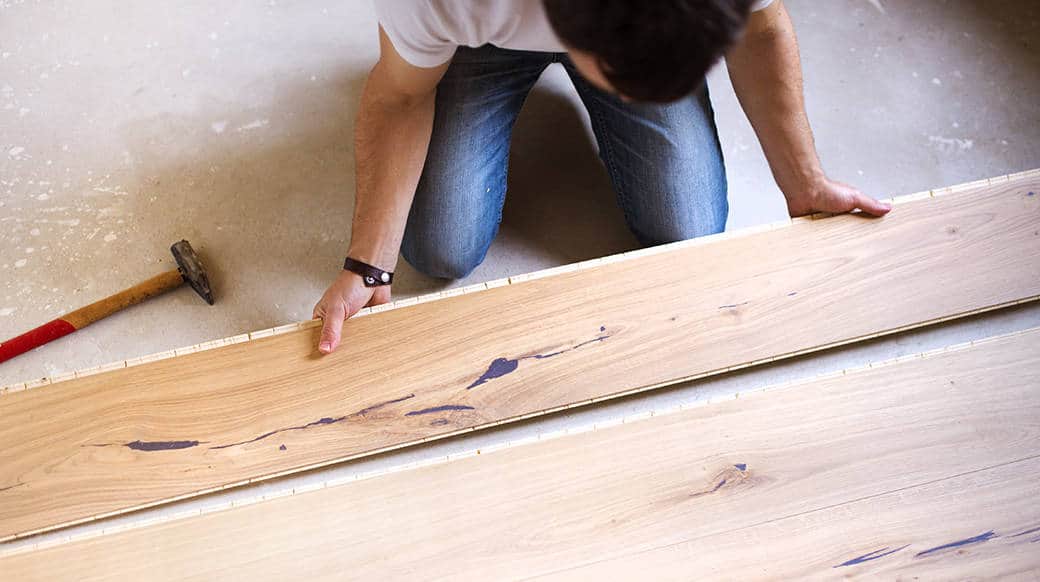
Do-it-Yourself: Installing A Hardwood Floor The House Designers
It's what it's, a gorgeous, all-natural product. Granted, if the house is being built, then it is that a lot easier to put in from the start. You must be aware how the quality of created wood flooring can vary depending on the producer from who you buy engineered wood flooring. But, it is advised you set a trial row before you start setting up the self-adhesive underlay.
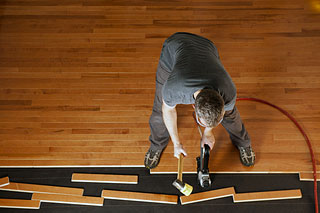
How to Install Hardwood Floors Properly Home Floor Experts

Allow me to share a few pointers to assist you work out what sort of flooring you've. A normal budget range for materials and labor to use a wood floors is $4 5 per square foot. Some men and women love to wait until their wood floor is in the homes of theirs prior to picking out a finish while others like to have their floor ready and raring going so they could utilize it when it is fitted.
Installation-Wood Flooring
With the ever increasing number of DIY shows on television, a lot of men and women are going about trying to restore their very own wood floors simply to discover it is not as simple as it looks on telly. They could also be very stylish in patterns like tile, hardwood visuals and realistic stones. Also, you might want to consider installing tile in your entry ways, since it is the space where the heaviest traffic generally occurs.
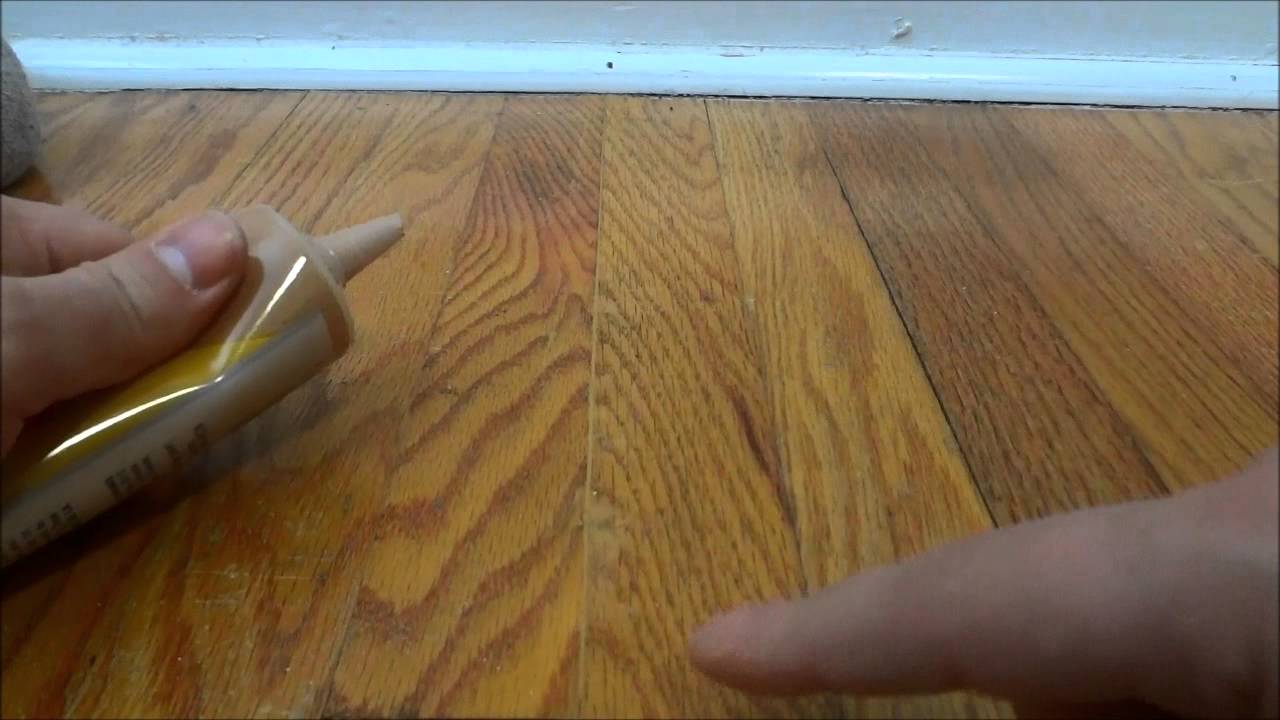
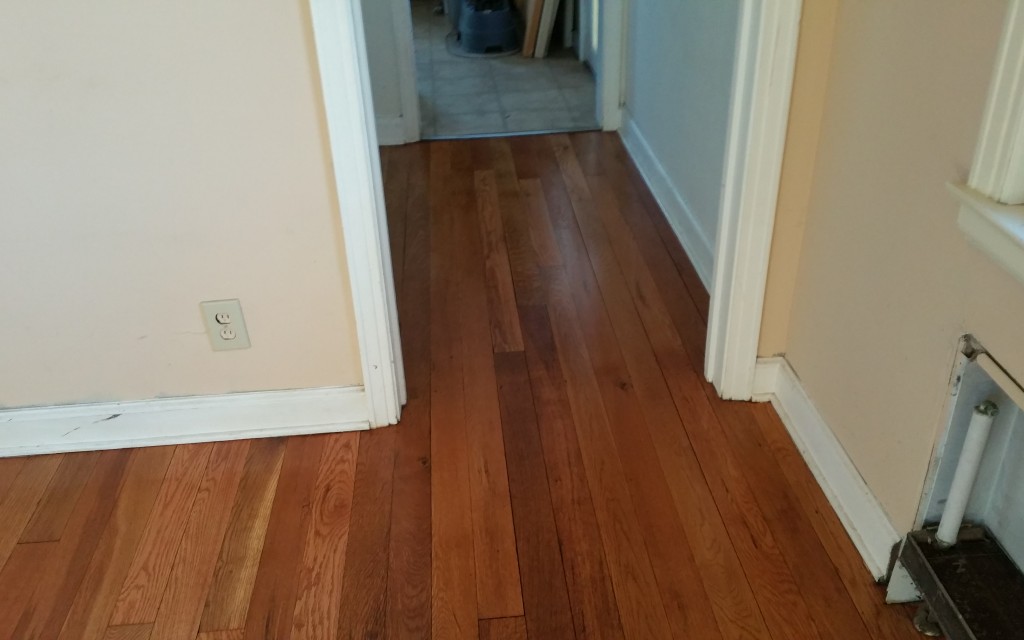
How To Fill In Gaps Between Hardwood Flooring With Wood Filler – YouTube
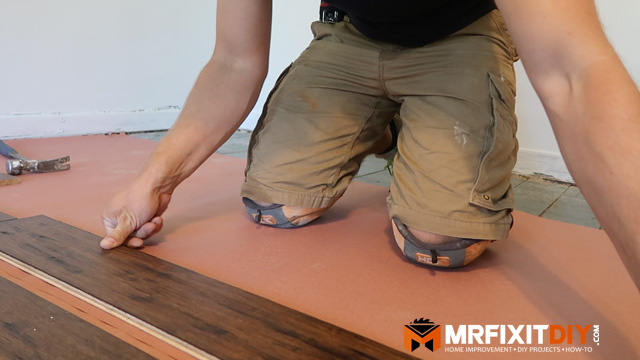
How to Install Hardwood Floors A DIY Guide Mr. Fix It DIY
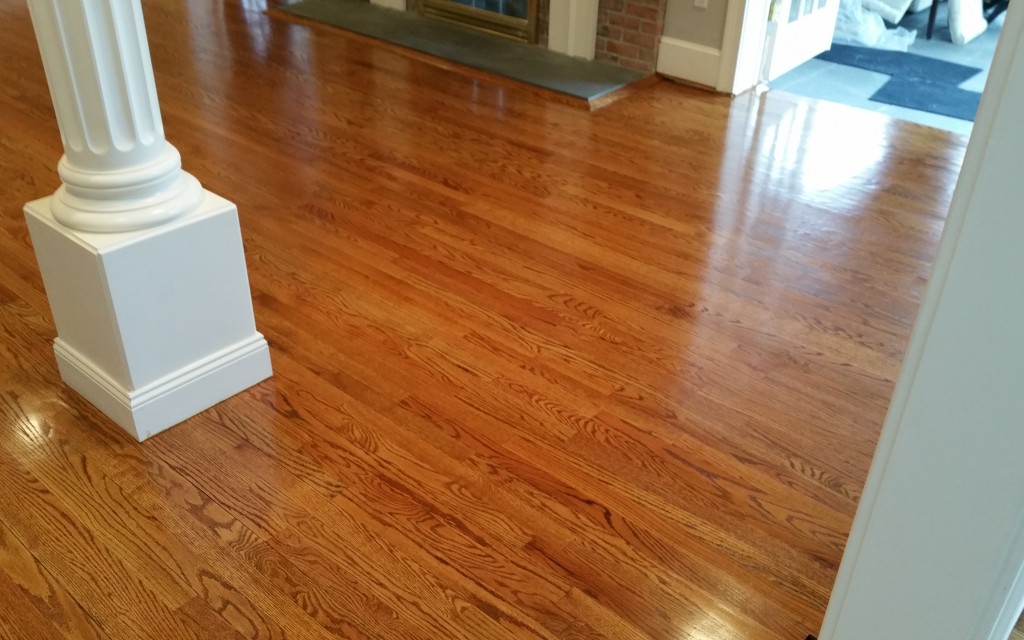
Bona Antique brown stain Maple wood flooring, Wood floor colors, Wood floors

Wood Floor Border Inlay Wc Floors
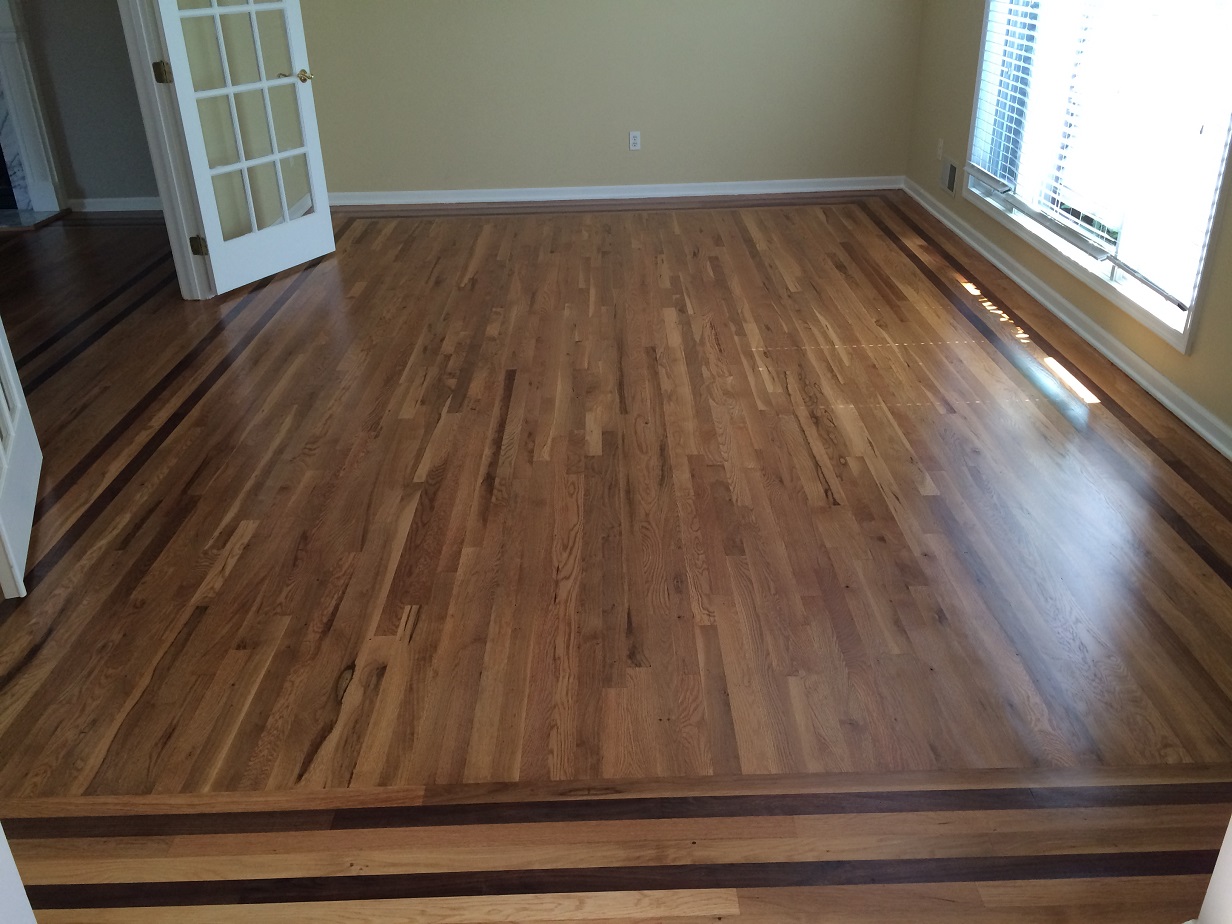
White Oak with Early American stain and 2 coats of Natural Finish Patrick Daigle Hardwood Flooring
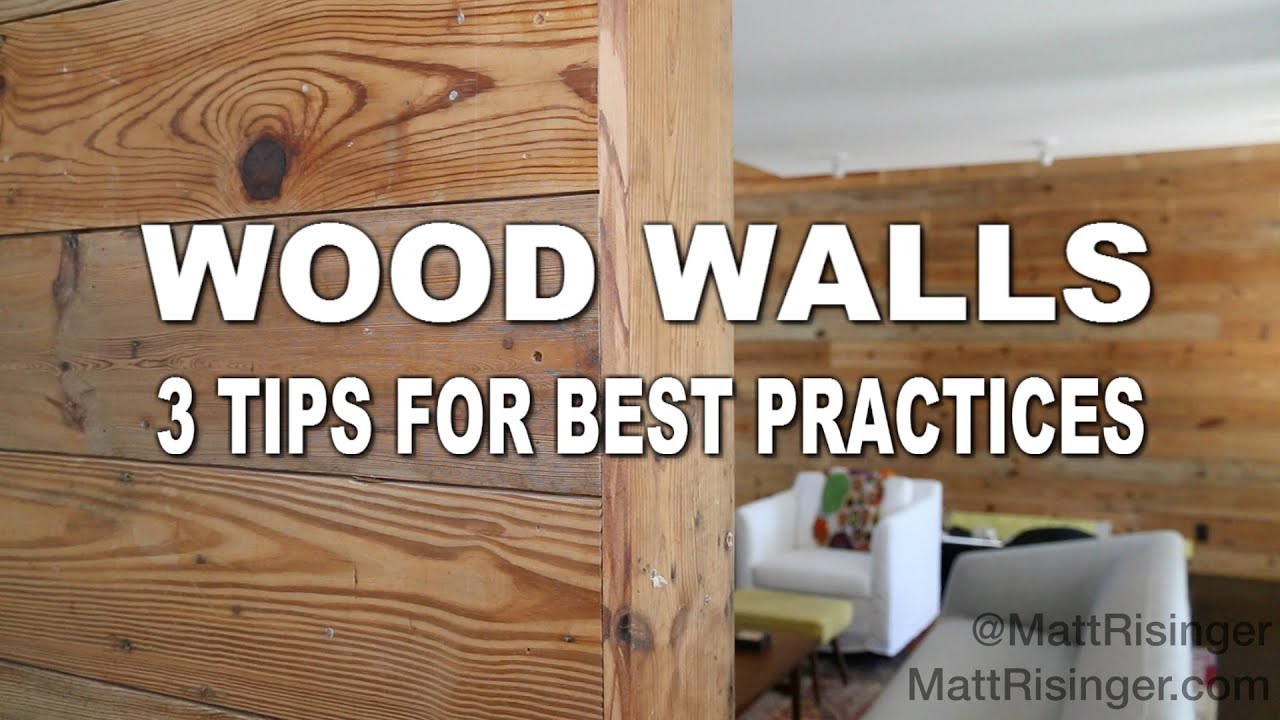
Wood Walls – 3 Tips for Installing – YouTube
Why is my Laminate Floor Lifting? Top Tips!Discount Flooring Depot Blog

Red Oak with Golden Pecan stain and 2 coats of Natural Finish Patrick Daigle Hardwood Flooring
Tips for Removing a Wall to Open up Your Home – Armchair Builder :: Blog :: Build, renovate

Flooring Services – Installation, Floor Care, & Interior Design
Related Posts:
- Wood Floor Modern Kitchen
- Wood Floor Garage Plans
- Real Wood Flooring In Kitchen
- Wood Floor Cork Underlayment
- Streak Free Wood Floor Cleaning
- Solid Wood Flooring White Washed Oak
- Engineered Wood Flooring Durability
- Wood Flooring Types Hardness
- Engineered Wood Flooring Formaldehyde Emission
- Wood Floors For Beach House
Wood Floor Installation Tips: A Comprehensive Guide
Installing wood floors can be a daunting task, but it doesn’t have to be. With the right tools and knowledge, you can install your own wood floors with ease. In this comprehensive guide, we’ll walk you through all of the essential steps to installing wood floors like a pro. We’ll cover everything from assessing the subfloor to laying down the boards and sealing them up. So let’s get started!
Assessing the Subfloor
Before you can begin installing your wood floor, you need to assess the condition of the subfloor. This is an important step that should not be overlooked. Your subfloor should be flat and level, as any unevenness will show up in your finished floor. If your subfloor is not in good condition, you may need to repair or replace it before you can proceed with installation.
When assessing the subfloor, look for signs of moisture damage, such as water stains or discoloration. You should also make sure there are no nails, screws or other objects that could puncture the wood flooring when it is installed. Finally, check for any gaps or cracks in the subfloor that could cause problems with the installation.
Preparing the Subfloor
Once you’ve assessed the condition of your subfloor and made any necessary repairs, it’s time to prepare it for installation. Start by sweeping away any debris and dust particles on the surface of the subfloor so that they won’t interfere with installation. Then, use a damp mop to clean away any dirt or residue that may have been left behind.
Next, lay down a layer of underlayment on top of your subfloor. This material will provide cushioning for your flooring and help absorb sound from footsteps and other activities in your home. Make sure to check manufacturer’s instructions for which type of underlayment is recommended for your particular flooring product.
Laying Down The Boards
Now it’s time to start laying down your boards! Begin at one corner of the room and work outward from there. Make sure each board is securely fastened in place using nails or screws and check for any gaps between them as you go along. If necessary, use a tapping block to make sure each board fits snugly against its neighbor before nailing it into place. As you continue installing boards throughout the room, make sure to stagger them so that no two end joints line up directly next to each other. This will give your floor more stability and help prevent cracking over time.
Securing The Boards
Once all of your boards are laid out in place, it’s time to secure them together so they won’t shift or move over time. Start by running a bead of wood glue along all end joints and make sure each board is firmly pressed against its neighbor before moving on to the next one. After all end joints are glued together, use finish nails to secure them into place along their lengthwise edges as well as along their widths if needed. Finish nails come in different sizes and lengths so make sure you choose ones that are appropriate for your particular type of flooring material. Once all finish nails are in place, fill any holes with wood putty and let It dry before sanding it down smooth.