Tiling Basement Bathroom Floor

Related Images about Tiling Basement Bathroom Floor
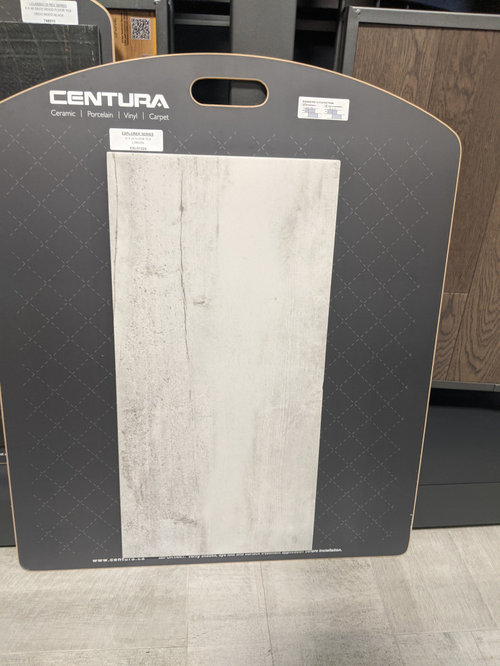
Cement Look Tile for Less Centsational Style Cement look tile, Tiles for less, Flooring

For many years, basements were considered to be little more than storage rooms, mainly unfinished concrete floors & walls, areas where old clothes, toys, equipment, boxes of whatever and stuff else that was not immediately wanted may be saved. Search for cracks in the basement of yours before installing tile as these will additionally result in cracks in the new floor of yours.
How To Demo A Bathroom Tile Floor – The Guide Ways

This is really not that bad of a factor as this's what lots of people want when they walk right into a home. Finally, there's the option to cover the downstairs room with carpet. It's a sort of unique polymer that has generally been implemented as coating for pipes, water plants, as well as wherever that needs strong, moisture resistant coating.
Basement Bathroom Flooring Ideas / 9 x 5 bathroom layout Cheap Basement Ideas Unfinished

When there is one space in the home that you plan to make sure that you do right, it is the basement. There are applications that are many for a basement and physical appearance plays a major aspect in just how much time will probably be used up in this particular space of your house. This will likely stop further seepage and help the paint to adhere.
Love this shower with tile that looks like wood! Shower tile, Wood tile bathroom, Farmhouse shower

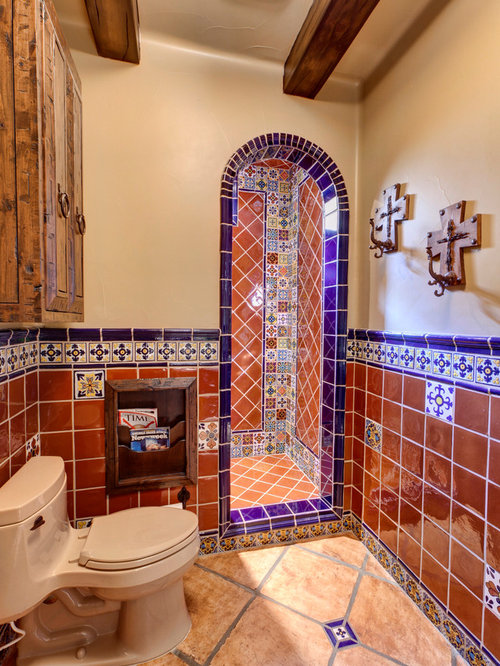
Mexican Tile Bathroom Houzz
Walnut ceiling Bathrooms remodel, Tile bathroom, Bathroom flooring

Continuing Basement Bath – Tiling, ceramics, marble – DIY Chatroom Home Improvement Forum

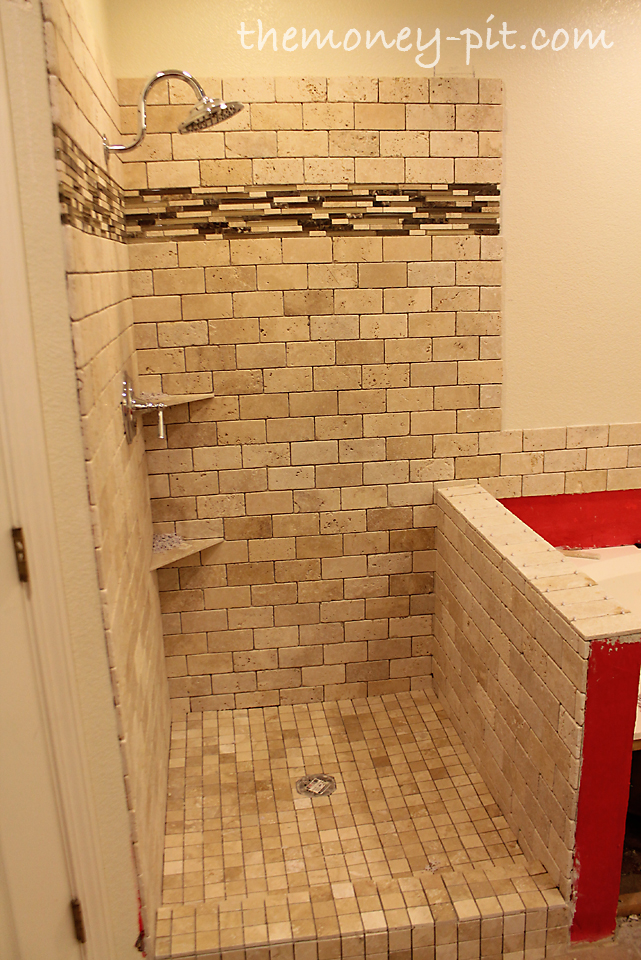
Basement Bathroom! Tile Options
This post may contain affiliate links
Updated bathroom, tan subway tile, tile molding, no shower curtainwhat if we put in a long

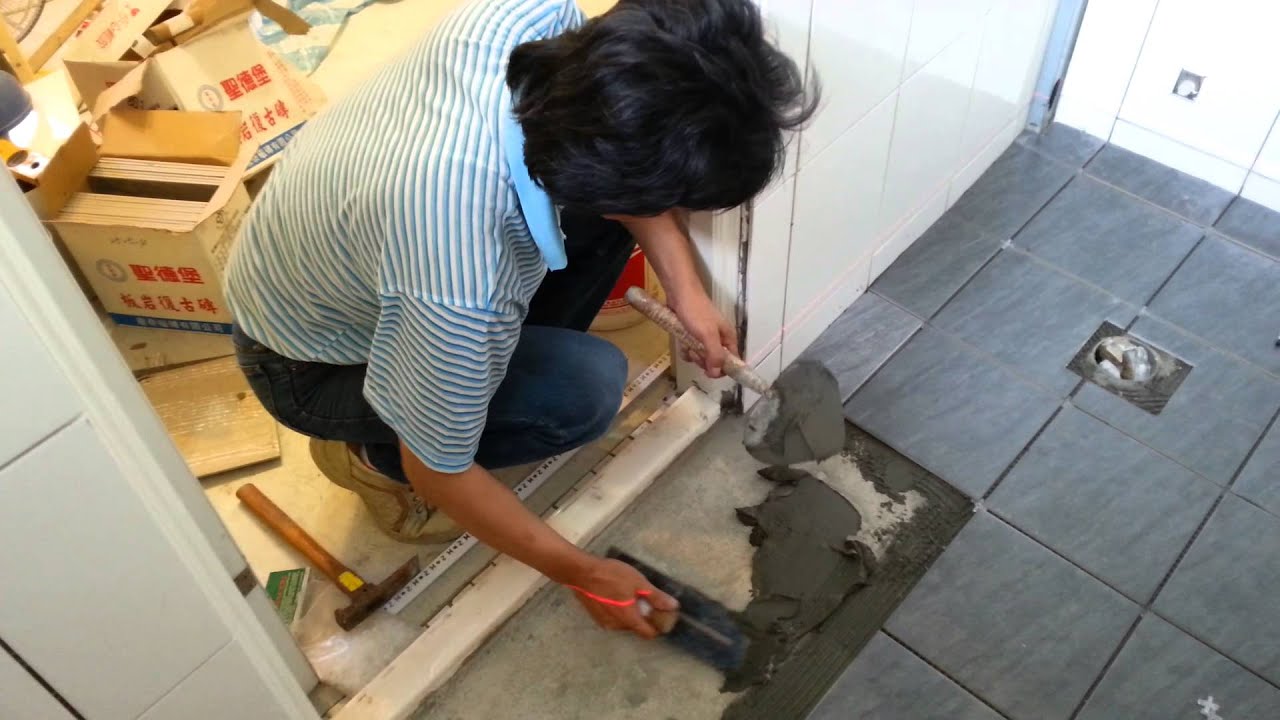
Tile Floor Installation in Bathroom – Part 1 – YouTube
2ezBuilders: Retractable Awning Retractable Awnings Singapore

Beginner’s Guide to Laying Tile (A Beautiful Mess) How to lay tile, Installing tile floor

How to Install Tile on a Bathroom Floor HGTV
Related Posts:
- Lower Basement Floor With Bench Footings
- Good Paint For Basement Floor
- Ranch Floor Plans With Finished Basement
- Easy Basement Flooring Ideas
- Cracks In Concrete Basement Floor
- Concrete Floor Above Basement
- What To Put Under Laminate Flooring In Basement
- Floor Plans With Basement Finish
- Laminate Basement Flooring Options
- Drain In Basement Floor Has Water In It
Tiling a Basement Bathroom Floor: A Comprehensive Guide
Tiling a basement bathroom floor is a project that can be completed by most DIYers with the right tools, supplies, and some knowledge of the process. This article will provide all the information needed to get started on this project. It will include an overview of the materials and tools needed, a step-by-step guide to completing the project, as well as some troubleshooting tips for any problems encountered along the way.
Materials and Tools Needed for Tiling a Basement Bathroom Floor
Before beginning any tiling project, it is essential to ensure that you have the necessary materials and tools for the job. The following is a list of materials and tools you will need to tile your basement bathroom floor successfully:
– Tile: You will need to choose the type of tile you want to use for your basement bathroom floor. Consider factors such as cost, durability, slip resistance, and aesthetics when selecting your tile.
– Tile Adhesive: This is used to adhere the tiles to the subfloor. Make sure to select an adhesive that is suitable for your type of tile.
– Grout: This is used to fill in gaps between tiles and create an even surface. Make sure to select a grout that is compatible with your tile adhesive and tile type.
– Notched Trowel: This tool is used to spread tile adhesive evenly on the subfloor. It has a flat blade with ridges along its length which make it easier to spread adhesive over larger areas quickly and evenly.
– Sponge or Rag: This tool is used for cleaning up excess adhesive from around the tiles after they have been laid down.
– Mixing Tub: This tool is used for mixing grout according to manufacturer’s instructions before application.
– Grout Float: This tool is used for applying grout between tiles after they have been laid down. It has a flat rubber bottom which allows for even distribution of grout over large areas quickly and easily.
– Rubber Mallet: This tool can be used to tap down tiles that are not sitting level with one another after they have been laid down.
Step by Step Guide To Tiling Your Basement Bathroom Floor
Once you have gathered all of the necessary materials and tools, you are ready to begin tiling your basement bathroom floor! Follow these steps carefully in order to complete your project successfully:
1. Prepare The Subfloor: Before laying down any tile, it is important to ensure that the subfloor has been properly prepared for tiling. Remove any existing flooring material such as carpet or vinyl, clean up any debris or dirt, and make sure that there are no holes or cracks in the subfloor that could impact the installation process. It may also be necessary to install a moisture barrier or waterproofing membrane before beginning installation in order to protect against moisture seeping up from below.
2. Spread Adhesive On The Subfloor Using Notched Trowel: Once the subfloor has been properly prepared, it’s time to start laying down tiles! Begin by spreading adhesive over the area using a notched trowel. Be sure to spread an even layer of adhesive over the entire area that will be covered With tiles.
3. Place Tiles In The Adhesive: Once the adhesive has been spread, begin placing tiles in the adhesive. Use a level to make sure that each tile is sitting flat and even with its neighboring tile. If needed, use a rubber mallet to gently tap down any tiles that are not sitting level.
4. Let The Adhesive Dry: After all of the tiles have been laid down, allow the adhesive to dry for at least 24 hours before continuing on to grouting.
5. Mix Grout According To Manufacturer’s Instructions: Before grouting, it is important to mix the grout according to manufacturer’s instructions. This will ensure that it has the correct consistency for proper application.
6. Apply Grout To Filled Areas: After the grout has been mixed, use a grout float to apply it in between each of the filled areas of your tile floor. Make sure to fill in all gaps and depressions between tiles, and use a sponge or rag to wipe away any excess grout from around the edges of the tiles.
7. Allow Grout To Dry: After all of the grout has been applied, allow it to dry for at least 24 hours before walking on or mopping your new tiled floor!