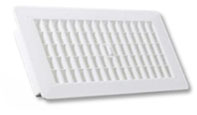
Tile Floor Register

Related Images about Tile Floor Register
Top 7 Best Floor Registers For Wood Floors To Ensure Air Flow

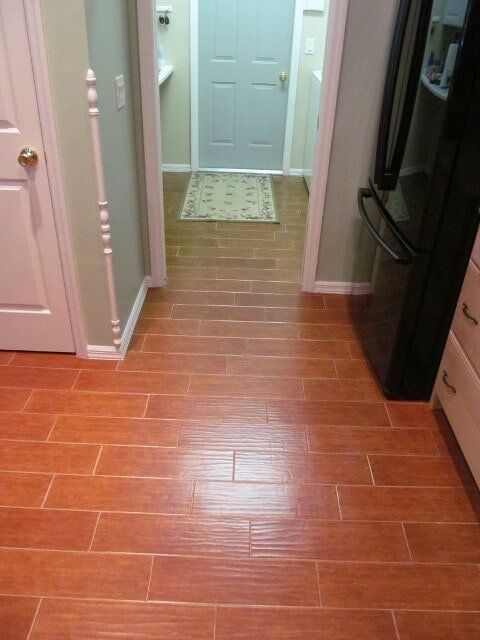
Ceramic tiles are some of the most building materials out there today. Mindful designing needs to be used to be certain of these kinds of floors are fairly flat and don't have abrupt borders men and women can trip over. Installation of garage tiles though incredibly simple is a really time consuming task. Additionally, they can perfectly complement the majority of the house.
Floor Registers
Tiles will last for years in case they are taken care of, and virtually never wear out. If the floor is actually dry, remove all the spacers between the flooring. After you're done, you can today start enjoying the benefits of getting ceramic tile flooring. Sponges and spotless dry rags are going to come in handy for washing and wiping off extra mortar products and grout lining out of your newly finished ceramic tiling floor. You are going to see the grout becoming level and pushed into just about all empty spaces.
Hall Bathroom Tile Marble Subway Tile Cincinnati

Effective anti-bacterial technologies in high grade hard surface cleansers guaranteed the elimination of up to 99. One, it could feature asbestos fibers; and 2, vinyl flooring isn't a solid as good ol' concrete floors. Yet another awesome thing about these tiles is actually that they're simple and easy to clean. To a professional that understands one way to install tile floors it's really not a big deal.
Other Services
Other Services

Other Services

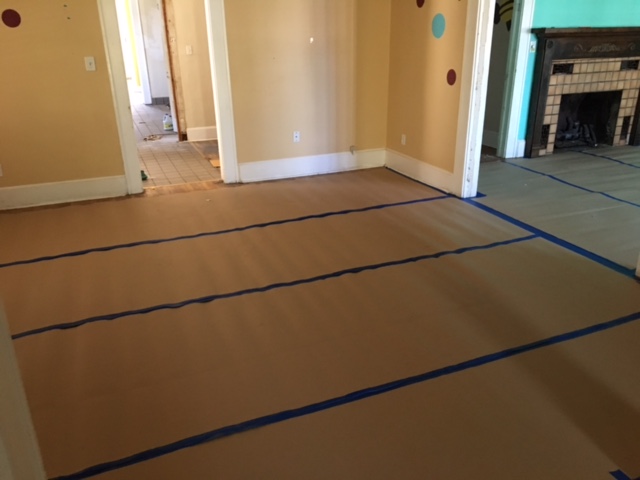
Singleface Corrugated Cardboard B-Flute Rolls Protect Your Floors & Counter Tops During
Blog – Wooden Tiles – A Piece of Esthetic Excellence

Discontinued Tile
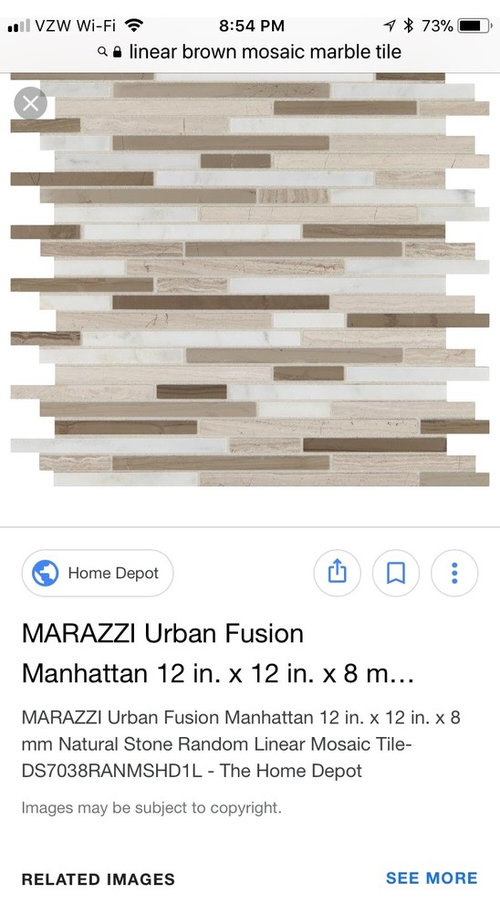
MarbleTiles0162 – Free Background Texture – facade stone tilesgranite marble usa seattle gray

Wholesale Crystal Glass Mosaic Tiles Washroom Backsplash Design Bathroom Wall Floor

Stone ground tileable texture OpenGameArt.org

Corner Marble Shower Bench – Transitional – Bathroom

Blog Mytyles Latest Blog Wall Tile Floor Tile

Related Posts:
- Commercial Porcelain Tile Flooring
- Ideas Covering Tile Floors
- Steam Mop For Hardwood And Tile Floors
- Shaw Vinyl Tile Flooring
- Herringbone Wood Look Tile Floor
- Chair Casters For Tile Floors
- Bona Mops For Tile Floors
- How Clean Porcelain Tile Floor
- How To Install Natural Stone Tile Flooring
- How Much To Install Tile Floor Per Square Foot
Tile Floor Register: A Stylish and Functional Addition to Your Flooring
Introduction:
When it comes to home decor, every detail counts. From the color of the walls to the furniture arrangement, each element contributes to the overall aesthetic appeal of a space. One often overlooked aspect of interior design is the choice of floor registers. These small, yet essential, components not only serve a functional purpose but also add a touch of style to your flooring. In this article, we will explore the world of tile floor registers, their benefits, installation process, and answer some frequently asked questions.
Benefits of Tile Floor Registers:
1. Enhanced Airflow: One of the primary functions of a floor register is to facilitate air circulation throughout your home. Tile floor registers excel in this regard, as they are designed with specially crafted louvers that can be adjusted to control the direction and intensity of airflow. By using these registers, you can ensure that every corner of your living space receives adequate ventilation.
2. Seamless Integration: Unlike traditional metal or wooden floor registers that can disrupt the overall aesthetic of your flooring, tile floor registers blend seamlessly into your tile or stone floor. By using matching tiles or stones, you can create a cohesive look that enhances the visual appeal of your space.
3. Durability: Tile floor registers are built to last. Made from high-quality materials such as porcelain or ceramic, these registers are resistant to wear and tear, making them an excellent investment for homeowners looking for long-term solutions. Additionally, they are easy to clean and maintain, ensuring that they retain their pristine appearance for years to come.
Installation Process:
Installing a tile floor register may seem like a daunting task for some homeowners, but with proper guidance and tools, it can be a relatively straightforward process. Here is a step-by-step guide on how to install a tile floor register:
Step 1: Measure and Mark the Opening
Start by measuring the dimensions of your floor register and mark the corresponding area on your tile or stone floor. Ensure that the opening is centered and aligns with the existing ventilation system.
Step 2: Cut the Opening
Using a diamond blade saw or a tile cutter, carefully cut along the marked lines to create the desired opening for your floor register. Take caution not to damage surrounding tiles or stones during this process.
Step 3: Install the Subfloor
Once the opening is cut, install a subfloor material, such as cement board, to provide a stable base for the floor register. Secure it in place using construction adhesive and screws.
Step 4: Apply Thinset Mortar
Apply a layer of thinset mortar to the subfloor and ensure that it is evenly spread across the surface. This will create a strong bond between the tile and subfloor.
Step 5: Install the Tile Floor Register
Carefully place the tile floor register into the opening, making sure it fits snugly. Apply pressure to ensure proper adhesion to the thinset mortar. Allow it to dry according to the manufacturer’s instructions.
Step 6: Grout and Clean
After the thinset mortar has dried, apply grout around the edges of the register to fill any gaps. Wipe away any excess grout using a damp sponge, taking care not to disturb or damage the freshly installed tile.
Frequently Asked Questions:
Q1: Can I install a tile floor register on my own?
A1: Yes, installing a tile floor register can be done as a DIY project. However, It is important to have some experience with tile installation and be comfortable using tools such as a diamond blade saw or tile cutter. If you are unsure or not experienced with this type of project, it may be best to hire a professional for installation.
Q2: Can I use any type of tile for a floor register?
A2: It is recommended to use the same type of tile or stone that is used for the rest of your flooring to create a seamless look. However, if you cannot find an exact match, choose a tile that closely matches the color and style of your existing flooring.
Q3: How do I clean and maintain a tile floor register?
A3: Tile floor registers are easy to clean and maintain. Regularly sweep or vacuum the surface to remove any dust or debris. You can also wipe it down with a damp cloth or mild cleaning solution. Avoid using abrasive cleaners or scrub brushes that could damage the tile.
Q4: Can I remove and replace a tile floor register if needed?
A4: Yes, tile floor registers can be removed and replaced if necessary. This can be done by carefully prying up the edges of the register and lifting it out of the opening. Be cautious not to damage surrounding tiles during this process. To replace, follow the installation steps mentioned above.
Q5: Are tile floor registers suitable for all types of flooring?
A5: Tile floor registers are most commonly used with tile or stone flooring. They may not be suitable for other types of flooring such as carpet or hardwood. It is important to consider the compatibility and aesthetics before installing a tile floor register in your space.