Rustoleum Epoxy Floor Instructions

Related Images about Rustoleum Epoxy Floor Instructions
(Rustoleum floor coating kit compared to armorseal 1000 hs epoxy) – (rustoleum 9100 epoxy floor
Epoxy flooring is additionally very easy to clean because there's nothing for pollutants to hang onto. These may be given the sought-after styles after blending several dyes agent to them. And moreover the epoxy flooring paint is really simple to apply and keep. It's not so costly and will outlast various other floor coatings. Actually, it is smarter than most other options.
How to Use Rust-Oleum® Epoxyshield® Garage Floor Coating Kit to Transform Your Floor – Painting

They are highly resistant to physical impact, water, chemicals, and oil from mechanical plenty and pedestrian traffic. And, in case you have painted floors, the best option for you is to remove the old paint before using some type of epoxy. Furthermore, the self-leveling aspect of epoxy compound provides an even surface in spite of floor with bumps as well as cracks.
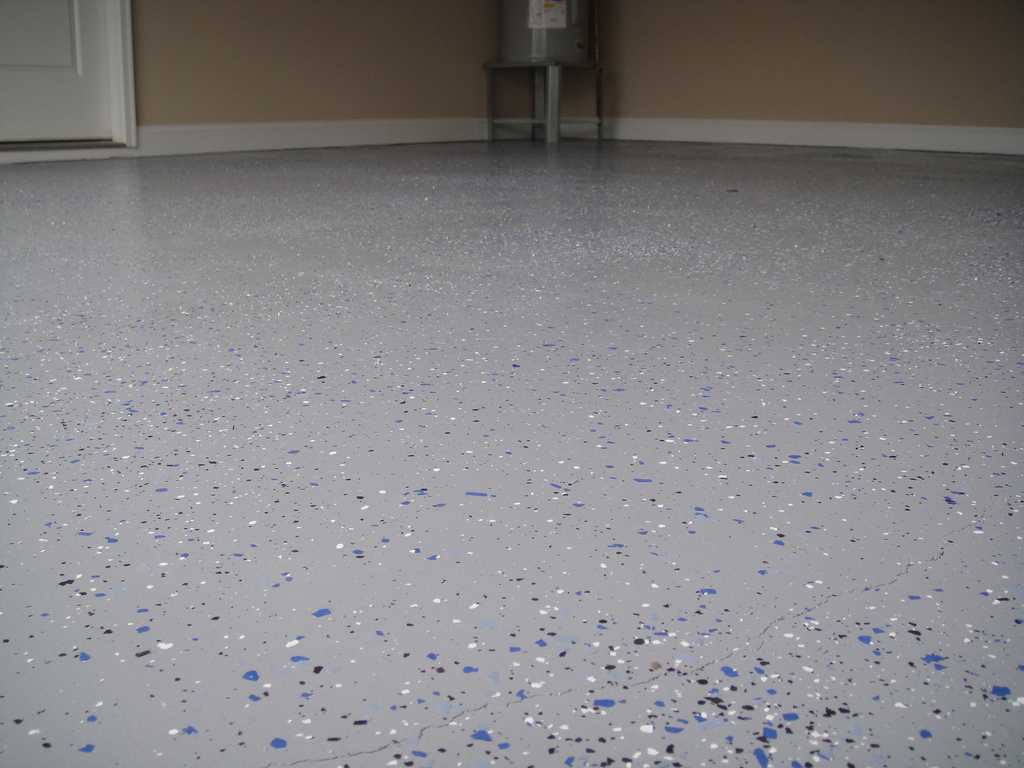
Rustoleum Garage Floor Epoxy Colors – Flooring : Home Decorating Ideas #pKl3NqK64j

It is a flexible coating which can suit both the color of yours as well as thickness must have. that is why before purchasing it, be sure that you understand the way to do it or perhaps much better one should ask for guidance. One of the main advantages of choosing epoxy flooring is that the majority of tasks might be accomplished by you.
Rustoleum Garage Floor Coating Application And Usage

Garage Floor Makeover with Rust-Oleum EPOXYSHIELD
Rust-Oleum Epoxy Flooring – Your Epoxy Shield Review
Rust Oleum Professional Garage Floor Coating Kit – Flooring : Home Design Ideas #68QawwmVnV88732

Rustoleum garage floor epoxy reviews

Rust-Oleum Epoxy Flooring – A Rust-Oleum Epoxyshield Review
Rust-Oleum EpoxyShield Basement Floor Coating – Tan by Rust-Oleum at Fleet Farm

Rust-Oleum EPOXYShield Professional Floor Coating

Rust-Oleum 261845 50 Voc – 2.5 Car Epoxy Shield Garage Floor Kit, Gray, Epoxies – Amazon Canada
Making a 3D Epoxy Metallic Floor Step by Step Floor Epoxy

The Truth About DIY Epoxy Floors – Away She Went

Related Posts:
- Epoxy Resin Floor Finish
- Commercial Grade Floor Epoxy
- Clear Self Leveling Floor Epoxy
- Epoxy Over Laminate Flooring
- Quikrete Floor Epoxy Reviews
- Outdoor Epoxy Resin Flooring
- Epoxy Floor Decals
- Epoxy Terrazzo Flooring Installation
- How To Remove Epoxy Paint From Concrete Garage Floor
- Epoxy Flooring Baton Rouge
How to Install Rust-Oleum Epoxy Floor Coating
Installing Rust-Oleum Epoxy floor coating is an excellent way to protect and enhance the look of concrete floors in garages, basements, and other high-traffic areas. With proper preparation and application, this durable, two-part epoxy can be applied easily and will last for years. Here are the step-by-step instructions for installation of Rust-Oleum Epoxy floor coating.
Preparation
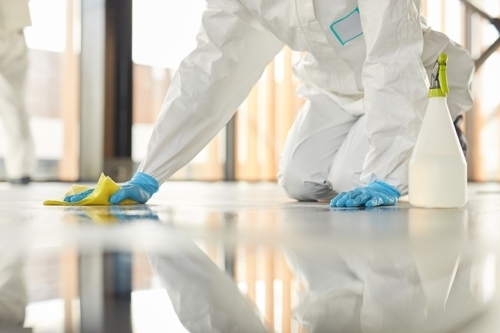
Sub-heading: Surface Preparation
The success of any epoxy coating depends on the surface being properly prepared prior to application. Rust-Oleum recommends that all surfaces be clean, dry, and free of any dirt, grease, oil, or other contaminants. The surface should also be free of any holes or cracks, as these will weaken the adhesion of the epoxy and cause it to fail prematurely. If there are any areas of damaged concrete, they should be repaired before starting the application process.
Sub-heading: Mixing
The two components of Rust-Oleum Epoxy floor coating must be mixed together before application. The kit comes with a Part A and Part B container, which should be mixed together in a clean bucket or container according to the directions on the package. The mixture must then be stirred thoroughly until it is completely blended and has a uniform color throughout.
Application
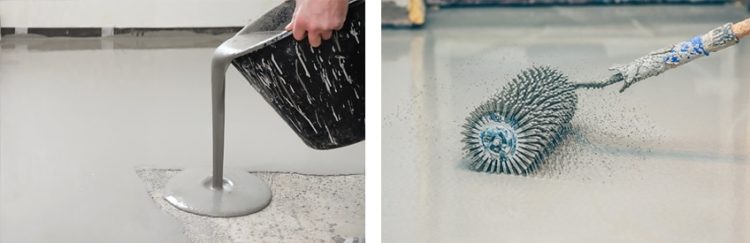
Sub-heading: Applying the Coating
Once the surface is properly prepared and the epoxy has been mixed together, it is ready to be applied. Rust-Oleum recommends using a roller with a long handle for easy application. Start at one edge of the room and work your way across in even strokes until the entire area is covered with an even layer of epoxy. Depending on the size of the room and how much coverage is needed, additional coats may need to be applied. If so, wait at least 24 hours between coats before applying more epoxy. Allow each coat of epoxy to fully cure before applying additional coats.
FAQs about Installing Rust-Oleum Epoxy Floor Coating
Q: What type of roller should I use?
A: Rust-Oleum recommends using a roller with a long handle for easy application. This will help ensure an even distribution across large surfaces with minimal effort. For best results, use a foam roller that is suitable for use with waterborne coatings.
Q: How many coats should I apply?
A: Depending on the size of your room and how much coverage you need, you may need to apply multiple coats of Rust-Oleum Epoxy floor coating. Generally speaking, two coats are enough for most applications but if more coverage is needed then additional coats may be necessary. Make sure to wait at least 24 hours between each coat before applying more epoxy so that it can fully cure.
Q: How long does it take for Rust-Oleum Epoxy floor coating to cure?
A: After each coat is applied, it will typically take around 24 hours for it to fully cure and reach its maximum strength and durability. It’s important to make sure that each coat is completely cured Before applying additional coats.
What materials do I need to apply Rustoleum Epoxy Floor?
-Clean surface-Rustoleum Epoxy Floor Kit
-Paint roller with extension handle
-Paint tray and liner
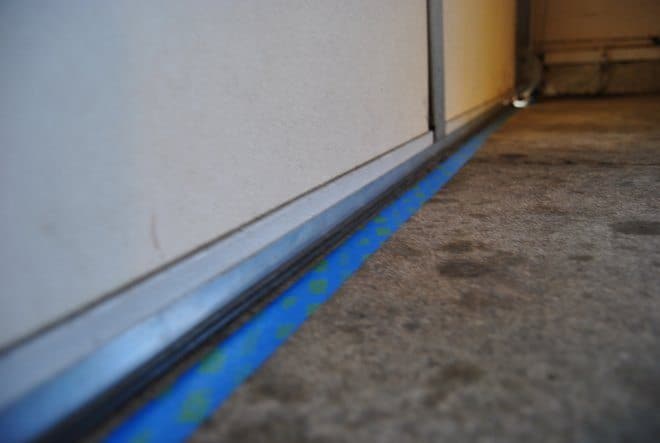
-Masking tape
-Sandpaper (80–100 grit)
-Dustpan and broom
-Epoxy floor cleaner
-High-quality paintbrush
-Flat trowel or squeegee
-Vacuum cleaner
-Protective gloves and eyewear