Repouring Basement Floor

Related Images about Repouring Basement Floor
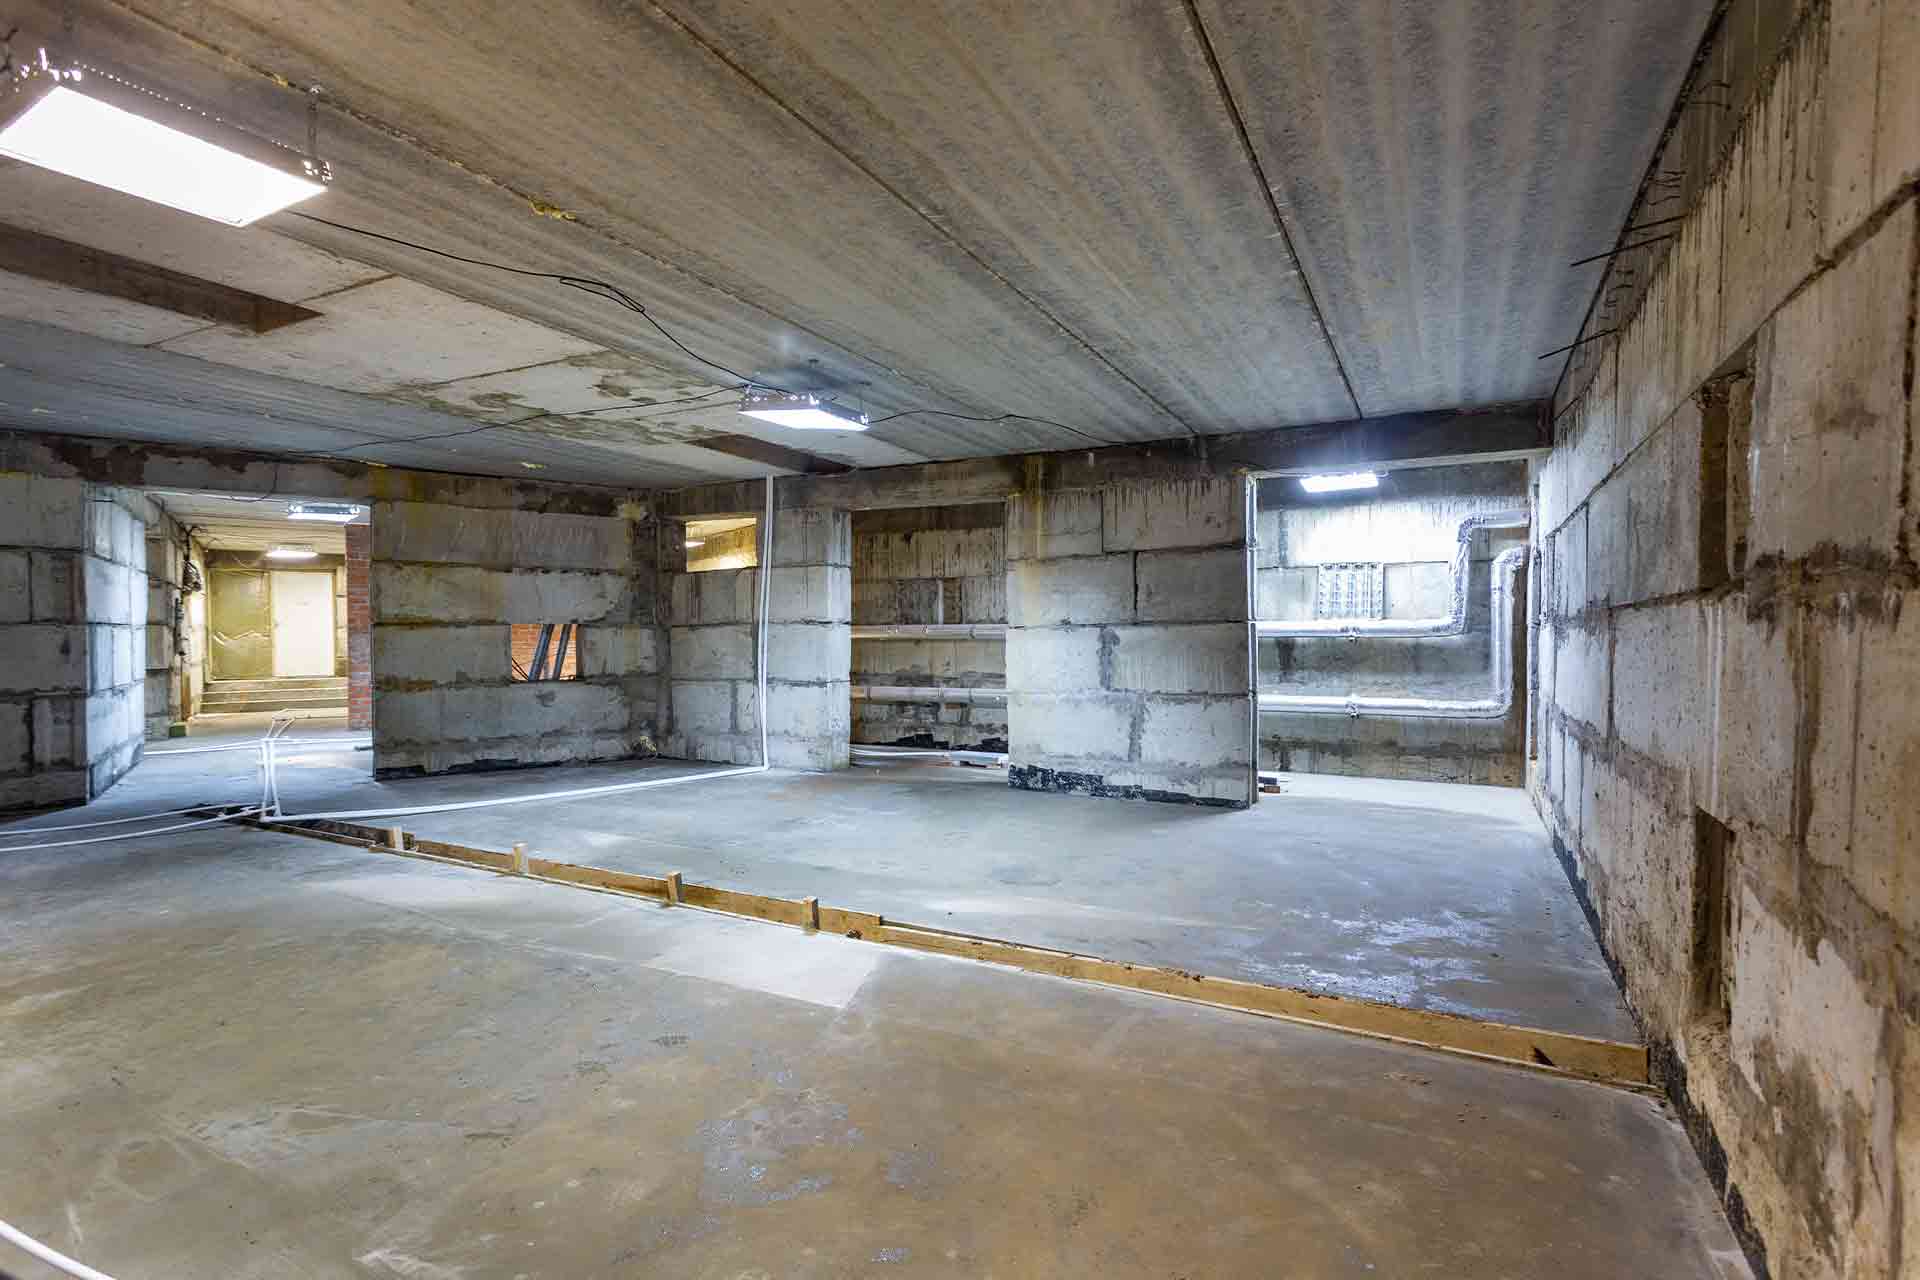
Basement Floor Pour Two Flat: Remade

Today, folks recognize the possibility of this particular area for something much more such as additional living area, family suites as well as bedrooms. A number of steps are interested in adding the basement floor. Always maintain in your thoughts that a basement is not as well ventilated as the various other rooms in the home, are considerably colder, and allow in little or perhaps no natural sunlight.
How Much Does Lowering a Basement Floor Cost in 2021? Checkatrade
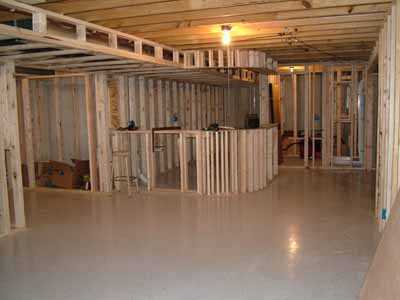
If perhaps you encounter the problem, it will be a wise decision to call a plumber to help you find the cause of the problem and purchase it remedied promptly. Preparation is a very important part of designing the basement of yours and what it's primary goal will be. The addition of furniture, maybe a bar as well as a media center and you've a great entertainment area.
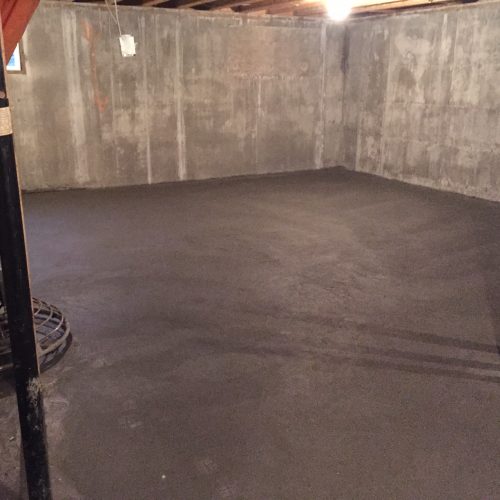
Construction of a reinforced concrete basement floor slab on a large, commercial development in

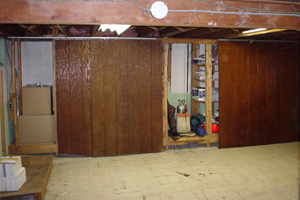
Basements are usually below grade, meaning under ground level. If you are endeavoring to make use of the basement of yours as being a plain bedroom, as most houses do, you might like to try and think about who will be staying in that area. If you basically plan to replace damaged floors of the cellar, and not for anything at all apart from a storage area, you will want not invest within the quality materials.
How To Finish A Basement Finishing basement, Floor installation

Renovation Tip: Protecting Your Basement Floors – Novero Homes and Renovations

The Bennett House: Finishing the basement floor

The 25+ best Basement flooring ideas on Pinterest Basements, Daycare design and Daycare nursery

How To Finish A Basement – A little DIY Floor installation, Basement, Finishing basement

Our Basement Finishing Process Finishing your Basement’s Floors, Walls, & Ceilings in Greater
Finishing a Basement: Add More Space to Your Home

Basement Floor Pour Two Flat: Remade

Foundation Repair – Unstable Foundation Generates Damage Inside & Outside of the Home in St

Basement Finishing
Starting On The Ground Floor With Basement Repair – Textured Terrain
Related Posts:
- Lower Basement Floor With Bench Footings
- Good Paint For Basement Floor
- Ranch Floor Plans With Finished Basement
- Easy Basement Flooring Ideas
- Cracks In Concrete Basement Floor
- Concrete Floor Above Basement
- What To Put Under Laminate Flooring In Basement
- Floor Plans With Basement Finish
- Laminate Basement Flooring Options
- Drain In Basement Floor Has Water In It
Repouring Basement Floor: A Comprehensive Guide to a Strong and Durable Foundation
Introduction:
The basement floor is an essential component of any home’s foundation. Over time, it may suffer from cracks, unevenness, or deterioration due to various factors such as moisture, settling, or poor construction. Repouring the basement floor is a crucial step to ensure the stability and longevity of your home. In this comprehensive guide, we will delve into the process of repouring a basement floor, covering everything from preparation to finishing touches.
I. Assessing the Need for Repouring:
Before embarking on the repouring journey, it is vital to determine whether your basement floor truly requires it. Look out for signs such as cracks wider than 1/8 inch, sinking or uneven areas, water seepage, or an overall deteriorated appearance. If you notice any of these issues, it is highly recommended to proceed with repouring.
FAQs:
Q: Can I simply patch the cracks in my basement floor instead of repouring?
A: Patching small cracks may be a temporary solution but might not address underlying structural issues. Repouring provides a more comprehensive and long-lasting fix.
Q: How can I identify if water seepage is due to my basement floor?
A: Inspect the walls and joints for signs of moisture or mold growth. If these are absent and the issue persists, it could indicate that water is entering through the floor.
II. Preparing for Repouring:
Proper preparation is key to achieving a successful repoured basement floor. Follow these steps to ensure a smooth process:
1. Clear the Area:
Remove all furniture, appliances, and belongings from the basement area where the repouring will take place. This will allow contractors easy access and protect your possessions from dust or potential damage during the process.
2. Address Existing Issues:
Before repouring, it is crucial to address any underlying issues causing damage to the basement floor. This may include fixing plumbing leaks, improving drainage, or addressing structural problems. Failing to address these issues could lead to future damage and undermine the effectiveness of the repouring process.
3. Evaluate Soil Conditions:
Assess the soil conditions underneath the existing basement floor. If there are signs of poor soil compaction or unstable ground, it may be necessary to stabilize the area before repouring. Consult with a professional engineer for a thorough evaluation and appropriate recommendations.
FAQs:
Q: How can I determine if my soil needs stabilization?
A: Look out for signs such as soil erosion, cracks in nearby walls or foundation, or doors and windows that no longer close properly. These can indicate unstable soil conditions.
Q: Can I perform the soil stabilization myself?
A: Soil stabilization requires expertise and specialized equipment. It is highly recommended to hire professionals experienced in this field to ensure proper techniques are used.
III. Repouring Process:
Once you have completed the preparatory steps, it’s time to dive into the repouring process itself. This section will outline each step involved in repouring your basement floor:
1. Excavation:
The first step is to remove the existing basement floor. This can be done by breaking up the concrete using jackhammers or other demolition tools. Care must be taken not to damage surrounding walls or plumbing lines during this process.
2. Grading and Leveling:
After excavation, the exposed area should be graded and leveled To ensure a smooth and even surface for the new concrete. This may involve filling in low spots and removing any excess soil or debris.
3. Install Vapor Barrier:
A vapor barrier should be installed over the prepared surface to prevent moisture from seeping through the new concrete. This barrier can be made of plastic sheeting or a specialized waterproofing membrane.
4. Reinforcement Placement:
Next, steel reinforcement, such as rebar or wire mesh, should be placed onto the vapor barrier. This will provide added strength and stability to the new concrete.
5. Pouring Concrete:
Once all preparations are complete, it’s time to pour the new concrete. This should be done in sections to ensure proper control and avoid any potential issues with curing or drying too quickly.
6. Finishing:
After pouring, the surface should be smoothed and leveled using tools such as trowels or floats. Additional finishing techniques, such as stamping or staining, can also be applied for aesthetic purposes.
7. Curing and Drying:
Allow the new concrete to cure and dry according to manufacturer recommendations. This may involve covering the surface with plastic sheeting or using curing compounds to promote proper hydration.
8. Clean-Up:
Once the concrete has fully cured, clean up any debris or excess materials from the area. Dispose of them properly and ensure that the basement is ready for use again.
IV. Maintenance and Prevention:
To ensure the longevity of your newly repoured basement floor and prevent future water seepage issues, follow these maintenance tips:
1. Regular Inspections:
Regularly inspect the basement for any signs of moisture, mold, or cracks in the floor. Catching these issues early can prevent further damage and the need for costly repairs.
2. Maintain Proper Drainage:
Ensure that your property’s drainage system is functioning properly and directing water away from the foundation. This will help prevent excess water accumulation around the basement and reduce the risk of water seepage.
3. Address Plumbing Leaks Promptly:
If you notice any plumbing leaks or issues, address them immediately to prevent water from seeping into the basement floor. Fixing these leaks promptly can save you from potential water damage and further repairs.
4. Seal Cracks and Joints:
Regularly inspect and seal any cracks or joints in the basement floor to prevent water seepage. Use a suitable concrete sealant or waterproofing product to ensure a watertight barrier.
5. Consider External Waterproofing:
If your basement continues to experience water seepage issues, consider external waterproofing measures such as installing French drains or applying a waterproof membrane to the exterior walls. This can provide an additional layer of protection against water intrusion.