Removing Engineered Hardwood Floors
Related Images about Removing Engineered Hardwood Floors
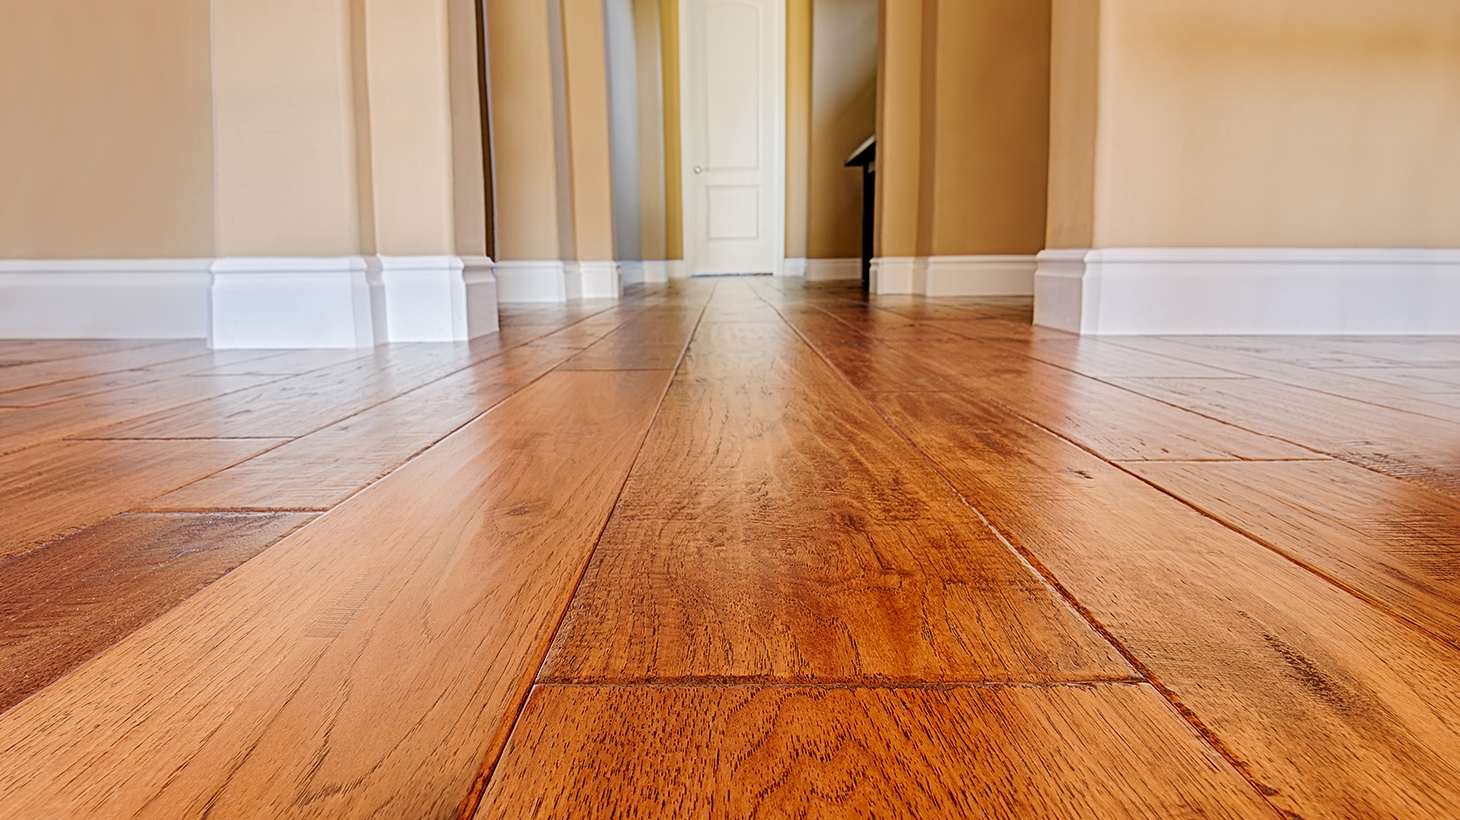
How to Install an Engineered Hardwood Floor how-tos DIY
The questions that arise are quite straightforward though, and the primary one is, "How are you going to have the ability to preserve a modest looking hardwood floor with a dog in the house?" The important thing for a hardwood floor circumstance with a dog is vigilance. The uniqueness remains one of the top priorities for them while redesigning or making a new house.
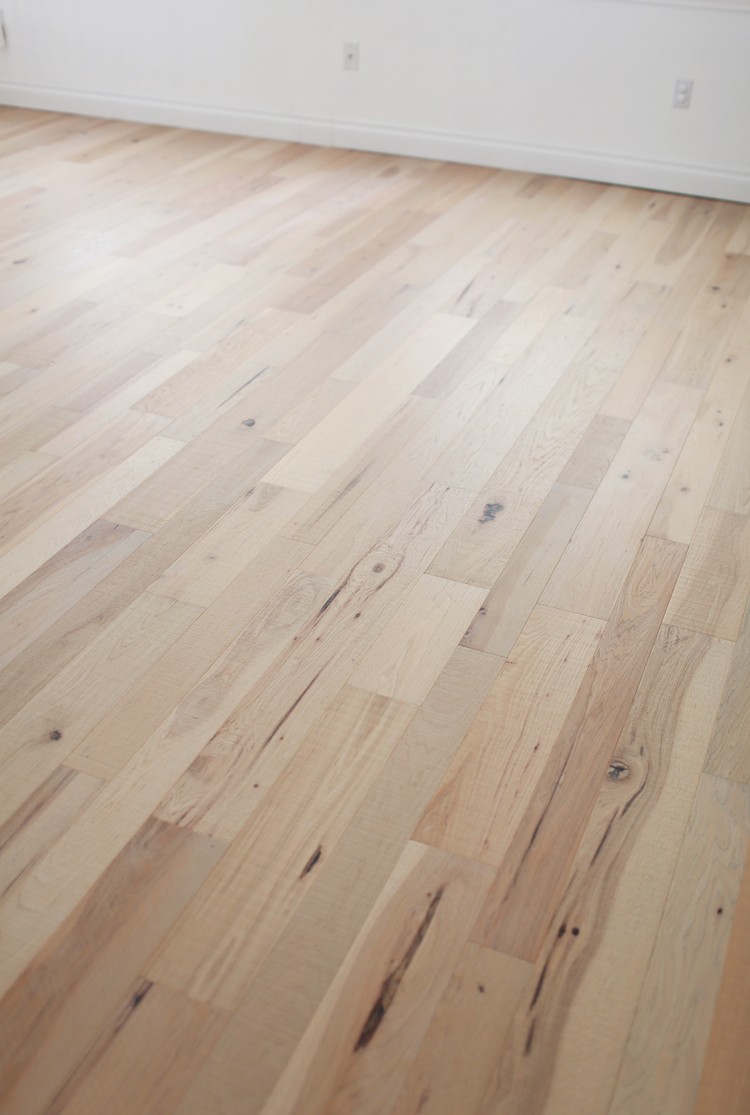
How To Properly Clean Your Engineered Hardwood Floors Construction2style

Too, dust is seen with less difficulty on wood floors than it is on linoleum or even on carpet, particularly in the sunlight and particularly if the floor possesses a dark stain. Since solid hardwoods are susceptible to dents as well as scratches, you have to pay special attention to the species of its. Homeowners should also consider that on website finishing will emit poisonous VOCs into the home environment.
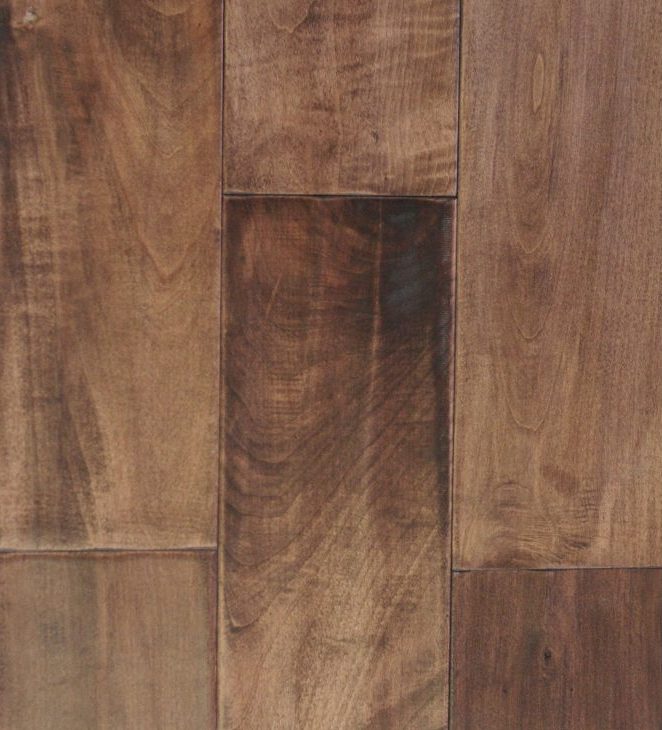
Removing Hardwood Floors – FLOOR
Additionally, poor original installation techniques, unexpected disasters (such as flooding high-moisture, accidents, and) atmospheres can in addition cause damage to a hardwood floor. The floor will certainly take some damage as a result of the dog of yours, although it'll in addition take damage as a consequence of you too.
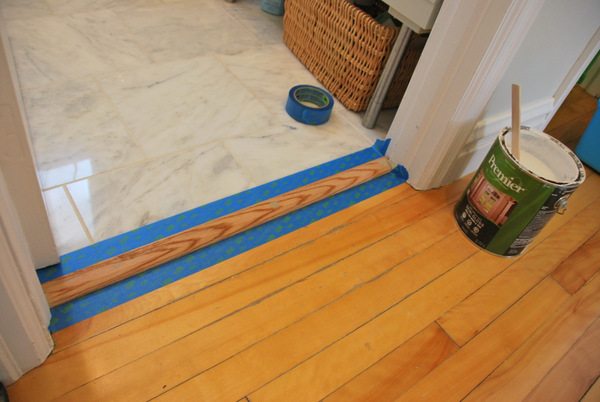
the DIY files: installing a floor transition – THE SWEETEST DIGS
Refinishing Service for Engineered and Hardwood Floors Scoopon
Blog – How Removing Scratches from your Hardwood Get Floors

Engineered Hardwood Floors: How to Clean them – Domestly

Upgrading to Engineered Hardwood Floors Decorating Blogs
Fix-It Friday: Solid Vs. Engineered What You Should Know About Hardwood Floors

Cleaning Engineered Hardwood Floors Tips In Easiest Way
How to Remove Carpet from Hardwood Floors – Alliance Flooring Directory

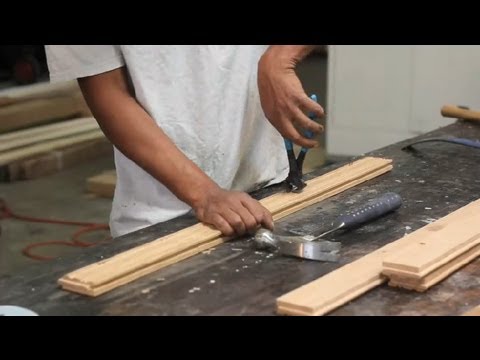
How to Remove & Reuse Hardwood Floors : Wood Floor Installation – YouTube
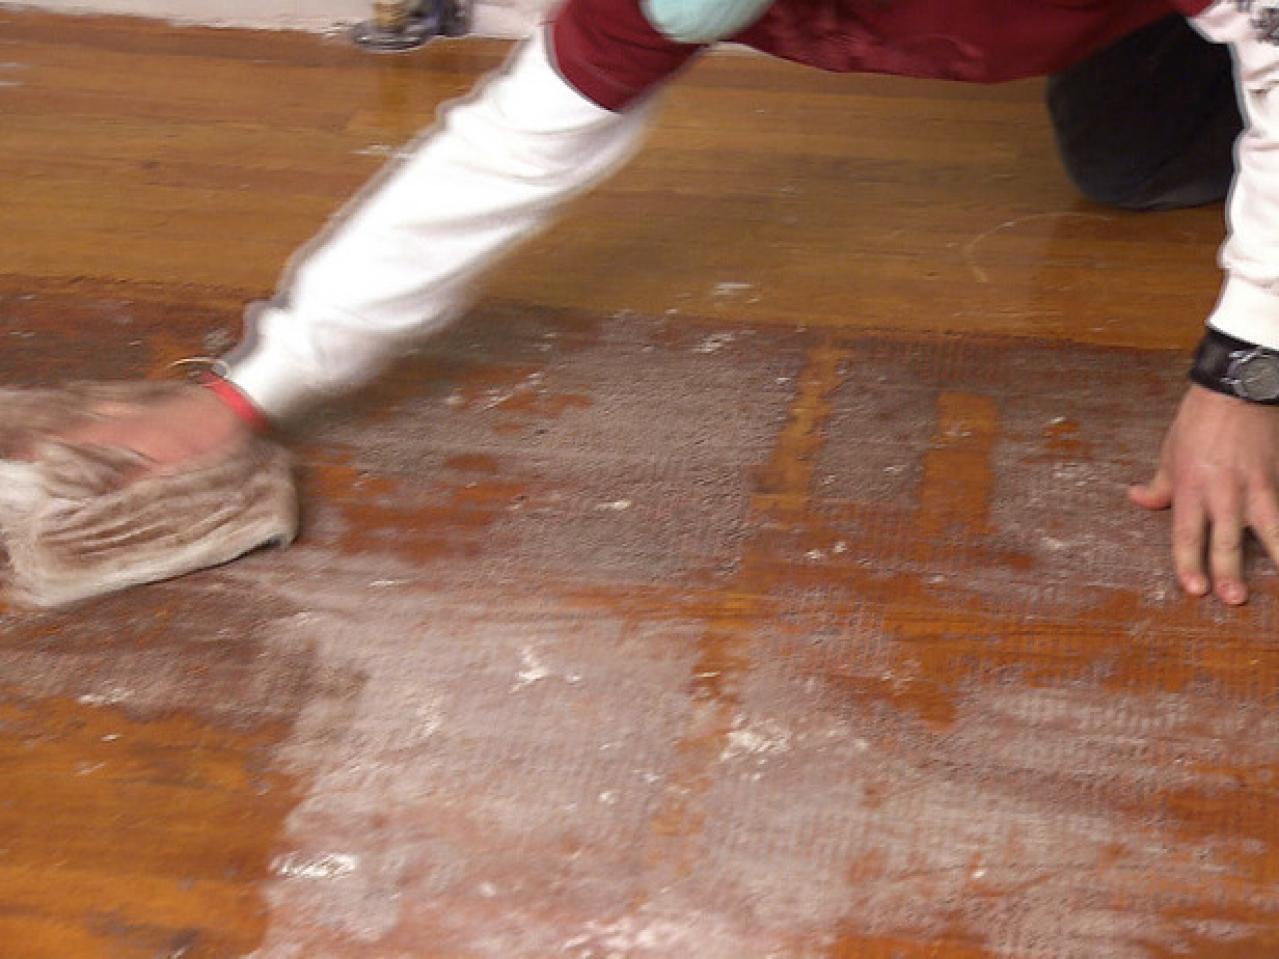
Refinishing Hardwood Floors – Virginia – Richmond – SandFree.com

Three Common Hardwood Floor Repair Issues & What You Can Do Professional Floor Covering & Cleaning

Related Posts:
- Hardwood Floor Cupping Causes
- Hardwood Floor Tile Inlay
- Hardwood Floor Filler Putty
- Canadian Oak Hardwood Flooring
- Wood Filler Hardwood Floor Repair
- Hardwood Floor Cleaner Best
- Hardwood Floor Compass Inlay
- Hardwood Flooring For Dog Owners
- Brazilian Cherry Bamboo Hardwood Flooring
- Hardwood Floor Cleaner Vinegar Olive Oil
Removing Engineered Hardwood Floors
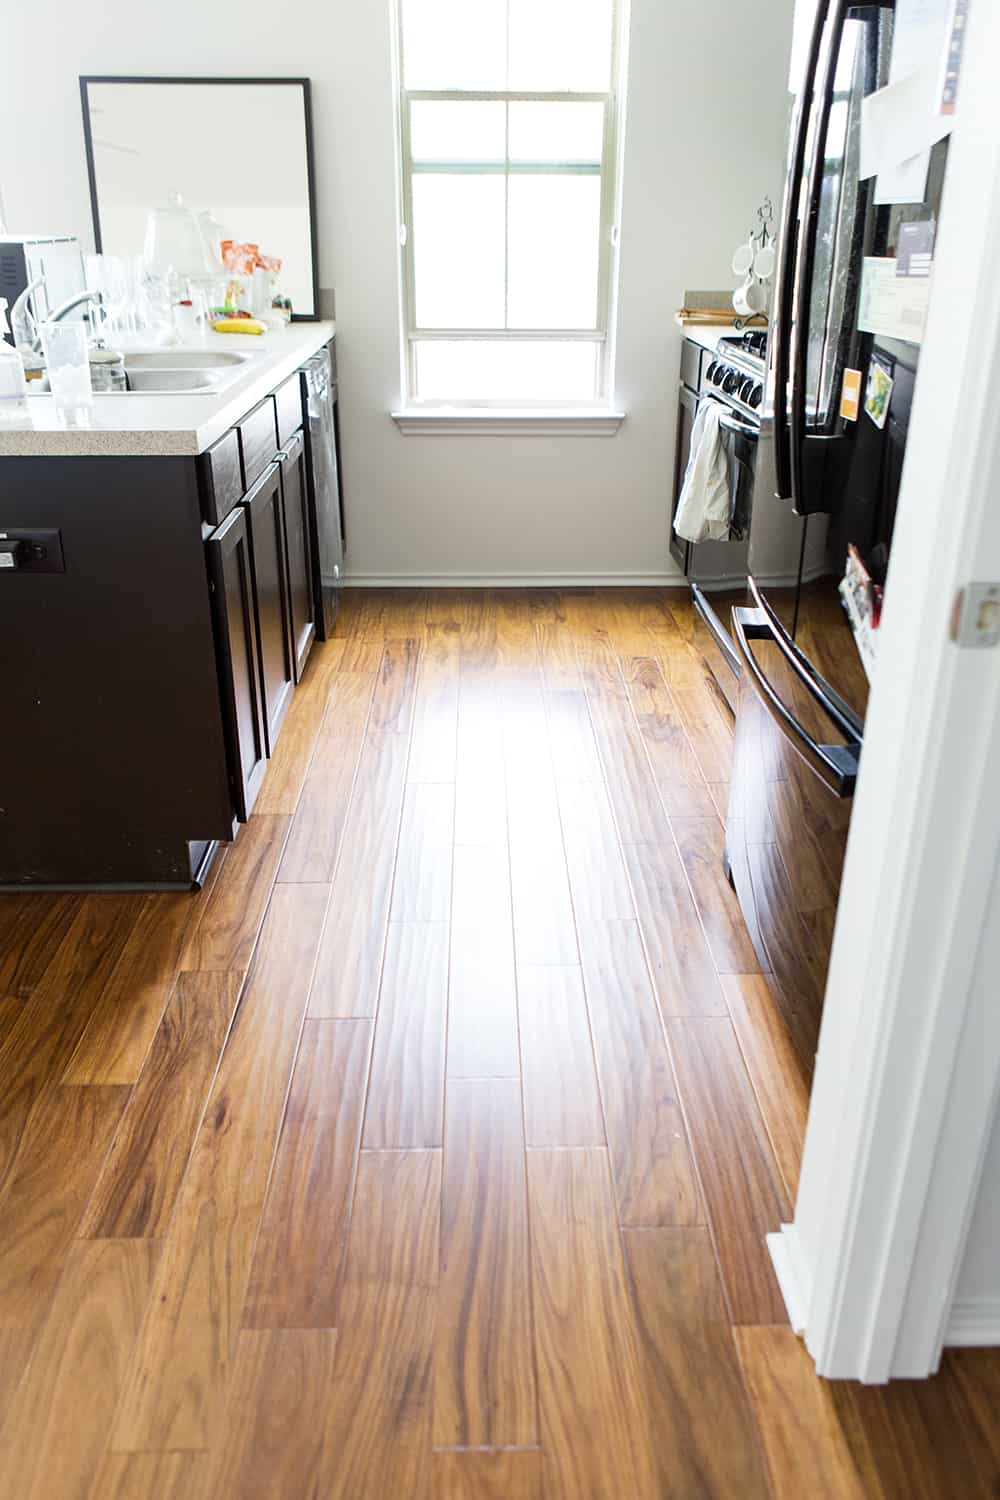
Engineered hardwood floors are becoming increasingly popular in homes and businesses because of their durability and timeless beauty. Many people opt for engineered hardwood floors for their floors because of the ease of installation, as well as their wide range of color, texture, and style options. Unfortunately, over time, these floors can start to look worn or outdated. When this happens, it may be necessary to remove the existing floor and replace it with a new one. While this can be a daunting task, there are some key steps that you can follow to make the process much easier.
Preparing for Removal
Before you start removing your engineered hardwood floor, it is important to make sure that you have all the necessary tools and materials. Begin by gathering all the necessary items such as pry bars, hammers, saws, safety glasses, dust masks, and any other tools that may be needed. Additionally, you should also clear out the room so that you have plenty of space to work. Once everything is ready, you can begin the actual process of removing your flooring.
Removing the Flooring
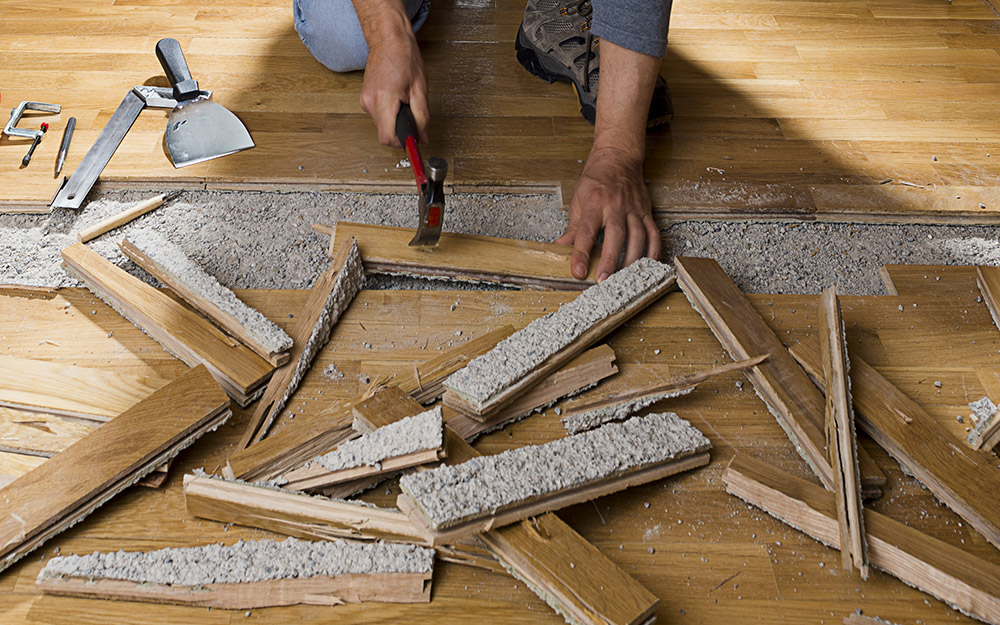
The first step in removing engineered hardwood floors is to remove the baseboards around the edges of the walls. To do this safely and effectively, use a pry bar and hammer to carefully loosen them from the wall and then carefully remove them from the room. Once all of the baseboards are removed, it is time to start removing the actual flooring itself. Begin by using a circular saw or jigsaw to cut away sections of the flooring until it has been completely removed from the room. You may need to use a hammer and chisel for more stubborn pieces. Once all of the flooring has been removed from the room, you will need to properly dispose of it according to local regulations.
Cleaning Up
Once all of your old flooring has been removed from your room, there may still be some debris left behind. It is important to clean up this debris before installing your new flooring so that it does not interfere with installation or damage your new flooring in any way. Start by sweeping up any dust or debris that may still be present on your subfloor before vacuuming up any remaining bits of wood or nails that may have been left behind during removal. Finally, use a damp mop or cloth to clean down your subfloor before starting installation on your new engineered hardwood floors.
FAQs: Removing Engineered Hardwood Floors
Q: Is it difficult to remove engineered hardwood floors?
A: While removing engineered hardwood floors can often be difficult and time-consuming task, following these steps will make it much easier and less daunting for you. As long as you have all of the necessary tools on hand and take all safety precautions seriously, you should be able to complete this project without too much difficulty or hassle.
Q: What types of tools should I use when removing my engineered hardwood floors?
A: When removing your engineered hardwood floors, it is important that you use only appropriate tools for each step in order to ensure a safe removal process. Some essential tools include pry bars, hammers, saws (circular saws or jigsaws), safety Glasses, dust masks, and any other tools that may be required.
What tools do I need to remove engineered hardwood floors?
To remove engineered hardwood floors, you will need a hammer, pry bar, utility knife, chisel, and circular saw. You may also find it helpful to have a vacuum cleaner and protective gloves. Additionally, depending on the type of flooring you have, you may need to rent a floor scraper or drum sander.What is the best way to remove engineered hardwood floors?
The best way to remove engineered hardwood floors is to start by removing the trim around the edges and then using a pry bar and hammer to loosen and pull up the planks. Once all of the planks are removed, use a floor scraper to scrape off any remaining adhesive. Vacuum up any debris and use mineral spirits on the subfloor to remove any remaining adhesive. Finally, patch any cracked or damaged areas before installing the new flooring.What tools are needed to remove engineered hardwood floors?
1. Pry bar2. Hammer
3. Floor scraper
4. Flooring saw
5. Safety glasses
6. Work gloves
7. Vacuum cleaner
8. Mineral spirits
9. Utility knife
10. Chisel
These are the basic tools you will need to remove your engineered hardwood floors. Depending on the type of flooring and installation, additional tools or equipment may be required.