Redoing Tile Floor
Related Images about Redoing Tile Floor
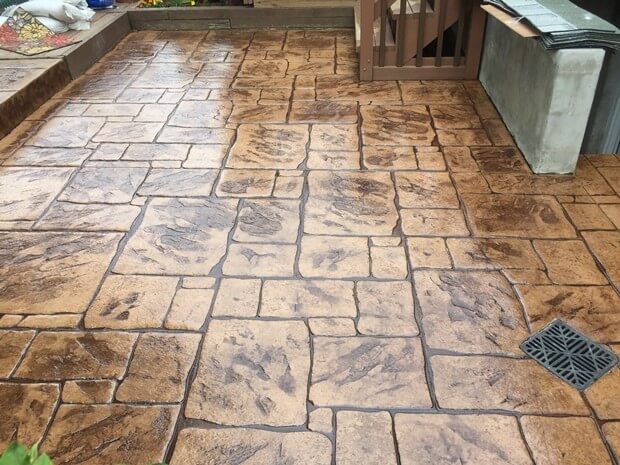
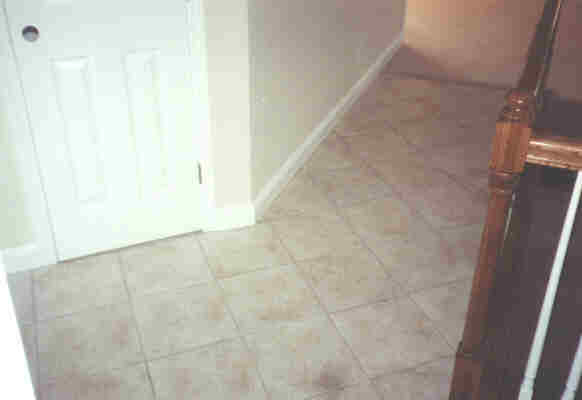
Flooring, Tile floor, Tiles

As soon as you've your tile, you can pre-cut tiles which will be put from the edges of the floor if the tile is too large. The truth is, tile floors are several of pretty much the most durable one available at the moment! This particular flooring type actually comes in an enormous assortment of designs and colors .
Remodelaholic Bathroom Redo: Grouted Peel and Stick Floor Tiles

You are able to sometimes get selling price mailing list on all the kind of marble floor tiles. You are able to order or checkout books as well as videos, and you can talk to hardware store personnel. Installation of your tiles is now complete. They are okay to be broken by original scoring each side with a glass cutter, after which snapped along with a pair of pliers. This can be a fairly major task, and sometimes actually a surprise job.
Red Tile Floor Stock Photos, Images, & Pictures Shutterstock
![]()
Grout the ceramic tile floors, and wipe off any grout that will get on the tile. You are able to alter the complement flooring by removing it and replacing them with the brand new ones. They require doubly strict a floors as ceramic. To start off of all don't make use of some type of abrasive since it may make chafing on the floor. The tiles can be snapped by hand or perhaps with tile for the floor nippers, tile cutters or even using a wet saw.
Buy Floor Tiles Online at Overstock Our Best Tile Deals

Floor Tiles
1000+ images about Flooring on Pinterest

Which Direction Should You Run Your Tile Flooring? Well Tile flooring, Tile and Flooring

Tile stickers by SnazzyDecal www.etsy.com/shop/SnazzyDecal Tile decals, Wall tiles, Print

Epoxy Flooring Trends for Summer 2019 All Stone Restoration, LLC.

Flooring – Artisan Tile Complete
How to Renew Your Floor Tiles

Downtown Linear Mosaic CTM Kitchen wall tiles, Wall tiles, Kitchen wall tiles design

Steps and Staircases – Durango Stone Travertine stairs, Tile stairs, Travertine tile

What is the opinion of using glass subway tiles in a shower? – Quora
Related Posts:
- Commercial Porcelain Tile Flooring
- Ideas Covering Tile Floors
- Steam Mop For Hardwood And Tile Floors
- Shaw Vinyl Tile Flooring
- Herringbone Wood Look Tile Floor
- Chair Casters For Tile Floors
- Bona Mops For Tile Floors
- How Clean Porcelain Tile Floor
- How To Install Natural Stone Tile Flooring
- How Much To Install Tile Floor Per Square Foot
Redoing Tile Floor: A Comprehensive Guide to Transforming Your Space
Introduction:
When it comes to home improvement, few projects can have as transformative an impact as redoing a tile floor. Whether you’re looking to update the style of your space or simply refresh worn-out tiles, this project can breathe new life into any room. However, the process of redoing tile floors can be daunting for many homeowners who are unsure where to start or lack experience in this area. In this comprehensive guide, we will walk you through each step of the process, providing detailed instructions, tips, and answers to frequently asked questions along the way. So roll up your sleeves and get ready to transform your space!
1. Assessing the Condition and Preparing the Surface:
Before diving into the exciting part of selecting new tiles, it’s crucial to assess the condition of your existing floor and prepare it properly for the new installation. Start by removing all furniture and accessories from the room. Next, carefully inspect the current tiles for any cracks, loose pieces, or uneven surfaces. If you encounter any issues, such as extensive damage or an unstable subfloor, it may be necessary to hire a professional contractor to address these problems.
FAQs:
Q: Can I tile over an existing tile floor?
A: While it is possible to install new tiles over an existing tile floor, it is generally not recommended. Adding extra layers of tiles can increase height differences and compromise stability. It is best to remove the old tiles before installing new ones.
Q: How do I remove existing tiles?
A: To remove old tiles, start by breaking a few using a hammer and chisel. Once you have created enough space, use a putty knife or scraper to pry them off one by one. Take care not to damage the subfloor during this process.
2. Selecting New Tiles:
Now that your surface is prepared for the new tile installation, it’s time to choose the perfect tiles to suit your style and needs. Consider the overall aesthetic you want to achieve and explore various tile materials, colors, sizes, and patterns. Ceramic, porcelain, natural stone, and even vinyl tiles are all popular options that offer different benefits in terms of durability, maintenance, and cost.
FAQs:
Q: What is the difference between ceramic and porcelain tiles?
A: Both ceramic and porcelain tiles are made from clay fired at high temperatures. However, porcelain tiles are denser and less porous than ceramic tiles, making them more durable and resistant to stains. Porcelain tiles are ideal for high-traffic areas like kitchens and bathrooms.
Q: How do I choose the right tile size for my space?
A: The size of your room will largely dictate the tile size you should choose. Larger tiles tend to make a small room appear more spacious, while smaller tiles can create intricate patterns in larger spaces. It is also important to consider grout lines when selecting tile sizes as they can affect the overall visual impact.
3. Removing Old Tiles:
With your new tiles selected and ready for installation, it’s time to remove the old ones. While this step can be labor-intensive, it is essential for creating a smooth and level surface for your new floor.
Start by wearing protective gear such as safety glasses and gloves. You’ll need a few tools for this task, including a hammer, chisel or scraper, and a pry bar or crowbar. Begin by breaking a few tiles using the hammer and chisel. Once you Have created enough space, use the putty knife or scraper to pry off the tiles one by one. Take care not to damage the subfloor during this process.
4. Preparing the Subfloor:
After removing the old tiles, inspect the subfloor for any damage or unevenness. If there are any cracks or holes, fill them with a patching compound and allow it to dry completely. Use a floor leveling compound to even out any uneven areas on the subfloor. This step is crucial to ensure a smooth and stable surface for your new tiles.
5. Layout and Design:
Before starting the tile installation, it’s important to plan out the layout and design of your tiles. Consider factors such as the room’s dimensions, focal points, and patterns you want to create. Use a tape measure and chalk lines to mark the layout on the subfloor.
6. Applying Thinset Mortar:
Thinset mortar is a type of adhesive that is used to bond the tiles to the subfloor. Follow the manufacturer’s instructions to prepare the thinset mortar mixture. Use a notched trowel to spread a thin layer of mortar onto the subfloor, starting from one corner of the room.
7. Installing Tiles:
Carefully place each tile onto the mortar bed, pressing it firmly into place. Use tile spacers to ensure even spacing between tiles. Continue laying tiles in rows until you have covered the entire floor. Make sure to periodically check for levelness and adjust as needed.
8. Grouting:
Once all the tiles are installed and the mortar has cured (check manufacturer’s instructions for curing time), it’s time to grout. Mix grout according to manufacturer’s instructions and use a grout float to apply it over the tiles, pressing it into all the spaces between them.
9. Cleaning and Sealing:
After allowing the grout to set for a specified time (usually 10-15 minutes), use a damp sponge to wipe away excess grout from the tiles. Once the grout has fully cured (check manufacturer’s instructions), apply a sealer to protect the tiles and grout from stains and moisture.
10. Finishing Touches:
Reinstall any furniture and accessories that were removed from the room. Clean up any debris or dust from the installation process.
Congratulations! You have successfully completed your tile installation. Enjoy your new beautiful and functional floor.