Redo Bathroom Floor Tile

Related Images about Redo Bathroom Floor Tile
Image result for two niches shower pebble Shower tile, Master shower, Bathroom redo

To lengthen the life of the floor of yours it has to be installed by a professional who's experienced in adding the sort of floor you are using. These tiles are actually made of distinct materials as glass, metal, marble, pebbles etc. Choose tiles which merge well with the ambiance in your bathroom. renovating or Designing a bathroom is a lot of work. You can likewise choose tiles with pages on them.
Pin by Taylor Lee on Our First Home Stick on tiles bathroom, Bathroom design luxury, Vinyl

Engineered wood is actually made of a combination of genuine wood veneer as well as plywood and it is more humidity proof than solid wood. They are able to sometimes be arranged to create a job of art. Owing to these challenges, you can find a number of capabilities that your bathroom flooring material ought to have. Vinyl may not be the first choice of flooring for many people.
Master Bath redo – new floor tile Bath redo, Tile floor, Flooring

Vinyl as well as laminate tiles are additionally a good option since they're easy and affordable to maintain. This will give them a shiny and smooth look and also shields the tiles from wear and tear. This can give your bathroom a modern feel. Vinyl tiles tend to be coated with urethane or even enhanced urethane. They're easy to keep and stays warm while in winter.
Snips & Spice: Bathroom Redo

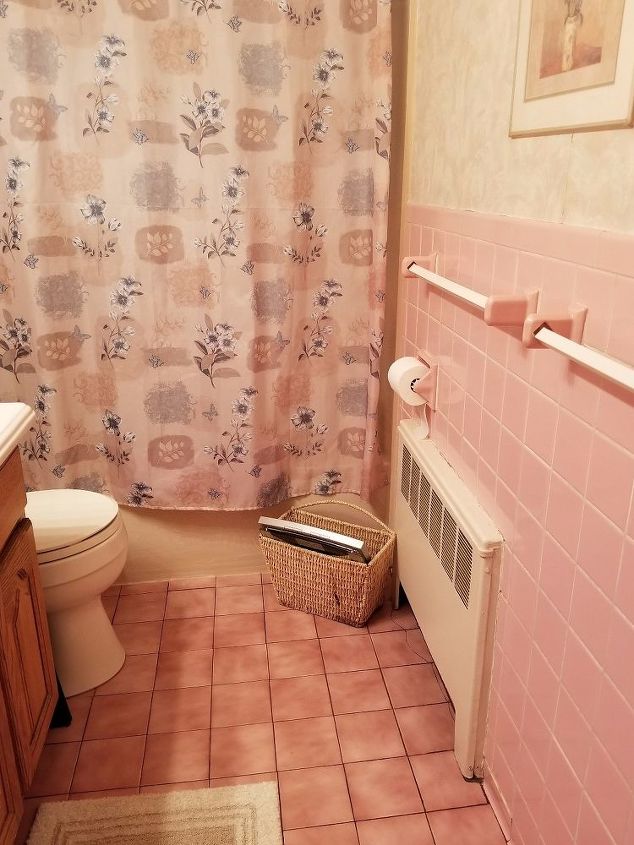
Help I have one of those PINK tile bathrooms and need an update Hometalk
Bathroom Redo Part 3 – Reconstruction – My Happy Crazy Life
12 Cheap bathroom remodel ideas you want to see – Learn to create beautiful things

PVC Shiplap, wood plank tile Shiplap bathroom, Wood plank tile, Bathroom redo

Master Bath Redo; Tile Part 2

Kristi’s Modern Farmhouse/ Rustic Glam Master Bathroom Makeover

Bathroom renovation question – RedFlagDeals.com Forums

Read This Before You Redo a Bath Bathroom floor tiles, Bathroom flooring, Shower remodel

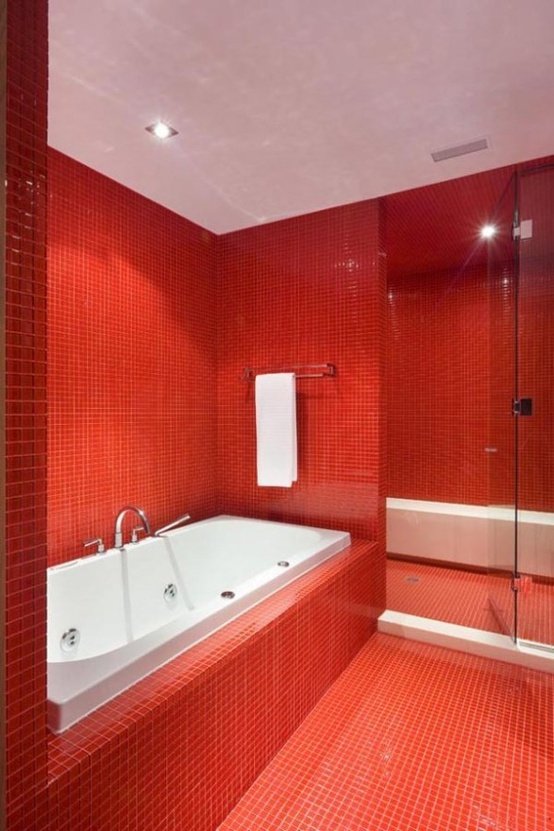
39 Cool And Bold Red Bathroom Design Ideas – DigsDigs
Related Posts:
- Bathroom Floor Tiles Price
- Cement Tile For Bathroom Floor
- Bathroom Floor Sky Painting
- Caught Me On The Bathroom Floor
- Heated Tile Floor Cost Per Square Foot
- Dirty Bathroom Floor
- Replace Bathroom Floor And Subfloor
- How To Make Bathroom Floor Waterproof
- Easy Bathroom Flooring Options
- Cheap Bathroom Floor Cabinets
Redo Bathroom Floor Tile: A Comprehensive Guide
The bathroom is one of the most important rooms in the house, so it is essential to give it a makeover every now and then. Replacing your bathroom floor tiles is a great way to spruce up the room and add some pizzazz. Whether you are replacing the existing tiles or starting from scratch, this comprehensive guide will help you get the job done right.
Preparing for the Project
Before you begin, there are some important steps you must take to ensure a successful project. Here are some tips for preparing your bathroom for a floor tile redo:
– Clear out the room: Move furniture, rugs, and any other items from the room so that you have plenty of space to work.
– Remove existing tiles: If you are replacing existing tiles, use a chisel and hammer to chip away old grout and remove the tiles. Be sure to wear protective eyewear and gloves during this process.
– Clean the surface: Once all of the old tiles are gone, thoroughly clean the surface with a cleaner designed specifically for tile surfaces.
– Measure your space: Take careful measurements of your bathroom floor to ensure that your new tiles will fit correctly.
– Purchase necessary materials: Head to your local home improvement store and purchase enough tile, adhesive, grout, and sealer for your project.
Installing New Floor Tiles
Now that you’ve prepared your bathroom for the project, it’s time to start installing your new floor tiles. Here is a step-by-step guide on how to do it right:
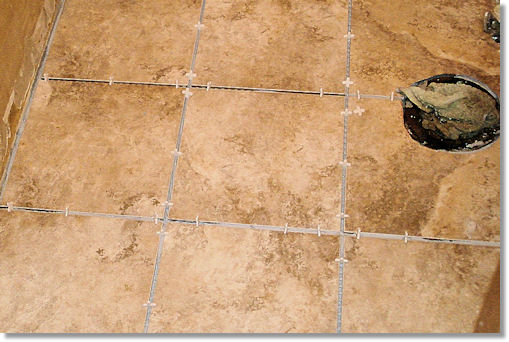
– Lay out tile pattern: Start by laying out your tile pattern on the floor using chalk or painter’s tape as a guide. This will help ensure that all of your tiles are installed evenly and properly spaced apart.
– Apply adhesive: Spread adhesive over small sections of the floor using a trowel. Press each tile firmly into place before moving on to the next one. Make sure that all of the tiles are level with one another before continuing on to the next section.
– Grout between tiles: Once all of the tiles have been laid down, mix up grout according to package directions and spread evenly between each tile using a grout float. Wipe away any excess grout with a damp sponge before it has a chance to dry.
– Seal tiles: To protect your new flooring from dirt and moisture, apply two coats of sealer over all of the tiles according to package instructions. Allow each coat of sealer to dry completely before applying another one.
– Enjoy your new bathroom floor! After allowing ample time for drying (at least 24 hours), your redone bathroom floor is ready for use!
FAQs About Redoing Bathroom Floor Tile
How long does it take to redo bathroom floor tile?
The amount of time required depends on several factors such as size of bathroom, type of tile used, complexity of design, etc., but in general it can take anywhere from 8 hours – 2 days for an average sized bathroom with simple designs.
What kind of adhesive should I use?
Most types of tile require an adhesive specifically designed for It. Check the packaging of your tile to make sure you purchase the correct type of adhesive.
What tools are needed to redo bathroom floor tile?
-Trowel-Tile Cutter
-Tile Spacers
-Grout Float
-Grout Sponge
-Caulk Gun
-Tile Adhesive
-Grout Sealer
-Notched Trowel
-Bucket
-Safety Glasses
-Drill
-Masking Tape
-Chalk or Painter’s Tape
-Rubber Mallet
-Dust Mask
-Utility Knife