Pouring A Concrete Floor In A Garage
Related Images about Pouring A Concrete Floor In A Garage
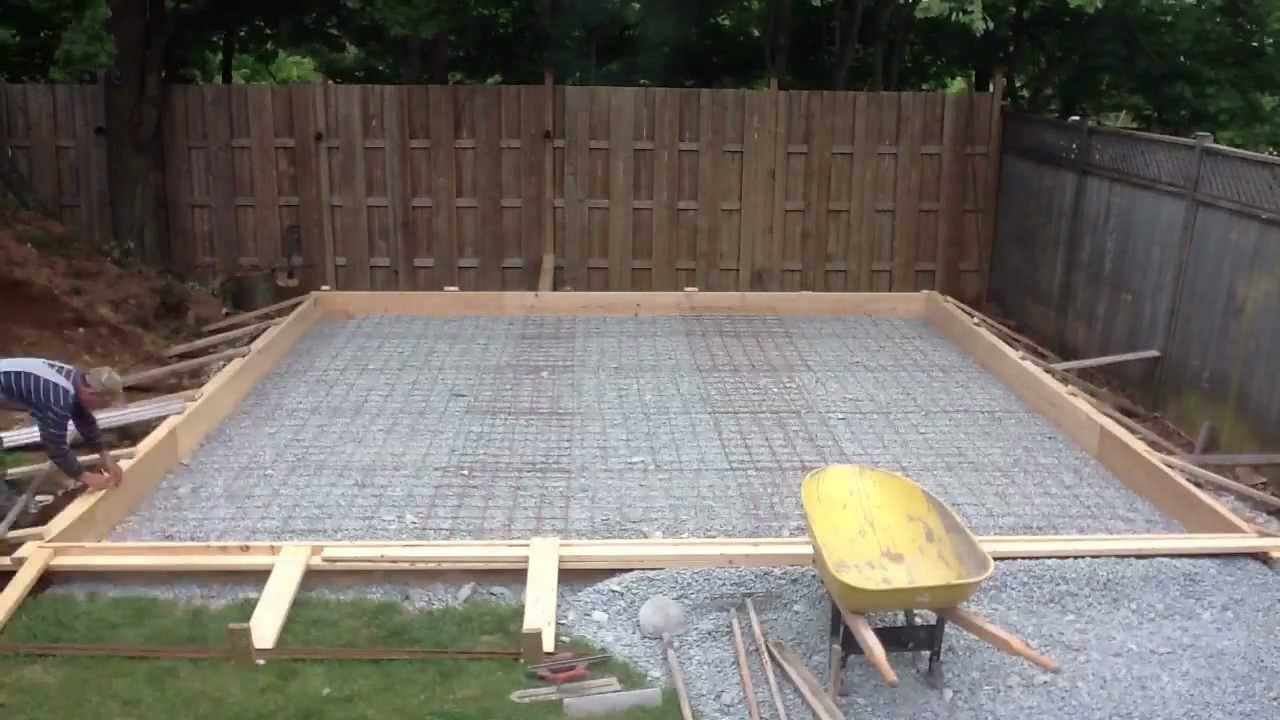
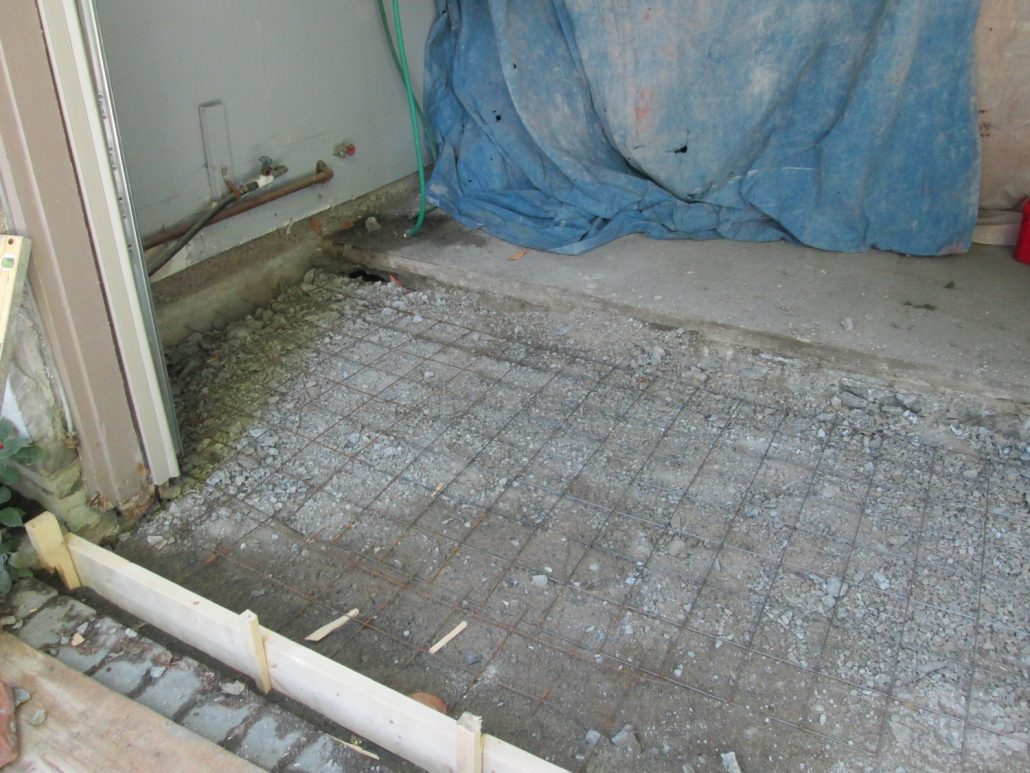
Preparing to Pour the Concrete Garage Floor – Project Small House

Maintaining the shine and glamour on the concrete floors polishing is actually a thing that every person will want to do but the very first thing that must be realized is the fact that trying to keep the concrete floor clean is actually the very first step. Then, diamond-embedded abrasive pads buff and polish the floor until it shines.
Garage Build Part 13 – Preparing the floor to pour concrete – YouTube

The labor involved in matching a concrete floor could be very substantial, nevertheless, the price of the items is lower than for many other types of flooring. This is due to the stylish looks as well as effects which could be produced, but also inside part to the numerous benefits that polished concrete has over other flooring options.
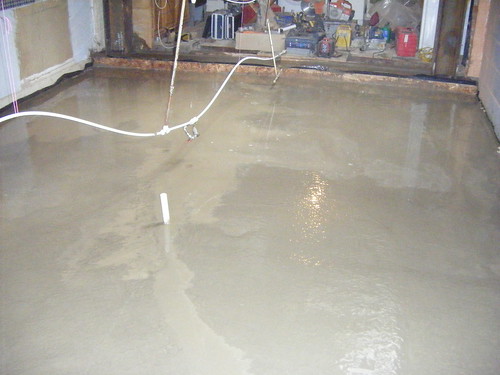
Pouring a concrete floor for the boiler room- 102 – My DIY Garage Build HD Time Lapse – YouTube

The polished concrete prints fast becoming a typical problem in a lot of places throughout the environment and this is mainly because numerous men and women are actually appreciative of the beauty of its and also since many instances just can not stand having other floor type. Sealed concrete has a really low environmental impact.
Concrete floor in the garage: pouring concrete, painting
Preparing to Pour the Concrete Garage Floor – Project Small House

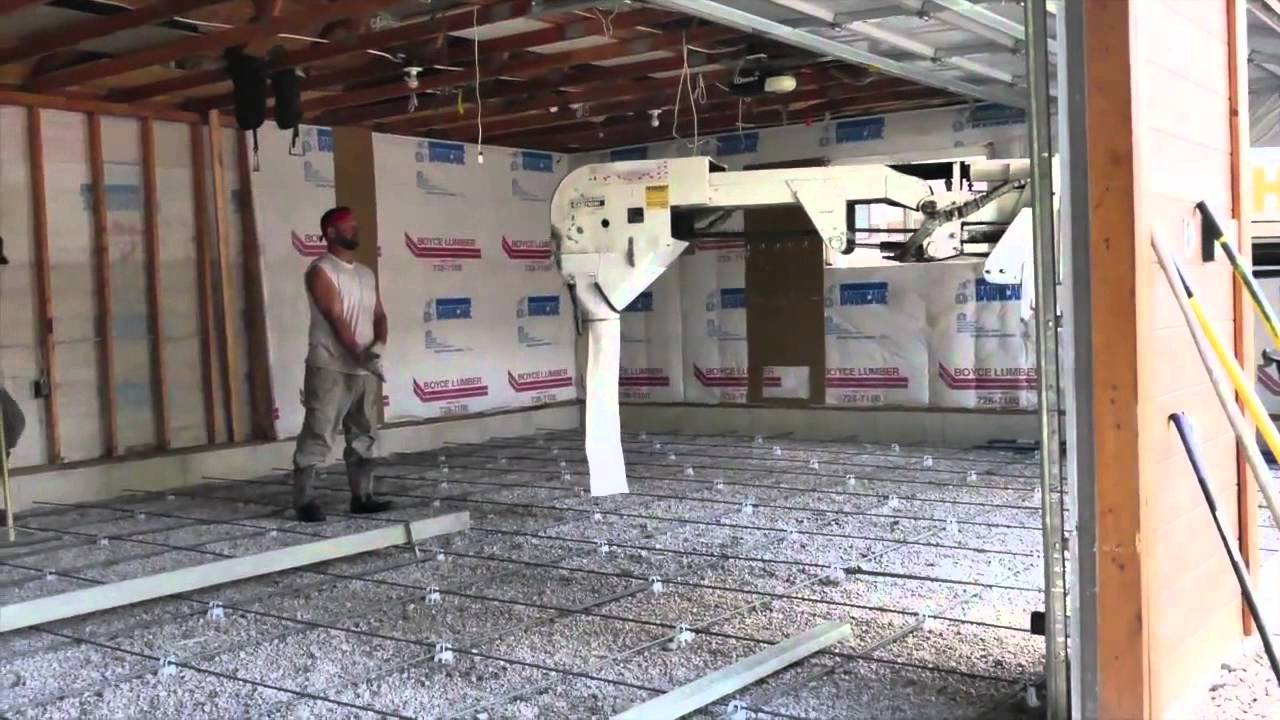
Concrete Floor in Existing Garage – YouTube
knitabulous: Set in Concrete
Building my garage #6 Concrete forms are in – YouTube

PlastiPro-Loc Heavy Duty Garage Floor Tiles Garage floor tiles, Garage tile, Garage floor

Pitted Concrete Garage Floor Repair TcWorks.Org
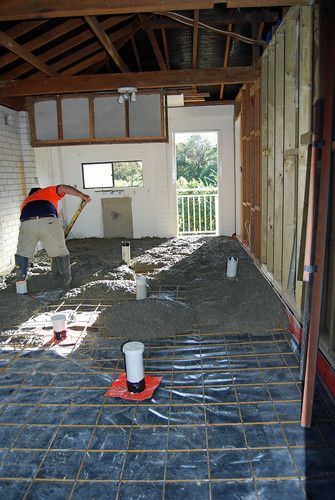
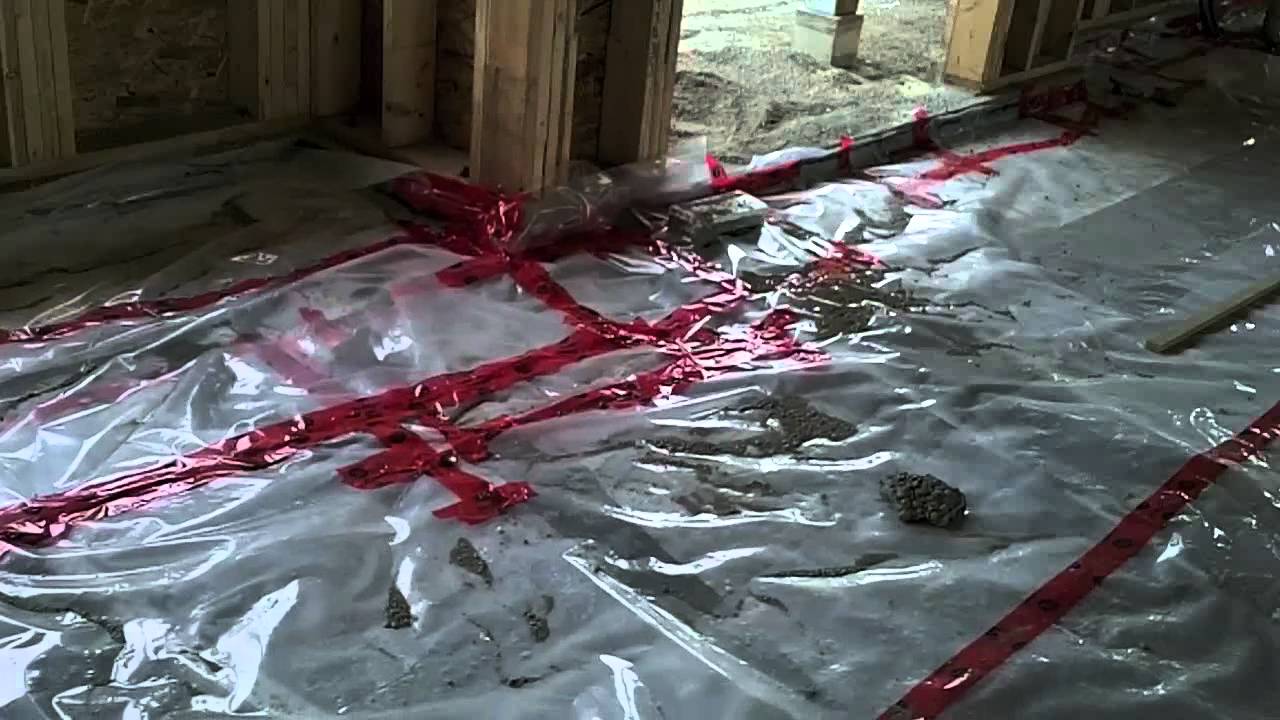
Installing vapor barrier before pouring concrete slab – YouTube
Why is my Concrete Garage Floor Discolored? Angie’s List

Garage conversion concrete or wooden floor? – Page 2 — MoneySavingExpert Forum
My first garage. – Detailing World

Related Posts:
- Interior Concrete Floor Paint Ideas
- Concrete Floors In Homes Cost
- Level Concrete Floor With Plywood
- Concrete Floor Construction For Underfloor Heating
- Stained Concrete Floors In Basement
- Polished Concrete Floor Crack Repair
- Concrete Floor With Insulation
- Acid Stained Concrete Floors Pictures
- Installing Underfloor Heating On Existing Concrete Floor
- How Much Is Concrete Flooring
Pouring a concrete floor in a garage is a significant home improvement project that can provide a durable and long-lasting surface for parking vehicles, working on DIY projects, and storing items. Whether you are building a new garage or renovating an existing one, pouring a concrete floor is a practical and cost-effective solution. In this article, we will discuss the step-by-step process of pouring a concrete floor in a garage, including preparation, materials needed, pouring the concrete, finishing techniques, and maintenance tips.
Preparation:
Before pouring the concrete floor in your garage, proper preparation is essential to ensure a successful and durable outcome. Start by clearing out the garage space and removing any existing flooring material such as tiles, carpet, or epoxy coatings. Next, inspect the existing slab for cracks, holes, or uneven surfaces that may need to be repaired before pouring new concrete. It is also important to check the drainage system in the garage to prevent water accumulation on the new concrete floor.
Materials Needed:
To pour a concrete floor in your garage, you will need several materials including concrete mix, reinforcement material such as rebar or wire mesh, plastic sheeting or vapor barrier, tools for mixing and spreading the concrete (such as a wheelbarrow, shovel, trowel), and safety equipment (gloves, goggles, face mask). Depending on the size of your garage and the thickness of the concrete slab you want to pour, you may also need additional materials such as expansion joints or sealants.
Pouring The Concrete:
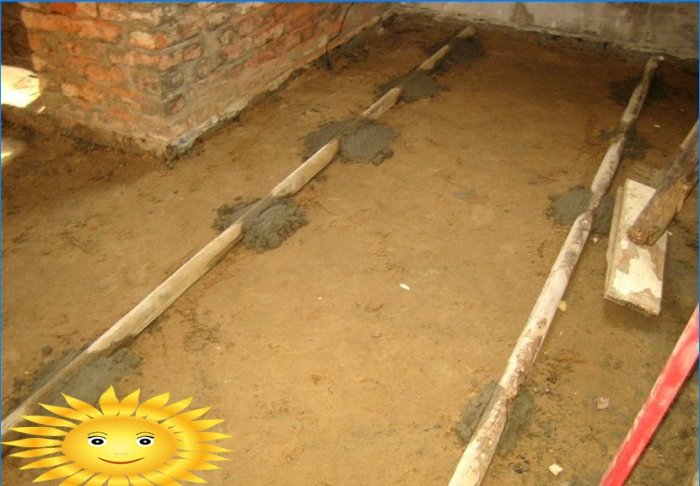
Once you have prepared the garage space and gathered all the necessary materials, it is time to start pouring the concrete. Begin by laying down the plastic sheeting or vapor barrier to prevent moisture from seeping into the concrete. Next, mix the concrete according to the manufacturer’s instructions and pour it onto the prepared surface. Use a screed board or bull float to level and smooth out the concrete evenly across the entire garage floor. Make sure to work quickly but carefully to avoid any uneven patches or air bubbles in the concrete.
Finishing Techniques:
After pouring the concrete floor in your garage, it is important to apply finishing techniques to enhance its durability and appearance. One popular finishing option is to use a broom finish on the surface of the wet concrete to create texture and improve traction. You can also add color or stains to the concrete before it dries for a more decorative look. Additionally, sealing the concrete floor with a high-quality sealant will help protect it from stains, moisture damage, and wear over time.
Maintenance Tips:
To ensure that your newly poured concrete floor in the garage stays in good condition for years to come, proper maintenance is key. Regular cleaning with a mild detergent and water will help remove dirt, oil stains, and debris from the surface. Avoid using harsh chemicals or abrasive cleaners that can damage the sealant or finish on the concrete. It is also recommended to reapply sealant every few years to maintain protection against moisture and wear.
FAQs:
Q: How long does it take for poured concrete to dry?
A: The drying time for poured concrete can vary depending on factors such as humidity levels, temperature, and thickness of the slab. In general, it takes about 24-48 hours for concrete to dry enough for light foot traffic and 7 days for full curing.
Q: Can I pour concrete over an existing garage floor?
A: Yes, you can pour new concrete over an existing garage floor as long as it is