Mohawk Hardwood Flooring Installation Guide

Related Images about Mohawk Hardwood Flooring Installation Guide
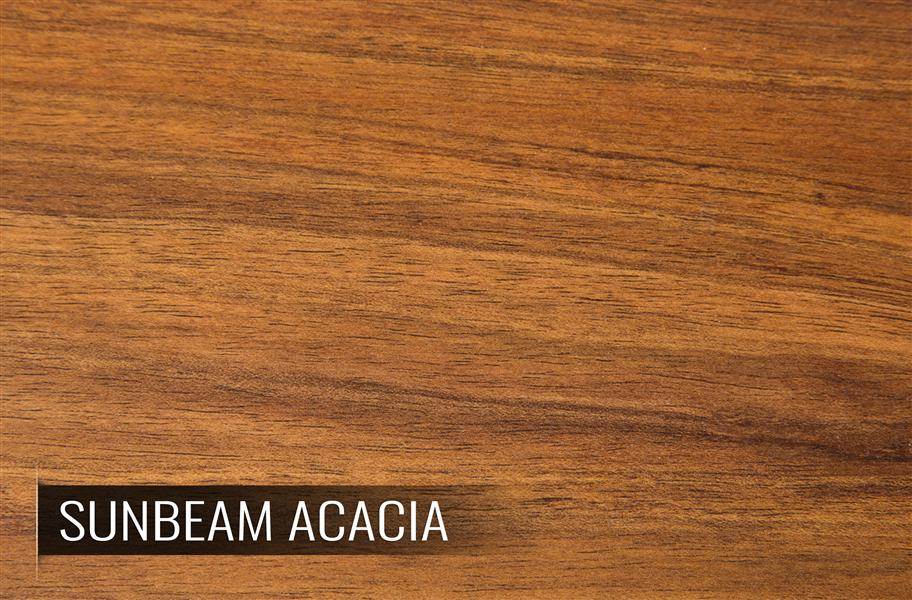
Mohawk Enhanced Engineered Core Hardwood Flooring OnFlooring

Several large hardwood flooring producers have warranties which are up to 10 pages. Simply because engineered flooring is even now made with genuine natural wood, it may be resurfaced if it becomes profoundly scratched and its' construction enables it to be used in more highly trafficked locations which could be susceptible to moisture and high temperatures including the kitchen or bathroom.
Mohawk engineered wood flooring reviews

One of the nice areas of using a shock reduction sheet is that debris on the sheet or perhaps lumps in the surface area below it have got a less remarkable impact on the floor. Floors dominate such a big visual space in your home that you can establish an immediate and pleasing tone for richness, luxury and warmth with the best product.
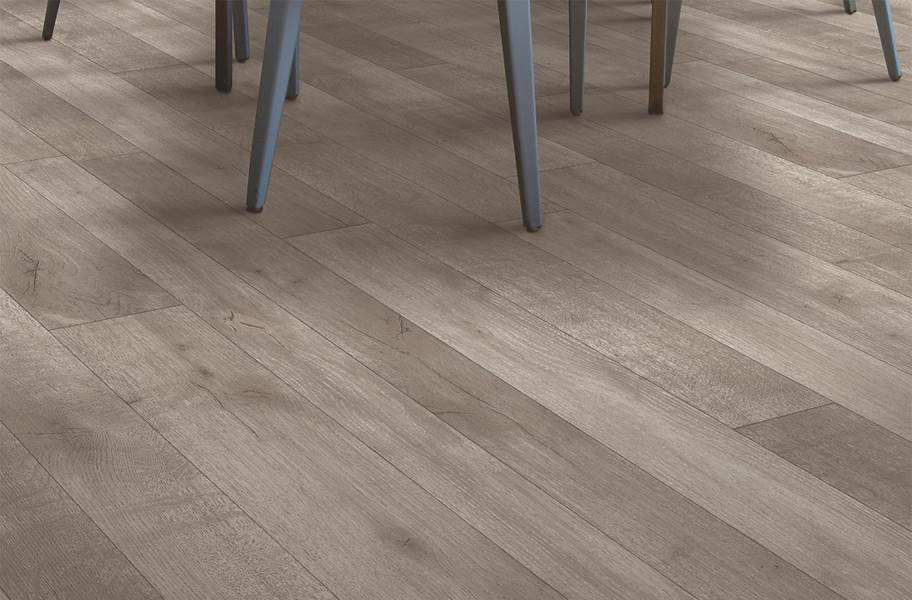
Laminate Flooring Build.com: Shop Mohawk Flooring, Page 2

You will need a few serious sledgehammer, crow bar, and therefore circular saw work if you possibly want to upgrade that glued down hardwood floors. Understanding how to clean hardwood floors is crucial since the bane of hardwood is grit and dirt, that will scratch and mark the floor if not removed promptly. Hardwood is certainly a premium flooring option for professional use and for custom, upscale houses.
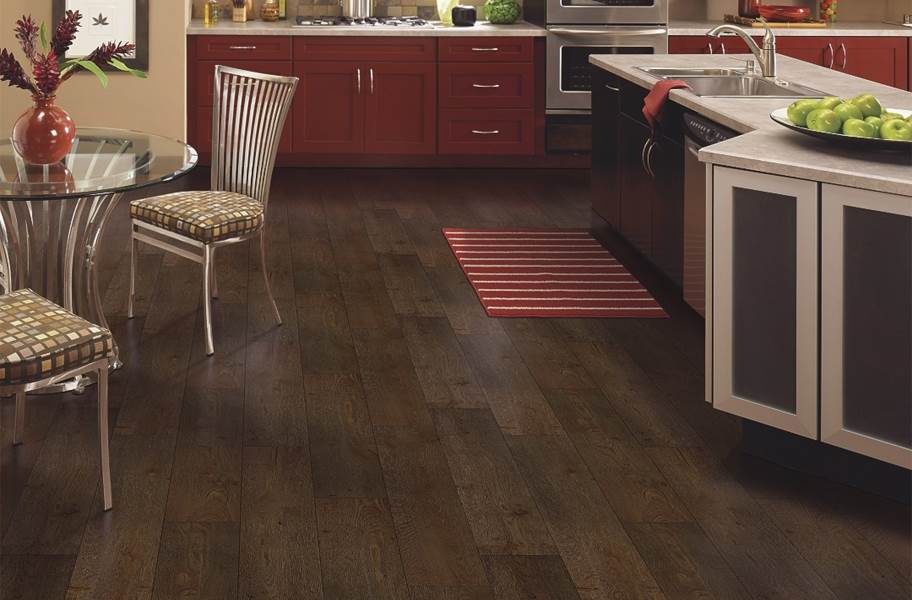
Mohawk Hardwood Flooring Mohawk Hardwood Flooring Reviews

Mohawk Engineered Wood Flooring Gspfxnws For the Home Pinterest Lakes, Search and Hands

Mohawk® Perfectseal Solutions 10 Station Oak Mix Laminate Flooring : However, you will want to

The Best Mop for Hardwood Floors – Flooring Clarity Flooring Reviews, Cost Calculator & Guides

Mohawk Group Introduces Nutopia Matrix 2018-10-05 Floor Trends Magazine

12mm Mohawk Havermill – Rich Wood Look Laminate Flooring
Mohawk 12′ Gateway Vinyl Sheet Sheet Vinyl Flooring Wood-Look Vinyl Flooring Vinyl Fl
1000+ images about Hardwood/Laminate Flooring on Pinterest Mohawk flooring, Mohawks and Flooring

Mohawk Laminate Flooring Transition Strips – Carpet Vidalondon

Mohawk 12′ Fieldcrest Vinyl Sheet Stone-look Wood-look Vinyl Flooring Sheet Vinyl Flooring
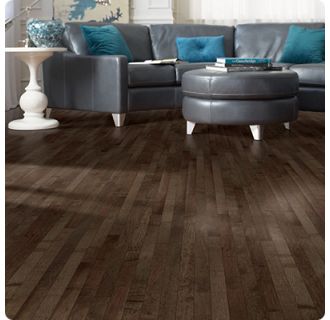
Solid Hardwood Flooring Build.com
Related Posts:
- Hardwood Floor Cupping Causes
- Hardwood Floor Tile Inlay
- Hardwood Floor Filler Putty
- Canadian Oak Hardwood Flooring
- Wood Filler Hardwood Floor Repair
- Hardwood Floor Cleaner Best
- Hardwood Floor Compass Inlay
- Hardwood Flooring For Dog Owners
- Brazilian Cherry Bamboo Hardwood Flooring
- Hardwood Floor Cleaner Vinegar Olive Oil
Installing Mohawk Hardwood Flooring: A Comprehensive Installation Guide
When it comes to installing hardwood floors, Mohawk is one of the top brands. Their flooring is known for its longevity and beauty, and it’s easy to see why they remain a popular choice. However, installation can be a tricky process and there are some important steps that need to be taken if you want your new floors to look their best. To help you through the installation process, we’ve put together this comprehensive guide on how to install Mohawk hardwood flooring.
Preparation
Before you begin installing your new hardwood floors, there are several things that need to be done in order to ensure that your floors look their best. The first step is to prepare the subfloor for installation. This includes making sure that the subfloor is clean, level, and free of any debris or obstructions. Additionally, you will need to make sure that any existing baseboards or moldings are properly removed before beginning the installation process.
Layout Planning
Once the subfloor is prepared, you can start planning out your layout for the flooring. It’s important to take into account any furniture or appliances that may be obstructing the area in order to plan accordingly. Additionally, you will need to decide which direction you would like your flooring planks to run in order to create a cohesive look throughout the space. This can be done by laying out a few rows of planks on the floor and seeing which direction looks best. Once you’ve decided on a layout, you can start preparing for installation.
Installation
The next step in installing Mohawk hardwood flooring is actually putting down the planks. For this step, you will need a few tools such as an electric saw, drill bits, chisels, mallet, measuring tape, safety glasses and gloves. Once all of these tools are gathered, you can start cutting and nailing down planks in your desired layout. It’s important to make sure that each plank is securely nailed down and that there are no gaps between them as this could cause water damage over time. Additionally, make sure that all nails are recessed into the wood so they don’t create any bumps or unevenness on the surface of your floors once they’re installed. Lastly, make sure to use a level when installing each plank so that it is even with its adjacent planks and the entire floor has a uniform look.
Finishing Touches
Once all of the planks have been installed and everything looks even and level across the surface of your floors, it’s time for finishing touches! This includes filling in any nail holes with wood putty or filler, sanding down any rough areas with sandpaper or an electric sander if needed, as well as sealing and staining (if desired). Sealing helps protect your floors from water damage over time while staining helps give them an extra layer of color and protection against stains and wear-and-tear over time. After these steps have been completed, your Mohawk hardwood floors should be ready for use!
What tools are needed for Mohawk hardwood flooring installation?
Tools needed for Mohawk hardwood flooring installation include: a miter saw, a circular saw, a jigsaw, a power drill and drill bits, a hammer, a tapping block, pull bars, spacers, a pry bar, an adhesive trowel, an adjustable speed power sander and sandpaper, and a vacuum cleaner. Additionally, you will need safety glasses, gloves, measuring tape and a level.What type of saw is needed for Mohawk hardwood flooring installation?
The most common type of saw needed for Mohawk hardwood flooring installation is a miter saw. This saw is used to make precise angled cuts that are needed for many types of flooring installations. Other types of saws, such as jigsaws and circular saws, can also be used.What tools are needed for Mohawk hardwood flooring installation?
Tools needed to install Mohawk hardwood flooring include: a tape measure, a saw, an electric drill, a miter saw, a hammer, a rubber mallet, spacers, wood glue, a circular saw, an orbital sander, sandpaper, a vacuum cleaner, an air compressor and nailer/stapler. Additionally, you will need safety glasses and gloves.What type of saw is needed for Mohawk hardwood flooring installation?
A miter saw is typically used to cut Mohawk hardwood flooring. This type of saw is designed to make precise, angled cuts that are essential for installing wood flooring. Other types of saws, such as a jigsaw and a circular saw, can also be used.What tools are needed to install Mohawk hardwood flooring?
1. Tape measure2. Hammer
3. Nail gun
4. Level
5. Safety goggles
6. Hearing protection
7. Utility knife
8. Pry bar
9. Chalk line
10. Spacers
11. Tapping block and mallet
12. Adhesive trowel
13. Miter saw
14. Circular saw
15. Jigsaw
16. Electric drill and drill bits
17. Vacuum cleaner
18. Orbital sander and sandpaper