Making Concrete Floors

Related Images about Making Concrete Floors
DIY Concrete Flooring Makeover
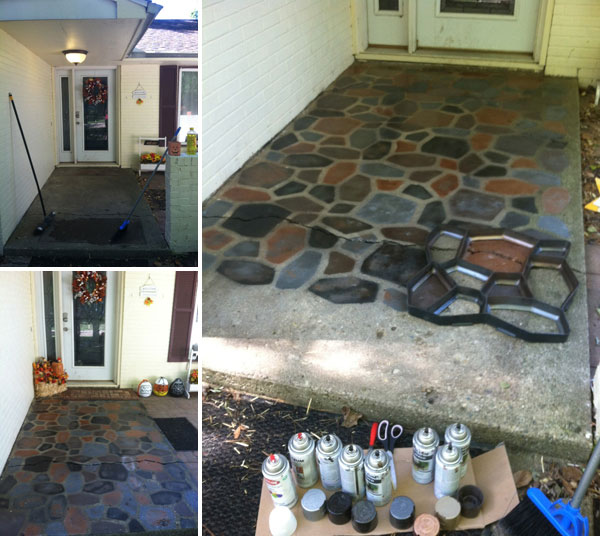
Polishing may be applied to many sound concrete floors. Apparently, a small floor place to be dealt with might merely have a brief period of time to carry out while an even greater area might be finished after a prolonged time period. These're embedded into the floor with a saw to ensure the design options are pretty versatile.
Concrete Floors

Polished concrete floors don't just look fantastic, they also boast a broad range of benefits which mark them as being beyond some other choices of flooring. The covering put on to polished flooring is glossy although it is thoroughly tested for slip-resistance at all traffic levels. Earlier concrete floors that were also referred to as cement floors had simply a gray and a dull look, but today that isn't the case.
Google Image Result for http://aisharemodeling.co/wp-content/uploads/2019/05/cement-floor-paint

Stained concrete floors comes in remarkable colors so if you love colors, this's a suitable option in your case. You can test out patterns on stained concrete floors. There are numerous companies that deal in floors that are polished and they promote a number of accessories including cleaning equipment that can help one to look after the polished concrete floor of theirs quite sufficiently.
Maintaining Concrete Floors – Epoxy Technology Coatings

How to Stain Interior Concrete Floors – 7 Easy Steps (w/pictures) in 2020 Concrete floors, Diy

Pin by Tracy Gibson on Construction Pinterest

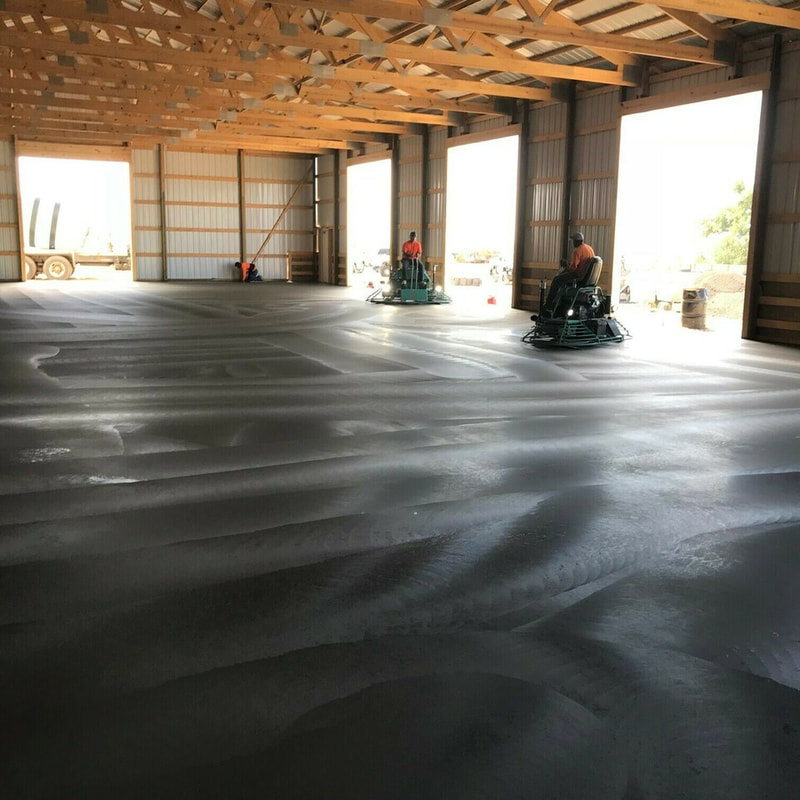
Pole Barns – A-Concrete
Concrete Flooring Images – Something Better Corporation

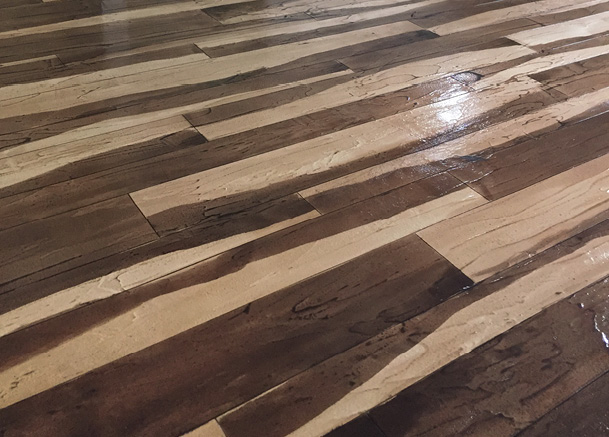
Concrete Floors That Look Like Wood Concrete Decor
Concrete Floors & Finishing

Floor Concretes – YouTube

PROJECT GALLERY

31 Concrete Flooring Ideas With Pros And Cons – DigsDigs

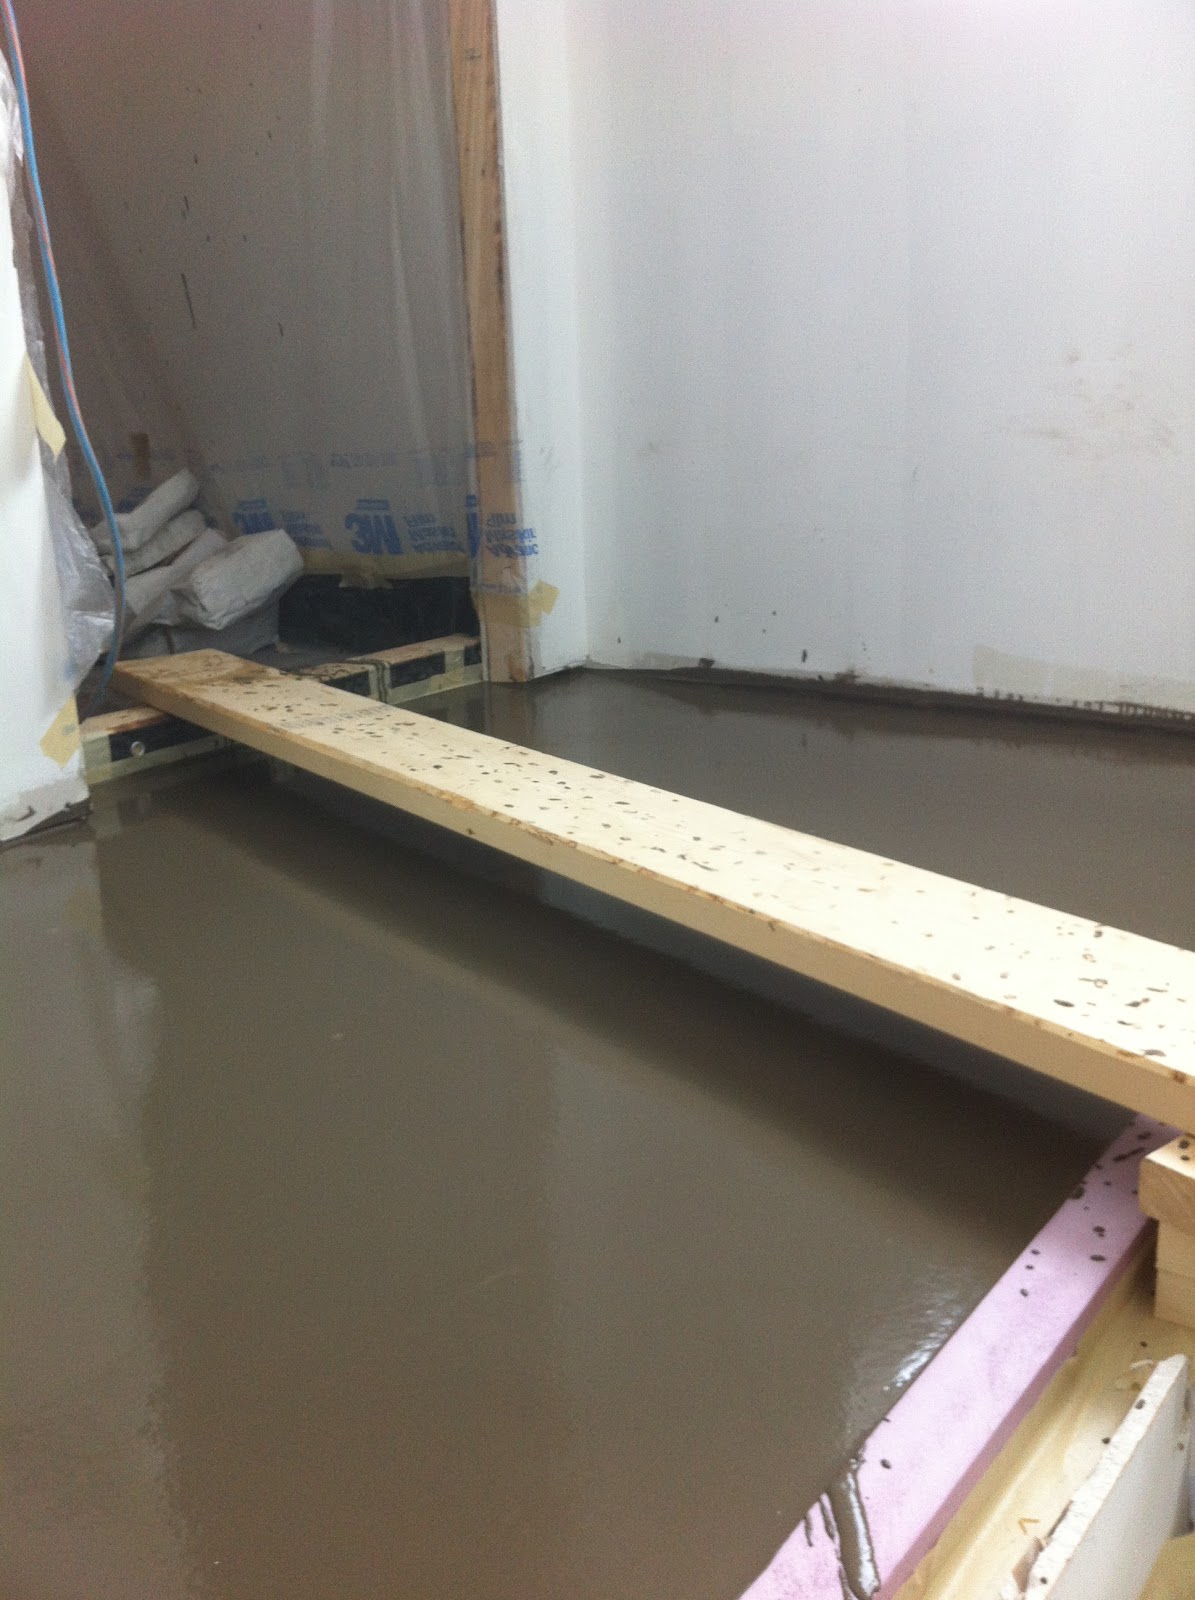
Building Walnut Farm: Concrete Floors Make me Crazy
Related Posts:
- Interior Concrete Floor Paint Ideas
- Concrete Floors In Homes Cost
- Level Concrete Floor With Plywood
- Concrete Floor Construction For Underfloor Heating
- Stained Concrete Floors In Basement
- Polished Concrete Floor Crack Repair
- Concrete Floor With Insulation
- Acid Stained Concrete Floors Pictures
- Installing Underfloor Heating On Existing Concrete Floor
- How Much Is Concrete Flooring
Making Concrete Floors: A Comprehensive Guide
Introduction:
Concrete floors have become increasingly popular in both residential and commercial spaces due to their durability, versatility, and aesthetic appeal. Whether you’re considering installing concrete floors in your home or embarking on a construction project, understanding the process and best practices is essential. In this comprehensive guide, we will walk you through the steps involved in making concrete floors, from preparation to finishing touches. Read on to discover everything you need to know about creating stunning and long-lasting concrete floors.
I. Preparing the Subfloor:
Before pouring concrete, it is crucial to prepare the subfloor properly. This ensures that the concrete adheres well and provides a solid foundation for the flooring. Here are the steps involved in preparing the subfloor:
1. Clearing and cleaning the area:
Start by removing any existing flooring materials, such as carpet or vinyl tiles, and thoroughly clean the surface. Remove any debris, dirt, or dust that may hinder proper adhesion.
FAQ: Should I remove my old flooring before pouring concrete?
Answer: Yes, it is recommended to remove old flooring before pouring concrete. This allows for a smoother installation process and ensures better bonding between the concrete and subfloor.
2. Evaluating the subfloor condition:
Next, assess the condition of the subfloor to identify any weaknesses or flaws that may affect the concrete’s integrity. Look for cracks, unevenness, or moisture issues that need to be addressed before proceeding.
FAQ: What should I do if my subfloor has cracks?
Answer: If cracks are present in your subfloor, you must repair them before pouring concrete. Use a suitable crack filler or patching compound to fill in the cracks and ensure a level surface.
3. Moisture mitigation:
Moisture can negatively impact concrete floors by causing cracks or promoting mold growth. Therefore, it is crucial to test moisture levels in your subfloor and take appropriate measures to mitigate any issues.
FAQ: How can I test for moisture in my subfloor?
Answer: There are various moisture testing methods available, such as using a moisture meter or conducting a calcium chloride test. Consult with a professional to determine the most suitable method for your specific situation.
II. Installing Reinforcement:
To enhance the strength and durability of your concrete floors, it is essential to incorporate reinforcement materials. This helps minimize cracking and improves load-bearing capacity. Here’s how to install reinforcement:
1. Determine the reinforcement type:
Depending on your project’s requirements, you can choose between two common types of reinforcement: rebar (reinforcing bar) or wire mesh. Rebar provides excellent structural support, while wire mesh is more suitable for smaller projects or areas with limited accessibility.
FAQ: Do I need reinforcement if my concrete floor will not bear heavy loads?
Answer: While reinforcement is not mandatory for all projects, it is generally recommended to add some form of reinforcement even for lighter loads. This helps prevent cracks and ensures the longevity of your concrete floor.
2. Positioning and securing the reinforcement:
Place the selected reinforcement material on the subfloor before pouring the concrete. Ensure proper spacing and alignment according to the design specifications or engineering recommendations. Use wire ties or other appropriate fastening methods to secure the reinforcement in place.
FAQ: How much space should be left between rebar or wire mesh?
Answer: The spacing between rebar or wire mesh depends on factors such as load requirements, slab thickness, and concrete mix design. Consult with an engineer or follow local building codes For specific guidelines on spacing requirements. Generally, the spacing can range from 12 to 18 inches apart for rebar and 6 to 12 inches apart for wire mesh.
III. Pouring and Finishing the Concrete:
Once the subfloor is prepared and reinforcement is in place, it’s time to pour and finish the concrete. Follow these steps for a successful concrete floor installation:
1. Mixing and pouring the concrete:
Prepare the concrete mixture according to the manufacturer’s instructions or consult with a professional. Pour the concrete onto the subfloor, starting from one corner and working your way towards the exit. Use a screed or straightedge to level the concrete, ensuring an even thickness.
FAQ: What is the ideal thickness for a concrete floor?
Answer: The ideal thickness of a concrete floor depends on factors such as intended use, load requirements, and local building codes. In general, residential concrete floors are typically 4 to 6 inches thick, while commercial or industrial floors may require thicker pours.
2. Finishing the surface:
After pouring the concrete, use a bull float or darby to smooth out any uneven areas and remove excess water from the surface. Once the surface is relatively level, use a trowel to create a smooth finish. You can also add decorative treatments or textures at this stage if desired.
FAQ: How long does it take for concrete to dry?
Answer: The drying time of concrete can vary depending on factors such as temperature, humidity, and mix design. Generally, it takes about 24 to 48 hours for concrete to dry enough for light foot traffic and up to 28 days for it to fully cure and reach its maximum strength.
3. Curing the concrete:
To ensure optimal strength and durability, it is crucial to properly cure the concrete. This involves keeping the surface moist and protected from extreme temperatures for a specific period of time. Follow the manufacturer’s recommendations or consult with a professional for the appropriate curing method for your concrete floor.
FAQ: How long should I wait before placing heavy objects on my new concrete floor?
Answer: It is generally recommended to wait at least 7 days before placing heavy objects or subjecting the concrete floor to heavy loads. However, consult with a professional or refer to the manufacturer’s instructions for specific guidelines based on your project’s requirements.
By following these steps and addressing any additional factors specific to your project, you can successfully install a durable and long-lasting concrete floor. Remember to consult with professionals, such as engineers or contractors, for expert advice and guidance throughout the process.