Lowering Concrete Floor
Related Images about Lowering Concrete Floor
Top 3 Benefits Of Stained Concrete Floors Concrete Floor Contractor

Sealants, such as a polymer flooring seal, provide advantages which are many to interior and exterior floor surfaces and therefore are a very good addition to a concrete floors maintenance program. Caring for the decorative concrete floors of yours isn't very different than the normal upkeep you do in any aspect of the home of yours.
A Concrete Floor is Not Immune to Damage Blackwell’s Inc.
Polished concrete floors are now being seen while the faster material that is actually both highly functional and also decorative for public buildings. You can blend it in other surfaces to compliment the flooring choice of yours. Buyers often have a variety of preferences. The idea of a dull grey colored concrete flooring has been replaced with delightful surfaces that could look as granite, marble, and also tile.
Concrete Flooring
Nevertheless, the problem with DIY floor concreting is you may not have the means to blend an actual proportion for the cement and water blend and often will create a terrible result. Concrete floors polishing is able to turn the surface into an elegant floor. Concrete flooring appears good in residences as it blends well with home furnishing.
resurfacing-your-concrete-floor

13 Shocking Ways to Transform Your Concrete Floor Hometalk
![]()
Finished Self Leveling Concrete Floor Concrete Floortek

Gilbert Concrete Garage Floor Coatings By Barefoot Surfaces
Insulating a new home

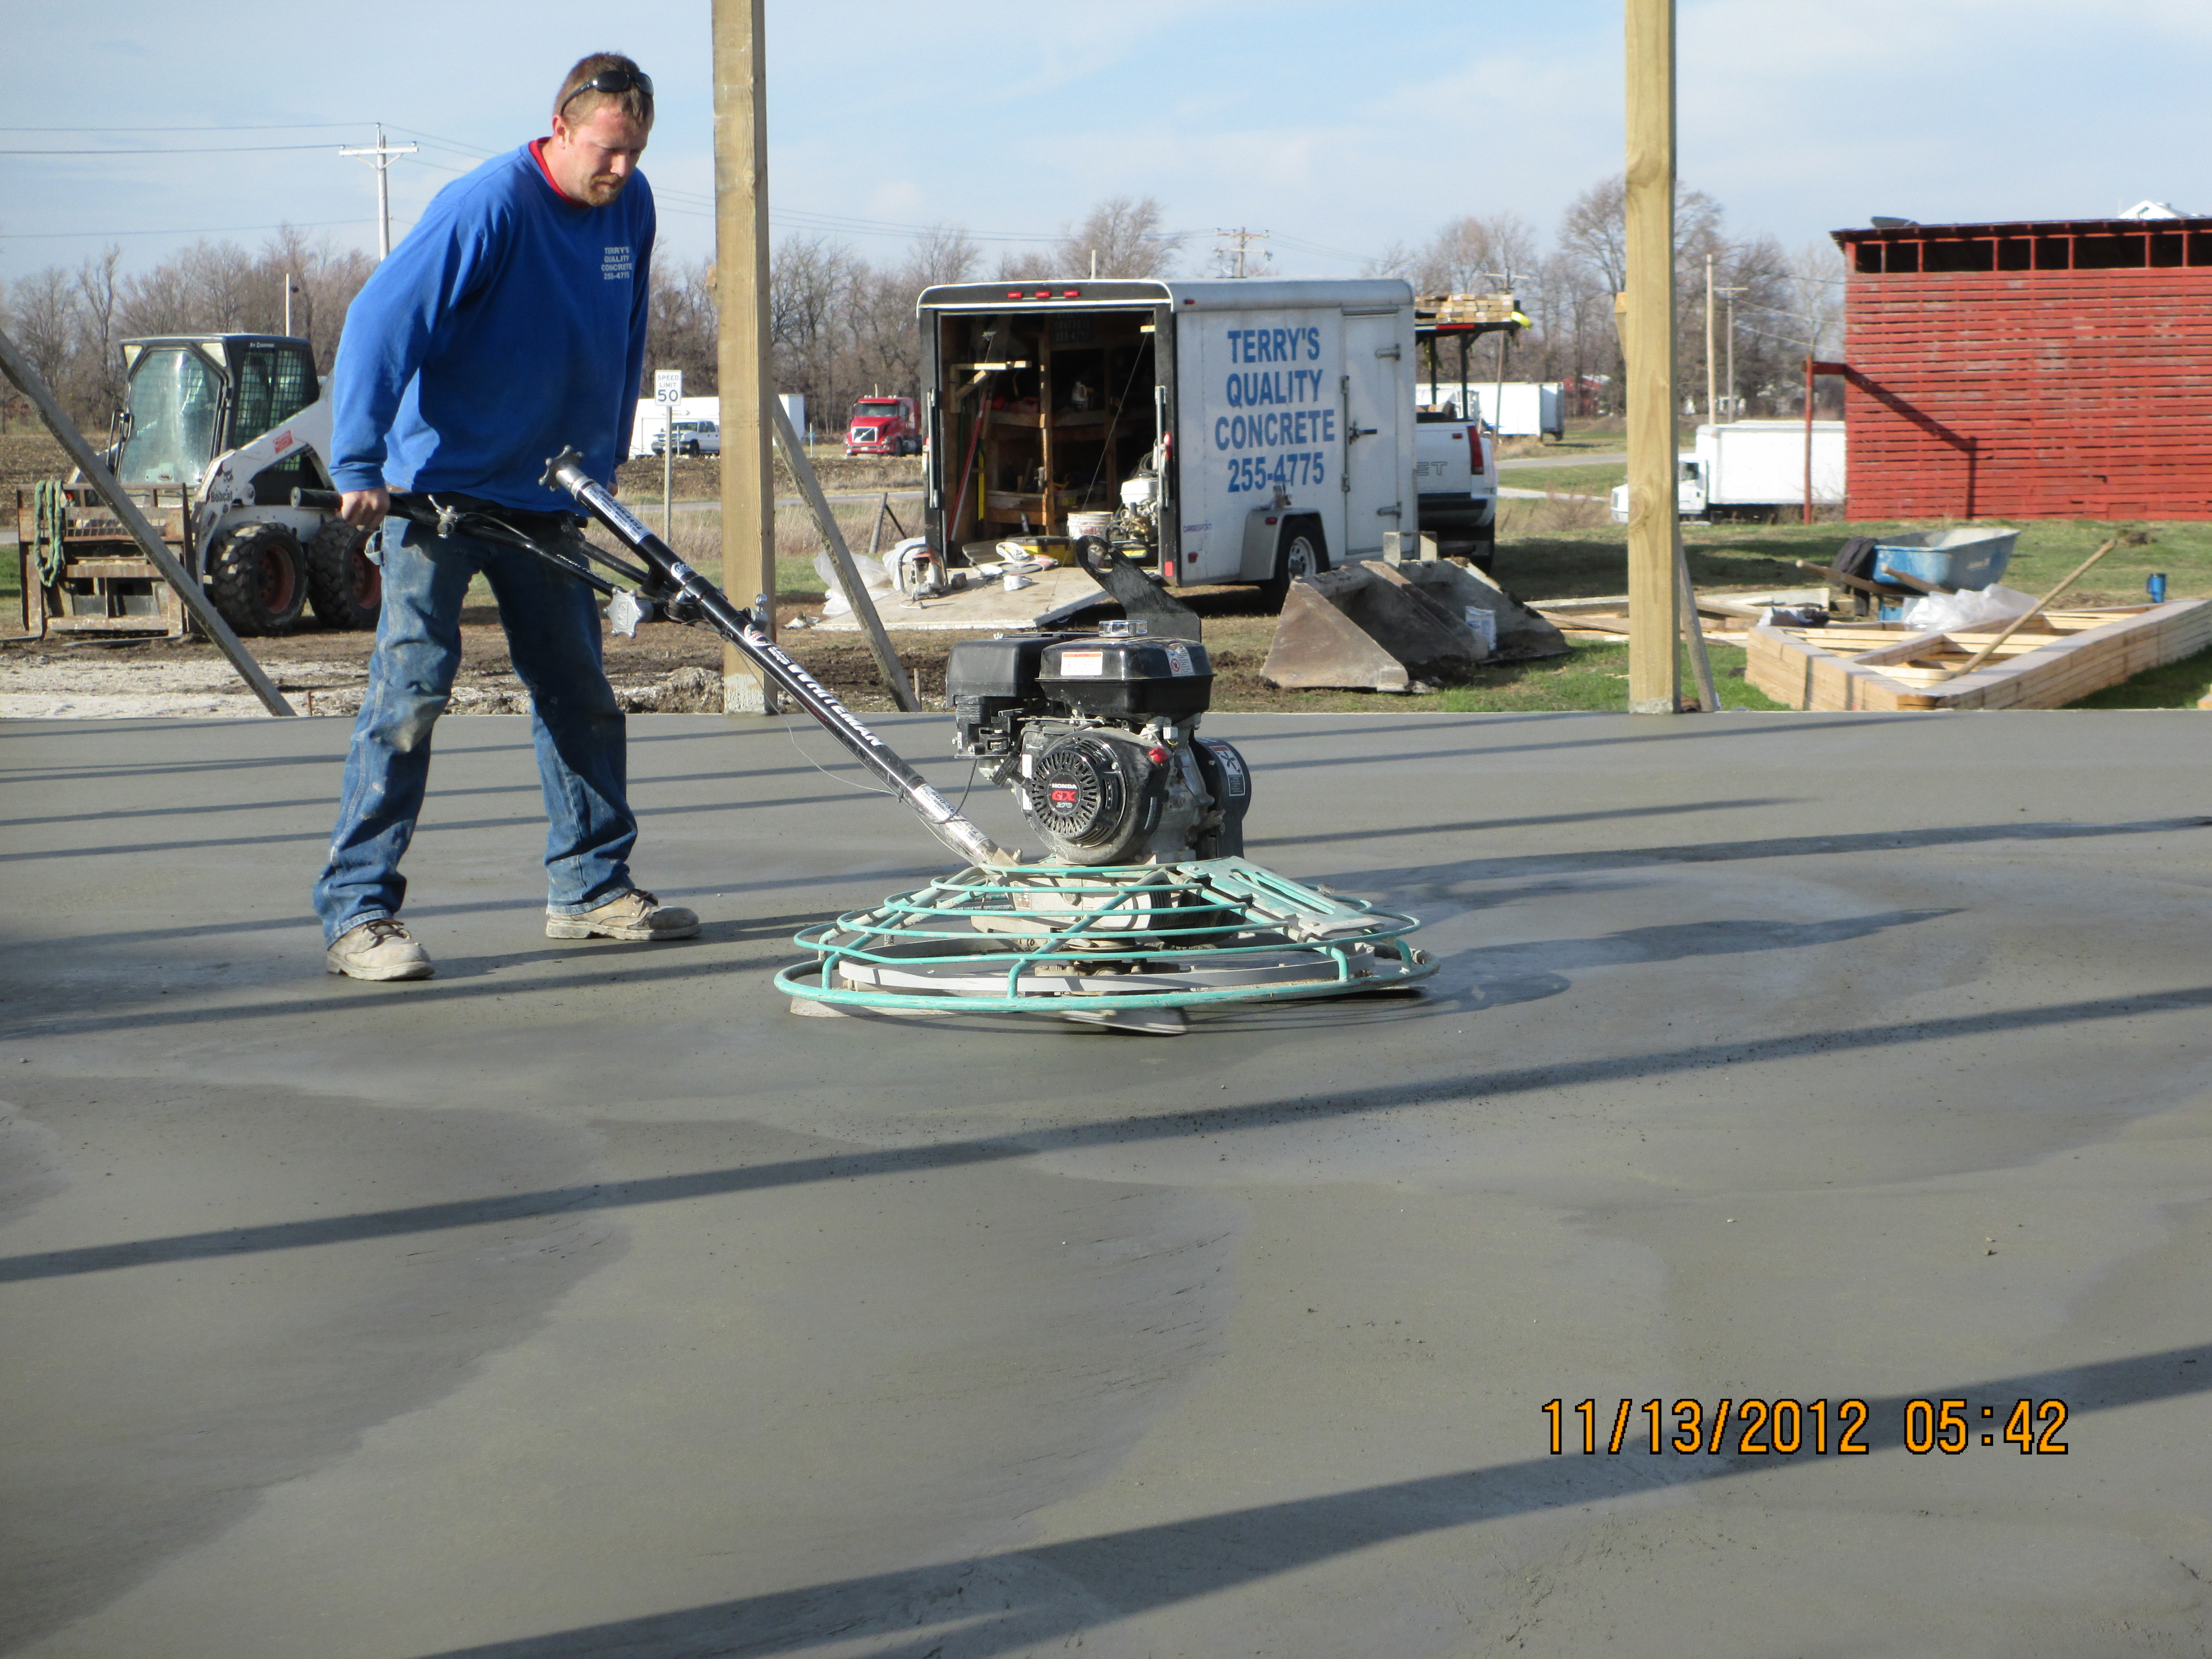
Concrete Floor info – Terry’s Quality Concrete
Cast Iron Toilet Flange, low and broken Terry Love Plumbing Advice & Remodel DIY
Specialists in Garage Floor Drain Replacement in Montreal

GOOF PROOF SHOWER KP-543 Kirb Perfect Curb – Shower Base – Amazon.com

Passive Foundation – Enhance Thermal Efficiency

Upper Floor Swimming Pool Aqua Amenity Department

Related Posts:
- Interior Concrete Floor Paint Ideas
- Concrete Floors In Homes Cost
- Level Concrete Floor With Plywood
- Concrete Floor Construction For Underfloor Heating
- Stained Concrete Floors In Basement
- Polished Concrete Floor Crack Repair
- Concrete Floor With Insulation
- Acid Stained Concrete Floors Pictures
- Installing Underfloor Heating On Existing Concrete Floor
- How Much Is Concrete Flooring
Lowering Concrete Floor: A Comprehensive Guide to the Process
Introduction:
Lowering a concrete floor is a common practice in construction and renovation projects. Whether you are remodeling your basement, creating additional space in a commercial building, or installing new utilities, lowering the concrete floor can be an effective solution. This article will provide a detailed guide on how to lower a concrete floor, exploring the process step by step, addressing frequently asked questions, and offering valuable insights along the way.
I. Assessing the Project Scope:
Before embarking on any project, it is crucial to assess its scope thoroughly. Lowering a concrete floor involves significant structural modifications and should be approached with caution. Here are some essential aspects to consider:
1.1 What are the reasons for lowering a concrete floor?
Lowering a concrete floor can serve various purposes. Some common reasons include increasing ceiling height, creating additional living or storage space, accommodating new utility lines or drainage systems, and improving overall functionality.
1.2 Is it feasible to lower the concrete floor in my existing structure?
Feasibility depends on several factors such as the structural integrity of the building, existing utilities and plumbing systems, and local building codes and regulations. It is advisable to consult with a structural engineer or construction professional to assess whether lowering the concrete floor is feasible for your specific project.
II. Planning and Preparations:
Once you have determined that lowering the concrete floor is viable for your project, careful planning and adequate preparations are essential for successful execution.
2.1 Developing a detailed plan:
Create a comprehensive plan that outlines every aspect of the project. Consider factors such as the desired depth of the lowered floor, potential impacts on existing plumbing and utility lines, required permits and approvals, and any necessary structural reinforcements or adjustments.
2.2 Obtaining necessary permits:
Contact your local building department to determine which permits are required for your specific project. Failing to obtain the necessary permits can result in fines, delays, or even the suspension of your project.
2.3 Clearing the workspace:
Before starting any construction work, it is essential to clear the workspace of any furniture, equipment, or other obstructions. This will provide a clean and safe environment for the construction crew and prevent potential damage to your belongings.
III. Lowering the Concrete Floor:
Now that you have completed the planning and preparations phase, it is time to dive into the process of lowering the concrete floor itself. This section will guide you through each step of the process.
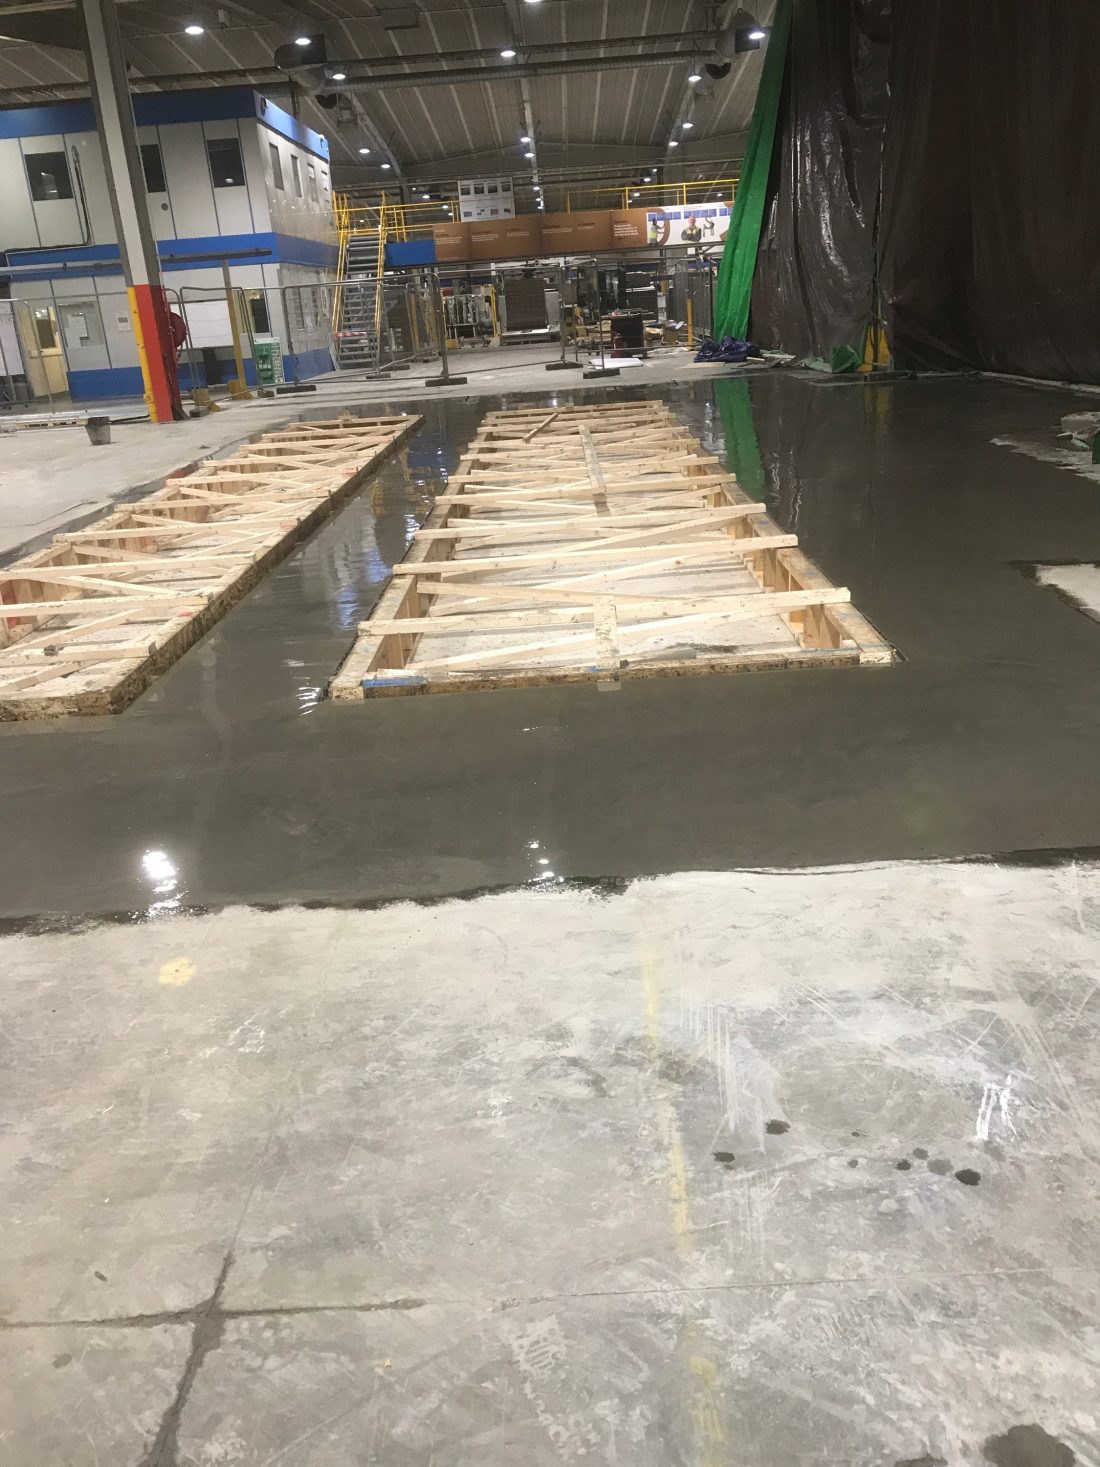
3.1 Excavation:
The first step in lowering a concrete floor is excavating the existing slab. Heavy machinery such as excavators or bobcats are commonly used for this purpose. The excavation depth should be according to your plan and should incorporate proper slope for drainage if necessary.
3.2 Disposing of excavated material:
Once the excavation is complete, it is crucial to dispose of the excavated material properly. You may need to rent a dumpster or arrange for a hauling service depending on the volume of material generated.
3.3 Reinforcing and adjusting structural elements:
Lowering a concrete floor can affect the structural integrity of the building. It is essential to reinforce or adjust existing structural elements as necessary to ensure safety and stability. Consult with a structural engineer or construction professional to determine which reinforcements are needed for your specific project.
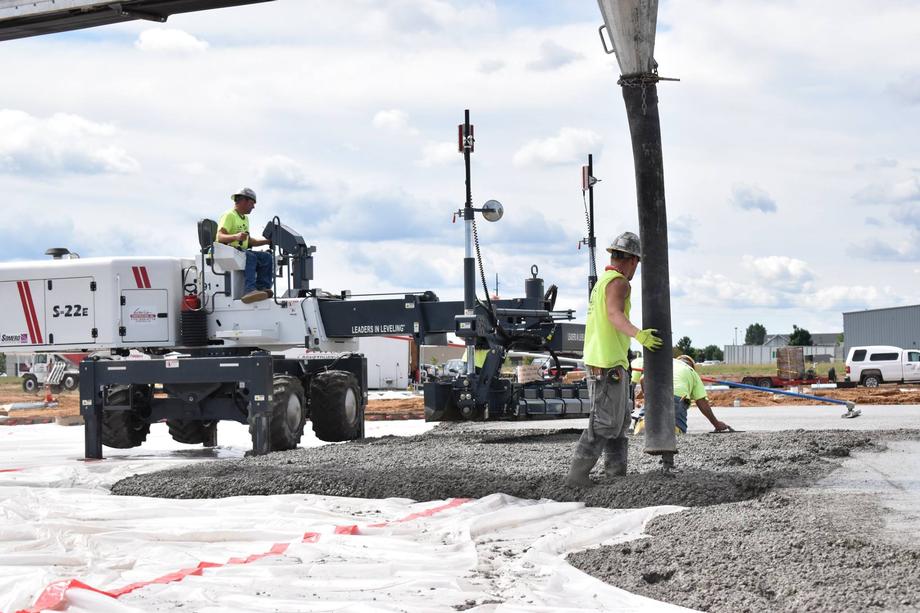
3.4 Pouring new concrete:
After completing all necessary adjustments and reinforcements, it is time to pour new concrete for your lowered floor. Ensure that the concrete mix is Appropriate for your specific project and follow proper pouring techniques to achieve a smooth and even surface. Allow the concrete to cure fully before continuing with any further construction or finishing work.
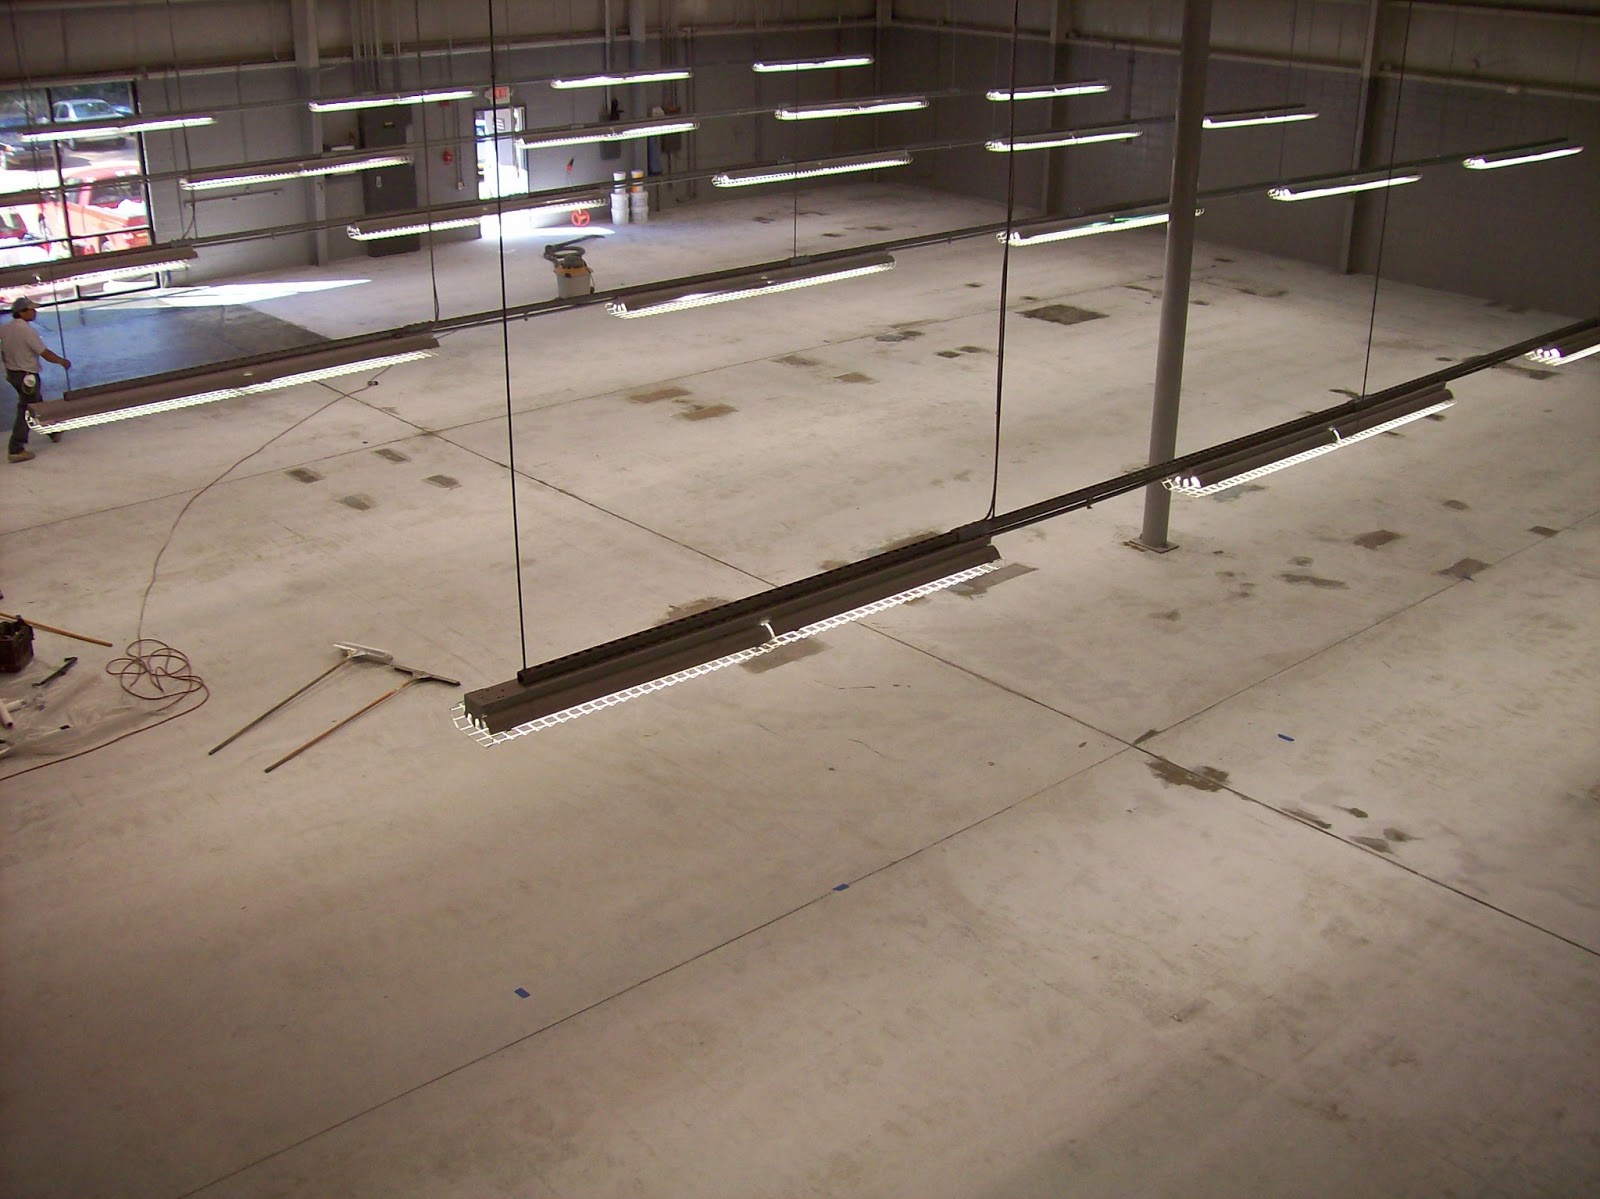
IV. Finishing and Clean-Up:
Once the new concrete floor has cured, you can proceed with finishing touches and clean-up to complete the project.
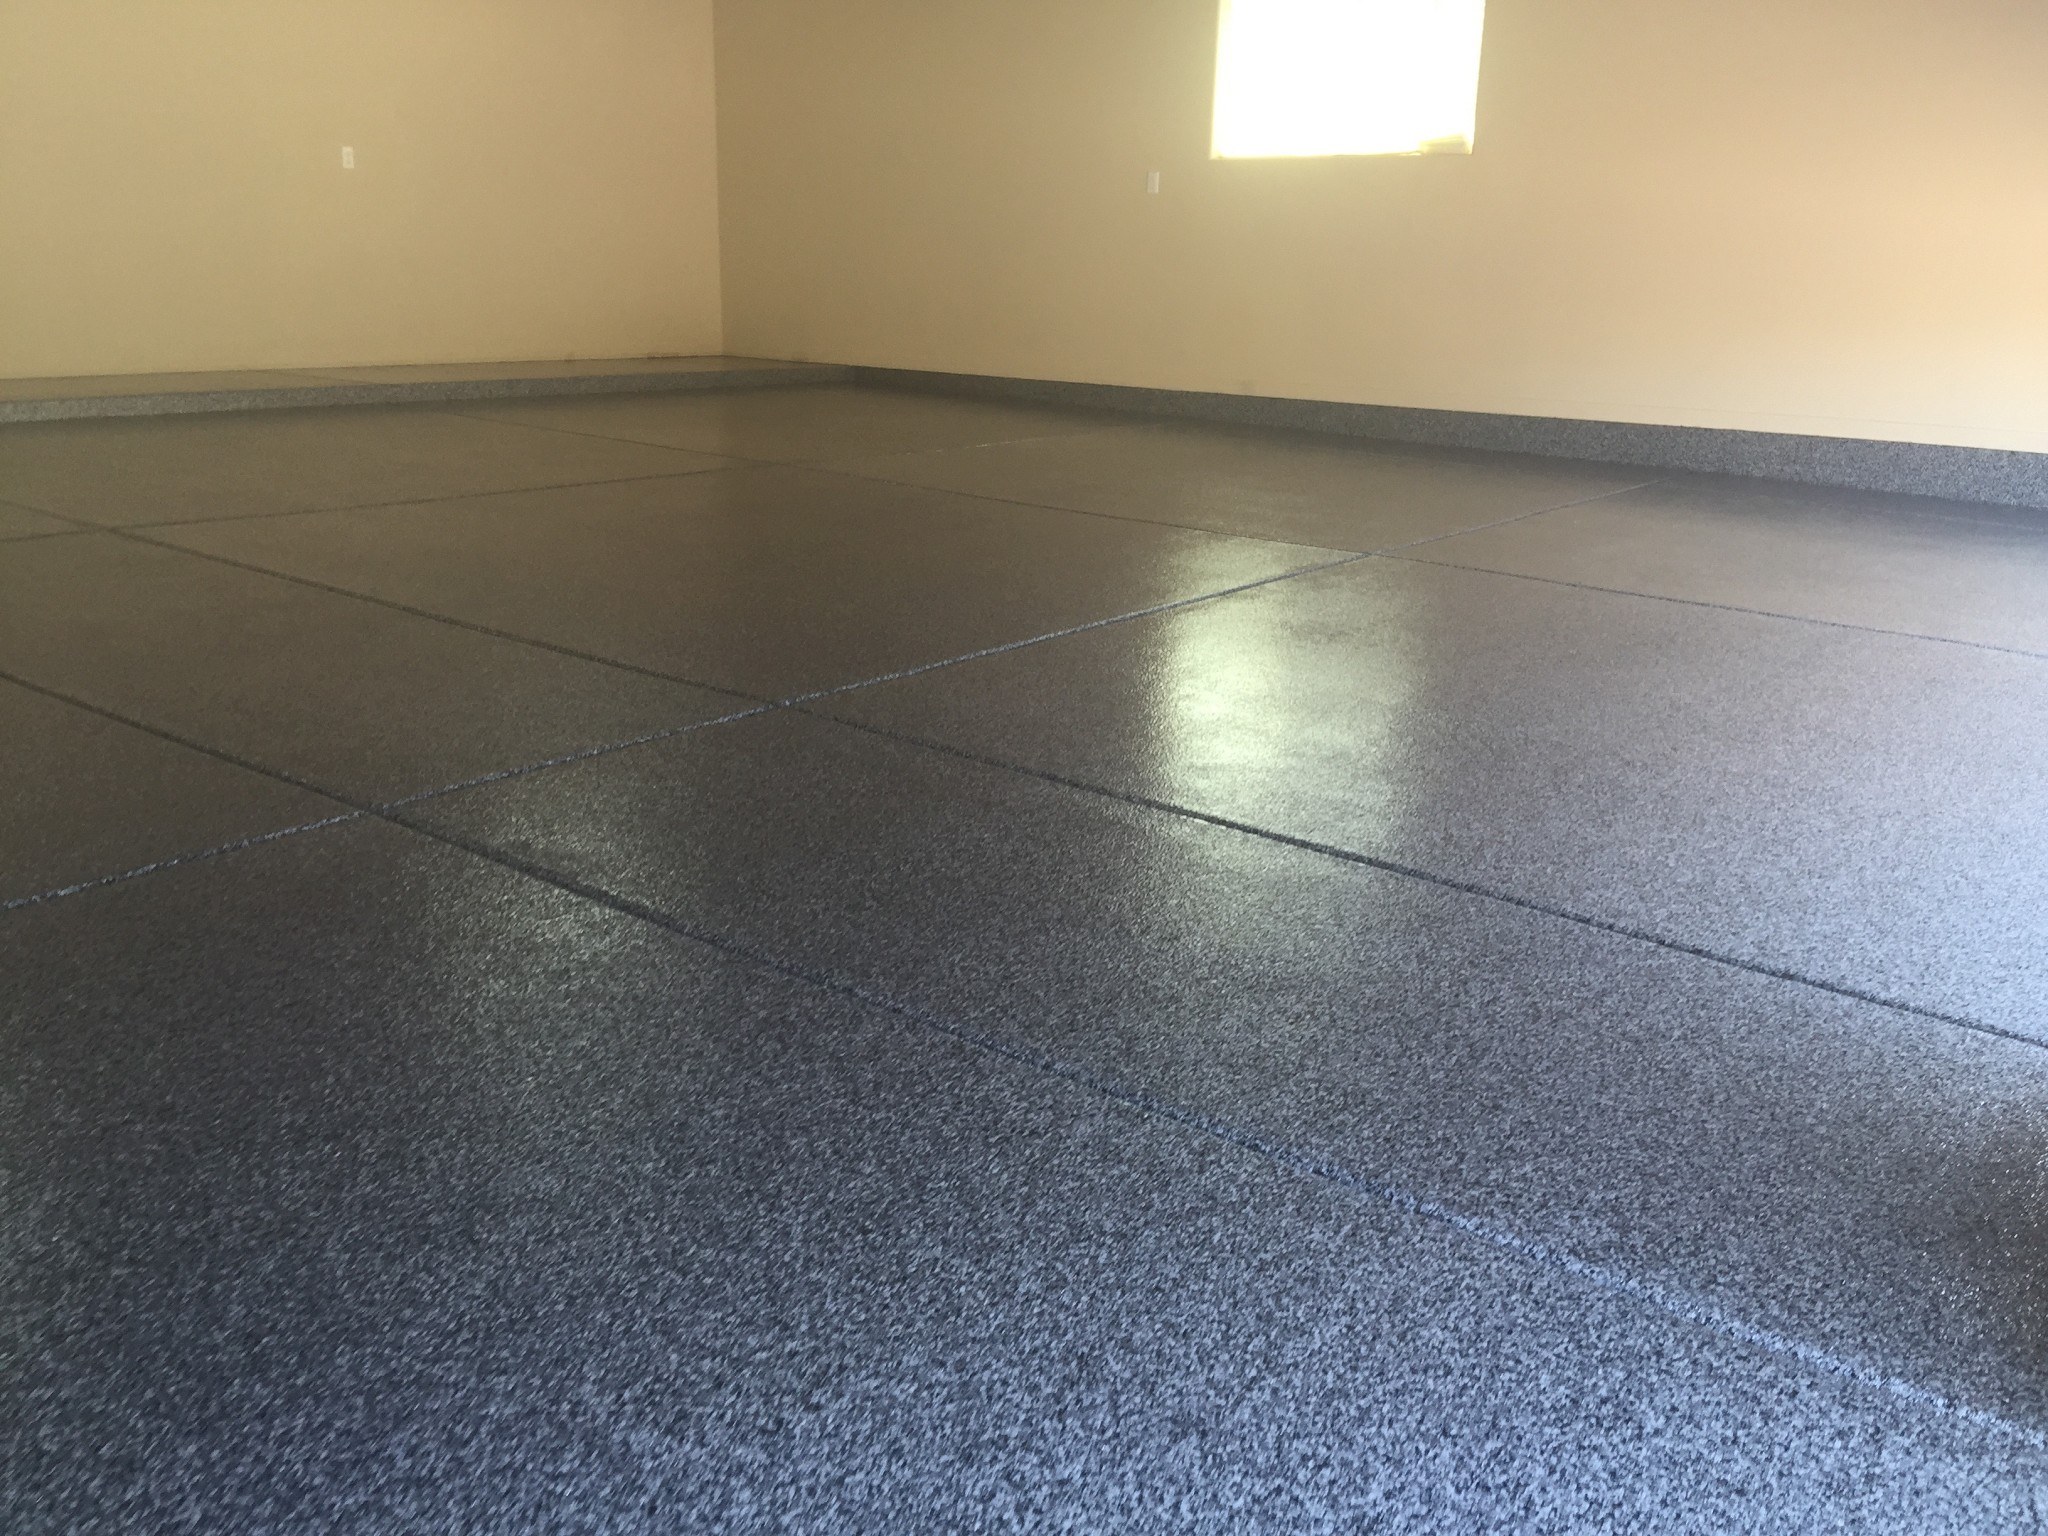
4.1 Sealing or polishing the concrete:
Depending on your desired aesthetic and functionality, you may choose to seal or polish the concrete floor. This can enhance its durability, appearance, and overall performance.
4.2 Installing flooring materials:
If desired, you can install additional flooring materials such as tiles, carpeting, or hardwood over the new concrete floor. Follow manufacturer instructions for proper installation techniques.
4.3 Cleaning up the workspace:
Before considering the project complete, make sure to thoroughly clean up the workspace. Remove any debris, tools, or equipment and properly dispose of them. This will leave you with a clean and safe environment.
4.4 Inspecting and finalizing permits:
Once all construction work is finished, schedule a final inspection with your local building department to ensure compliance with regulations and finalize any necessary permits. This will provide peace of mind that your project meets all necessary requirements.