Laying Self Adhesive Vinyl Floor Tiles On Concrete

Related Images about Laying Self Adhesive Vinyl Floor Tiles On Concrete
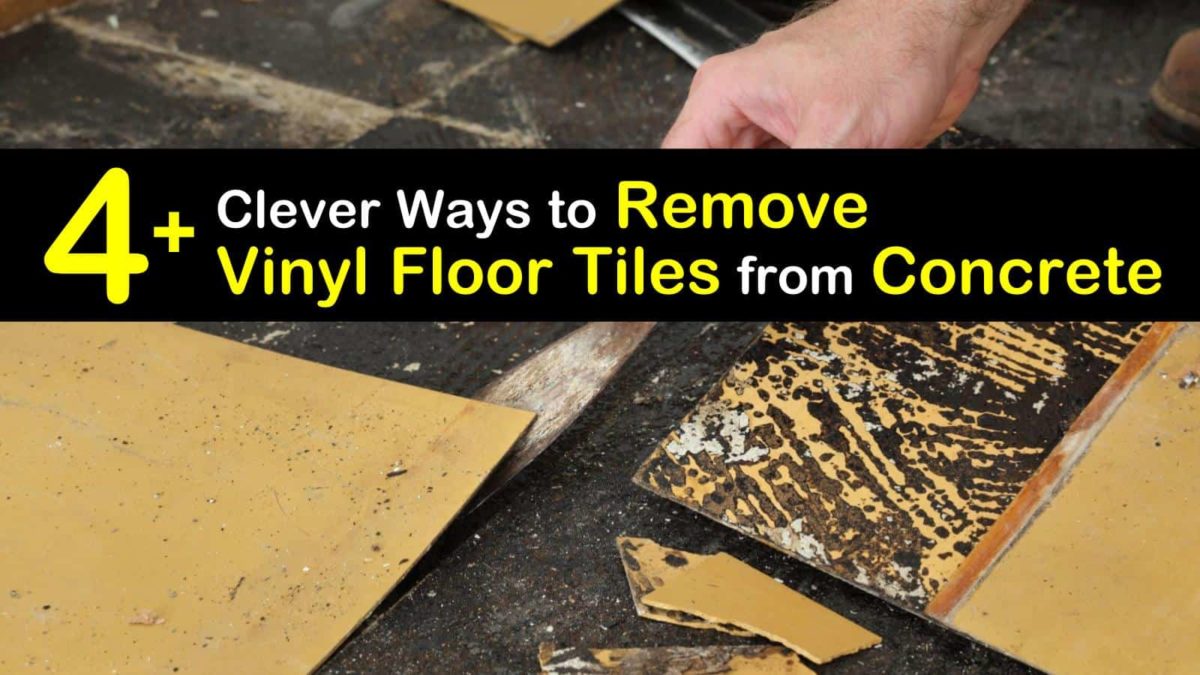
4+ Clever Ways to Remove Vinyl Floor Tiles from Concrete
You might even have the same pattern installed in your kitchen – an area where not many would consider wood for because of the heavy foot traffic and strong probability of spills and stains. Perhaps even in case you are tempted to cut on costs & just DIY installation of your vinyl sheets/ tiles, be pleased to find that employing an expert will be a better choice.
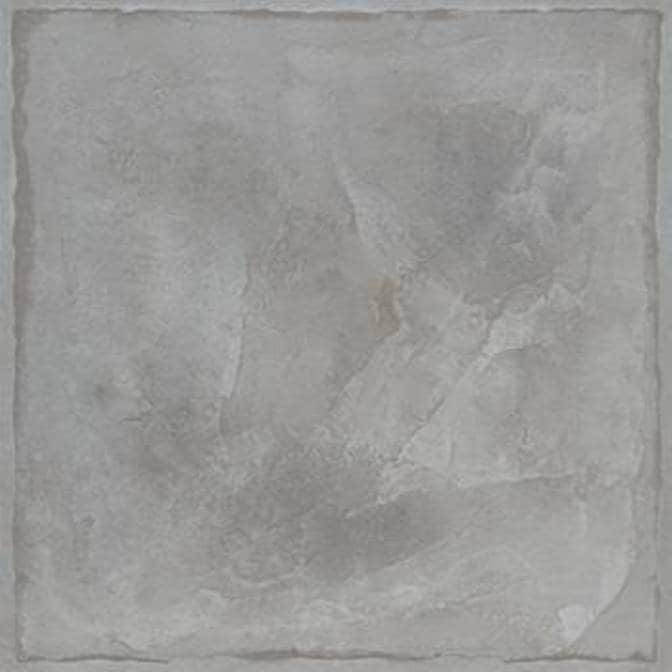
Solid Concrete self-adhesive vinyl floor tile – Kitchen Wraps

To acquire the foremost out of the cheap vinyl flooring of yours, carefully determine what kind of flooring you would like in accordance with the vinyl's put on layer. The cost of vinyl is just one of its main benefits. Installing vinyl flooring is a fairly easy do-it yourself project for almost all people. With modern day floors their is a resolution for this particular struggle. It's likewise in the position to handle intense foot traffic.
28 Beautiful Laying Vinyl Plank Over Tiles – Brainly Quotes

Vinyl kitchen floors will not rip. As mentioned before the material isn't the same as normal hardwood, tile or stone. Nevertheless, you have to know that the durability of its is greatly dependent on the way you lay it out there. There might be a cushioning layer on several styles. For all the moisture which comes with the territory, the water might slip through the cracks of a tile floors.
Laying a New Floor – Floor Ideas

Removable Tiles Floor – Vintalicious.net

How To Install Self Adhesive Vinyl Tile On Concrete Tile Design Ideas
How to Lay a Vinyl Tile Floor – Step by Step: The Family Handyman

How to Put Down Stick-on Vinyl Flooring Home Guides SF Gate

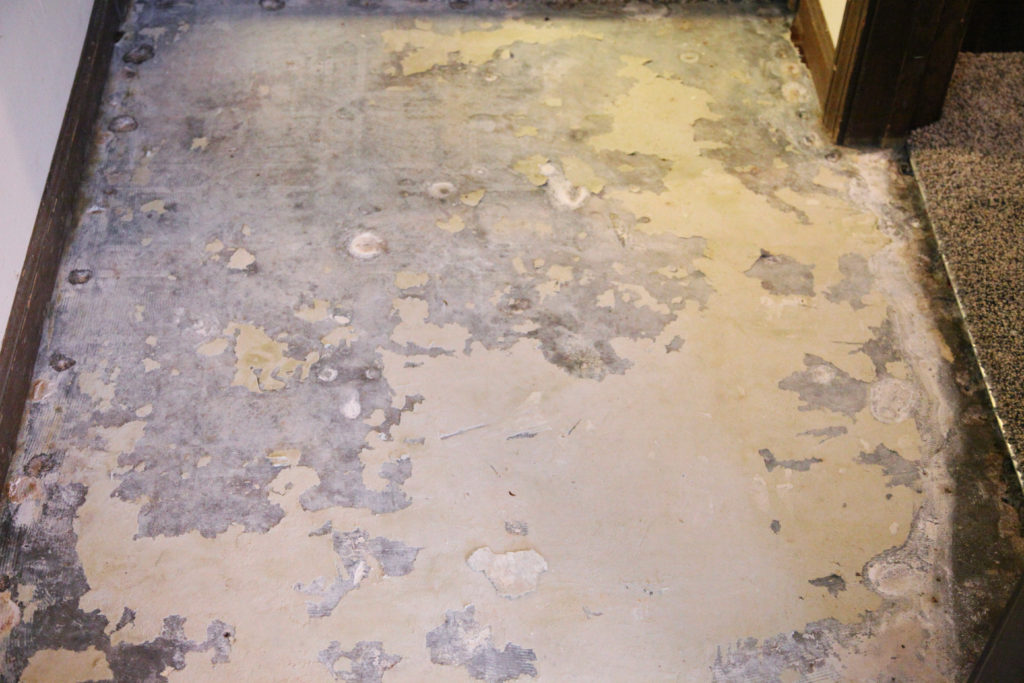
How To Remove Vinyl Tile Adhesive From Cement Floor – Home Alqu

How to Remove Vinyl Flooring From Concrete Tilen.space

Fitting Vinyl or Carpet Floor Tiles Wilkolife

How To Remove Commercial Vinyl Tile From Concrete Floor – how thick should plan vinyl flooring be
How to Remove Asphalt Tile Adhesive From a Concrete Floor Home Guides SF Gate

Vinyl Floor: Vinyl Floor Tile Adhesive
Related Posts:
- Pour Leveling Compound On Existing Vinyl Floor
- Vinyl Flooring Chennai Dealers
- Vinyl Flooring Fumes
- Prestige Vinyl Flooring
- Grass Design Vinyl Flooring
- Floral Pattern Vinyl Flooring
- 5mm Vinyl Flooring
- How To Remove Old Vinyl Flooring From Wood
- Luxury Vinyl Flooring
- Rustic Wood Vinyl Flooring
Installing Self Adhesive Vinyl Floor Tiles On Concrete
Installing self-adhesive vinyl floor tiles on a concrete surface is a great way to add style and durability to any room. This type of installation is also relatively easy and cost-effective, making it an attractive option for DIYers who want to update their interior without breaking the bank. With the right tools, materials, and knowledge, anyone can install self-adhesive vinyl floor tiles on a concrete surface in no time.
Materials Needed for Installation
Before beginning the installation process, ensure that all the necessary materials are available. The materials needed for installing self-adhesive vinyl floor tiles on a concrete surface include:
– Self-adhesive vinyl floor tiles
– Tape measure
– Pencil or marker
– Chalk line (for large areas)
– Utility knife or tile cutter
– Notched trowel
– Sponge or mop
– Bucket (for cleaning)
Preparing the Surface for Installation
Before laying down the self-adhesive vinyl floor tiles, it’s essential to prepare the surface. Begin by thoroughly cleaning the area with a mop and warm water. Remove any dirt, dust, grease, paint, wax, and other debris that could interfere with the installation process. Once the area is clean and dry, use a notched trowel to spread adhesive over a small section of the area. Make sure to spread an even layer of adhesive so that the tiles will stick properly. If any areas need to be patched or repaired before installation, do so now with concrete patching material. Allow enough time for all patches to dry completely before continuing with the installation process.
Laying Out Self Adhesive Vinyl Floor Tiles
Once the surface is prepped and ready to go, it’s time to start laying out the self-adhesive vinyl floor tiles. To begin, use a tape measure and pencil or marker to draw an outline of where each tile will go on the floor. If you’re working in a large area, consider using a chalk line to mark out sections more quickly and accurately. As you’re laying out each tile, make sure they fit together tightly without any gaps between them. If needed, cut some tiles with a utility knife or tile cutter in order to achieve this tight fit. When all of your tiles are laid out in place and fit together properly, peel off their paper backing and press them firmly onto the adhesive layer below. Take your time during this step so that each tile is secure and won’t come loose later on.
Finishing Touches After Installation
Once all of your self-adhesive vinyl floor tiles are laid down properly, it’s time for one final step – capping off any exposed edges around the perimeter of your room with trim pieces or molding strips. This will give your room a neat and finished look while also providing extra protection against water damage and other wear and tear. Once all of these finishing touches are complete, your new self-adhesive vinyl floor tiles should be ready for use!
It is important to remember that the installation process for self-adhesive vinyl floor tiles is a bit more involved than other types of flooring. Therefore, it is best to follow the instructions closely and take your time throughout the entire process. If you have any questions or need help with any part of the installation, don’t hesitate to reach out to a professional for assistance.
How do you lay self adhesive vinyl floor tiles on concrete?
1. Start by cleaning the concrete floor thoroughly with a mild detergent and water. Allow the floor to dry completely before proceeding.2. Measure the area of the room and purchase enough vinyl tiles to cover the entire floor.
3. Begin in one corner and lay down your first tile. Peel off the backing and press firmly into place. Ensure that you center each tile so that you do not end up with an uneven edge.
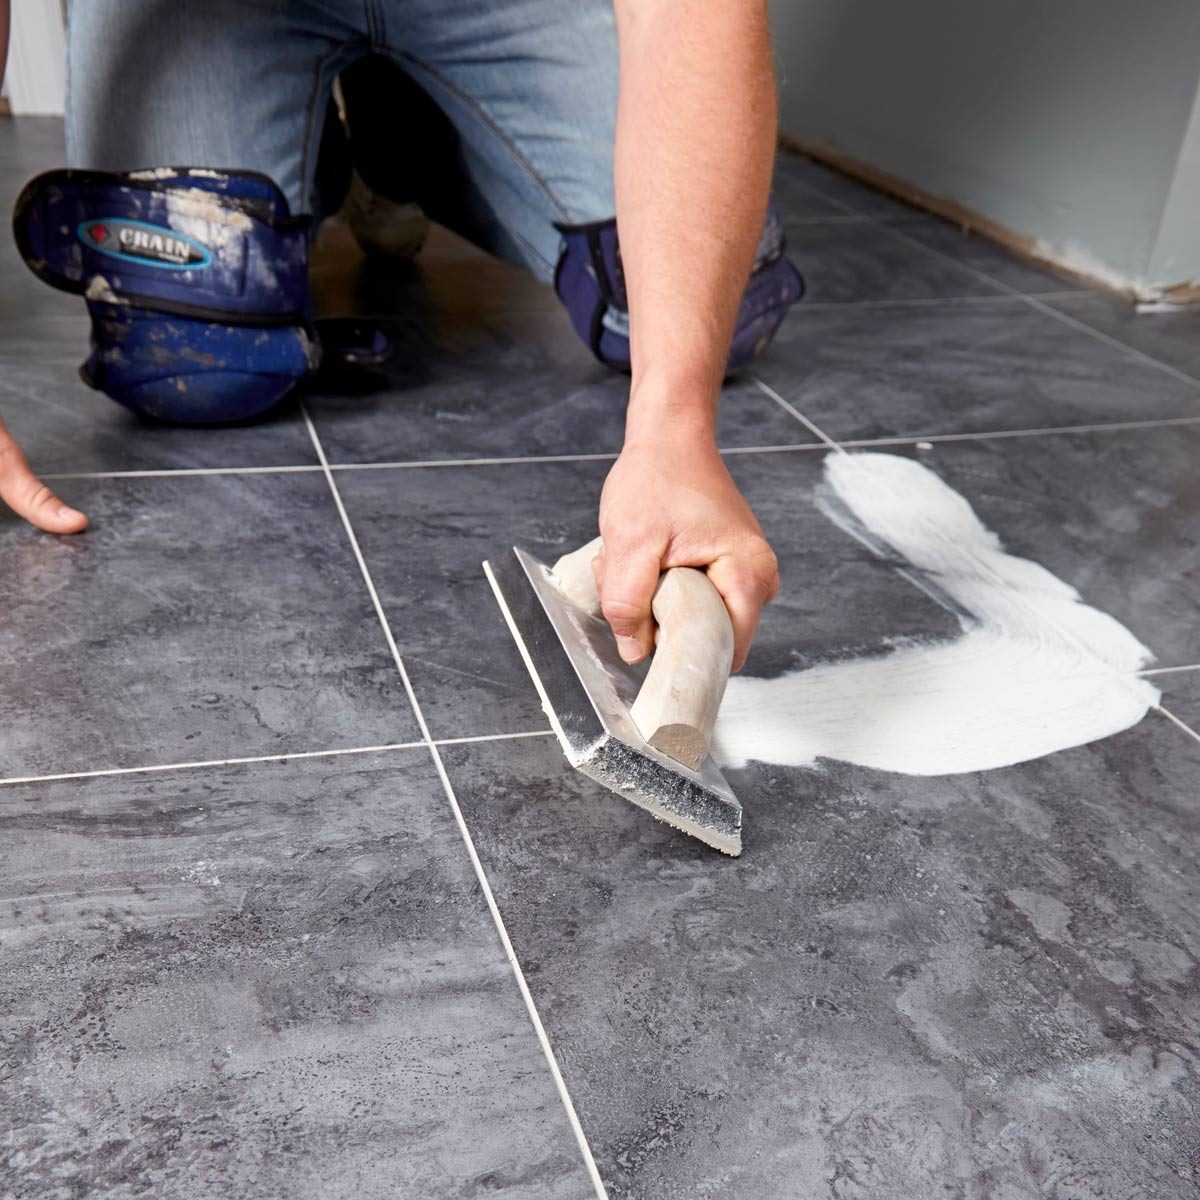
4. Continue laying your tiles in straight lines, using a level to ensure that they are evenly spaced and placed correctly. Use a roller to press down any tiles that may not be sticking properly.
5. Cut any pieces of tile to fit around corners or other obstacles using a utility knife or scissors. If necessary, use a wet saw to cut more intricate shapes or curves around edges or obstacles.
6. Apply vinyl sealer to all seams and edges of the tiles for extra protection against moisture and wear and tear. Allow the sealer to dry completely before using the floor.