Laying Marble Floor Tile

Related Images about Laying Marble Floor Tile
Old Victorian House: Marble Floor Tile – Entryway
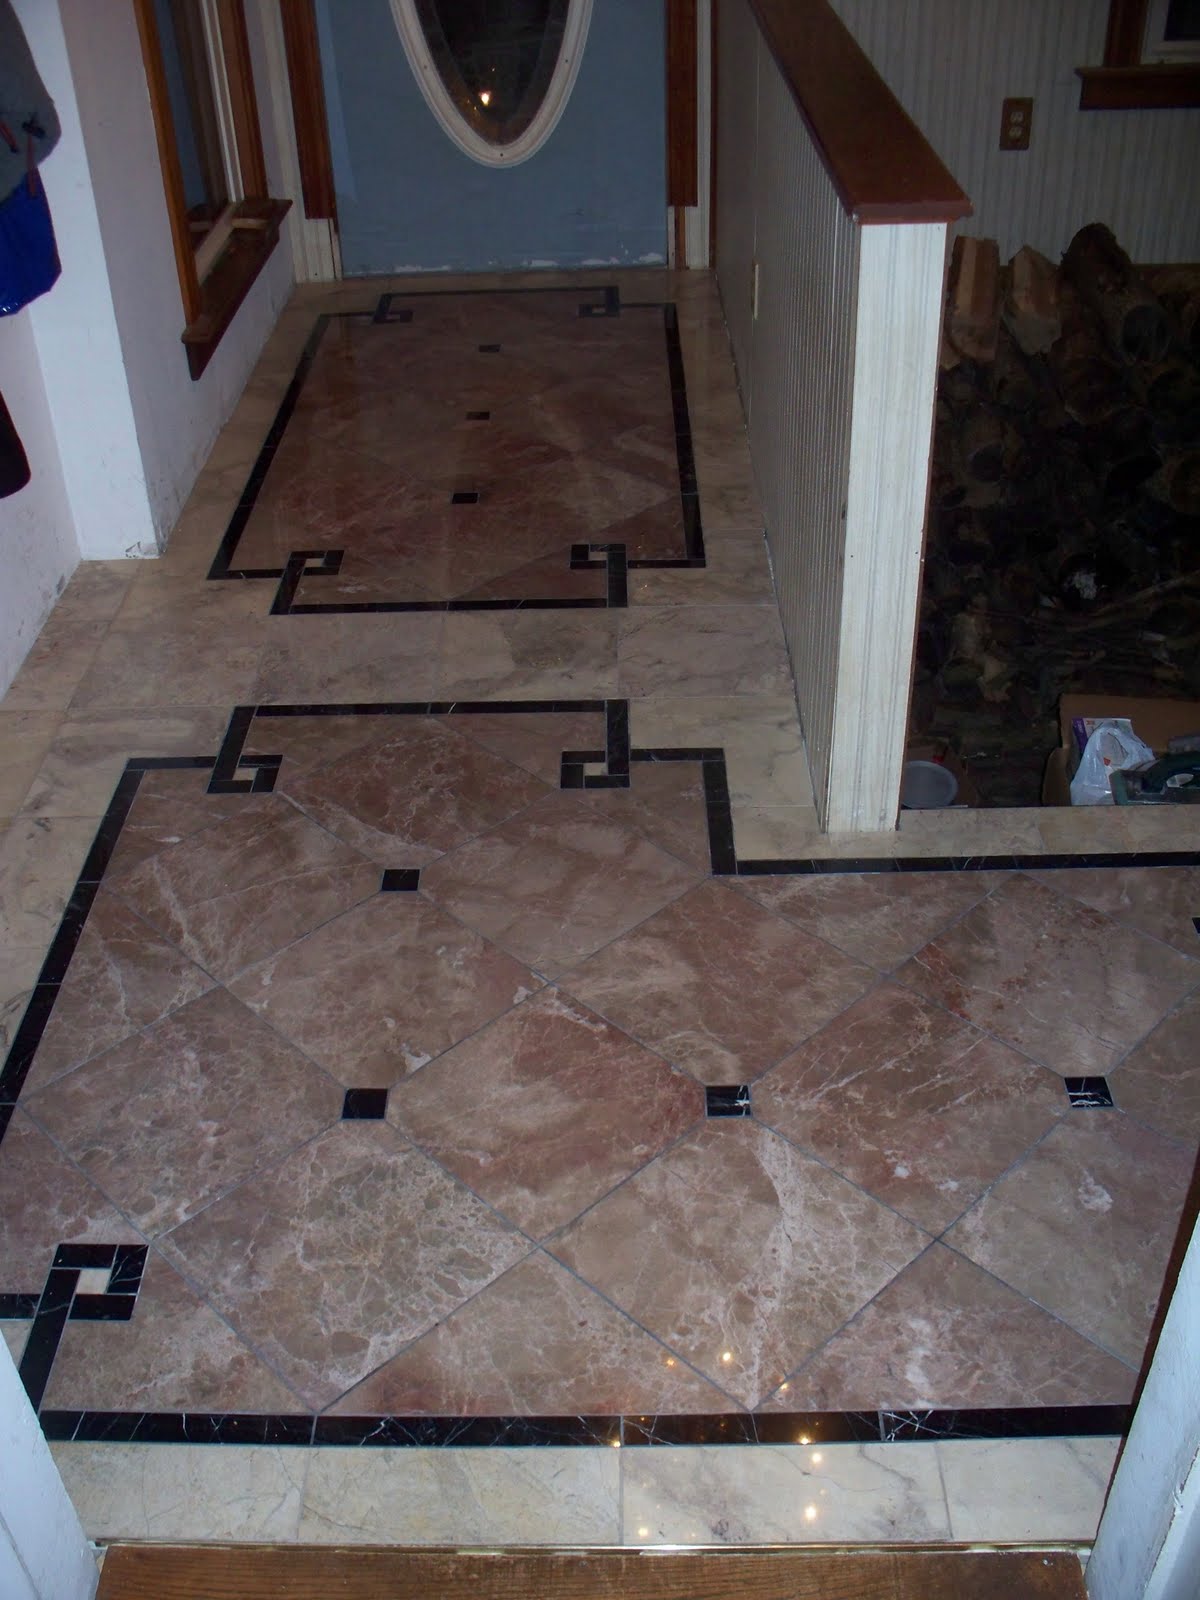
Marble floors are wonderful to have in your home. Marble possess hypoallergenic properties, it won't gather up pollen, other dirt or pet hair, and it is obviously reluctant to bacteria. This's particularly significant if you're planning on applying marble flooring in your kitchen where it may be subject to spills and lots of foot prints. Without any them, the approach to cleaning marble will certainly be lengthy and exhausting.
Pebble Shower Floors for Tiled Showers – How-to Install Small Rocks Tile Your World

Add an experienced cleaning to your routine maintenance and there's no reason why the floors of yours should not look their best almost all of the time. If you wish way too, you can use area rugs which work with the pattern of the marble, especially in the cold winter season. This might not be noticed on the marble tiles until the following day because of the drying out process.
Pin on Dream loo redo

Marble in itself is rather long-lasting, but when contained tile form, it is susceptible to breaking. You will find business marble floor cleaners that you are able to use instead. But the million dollar doubting which you ought to be asking yourself is,' is marble flooring right for the home?' Most of the interior designers get marble as the top flooring options due to its innumerable properties. You will find that no 2 flooring surfaces will look just alike.
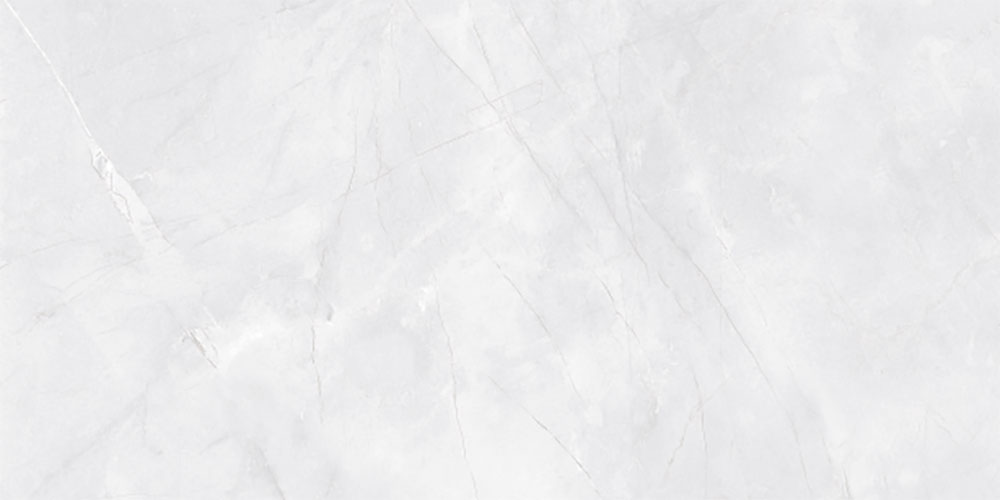
Lapis Silver Marble (60×120 cm) – HD Digital Ceramic Floor Tiles
Advice or suggestions on creating a 3d floor pattern – Ceramic Tile Advice Forums – John Bridge
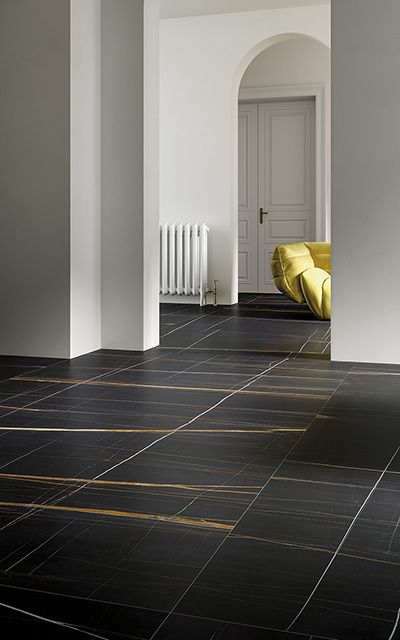
Sahara noir Marmi maximum, black marble/granite effect porcelain tiles
Your Guide to Laminate Tile Flooring
:max_bytes(150000):strip_icc()/2-56a49c543df78cf772833d93.jpg)
Related Posts:
- How To Restore Shine To Marble Floors
- Marble Floor Tiles Ireland
- Marble Floor Medallions Sale
- Marble Floor Repair Kit
- How To Wash Marble Floor
- Botticino Marble Floor Tiles
- Crazy Marble Flooring Designs
- How To Maintain Marble Flooring
- Marble Floor Tile Care Maintenance
- Hexagon Marble Floor
Laying Marble Floor Tile: A Comprehensive Guide to Achieving Elegance and Durability
Introduction:
Marble floor tiles are renowned for their timeless beauty, elegance, and durability. Installing marble floor tiles can transform any space into a luxurious haven. However, laying marble floor tiles requires careful planning, precision, and attention to detail. In this comprehensive guide, we will take you through the step-by-step process of laying marble floor tiles. From preparing the surface to grouting and sealing the tiles, we will provide you with all the information you need to create a stunning marble floor that will stand the test of time.
I. Preparing the Surface:
Before diving into the installation process, it is crucial to ensure that the surface is properly prepared. Any imperfections or irregularities in the subfloor can affect the final outcome of your marble floor. Here’s how to prepare the surface for laying marble floor tiles:
1. Clean and Declutter:
Begin by removing any furniture, rugs, or other items from the area where you plan to install the marble floor tiles. Sweep or vacuum the floor to remove dust and debris. Ensure that the surface is completely clean before proceeding.
2. Leveling the Subfloor:
Inspect the subfloor for any unevenness or dips. Use a leveling compound to fill in any gaps or low spots in the subfloor. A self-leveling compound can be poured over the subfloor and will settle into a smooth, even surface.
3. Checking for Moisture:
Marble is susceptible to moisture damage if not properly sealed and installed on a dry surface. Conduct a moisture test using a moisture meter to ensure that the subfloor has acceptable moisture levels before proceeding with installation.
FAQs:
Q: Can I install marble floor tiles over an existing tile floor?
A: Yes, you can install marble floor tiles over an existing tile floor as long as it is in good condition, level, and free from any cracks or loose tiles. It is essential to ensure that the existing tile floor is clean and well-adhered before proceeding with installation.
Q: How do I know if the subfloor is level enough for marble floor tile installation?
A: To determine if the subfloor is level, you can use a straightedge placed across different areas of the floor. If you notice any gaps or dips beneath the straightedge, you will need to use a leveling compound to achieve a level surface.
II. Planning and Layout:
Proper planning and layout are crucial for achieving a visually appealing marble floor. Taking the time to plan your tile layout will help minimize cuts, ensure symmetry, and create a cohesive look. Follow these steps for effective planning and layout:
1. Measure the Space:
Measure the dimensions of the room where you intend to install the marble floor tiles. Use a tape measure to determine both the length and width of the area. Multiply these measurements to calculate the square footage of tiles needed, taking into account any waste due to cuts or mistakes.
2. Dry Layout:
Before applying adhesive, perform a dry layout by placing the tiles on the floor without adhesive. This step allows you to visualize how the tiles will fit together and make any necessary adjustments before permanently installing them.
3. Start from the Center:
It is generally recommended to start tiling from the center of the room to achieve a balanced look. Use a chalk line or laser level to mark a straight line in the center of your space as a reference point.
FAQs:
Q: Why is it important to perform a dry layout before applying adhesive? A: Performing a dry layout allows you to visualize how the tiles will fit together and make any necessary adjustments before permanently installing them. This ensures that the final installation will be visually appealing and minimizes the chances of making mistakes or having to remove and reposition tiles after adhesive has been applied. Performing a dry layout also helps in determining the best placement of full tiles and cuts, ensuring symmetry and minimizing waste. It allows you to plan for any pattern or design elements you may want to incorporate into your marble floor. Performing a dry layout also helps in determining the best placement of full tiles and cuts, ensuring symmetry and minimizing waste. It allows you to plan for any pattern or design elements you may want to incorporate into your marble floor. Additionally, it gives you the opportunity to make any necessary adjustments to ensure that the tiles fit together properly and create a cohesive look. By performing a dry layout, you can avoid mistakes and the need to remove and reposition tiles after adhesive has been applied. Overall, it is an important step in achieving a visually appealing and well-planned marble floor installation. A dry layout is important before applying adhesive because it allows you to visualize how the tiles will fit together and make any necessary adjustments. This ensures that the final installation will be visually appealing and minimizes the chances of making mistakes or having to remove and reposition tiles after adhesive has been applied.
Performing a dry layout also helps in determining the best placement of full tiles and cuts, ensuring symmetry and minimizing waste. It allows you to plan for any pattern or design elements you may want to incorporate into your marble floor.
Additionally, it gives you the opportunity to make any necessary adjustments to ensure that the tiles fit together properly and create a cohesive look. By performing a dry layout, you can avoid mistakes and the need to remove and reposition tiles after adhesive has been applied.
Overall, a dry layout is an important step in achieving a visually appealing and well-planned marble floor installation.