Laying Cork Flooring Over Tile
Related Images about Laying Cork Flooring Over Tile
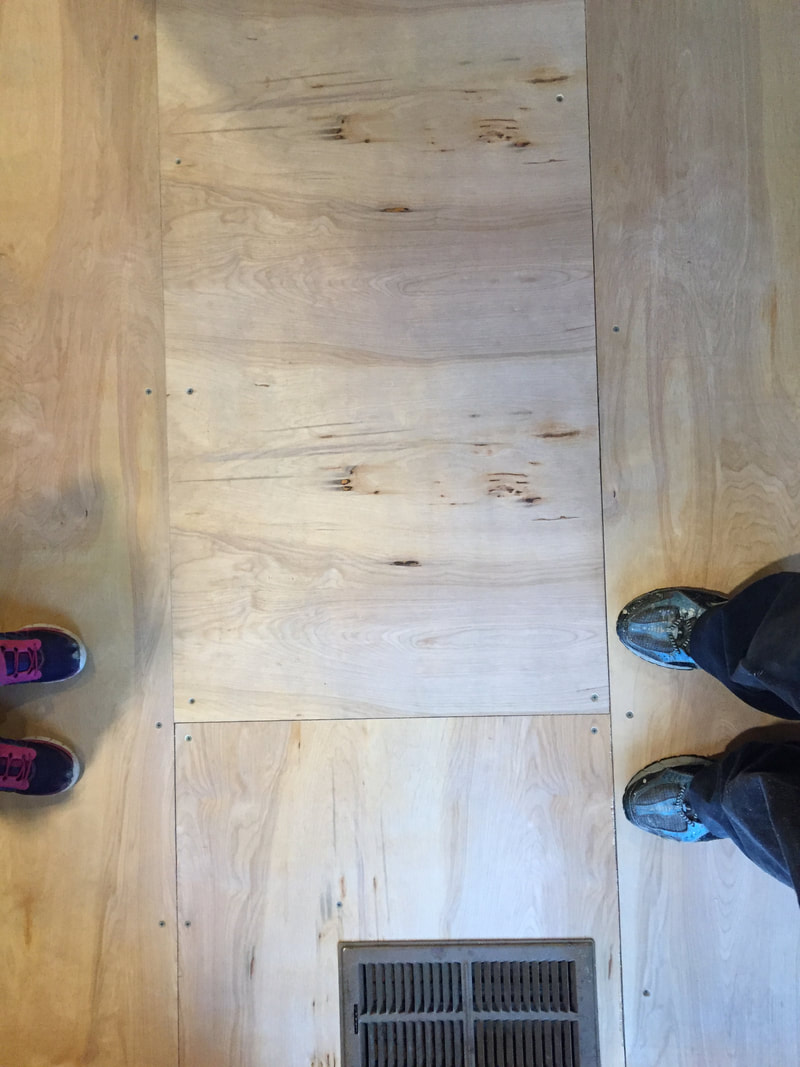
Laminate Flooring Over Ceramic Tiles
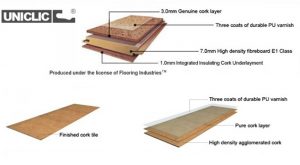
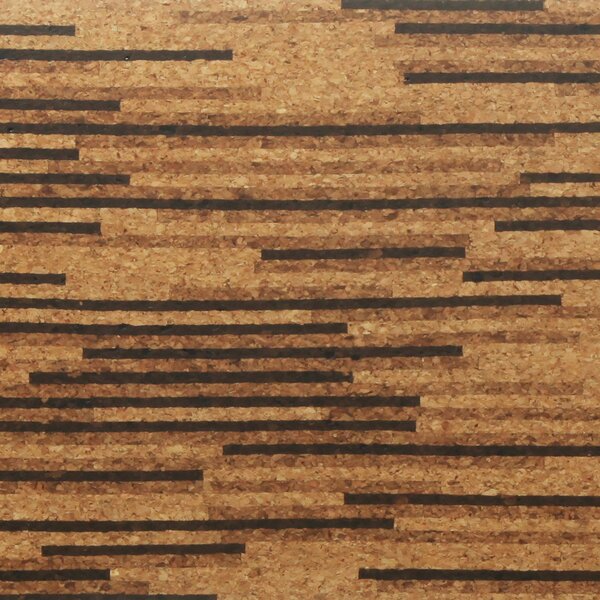
According to cork flooring feedback, it is ideal to look into a variety of cork panels so that you can pick the right design for your decor. The oak obligingly sheds its bark of its personal accord, after which is harvested. So very long as cork flooring is properly sealed, it can withstand exposure and spills nearly all to moisture without damage.
How to Lay Vinyl Tiles on Top of Old Flooring : Flooring Help – YouTube

Sometimes when you reclaim hardwood floors they initially required the deforestation of how to live trees. If you believe cork flooring may be right from you in comparison with what you need to do more research into this particular flooring remedy. When finishing a properly installed un finished floor, the putting on sealers offers an even more uniform finish keeping feasible water retention to a minimum.
Natural Cork 30cm Interlocking Floor Tile (16 Pack) – Soft Floor KIDS

Cork content is actually solely by means of the bark of Quercus suber (cork oak tree). Among the nicer aspects of cook flooring is actually it is not necessary to reduce trees to harvest the material. If you spill anything on a cork floor, you don’t have to get worried about staining or perhaps any other damage, you simply wipe it up, and the mess is gone.
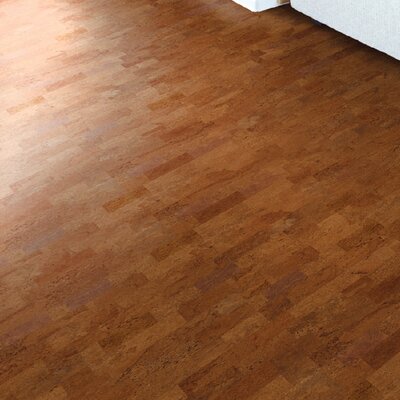
Find the Perfect Cork Flooring Wayfair
Right Flooring – Flooring and Tiling Services

Find the Perfect Cork Flooring Wayfair
Cork Flooring Tiles or Cork Floating Floor kitchen or bathroom
Find the Perfect Cork Flooring Wayfair
How to Install Cork Tile Flooring The Family Handyman
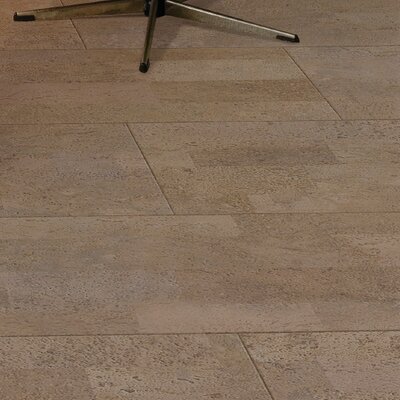
Find the Perfect Cork Wide Plank Hardwood Flooring Wayfair
Floor Installation Photos: Wood-Look Porcelain Tile in Levittown

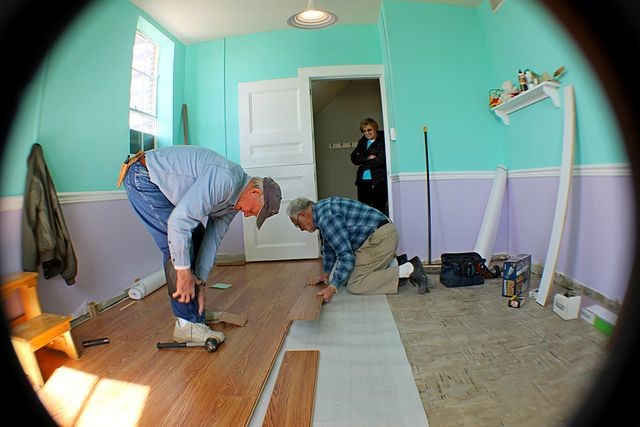
Hardwood Flooring Installation Okanagan Hardwood Flooring

APC Cork Floor Tiles Cork 1/5″ Thick x 12″ Wide Tile Flooring Wayfair
Find the Perfect Cork Flooring Wayfair
Related Posts:
- Cork Floor Paste Wax
- Cutting Cork Flooring Planks
- Cork Flooring Cons and Pros
- Basement Flooring Ideas Cork
- Cork Floor Cost Comparison
- Can You Stain Cork Floors
- Cork Flooring Per Square Foot
- Can Cork Flooring Be Installed Over Ceramic Tile
- Refinish Cork Floor Tiles
- Cork Floor Tiles Reviews
Laying Cork Flooring Over Tile: A Comprehensive Guide
Introduction:
Cork flooring has gained immense popularity in recent years due to its eco-friendly nature, durability, and unique aesthetic appeal. One of the key advantages of cork flooring is its ability to be installed over existing tiles, saving time and money on the removal and disposal of the old flooring. In this article, we will delve into the step-by-step process of laying cork flooring over tile, providing you with all the information you need to achieve a successful installation.
I. Preparing the Surface:
Before embarking on any flooring project, it is crucial to ensure that the surface is properly prepared. This step is particularly important when laying cork flooring over tile. Here’s what you need to do:
1. Clean the Tile Surface:
Begin by thoroughly cleaning the tile surface using a mild detergent and warm water. This will remove any dirt, grease, or debris that could hinder the adhesion of the cork tiles. Make sure to rinse off any residue and allow the surface to dry completely before proceeding.
2. Check for Loose or Damaged Tiles:
Inspect the tiles for any signs of looseness or damage. If you come across any loose or cracked tiles, it is essential to repair or replace them before continuing with the installation process. Failure to address these issues may result in an uneven surface, compromising the integrity of your new cork floor.
FAQs:
Q1: Can I install cork flooring over all types of tiles?
A1: Cork flooring can generally be installed over most types of tile, including ceramic, porcelain, and natural stone. However, it is crucial to ensure that the existing tile is in good condition and securely bonded to the subfloor.
Q2: Should I remove grout lines before installing cork flooring?
A2: No, it is not necessary to remove grout lines when laying cork flooring over tile. The cork tiles can be installed directly over the grout lines, as long as they are clean and level.
II. Acclimating the Cork Tiles:
Cork is a natural material that expands and contracts with changes in temperature and humidity. To prevent any issues with buckling or gapping in the future, it is crucial to acclimate the cork tiles to the room’s conditions before installation. Follow these steps:
1. Unpack the Cork Tiles:
Remove the cork tiles from their packaging and place them in the room where they will be installed. Ensure that the room is at normal living conditions, with a temperature between 60-80°F (15-27°C) and a relative humidity of 40-60%. Leave the tiles to acclimate for at least 48 hours.
2. Stack the Tiles Properly:
Stack the cork tiles loosely, allowing air to circulate between them. This will facilitate equal moisture distribution and ensure that each tile adjusts to its surroundings uniformly.
FAQs:
Q1: How important is it to acclimate cork tiles?
A1: Acclimating cork tiles is crucial to prevent future issues such as buckling or gapping. The moisture content of the tiles needs time to adjust to the room’s conditions, ensuring a stable and long-lasting installation.
Q2: What if I don’t have enough time to acclimate the tiles?
A2: While it is highly recommended to acclimate cork tiles for at least 48 hours, if you are short on time, you can reduce this period to a minimum of 24 hours. However, keep in Mind that the longer the acclimation period, the better the results will be. Q3: Can I acclimate the cork tiles in a different room than where they will be installed?
A3: It is best to acclimate the cork tiles in the room where they will be installed. This allows them to adjust to the specific temperature and humidity conditions of that space. Acclimating the cork tiles in a different room may not provide accurate results and could lead to issues with buckling or gapping. It is essential to acclimate the tiles in the same room where they will be installed to ensure a proper fit and long-lasting installation.