Laying An Engineered Wood Floor
Related Images about Laying An Engineered Wood Floor
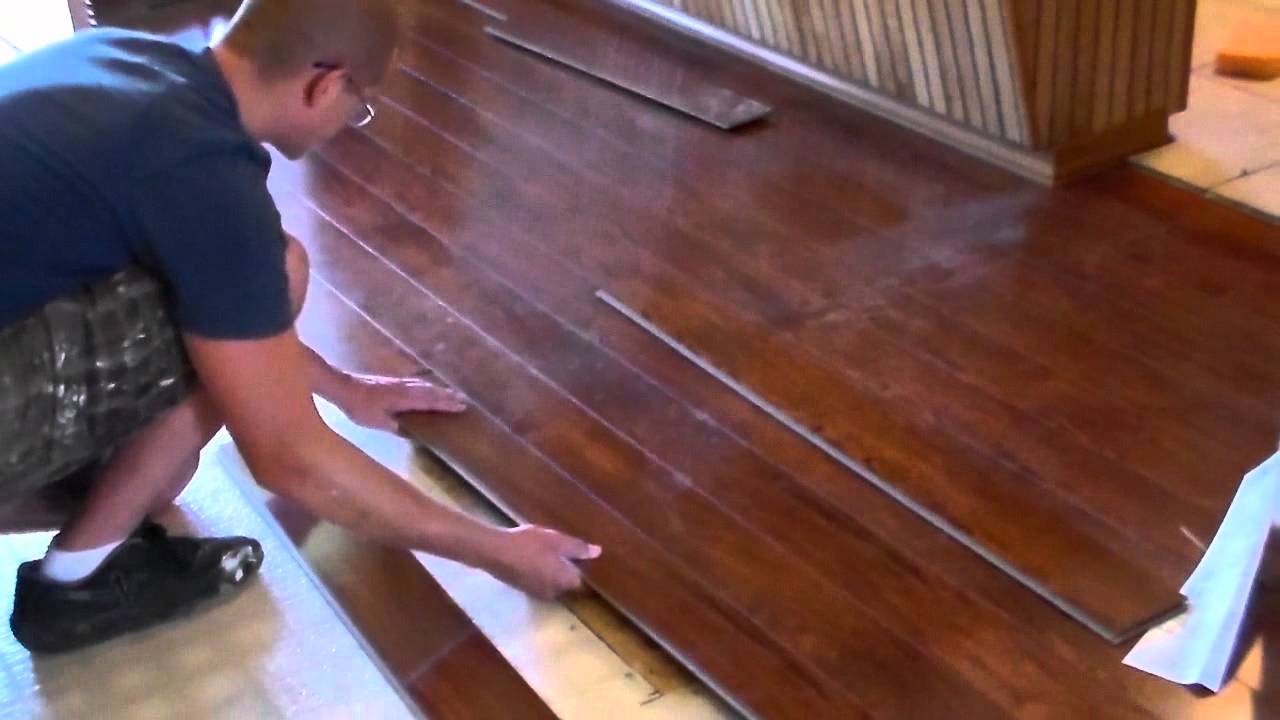
Installing a Floating Wood Floor – YouTube
The wood flooring care specialist is going to evaluate your floors to choose just what's needed subsequently clean and wax the floors restoration them directlyto the beauty, natural warmth and shine associated with wood floors. This collaboration gives us a sturdy floor material which is in a position to withstand particularly heavy human site traffic. For starters you have to choose which approach you'd like.
Solid Wood Floors Over Slab Laying hardwood floors, Floating hardwood floor, Solid wood flooring

This's a significant step since the boards can be composed out of a natural material, they must be allowed to acclimatise to the new room temperature and moisture levels they will be subjected to. Since many laminates simply click together without any kind of glues it's right away to install. There are risk involved should you use wood in a kitchen or bathroom.
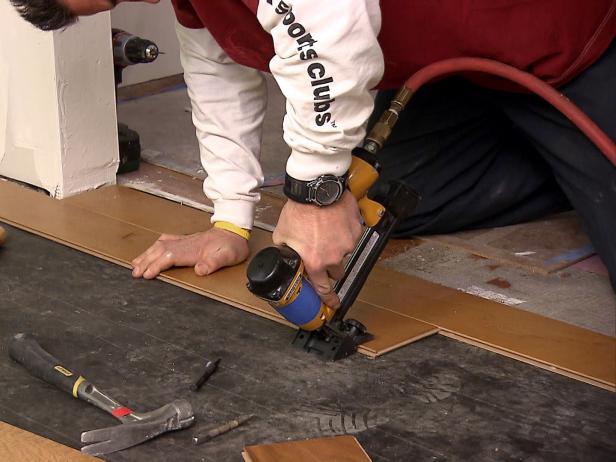
How to Install an Engineered Hardwood Floor how-tos DIY
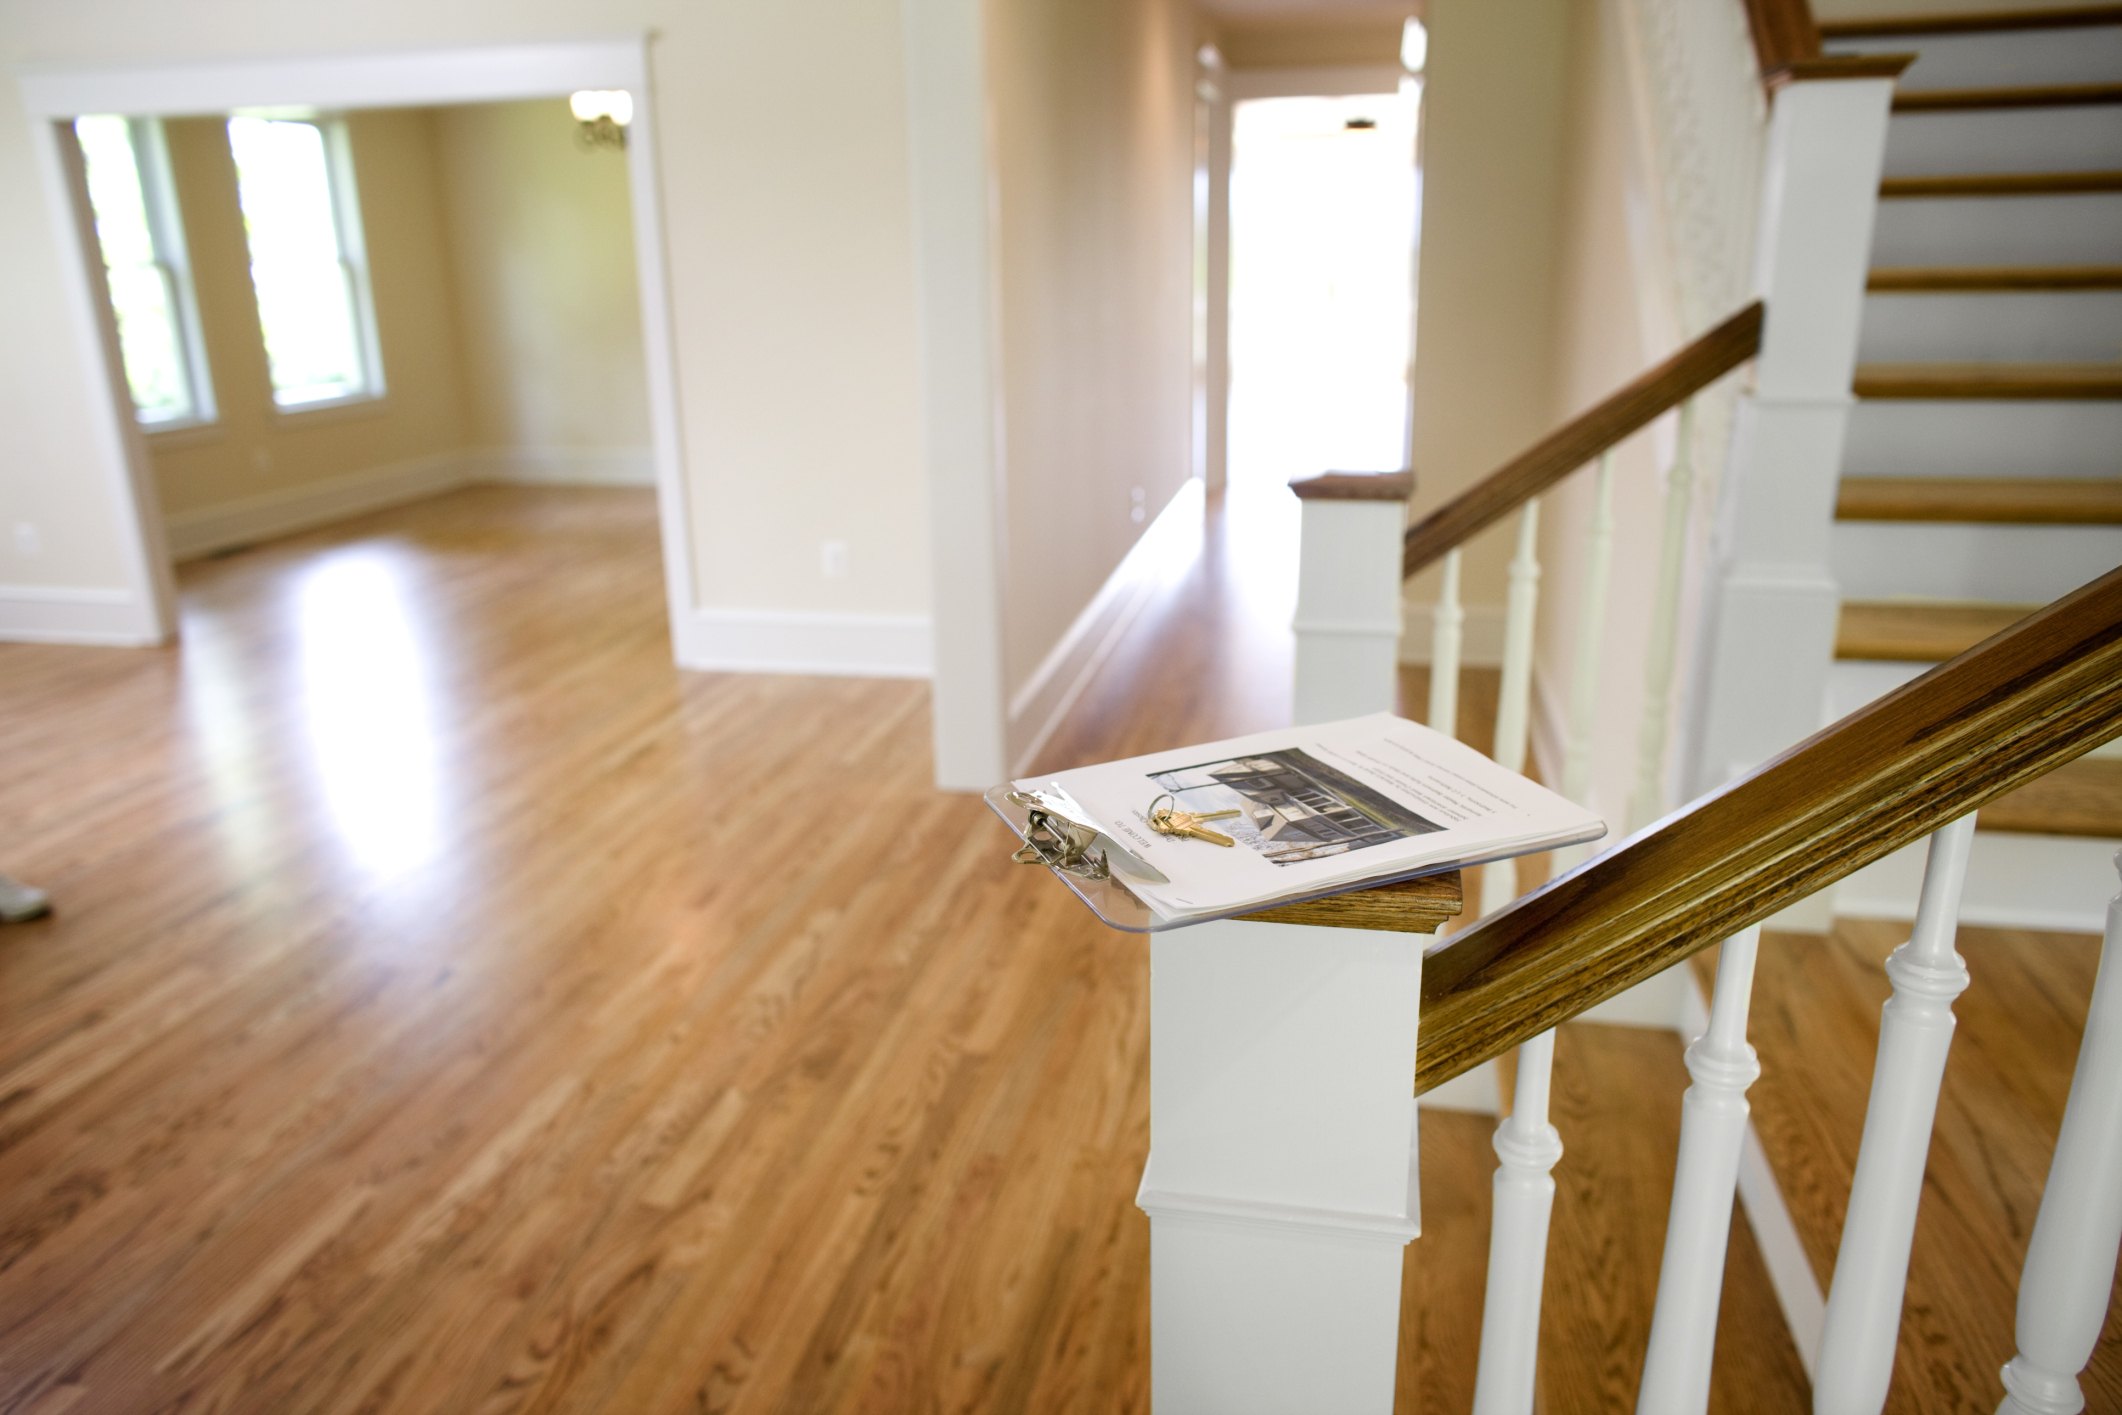
Potential buyers look at many things which can influence their choice along with a new engineered hardwood floor may be only the point to seal the deal. Consumers likewise must be conscientious about moving their area rugs and furniture periodically to avoid discolorations. Compare that to most hardwood trees and you are going to see the gap. As the boards change to the brand new planet, they will expand or even contract accordingly.
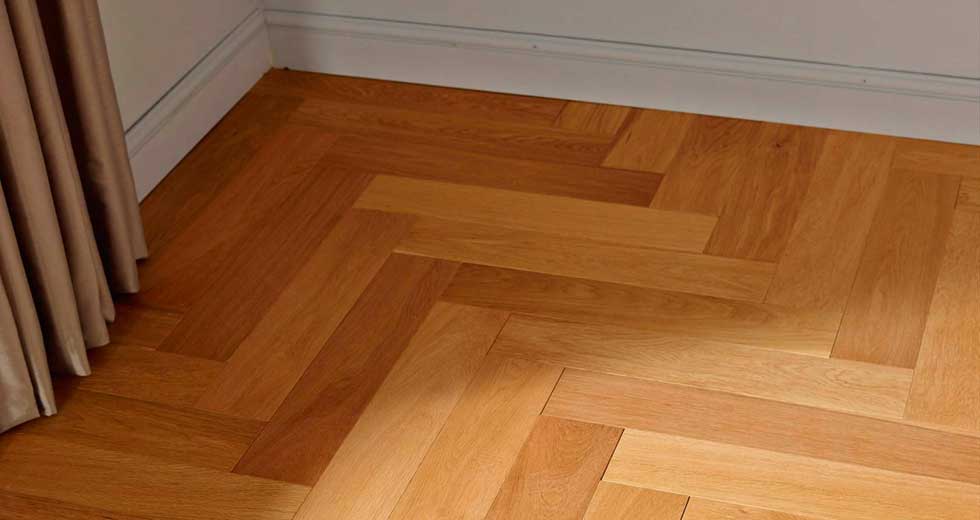
Patterned wood with a direction change transition. Laying hardwood floors, Wood floors wide

Laminate Floor Installation Tips Laying laminate flooring, Installing laminate flooring, Diy

Ash Vs. Oak Flooring eHow
200mm wide Engineered European Oak Flooring Oiled Rustic – Real Wood Flooring Watford
Related Posts:
- Wood Floor Modern Kitchen
- Wood Floor Garage Plans
- Real Wood Flooring In Kitchen
- Wood Floor Cork Underlayment
- Streak Free Wood Floor Cleaning
- Solid Wood Flooring White Washed Oak
- Engineered Wood Flooring Durability
- Wood Flooring Types Hardness
- Engineered Wood Flooring Formaldehyde Emission
- Wood Floors For Beach House
Laying an Engineered Wood Floor: A Comprehensive Guide
Engineered wood floors are a popular choice for homeowners looking to improve the look and feel of their home. Not only do engineered wood floors look great, but they are also easier to install than traditional hardwood floors. In this comprehensive guide, we’ll look at the steps involved in laying an engineered wood floor.
Preparing the Subfloor
Before you start laying your new floor, you will need to prepare the subfloor. This means making sure that it is level, clean, and free from any debris or damage. Start by using a spirit level to check that the subfloor is level. If necessary, use self-leveling compound to even out any dips or bumps. You should also check for any nails or screws sticking up and remove them with a hammer or screwdriver. Finally, vacuum the subfloor thoroughly to ensure that it is completely clean before beginning installation.
Acclimatizing the Floorboards
Once your subfloor is ready, you can start acclimatizing your new floorboards. Place them in the room where they will be installed and leave them there for at least 48 hours so that they can adjust to the temperature and humidity of the space. This will help to minimize any potential warping once the floor is laid.
Laying The Floorboards
Once your boards have been acclimatized, you can start laying them down on the subfloor. Begin by laying out your first row along one wall of the room and use spacers between each board to ensure an even gap between them all. Use a saw or jigsaw to cut boards as necessary to fit around corners or obstacles such as pipes or radiators. When you reach the end of a row, use a plank-laying tool such as a tapping block and rubber mallet to click each board into place along its length. Continue laying rows until you reach the opposite wall of the room.
Finishing Touches
Once all of your boards have been laid, you can finish off with some additional touches such as trim pieces around doorways and skirting boards around the perimeter of the room. You may also want to add some adhesive to hold everything in place and prevent movement over time. Finally, fill in any gaps between boards with some wood filler before sanding down any raised edges with sandpaper for a smooth finish.
FAQs About Laying An Engineered Wood Floor
Q: What kind of tools do I need?
Spirit level, saw/jigsaw, plank-laying tool (tapping block & rubber mallet), adhesive, wood filler & sandpaper
Q: How long does it take?
It depends on the size of your room but typically it should take around 2-3 days for an average sized room (12’x12’).
Q: What type of glue should I use?
You should use an adhesive specifically designed for engineered wood floors – this will ensure that it bonds correctly and won’t cause damage over time.
How do you install an engineered wood floor?
1. Start by measuring the area where you plan to install the engineered wood floor.2. Purchase the necessary materials, such as underlayment, transition strips, and fasteners.
3. Prepare the subfloor by cleaning it and making sure it is level and free of debris.
4. Secure a moisture barrier to the subfloor to prevent moisture damage to the wood flooring.
5. Install the underlayment, following manufacturer instructions.
6. Begin laying the engineered wood flooring from left to right in rows, starting at the wall and working toward the opposite wall.
7. Secure each plank with nails or glue as recommended by the manufacturer.
8. When you reach a doorway or other transition area, use transition strips or molding to join two sections of flooring together neatly.
9. Install baseboards or shoe molding around the perimeter of the room to hide any gaps between the floor and wall.
10. Vacuum up any remaining debris and then enjoy your newly installed engineered wood floor!