Laying A Marble Floor

Related Images about Laying A Marble Floor
Marble or laminate? Laminate flooring is now so convincing following exciting innovations in

One other way to make sure the marble floor of yours is stored in fine shape is by hiring a professional floor fresher every then and now. These tiles could be cut into different shapes and sizes to get a wonderful finish. You need to definitely keep your marble floors neat and take the pleasure of this eye catching look offered by them. Perhaps water may cause stain on marble when it gets stagnated for several time.
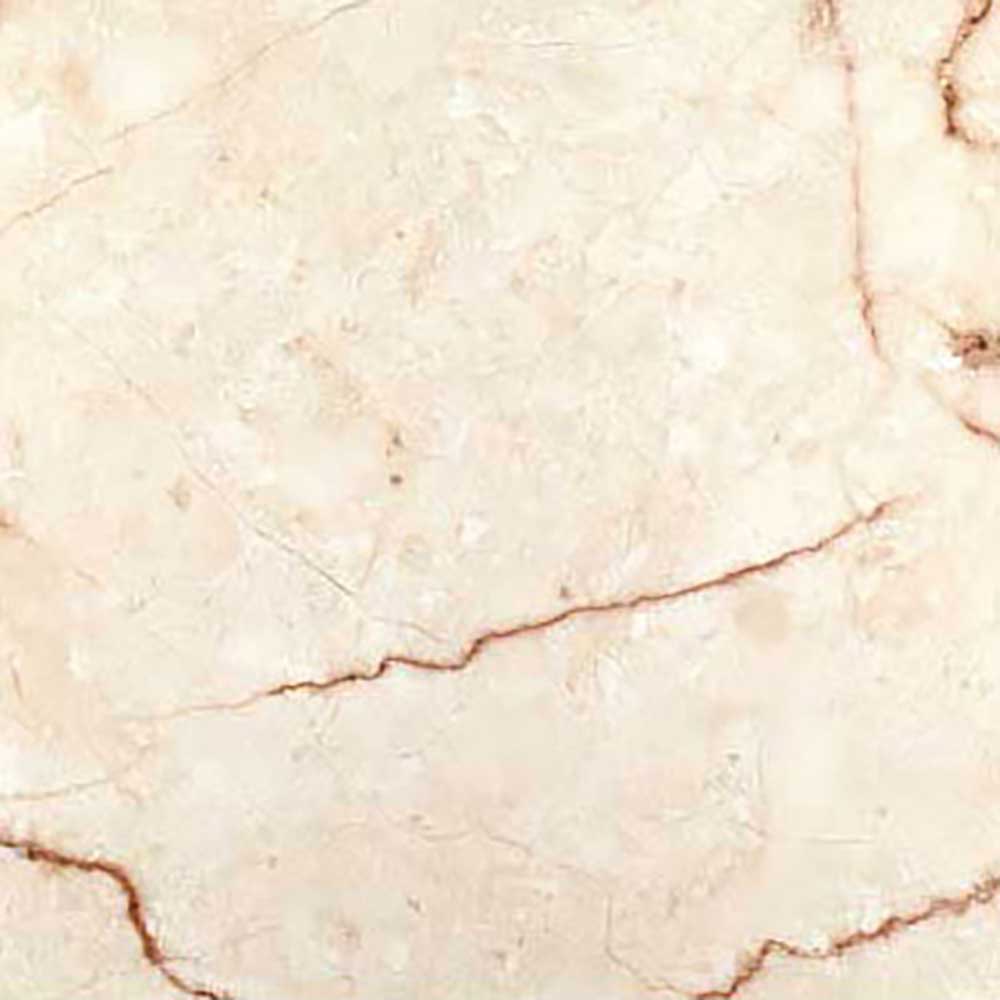
Italian Marble, Digital – 30×30 cm, Floor Tiles, Satin Matt
Sophisticated designs and intricate patterns on pure white and other colors can be obtained online also. In an even more deep point of view though, that part refers not just to your decision of marble floor fresher. You have done all of the effort along with the task looks bad as you have rushed the last phase in expectation to finish.
Madrid Perla polished stone porcelain tiles from Alistair Mackintosh

In case you're talking about new flooring substance then marble flooring might be the perfect choice. You must clean these flooring surfaces with a motto: "Swab it set up with no much more ado". There are several supplemental care problems which you must look into whether you want to install marble floor surfaces at virtually any spot that will be subject to higher site traffic.
We’ll Tell You How to Clean Laminate Floors Without Streaking

Tile Layout Patterns – Tiling – Contractor Talk

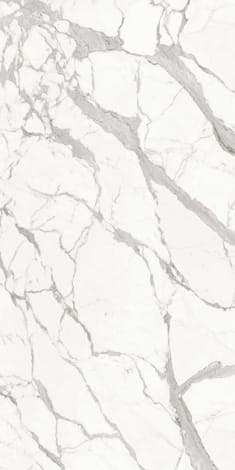
Calacatta light Marmi maximum, white marble effect porcelain tiles
Codicer Arizona Grey Floor Tile Multisize Tiles Ahead

Related Posts:
- How To Restore Shine To Marble Floors
- Marble Floor Tiles Ireland
- Marble Floor Medallions Sale
- Marble Floor Repair Kit
- How To Wash Marble Floor
- Botticino Marble Floor Tiles
- Crazy Marble Flooring Designs
- How To Maintain Marble Flooring
- Marble Floor Tile Care Maintenance
- Hexagon Marble Floor
Laying A Marble Floor: An In-Depth Guide
Marble floors are a classic choice for many homes and businesses because of their timeless beauty and durability. But laying a marble floor is a complicated process that requires skill and precision to ensure the best results. This guide provides an in-depth look at the steps involved in laying a marble floor, from selecting the tiles to cutting and setting them in place.
Selecting The Marble Tiles
The first step in laying a marble floor is selecting the right tiles. There are a variety of marble tile options available, including tumbled, honed, polished, and glazed. Tumbled tiles have a rough, matte finish that gives them an aged look. Honed tiles have a smooth surface that is easy to clean and maintain. Polished tiles have a glossy finish that highlights the veining or patterning of the marble. And glazed tiles have a glossy finish that is resistant to stains and scratches.
It’s important to select tiles that are appropriate for the space they will be used in. For example, bathrooms or kitchens may require more durable options such as polished or glazed marble due to their higher moisture content. Before purchasing tiles, it’s also important to check for any inconsistencies such as chips or cracks, as these can weaken the overall structure of the flooring and cause problems down the line.
Preparing The Subfloor
Once the right tiles have been selected, it’s time to prepare the subfloor. This involves cleaning the area thoroughly and ensuring that it is level and free of debris before beginning work on laying the marble tiles. It’s also important to make sure that any existing subflooring is secure and not compromised in any way before proceeding with installation.
In some cases, it may be necessary to install a new subflooring such as plywood or concrete board before beginning work on laying the marble tiles. This will provide additional stability for the flooring and ensure that it will last for many years without issue.
Installing The Underlayment
Before laying the actual marble tile, it’s important to install an underlayment layer between the subfloor and the tile layer. This layer helps to prevent moisture from seeping up into the tile layer, which can cause cracking or discoloration over time. It also helps to provide additional cushioning for feet or furniture placed on top of it, making it more comfortable to walk on or sit on than bare marble tile would be.
There are several different types of underlayment available, including foam sheets, cork sheets, rubber mats, felt pads, and more. When selecting an underlayment material, it’s important to consider factors such as cost, durability, sound absorption capabilities, thickness, ease of installation, and more before making a decision.
Layout And Measurement
Once the underlayment has been installed, it’s time to begin measuring and laying out the marble tile pattern. This involves measuring out where each individual tile will go so that all pieces fit together perfectly without gaps or overlaps when complete. It’s also important to note which pieces will need to be cut down in Order to fit into the space. This is an important step that should not be overlooked, as it will ensure that the finished product looks professional and evenly spaced.
Installation And Grouting
Once the tile pattern has been laid out, it’s time to begin installing the marble tiles. This process involves spreading mortar onto the subfloor and then carefully pressing each tile into place. It’s important to make sure that each tile is pressed firmly into place so that there are no gaps or air pockets in between them. After all of the tiles have been laid, they should be left to dry for at least 24 hours before grouting.
Grouting involves spreading a mixture of sand and cement across all of the joints between tiles and then wiping away any excess with a damp cloth. Grout helps to seal all of the joints between tiles and prevent water from seeping in and causing damage over time. Once the grout has fully dried, it’s important to seal it with a sealer in order to protect it from staining or discoloration over time.
Installing marble tile flooring is not a difficult process, but it does require patience, attention to detail, and a good eye for design in order to ensure that the finished product looks its best. With careful preparation and installation, marble tile can last for many years without issue and provide a stunning backdrop for any room in your home.
What tools are needed to install a marble floor?
Tools needed to install a marble floor include:– Tape measure
– Level
– Marble saw
– Chisel
– Rubbing stone
– Hammer
– Notched trowel
– Grout float
– Utility knife
– Wet/dry vacuum
– Sponge