Laminate Flooring Patterns Installation

Related Images about Laminate Flooring Patterns Installation
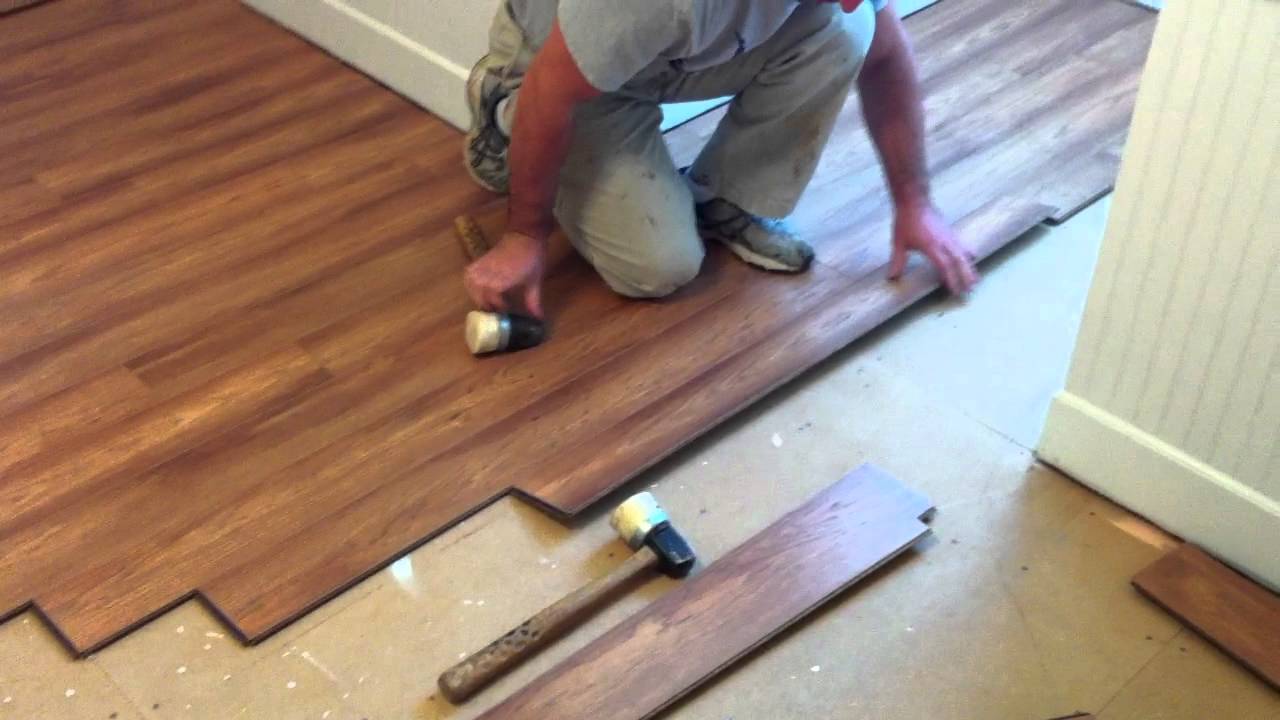
How to install Pergo laminate flooring – YouTube
Skeptics may perhaps argue that if Westhollow wood laminates are produced- Positive Many Meanings – from 90 % wood, then it’d always adhere to that Westhollow’s flooring surfaces will suffer from the popular affliction of wood flooring surfaces: fading. The best layer is a shielding sheet that prevents deterioration, therefore your floors always look brand new. Just before you choose laminate for your project we’d like to provide you with some important information.
Laminate Flooring Oasis Flooring
Laminate flooring is plain yet gorgeous. I do not recommend purchasing flooring products via the internet. The decorative laminate was popular in kitchen counter tops as well as furniture. Many laminate floors come with warranties beginning around 10 years long. The reason for this’s that Westhollow flooring, particularly the wood laminates of theirs, look and feel real. You can purchase the resources individually or perhaps search for kits which include all of the tools you need.
10 Reasons Why You Should Consider Laminate Flooring For Your Home Ideas 4 Homes

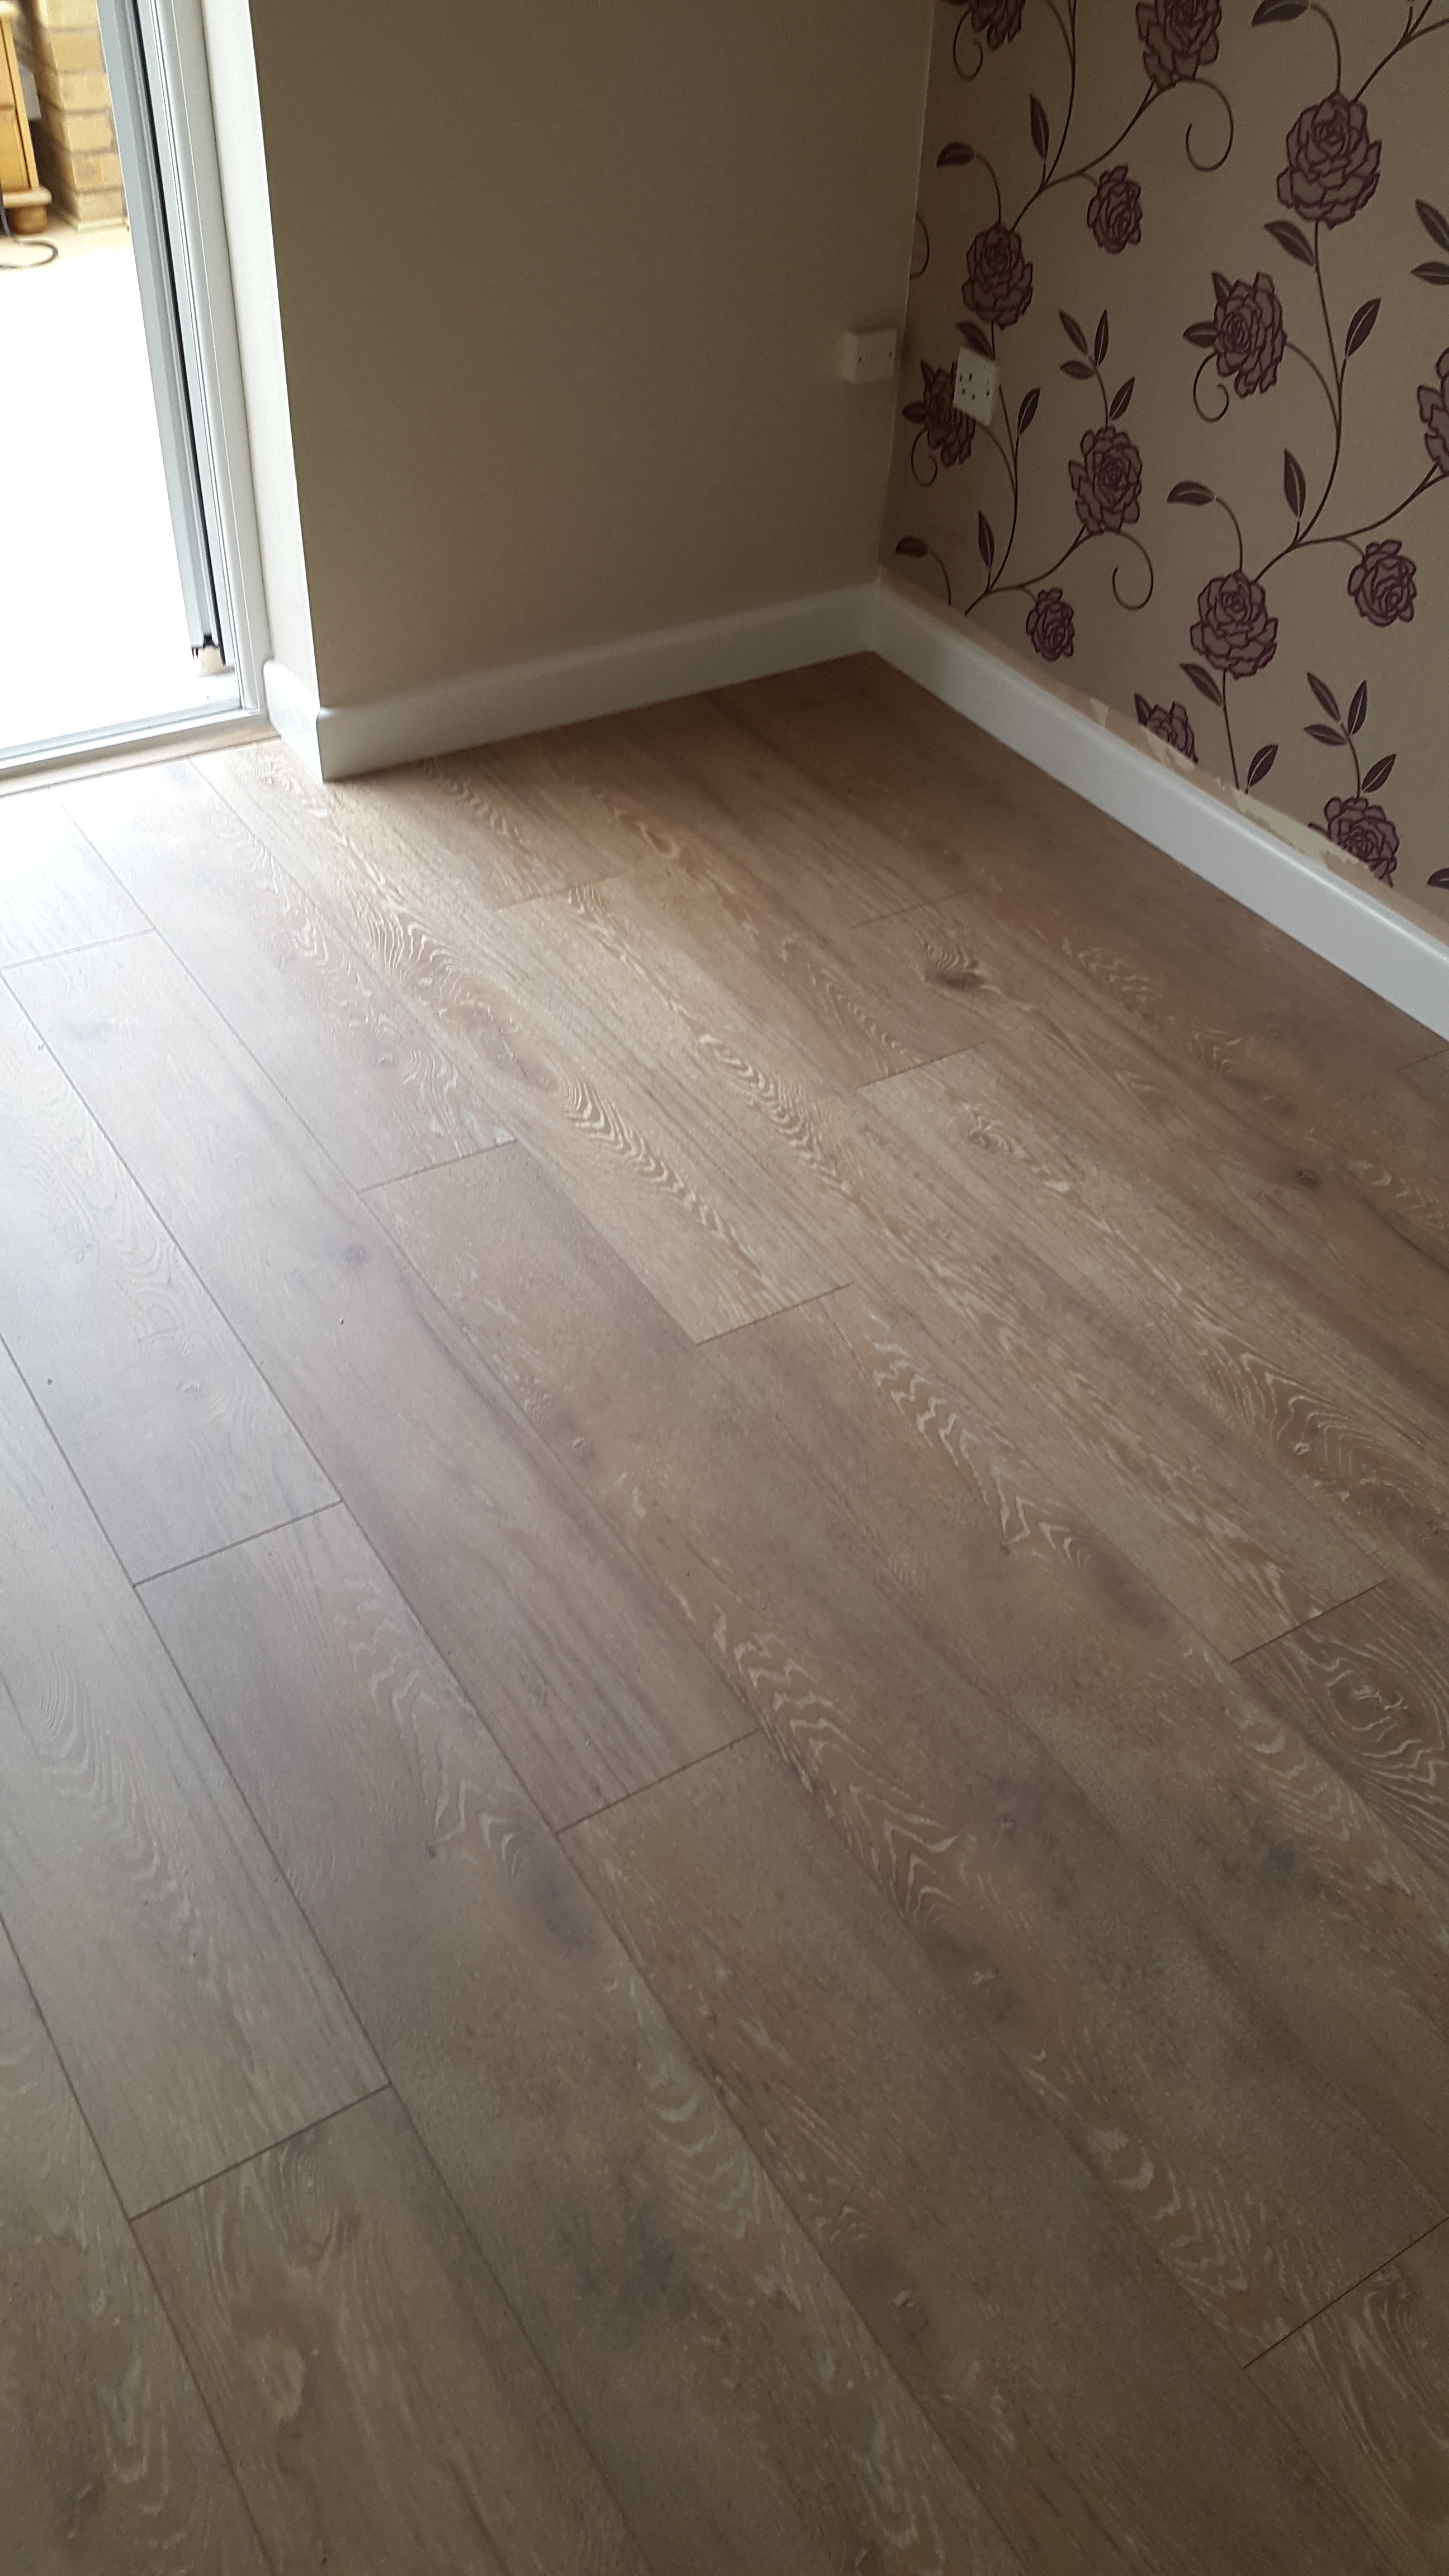
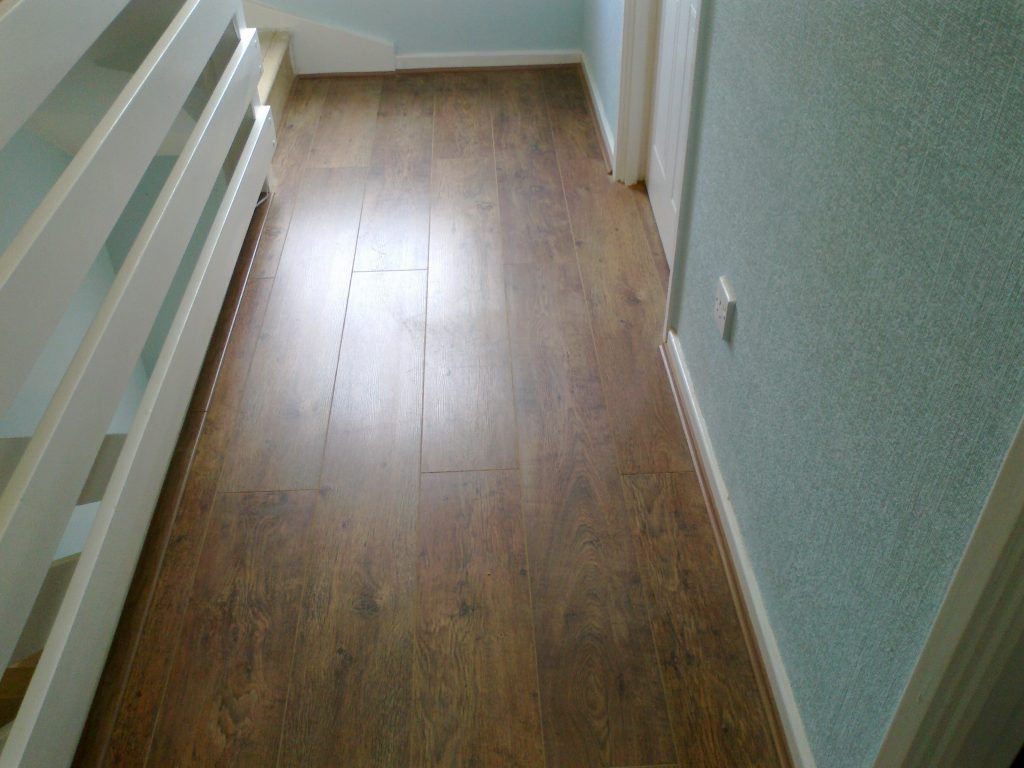
Finally, supply the floor a gentle clean with a damp mop or perhaps some laminate cleaner and sit back to enjoy your work. You need to take into account the amount of light that the room/area gets, the floor area, the aesthetics, design, color, etc. Usually when men and women invest in a house, the flooring is the very first thing that they change so there is absolutely no stage spending a good deal of money on a floor when you’re going to move homes.
Hardwood vs. Laminate Flooring: The Pros and Cons Majic Window

Laminate Flooring Buying Guide

Laminate floor installers Step Flooring Ltd.
Parquet Flooring Installation and Design Inspiration – InspirationSeek.com

Related Posts:
- Select Surfaces Click Laminate Flooring Canyon Oak
- Kaindl Laminate Flooring Installation
- Curly Walnut Laminate Flooring
- Laminate Flooring Lumber Liquidators Reviews
- Laminate Flooring 8mm Sale
- Can You Have Laminate Flooring On Stairs
- Laminate Flooring On Concrete Base
- Pergo Golden Butternut Laminate Flooring
- Ceramic Tile Vs Laminate Flooring In Basement
- Laminate Flooring Shoe Molding
Laminate Flooring Patterns Installation: A Comprehensive Guide
Installing a laminate flooring pattern is a great way to add character and style to your home. Whether you’re looking to achieve a unique look or simply want to update an existing floor, laminate flooring patterns can be a great option. Laminate flooring comes in a variety of colors, textures, and styles, making it easy to find the perfect match for your design. Before you begin, however, there are a few key steps you should take to ensure the installation goes smoothly.
Preparation for Installation
Before you start installation, it’s important to prepare your space properly. Make sure that the area is clean, dry, and free of any debris. If there is any existing flooring present, make sure that it has been removed completely before beginning the installation of the laminate flooring pattern. If you are installing over concrete, make sure to check for cracks or uneven surfaces that could interfere with the installation.
Subfloor Preparation
Once your area is ready for installation, you will need to prepare the subfloor before laying down your laminate flooring pattern. Start by measuring out the area where you plan to install the laminate planks and mark off any areas that may require additional preparation or repair. This could include filling any gaps or cracks with a concrete filler before proceeding with the installation. Make sure to allow enough time for the filler to dry completely before moving on. Additionally, be sure to check that the subfloor is level and free of loose boards or nails. If needed, use a leveling compound along with sandpaper or steel wool to level out any bumps or unevenness in the subfloor before installing your laminate planks.
Selecting Your Laminate Pattern
Once you have completed prepping your space and subfloor, it’s time to choose a laminate pattern. Laminate flooring patterns come in a variety of colors, textures, and styles so you have plenty of options to choose from when selecting your new flooring pattern. Consider whether you are looking for something traditional or modern and select a pattern accordingly. When looking at colors and textures, consider how they will work with other elements in your home such as furniture and accent pieces. You may also want to consider selecting multiple colors or patterns for different rooms in your home if you are installing throughout multiple rooms.
Installation Process
Once you have chosen your laminate pattern, it’s time to begin installation! Start by laying out several rows of planks along one wall of the room being sure to leave one-eighth inch gap between each plank for expansion purposes when laying down additional rows of planks on top. When laying out each row of planks be sure that they are evenly spaced from each other and secure them together using spacers provided in most kits for easy installation of each row of planks along one wall. Once all rows have been secured together using spacers continue by installing each successive row along adjacent walls until all planks have been installed across all walls in the room being sure again to leave one-eighth inch gap between each plank for expansion purposes when transitioning from one wall to another. Once completed with all walls continue by cutting out doorways And any other spaces needed for the installation of the laminate pattern.
What types of tools are needed for laminate flooring installation?
1. Saw: Circular saw, miter saw, or jigsaw to cut the planks.
2. Flooring Spacers: To ensure even spacing between the planks.
3. Hammer and Nails: To secure the laminate flooring in place.
4. Pull Bar: To help with the installation of the last piece of laminate flooring.
5. Tapping Block: To use in conjunction with a mallet for tapping planks together.
6. Baseboard and Quarter-Round Molding: For finishing touches and hiding gaps between the laminate flooring and walls.
7. Underlayment: To provide cushioning and extra noise insulation for the laminate flooring.
8. Adhesive Tape Measure: To measure accurately and mark cuts on the planks before cutting them with a saw.
What kind of saw is needed for a laminate flooring installation?
A laminate flooring installation typically requires a circular saw with a laminate blade. Miter saws and jigsaws can also be used to cut the planks, but a circular saw will provide the most accurate results.
What tools are needed to install laminate flooring?
Tools needed for installing laminate flooring include a saw to cut the planks, a tapping block and rubber mallet to secure the pieces together, a damp cloth for cleaning, a measuring tape or ruler, a utility knife for cutting the planks, and an orbital sander to smooth the surface.