Laminate Flooring Molding Installation

Related Images about Laminate Flooring Molding Installation
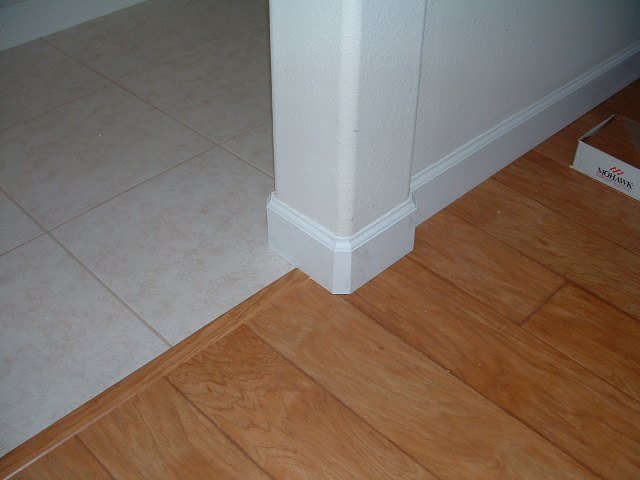
Laminate Flooring Molding – U.S. Floor Masters
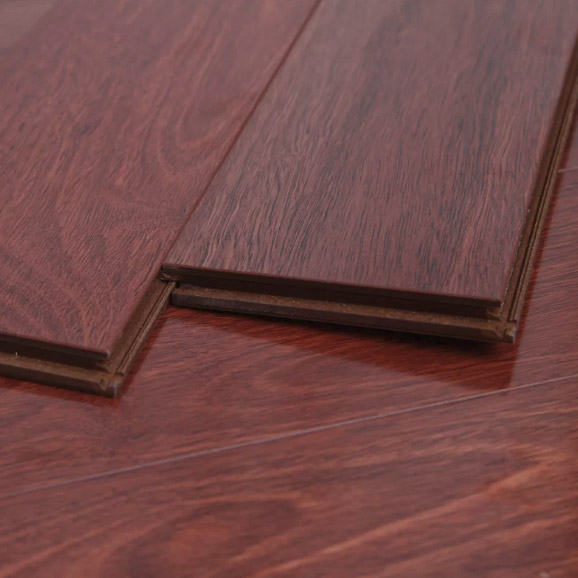
The wear layer is loaded with aluminum oxide and it is designed to resist wear, tear and scratches. There are some laminate flooring products that have the sub flooring material built right on the bottom, so see to it that you check out the choices you have through the manufacturer or retail outlet before making the ultimate choice of yours on which sort of laminate flooring you wish to purchase for your next project.
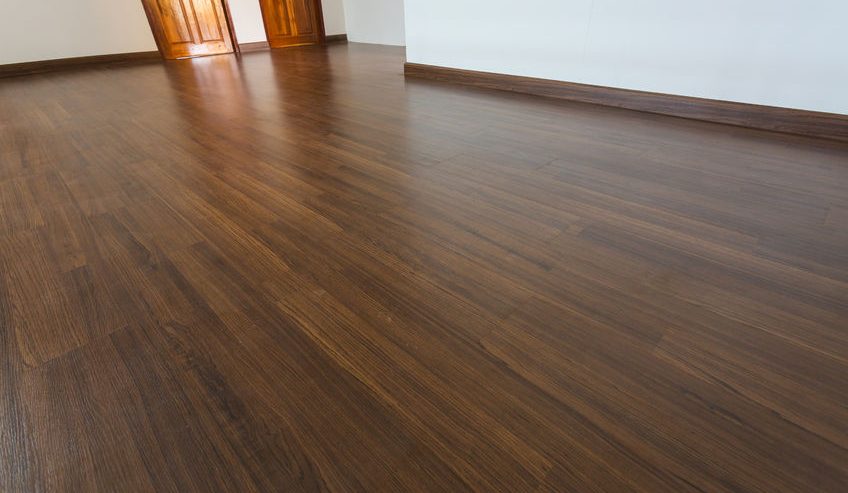
Hqdefaultjpg Door casing, Floor molding, Installing vinyl plank flooring

Installation formats in addition vary, which includes simply click lock, glue down, and floating, simply to name just a few. Thanks to the ability of theirs to resist scratches and dents, laminate floors would be the leading choices for high traffic areas such as bathrooms and kitchens. If you're building a brand new home or maybe wish to update the current space of yours, laminate is a good option for your flooring needs.
Benefits of Installing Laminate Floor Molding ServiceWhale
Right now a day you can get it done if you are able to learn certain tricks and tips. The longevity of laminate flooring is remarkable, hence why it's used commercially. Now you come to actually installing the laminate floor surfaces itself. Just about anything that makes the lives of ours easier is a good. Laying your laminate floors the lengthy way in the same path as folks enter the house of yours or room is the very best option.
LAMINATE MOULDING – Excess Flooring
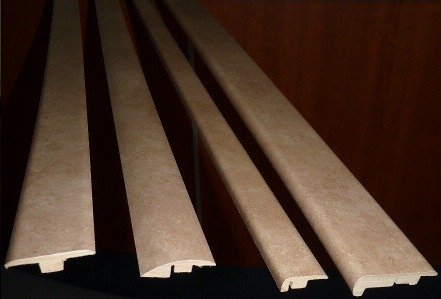
Reducer Overlap Transition Molding for Wood Flooring Elegance Plyquet Transition Moldings

How to Install Laminate Flooring – Inch Calculator
Help Center – Learn About Laminate Flooring, Vinyl and More

Mohawk laminate flooring review, Hemisphere Collection
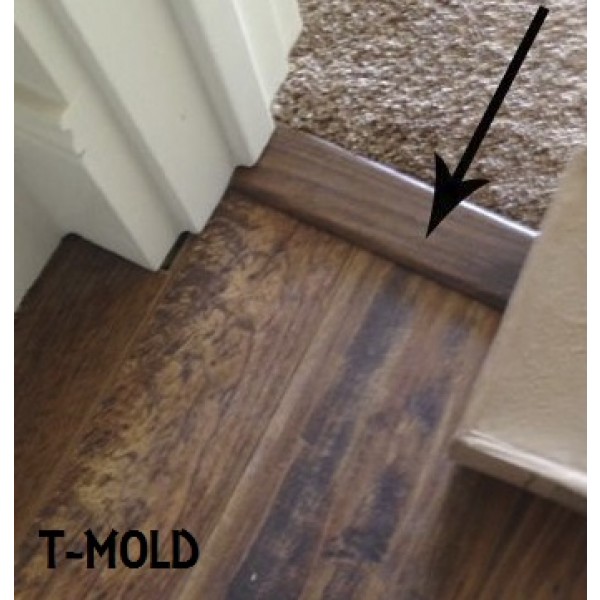
MATCHING LAMINATE T MOLDING 8′
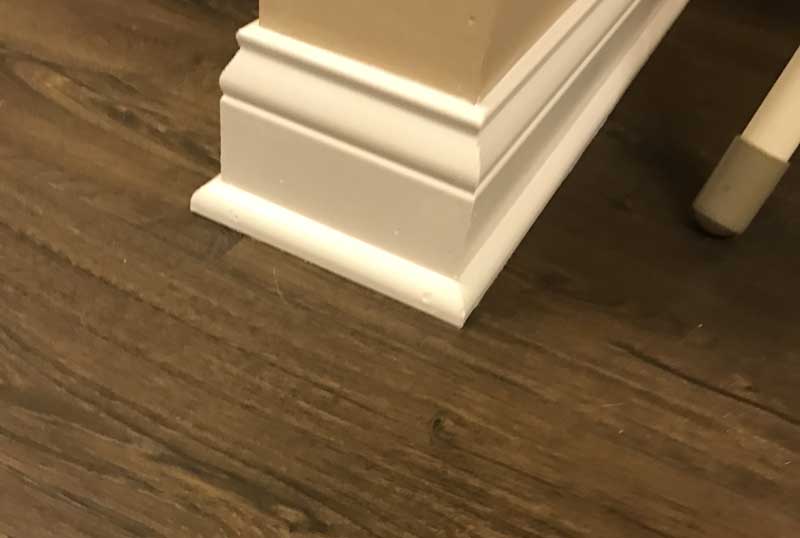
The Baseboard Styles That Maintain the Visual Attraction to Your Interior – HomesFeed

China Laminate Flooring Accessory – T Molding – China Flooring Accessory, Laminate Flooring

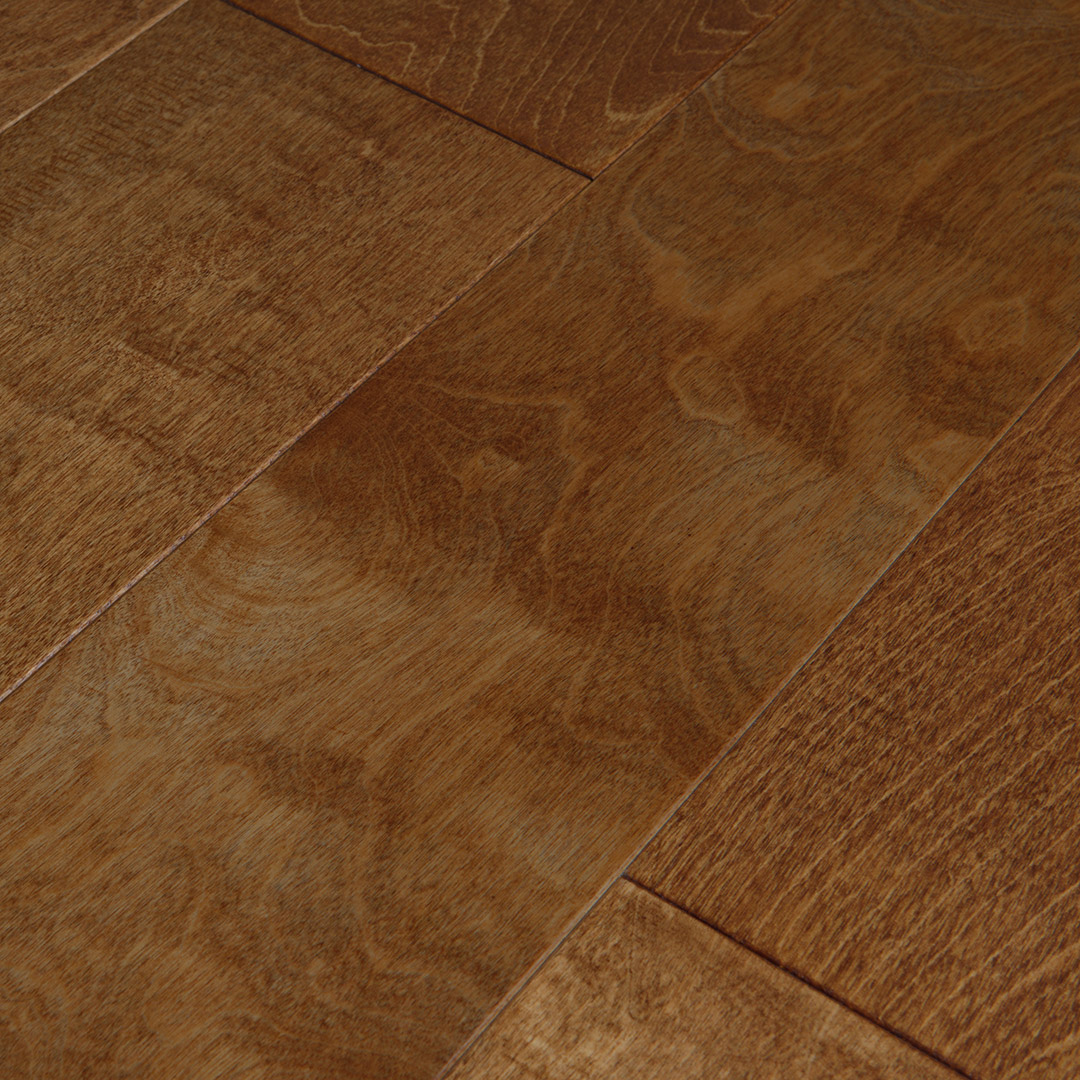
Birch Harvest » Artisan Hardwood Flooring
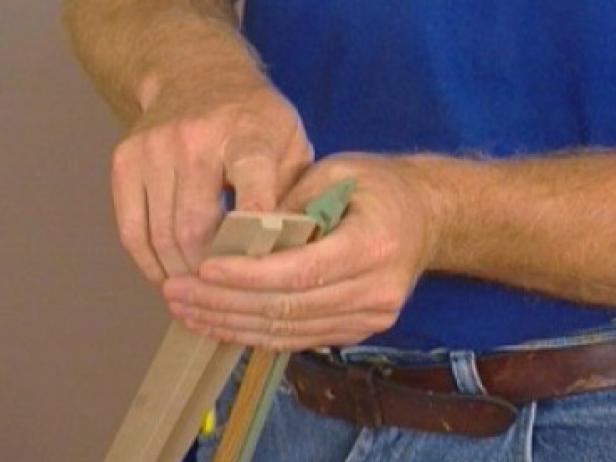
Laminate Flooring Installation Tips: Moldings, Transitions, and Finishes – YouTube

How to Finish Installing Laminate Flooring how-tos DIY
Related Posts:
- Select Surfaces Click Laminate Flooring Canyon Oak
- Kaindl Laminate Flooring Installation
- Curly Walnut Laminate Flooring
- Laminate Flooring Lumber Liquidators Reviews
- Laminate Flooring 8mm Sale
- Can You Have Laminate Flooring On Stairs
- Laminate Flooring On Concrete Base
- Pergo Golden Butternut Laminate Flooring
- Ceramic Tile Vs Laminate Flooring In Basement
- Laminate Flooring Shoe Molding
Laminate Flooring Molding Installation: An In-Depth Guide
Installing laminate flooring can be a daunting task, especially if you’re not familiar with the process. But with the right tools and instructions, it can be an easy DIY job. One of the most important components of any laminate flooring installation is the molding. Molding is used to complete the look of the flooring, as well as to provide a transition between different spaces. In this article, we will go over the basics of laminate flooring molding installation for a successful project.
What is Laminate Flooring?
Laminate flooring is a type of synthetic floor covering made from composite materials that are pressed together. It is designed to look like real wood, but at a fraction of the cost. Laminate flooring is also highly durable and easy to clean and maintain. It comes in a variety of colors, styles, and textures that can suit any home décor.
Types of Laminate Flooring Moldings
There are several types of moldings available for laminate flooring installations. The most common types are transition moldings, wall base moldings, and quarter round moldings. Transition moldings are used to create a smooth transition between two different types of floors (e.g., from tile to laminate). Wall base moldings are used to cover up any gaps between the laminate and the walls or other objects such as doorways or cabinets. Quarter round moldings are used to cover up any gaps between the edge of the laminate and any other objects such as walls or doorways.
Tools Needed for Laminate Flooring Molding Installation
Before you start your laminate flooring molding installation project, make sure you have all the necessary tools on hand. These include: tape measure; saw; hammer; drill; miter box; nail gun; level; pry bar; caulk gun; silicone sealant; wood glue; wood putty; wood filler; and sandpaper. You will also need a variety of fasteners such as screws, nails, and adhesive strips.
Step-by-Step Guide to Installing Laminate Flooring Moldings
Installing laminate flooring moldings is relatively straightforward if you follow these steps:
1) Measure the space where you want to install the moldings and determine how much material you need for the job.
2) Cut the moldings to size using either a saw or miter box depending on what type of material you’re using. Make sure all cuts are straight and accurate for a professional finish.
3) Attach the moldings to the subfloor using either nails or screws depending on what type of fastener you’re using. Make sure all fasteners are secure and won’t come loose over time.
4) Use silicone sealant or wood glue along any joints and seams for additional stability and protection against moisture infiltration.
5) Fill any holes or gaps with wood putty or wood filler as needed for a smooth finish.
6) Sand down any rough edges with sandpaper before applying paint or stain if desired for A more polished look.
7) Finally, use caulk along any edges for a finished look and additional protection against moisture infiltration.
Installing laminate flooring moldings is a great way to add an extra layer of protection and a professional look to your laminate flooring installation. With the right tools and materials, you can complete this project in no time. If you follow these steps, your project should be successful and your laminate flooring moldings will look great for years to come!
Laminate Flooring Molding Installation


Laminate flooring moldings are an essential component in any laminate flooring installation. They are used to create a seamless transition between different spaces and can add an extra layer of protection against moisture infiltration. They also give the floors a more polished, finished look. Installing laminate flooring moldings can be a bit tricky if you’re not familiar with the process, but with some patience and the right tools and materials, it can be done relatively quickly and easily. In this article, we will go over the basics of laminate flooring molding installation for a successful project.


What is Laminate Flooring?


Laminate flooring is a type of synthetic floor covering made from composite materials that are pressed together. It is designed to look like real wood, but at a fraction of the cost. Laminate flooring is also highly durable and easy to clean and maintain. It comes in a variety of colors, styles, and textures that can suit any home décor.


Types of Laminate Flooring Moldings


There are several types of moldings available for laminate flooring installations. The most common types are transition moldings, wall base moldings, and quarter round moldings. Transition moldings are used to create a smooth transition between two different types of floors (e.g., from tile to laminate). Wall base moldings are used to cover up any gaps between the laminate and the walls or other objects such as doorways or cabinets. Quarter round moldings are used to cover up any gaps between the edge of the laminate and any other objects such as walls or doorways.


Tools Needed for Laminate Flooring Molding Installation


Before you start your laminate flooring molding installation project, make sure you have all the necessary tools on hand. These include: tape measure; saw; hammer; drill; miter box; nail gun; level; pry bar; caulk gun; silicone sealant; wood glue; wood putty; wood filler; and sandpaper. You will also need a variety of fasteners such as screws, nails, and adhesive strips.


Step-by-Step Guide to Installing Laminate Flooring Moldings


Installing laminate flooring moldings is relatively straightforward if you follow these steps:


1) Measure the space where you want to install the moldings and determine how much material you need for the job.


2) Cut the moldings to size using either a saw or miter box depending on what type of material you’re using. Make sure all cuts are straight and accurate for a professional finish.


3) Attach the moldings to the subfloor using either nails or screws depending on what type of fastener you’re using. Make sure all fasteners are secure and won’t come loose over time.


4) Use silicone sealant or wood glue along any joints and seams for additional stability and protection against moisture infiltration.


5) Fill any holes or gaps with wood putty or wood filler as needed for a smooth finish.


6) Sand down any rough edges with sandpaper before applying paint or stain if desired for a more polished look.


7) Finally, use caulk along any edges for a finished look and additional protection against moisture infiltration.
< br/>


Installing laminate flooring moldings is a great way to add an extra layer of protection and a professional look to your laminate flooring installation. With the right tools and materials, you can complete this project in no time. If you follow these steps, your project should be successful and your laminate flooring moldings will look great for years to come!