Laminate Flooring DIY Guide

Related Images about Laminate Flooring DIY Guide
How to Remove Laminate Flooring – WoodsyBond

The technique of laying laminate flooring has evolved alongside the technological advancements with the particular floor boards themselves, and it is a perfectly achievable job for even the most modest DIY enthusiast. See to it that you look over your warranties rather carefully however, as a few warranties may not go over floor placement in the kitchen or bathroom.
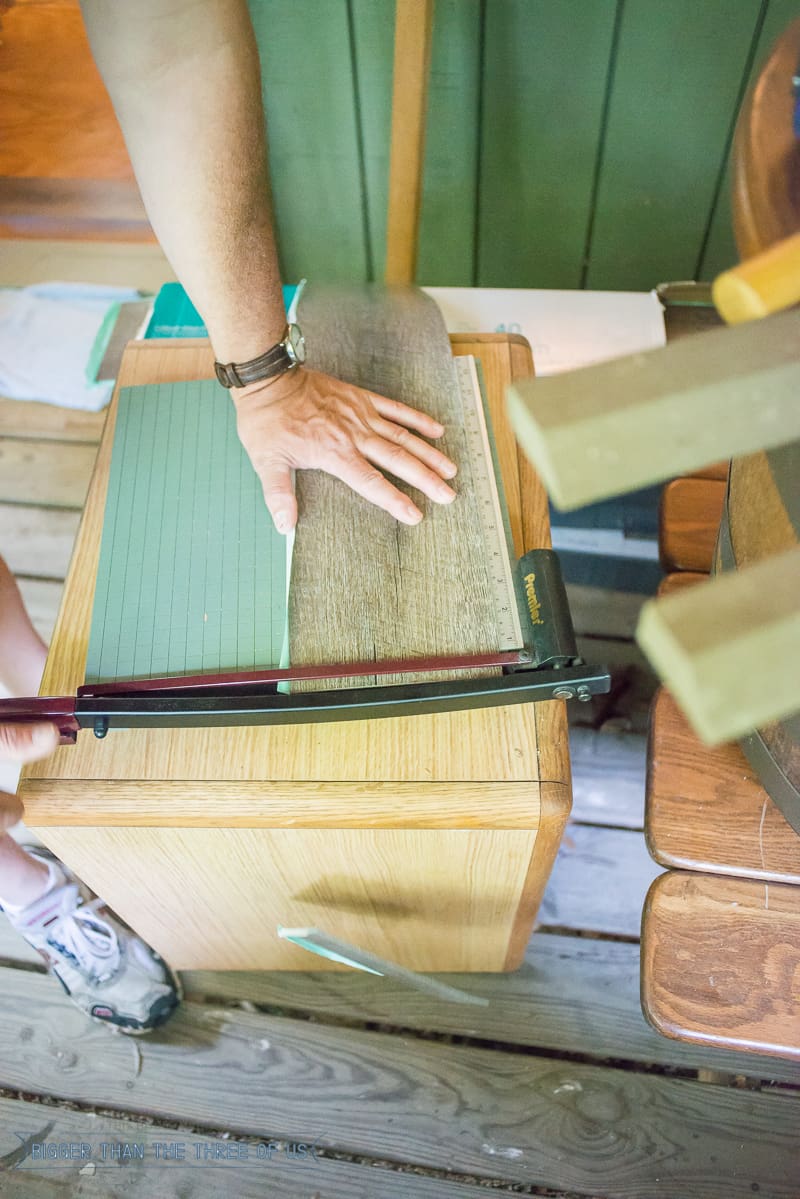
How to Install Laminate Flooring – Bigger Than the Three of Us
Laminate flooring includes a water repellent put on it and good quality floors are infused with clean water repellent all through the core. It's as if you have a giant laminated photograph of natural flooring installed on your floor. Once it is gone, you will not have the ability to immediately purchase more if you didn't initially buy enough. Generally be prepared to be bugged by mold and mildew problems. The undersides of your respective shoes possess several things that you'd treaded over outside, oil, including dirt, and bubble gum.
Do It Yourself Laminate Flooring Installation / Easy do-it-yourself installation BerryAlloc

The laminate flooring in question needs to be a simple board. When this is your very first do-it-yourself task or perhaps one of the many duties that you have completed in the past, putting in laminate floors is a wonderful way to alter the look of an area, bring warmth and also help increase the home value of yours. Cut the underlay so it is in spite of the laminate flooring.
Guide to Laminate Flooring, Water, and Damage Repair
/wet-polyurethane-on-new-hardwood-floor-with-window-reflection-183846705-582e34da3df78c6f6a403968.jpg)
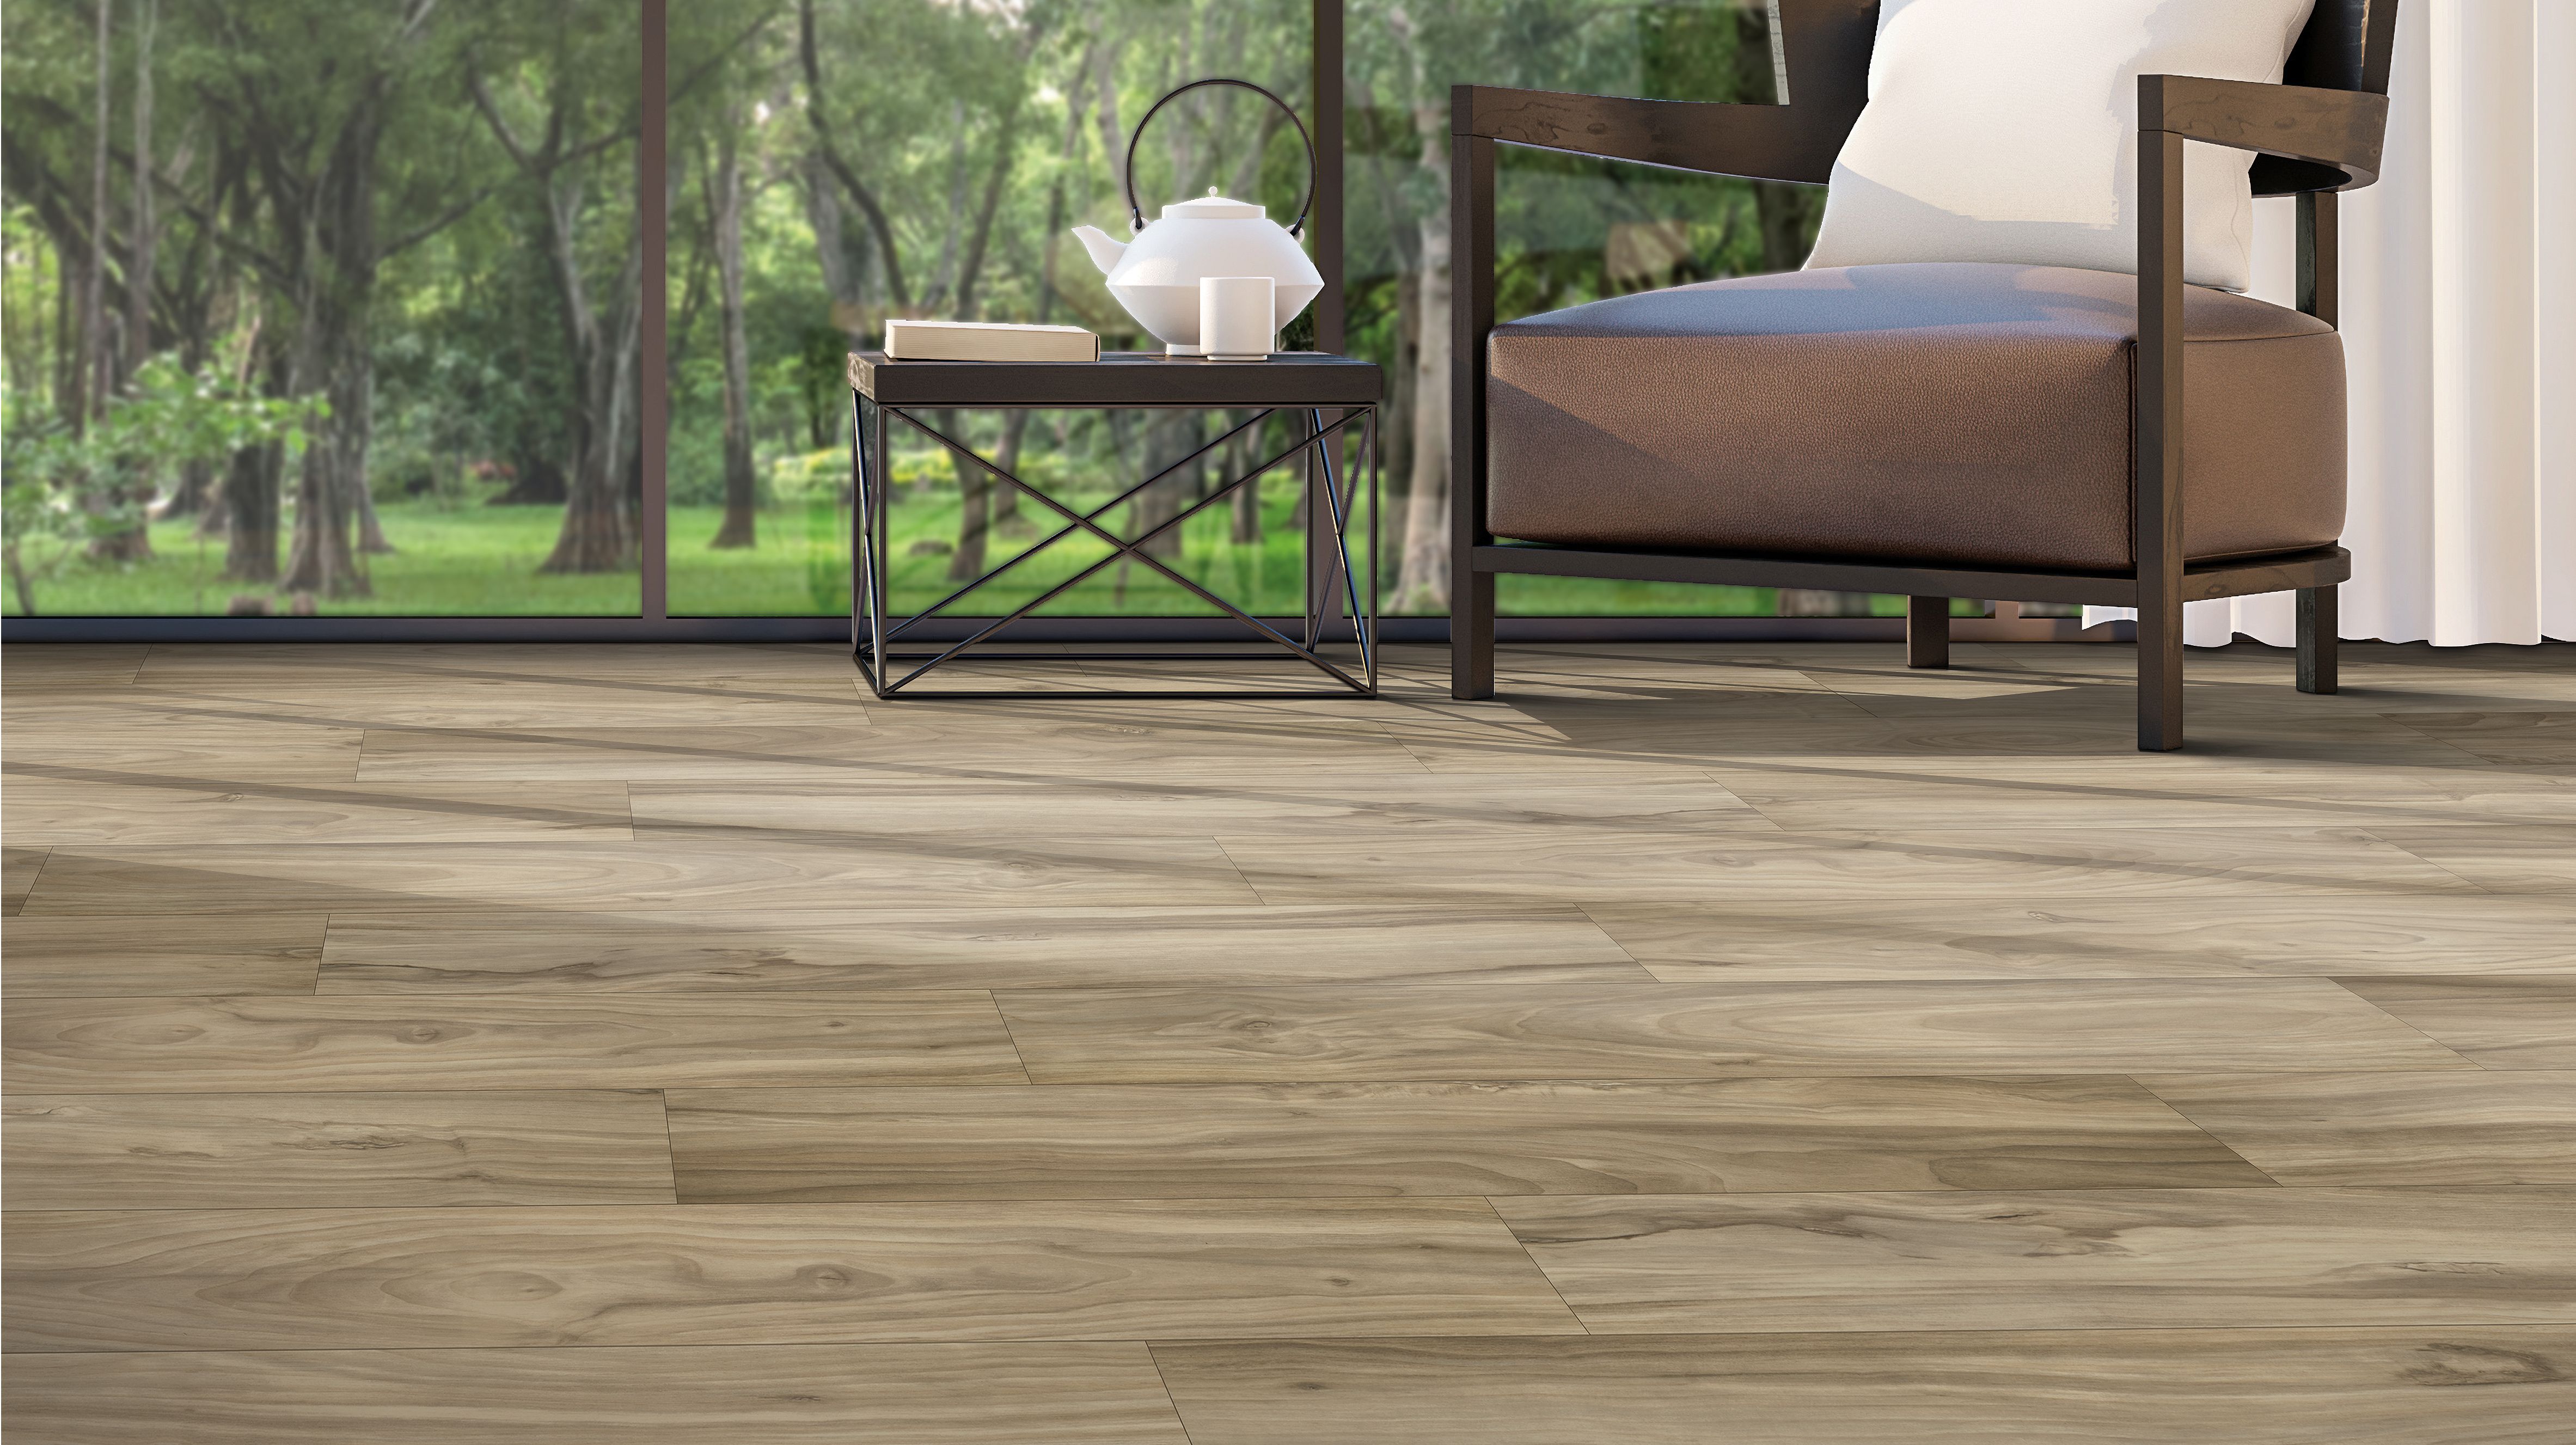
Deluxe Wide Plank Hand Scraped Laminate Flooring Laminate Flooring

Laminate Flooring Installation Guide Pdf – LAMINATE FLOORING
Blog Archive » Staining Laminate – Yes, it can be done! Staining furniture, Diy staining

Paint your laminate flooring, credit crunch style! Painting laminate floors, White laminate

Pin on Light Grey Wood Flooring

Reduce Remodeling Costs With Click Lock Flooring OnFlooring

Secret Project REVEAL: DIY Laminate Flooring with Select Surfaces! – The Gathered Home

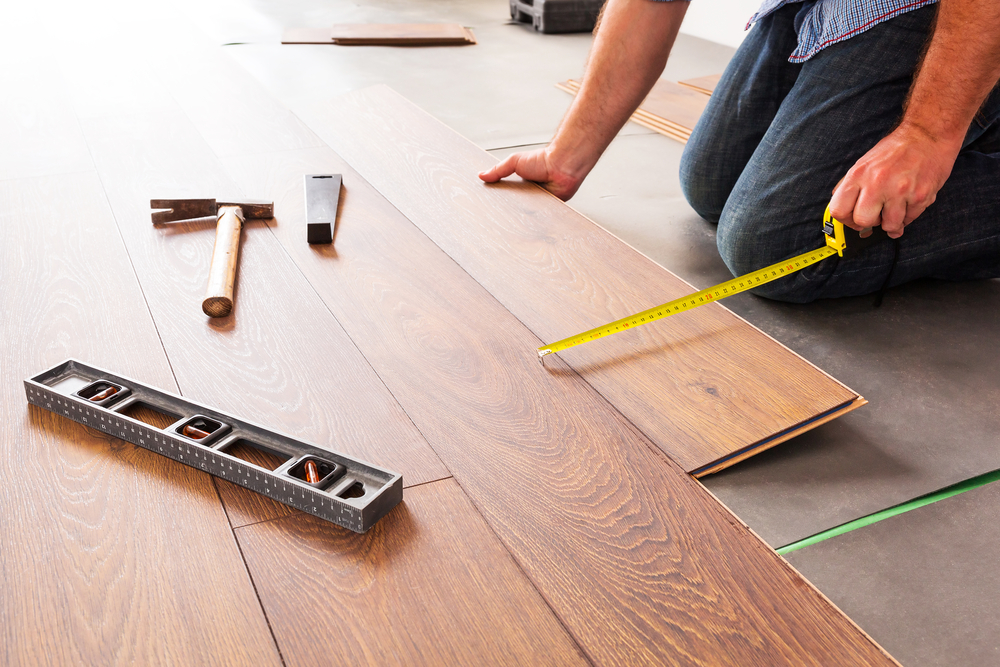
Guide to Installing Laminate Flooring The Family Handyman
Laminate Flooring Coming Apart – Brilliant laminate wood flooring coming apart that look
Floors – Buildipedia
Related Posts:
- Select Surfaces Click Laminate Flooring Canyon Oak
- Kaindl Laminate Flooring Installation
- Curly Walnut Laminate Flooring
- Laminate Flooring Lumber Liquidators Reviews
- Laminate Flooring 8mm Sale
- Can You Have Laminate Flooring On Stairs
- Laminate Flooring On Concrete Base
- Pergo Golden Butternut Laminate Flooring
- Ceramic Tile Vs Laminate Flooring In Basement
- Laminate Flooring Shoe Molding
Laminate Flooring DIY Guide: Step-by-Step Instructions to Give Your Home a Makeover
Do you want to give your home an affordable and stylish makeover? If so, laminate flooring is the perfect solution. Not only is it easy to install and maintain, it is also extremely durable and comes in a variety of colors and styles. With this comprehensive DIY guide, you will learn everything you need to know about installing laminate flooring in your home.
What Is Laminate Flooring?
Laminate flooring is a type of synthetic flooring that has become increasingly popular in recent years due to its affordability and ease of maintenance. Laminate flooring is composed of several layers of synthetic material that are fused together using pressure and heat. The top layer of the laminate flooring is a photograph or image that mimics the look of wood or stone. The other layers consist of a core board, a backing layer, and an outer protective layer that helps protect the floor from wear and tear.
Benefits of Laminate Flooring
There are many benefits to choosing laminate flooring for your home. It is much more affordable than traditional hardwood floors, yet still provides a luxurious look that adds value to your home. Additionally, laminate flooring is extremely durable and can stand up to wear and tear from pets, children, heavy furniture, and foot traffic. It is also much easier to clean than other types of hardwood floors since it does not require wax or polish. Finally, unlike real hardwood floors, laminate floors do not fade or discolor over time when exposed to sunlight.
Preparing for Installation
Before beginning the installation process, it is important to take some time to plan out the layout of your laminate flooring. Start by measuring the room where you will be installing the flooring so that you know how much material you will need. Then decide which direction you would like the planks to run in – either parallel to the longest wall or perpendicular to it – as this will affect the overall look of the finished product.
Once you have planned out the layout of your laminate flooring, it is time to begin preparing for installation. The first step is to remove any existing baseboards or trim along the walls as well as any furniture and appliances from the room where you will be installing the new laminate flooring. Next, make sure that the subfloor – which can be either concrete or plywood – is flat and level before laying down a moisture barrier over it if needed. Finally, use spacers around all edges of the room in order to ensure even expansion after installation.
Installing Laminate Flooring
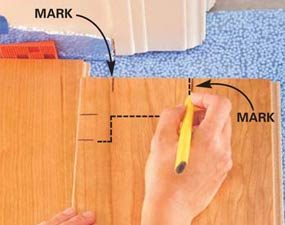
Now that you have prepared for installation, it’s time to start laying down your new laminate flooring! Begin by starting at one corner of the room – typically in an area that has few obstructions such as doorways – and lay down your first row with tongue side facing outwards. Make sure each plank fits snugly against its neighbor before locking them together with a tapping block and hammer. After each row has been installed, use a pull bar along both sides in order to ensure proper seating before moving on to the next row. Continue this process until all rows have been laid down; then Use a cutting tool to cut the planks to fit around any obstructions such as door frames or walls. Finally, use a trim tool to attach the baseboards or trim along the edges of the room.
Once your laminate flooring has been installed, it is important to allow it to acclimate for at least 48 hours before walking on it. This will give the flooring time to settle and expand before you begin using it. Once it has had time to adjust, you can enjoy your new laminate flooring for years to come with minimal maintenance!
What tools are needed for a DIY laminate flooring installation?
1. Laminate flooring2. Underlayment
3. Tape measure
4. Utility knife
5. Hammer and nails
6. Spacers
7. Laminate flooring saw
8. Expansion gap tool
9. Safety glasses
10. Tapping block
11. Pull bar
12. Baseboard and trim moldings
What type of glue do I need for a DIY laminate flooring installation?
It is recommended to use a urethane-based glue specifically designed for laminate flooring installation. This type of glue provides the strongest bond and is the most durable option.What are the steps for installing laminate flooring?
1. Measure and Prep the Room: Measure the room to determine the amount of laminate flooring needed, then prep the subfloor by removing any existing flooring, furniture, and baseboards.2. Acclimate Flooring: Place the laminate planks in the room and allow them to sit for several days so they can acclimate to the humidity levels in the room.
3. Cut Planks: Cut planks as needed with a circular saw or jigsaw to fit around door frames, cabinets, and other obstacles.
4. Start Installation: Place a vapor barrier on the subfloor and begin installing planks by connecting them together using a tongue-and-groove system.
5. Secure Planks: Secure each plank with a hammer and tapping block or pneumatic floor stapler before moving onto the next plank.
6. Install Transition Pieces: Install transition pieces between rooms or at doorways to provide a seamless transition between different floorings.
7. Install Baseboards: Install new baseboards around the perimeter of the room to cover up any gaps between the wall and laminate flooring.