Installing Laminate Flooring In Kitchen

Related Images about Installing Laminate Flooring In Kitchen
Can I Put Laminate Flooring Over Hardwood? Laminate flooring, Laminate flooring in kitchen

These days, lots of kitchens have eating spaces developed directly on the counter tops. Whatever sort of flooring substance you choose, ensure to do a little research for nurturing and maintenance in order to boost its look and longevity. Remember that an excellent kitchen floor will greatly increase your kitchen appeal and home value so be sure you choose wisely.
How To Install Luxury Vinyl Plank Flooring – Bower Power Vinyl plank flooring, Luxury vinyl

You've to make the choice of yours among all these various options of kitchen area flooring materials and once you have made the choice of yours, you are able to start searching for a professional floor installer that could enable you to finish the job. The floors are comprised of solid strips of bamboo which are joined together into a solid bamboo laminate.
Why You Should Choose Laminate Flooring – Kitchen Makeover Week 4 – The Created Home
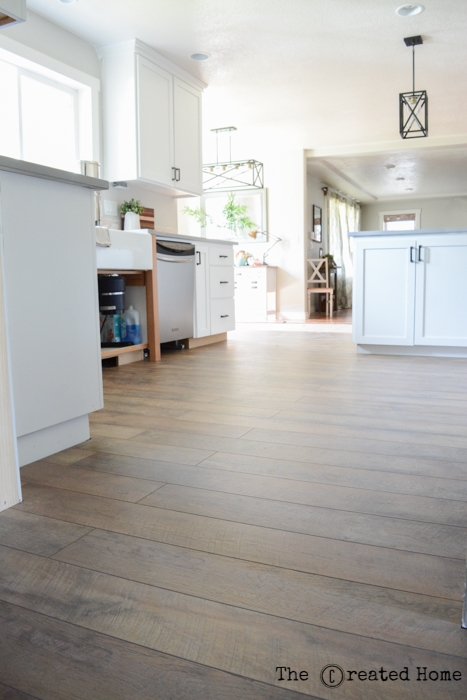
Bamboo kitchen flooring is acknowledged to be really durable and strong. Ultimately the perfect approach to make the option on kitchen area flooring content is to look through samples which are free from warehouse, general, commercial enterprises and showrooms in the general vicinity of yours. Many home holders have a propensity to make the error of not giving plenty of thought to kitchen flooring options.
Is there a special way to install laminate flooring in the kitchen?

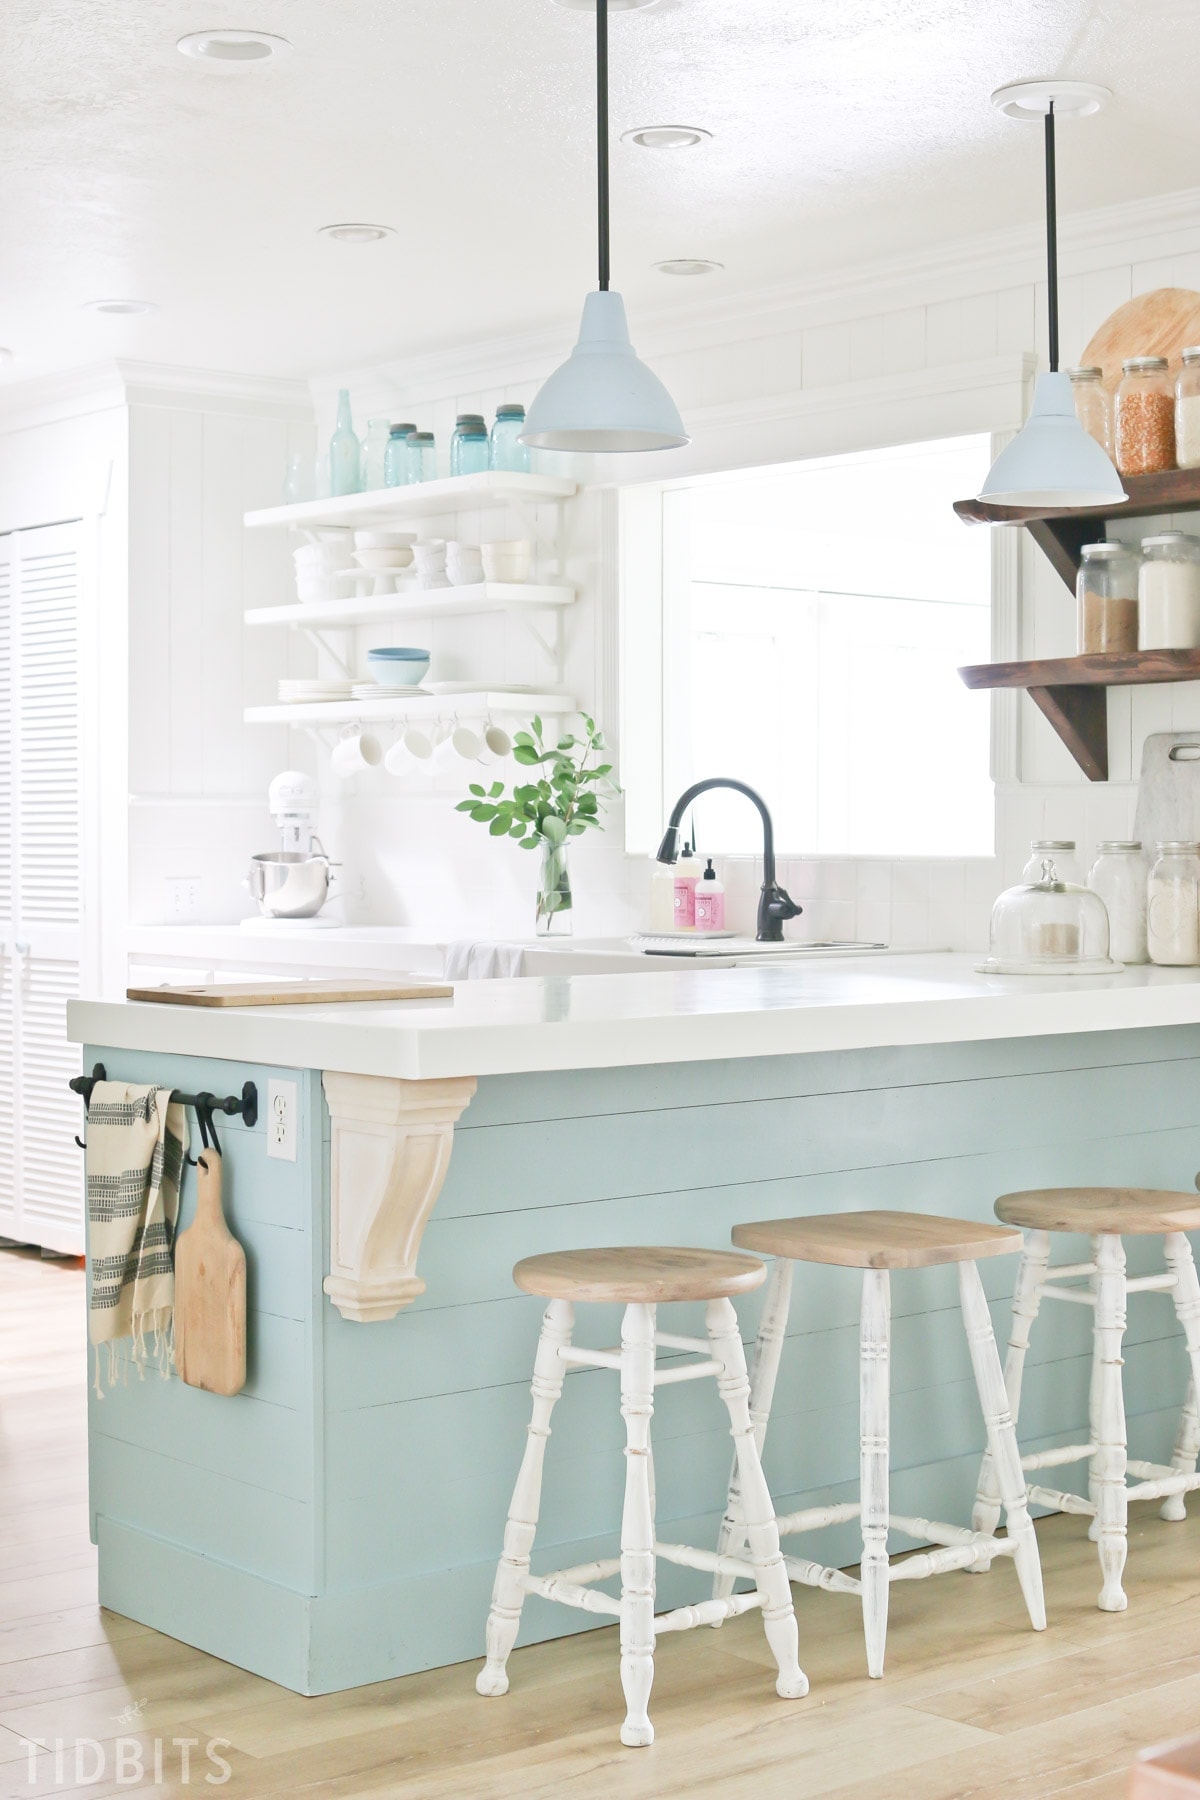
Our New Laminate Flooring Reveal – Tidbits
6 Kitchen Flooring Options The Home Depot Community

FLOORING INSTALLERS NEEDED : FLOORING INSTALLERS – BAMBOO FLOORING OTTAWA
Kitchen laminate Flooring – YouTube

Laminate Flooring in the Kitchen HGTV

Flooring, Laminate flooring and Home depot on Pinterest

LVP stair installation. Waterproof / Lifeproof Laminate stairs, Waterproof laminate flooring

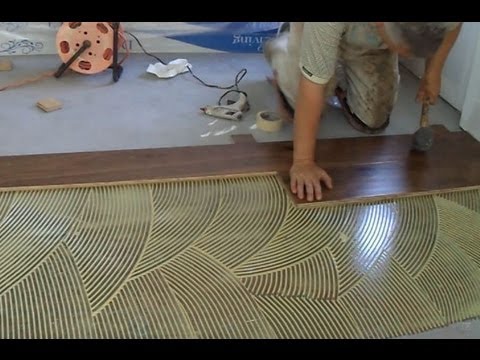
How to Install Prefinished Hardwood Floor: Glue Down Technique DIY Mryoucandoityourself – YouTube
Laminate Flooring Ideas & Designs HGTV

The Pros and Cons of Cork Flooring that You Should Know – HomesFeed

Related Posts:
- What Is The Most Desirable Kitchen Floor Plan
- How To Lay Out A Kitchen Floor Plan
- Best Hardwood Floor Finish For Kitchen
- Wickes Kitchen Floor Tiles
- Kitchen Floor Replacement Options
- 20 X 10 Kitchen Floor Plans
- Kitchen Floor Plans By Size
- Kitchen Floor Storage Cabinets
- Kitchen Cabinets Flooring And Countertops
- Bamboo Kitchen Flooring Ideas
Installing Laminate Flooring In Kitchen: A Step by Step Guide
Laminate flooring is a popular choice for modern kitchens due to its durability and affordability. Installing laminate flooring in the kitchen is a relatively easy DIY project that can be completed in just a few hours. With the right tools and materials, you can transform your kitchen in no time. This guide will walk you through the steps of installing laminate flooring in your kitchen.
Tools and Materials Needed
Before you begin, make sure you have all the necessary tools and materials on hand. You will need:
– Laminate flooring
– Underlayment
– Tape measure
– Chalk line
– Utility knife
– Hammer
– Nails or screws
– Pneumatic stapler or nail gun (optional)
– Tapping block
– Spacers
– Putty knife or spackle knife
– Wood glue
– Caulk gun
Preparing the Subfloor
The first step to installing laminate flooring is to prepare the subfloor. Ensure that the subfloor is free from any debris, dirt, or other obstructions. Use a putty knife or spackle knife to fill any cracks or gaps in the subfloor with wood glue. Allow the glue to dry completely before proceeding. Once the subfloor is prepped and ready, use a tape measure to determine the square footage of your kitchen so you know how much laminate flooring to purchase.
Installing Underlayment and Laminate Planks
Once you have purchased enough laminate flooring for your kitchen, it’s time to start laying it down! Begin by unrolling and installing underlayment over the subfloor using a pneumatic stapler or a nail gun. Make sure there are no gaps between pieces of underlayment, as this could cause unevenness when walking on the laminate flooring later on. Once the underlayment has been installed, use a chalk line to mark out where each plank of laminate will go. Start at one corner of the room and begin installing planks along your chalk line. Use spacers between each plank to ensure even spacing. Use a tapping block and hammer to securely attach each plank together and create an even surface across the entire kitchen.
Finishing Touches
After all of your laminate planks have been installed, use caulk around any edges or corners that have gaps between them and the wall. This will help keep out moisture and ensure that your floor is sealed properly against water damage. Finally, sweep away any remaining debris or dust from installation and enjoy your brand new laminate floors!
FAQs About Installing Laminate Flooring In Kitchen
Q: Do I need special tools to install laminate flooring in my kitchen?
A: While it is possible to install laminate flooring without special tools, having access to a pneumatic stapler or nail gun can make things much easier. Other useful tools include a hammer , tapping block, utility knife, and chalk line.
Q: How do I know how much laminate flooring to buy?
A: Before you purchase any laminate flooring for your kitchen, you should measure the square footage of the room so you know exactly how much material to buy. This will help you avoid any unnecessary waste or extra trips to the store.
What tools are needed for installing laminate flooring in the kitchen?
1. Laminate flooring2. Underlayment
3. Tapping Block
4. Pull Bar
5. Saw
6. Safety Goggles
7. Hammer
8. Tape Measure
9. Utility Knife
10. Spacers
11. Caulk Gun
12. Chalk Line
13. Pneumatic Stapler or Nail Gun