Installing A Tile Floor Over Plywood

Related Images about Installing A Tile Floor Over Plywood
How to Install Tile Over Old Thinset Home Guides SF Gate

Tile goes with other flooring. That is on the list of main reasons why houses even in contemporary times, choose tile flooring, even when they've several additional choices available to them such as carpeting. Many hardware stores have tile cutters that you can utilize or lease for 1 day. Needless to say one would need to give some thought to brand, design, and quality too.
Can You Lay Tile Directly Over a Plywood Subfloor? Today’s Homeowner Plywood subfloor

You need to think about the long term cost effectiveness of ceramic floors instead of some other flooring. Nonetheless, due to the complex, non practicing patterns of marble floors tiles, little amounts of dirt on natural stone floor flooring as marble don't show. But floor tile is almost indestructible, and surprisingly cost useful. It is very important to position the mats very smartly. Another flooring option to consider is tile.
Ideas On Installing 8" X 48" Tile On Plywood Subfloor – Page 2 – Flooring – Contractor Talk

Tile is able to generate the foundation for your decorating theme, or even become the final accent in your bedroom motif. You can clean them with detergents or perhaps another floor laundering substance. Not many individuals opt for this particular flooring sort at the moment since it's not as good looking as the rest. But in case you don't wish to apply mats you must go for the very best ceramic tile floor fresher.
Tips for Laying Tile on Plywood Subfloor
:max_bytes(150000):strip_icc()/can-you-tile-over-vinyl-floor-1822596_FINAL_NEW-b4003c12b3ce48b382e80c57fb340b03.png)
How To Prepare Wood Subfloor For Self Adhesive Vinyl Floor Tiles (Peel and Stick PVC Tiles)?
Ideas On Installing 8" X 48" Tile On Plywood Subfloor – Page 2 – Flooring – Contractor Talk

Services – Russell Hardwood FloorsRussell Hardwood Floors

How to Install a Shower Pan ⋆ 🌲 ThePlywood.com
Ideas On Installing 8" X 48" Tile On Plywood Subfloor – Page 4 – Flooring – Contractor Talk

Where do you start tiling the flooring from? – Quora
Plywood Floor Underlayment – Carpet Vidalondon
How to Level a Subfloor Before Laying Tile – One Project Closer
Can I Install Tile Directly On Plywood – How To Install Tile Over A Wood Subfloor Today S
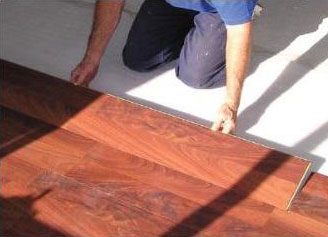
Flooring Direct installer begins laying Wood-look Tile Flooring Direct

Related Posts:
- Commercial Porcelain Tile Flooring
- Ideas Covering Tile Floors
- Steam Mop For Hardwood And Tile Floors
- Shaw Vinyl Tile Flooring
- Herringbone Wood Look Tile Floor
- Chair Casters For Tile Floors
- Bona Mops For Tile Floors
- How Clean Porcelain Tile Floor
- How To Install Natural Stone Tile Flooring
- How Much To Install Tile Floor Per Square Foot
Installing a Tile Floor Over Plywood: A Comprehensive Guide
Introduction:
Installing a tile floor over plywood can be a daunting task for many homeowners. However, with the right tools, materials, and knowledge, it is a project that can be successfully completed. In this article, we will provide you with a step-by-step guide on how to install a tile floor over plywood, along with some frequently asked questions and their detailed answers.
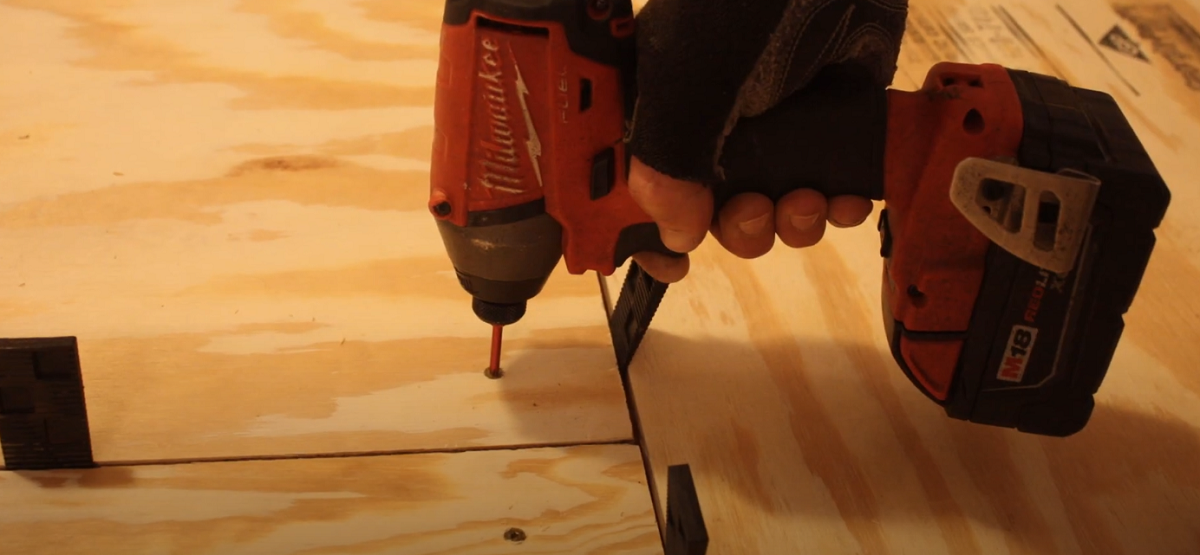
1. Preparing the Plywood Subfloor:
Before you start installing the tile floor, it is crucial to ensure that your plywood subfloor is in good condition and properly prepared. Here are the steps to follow:
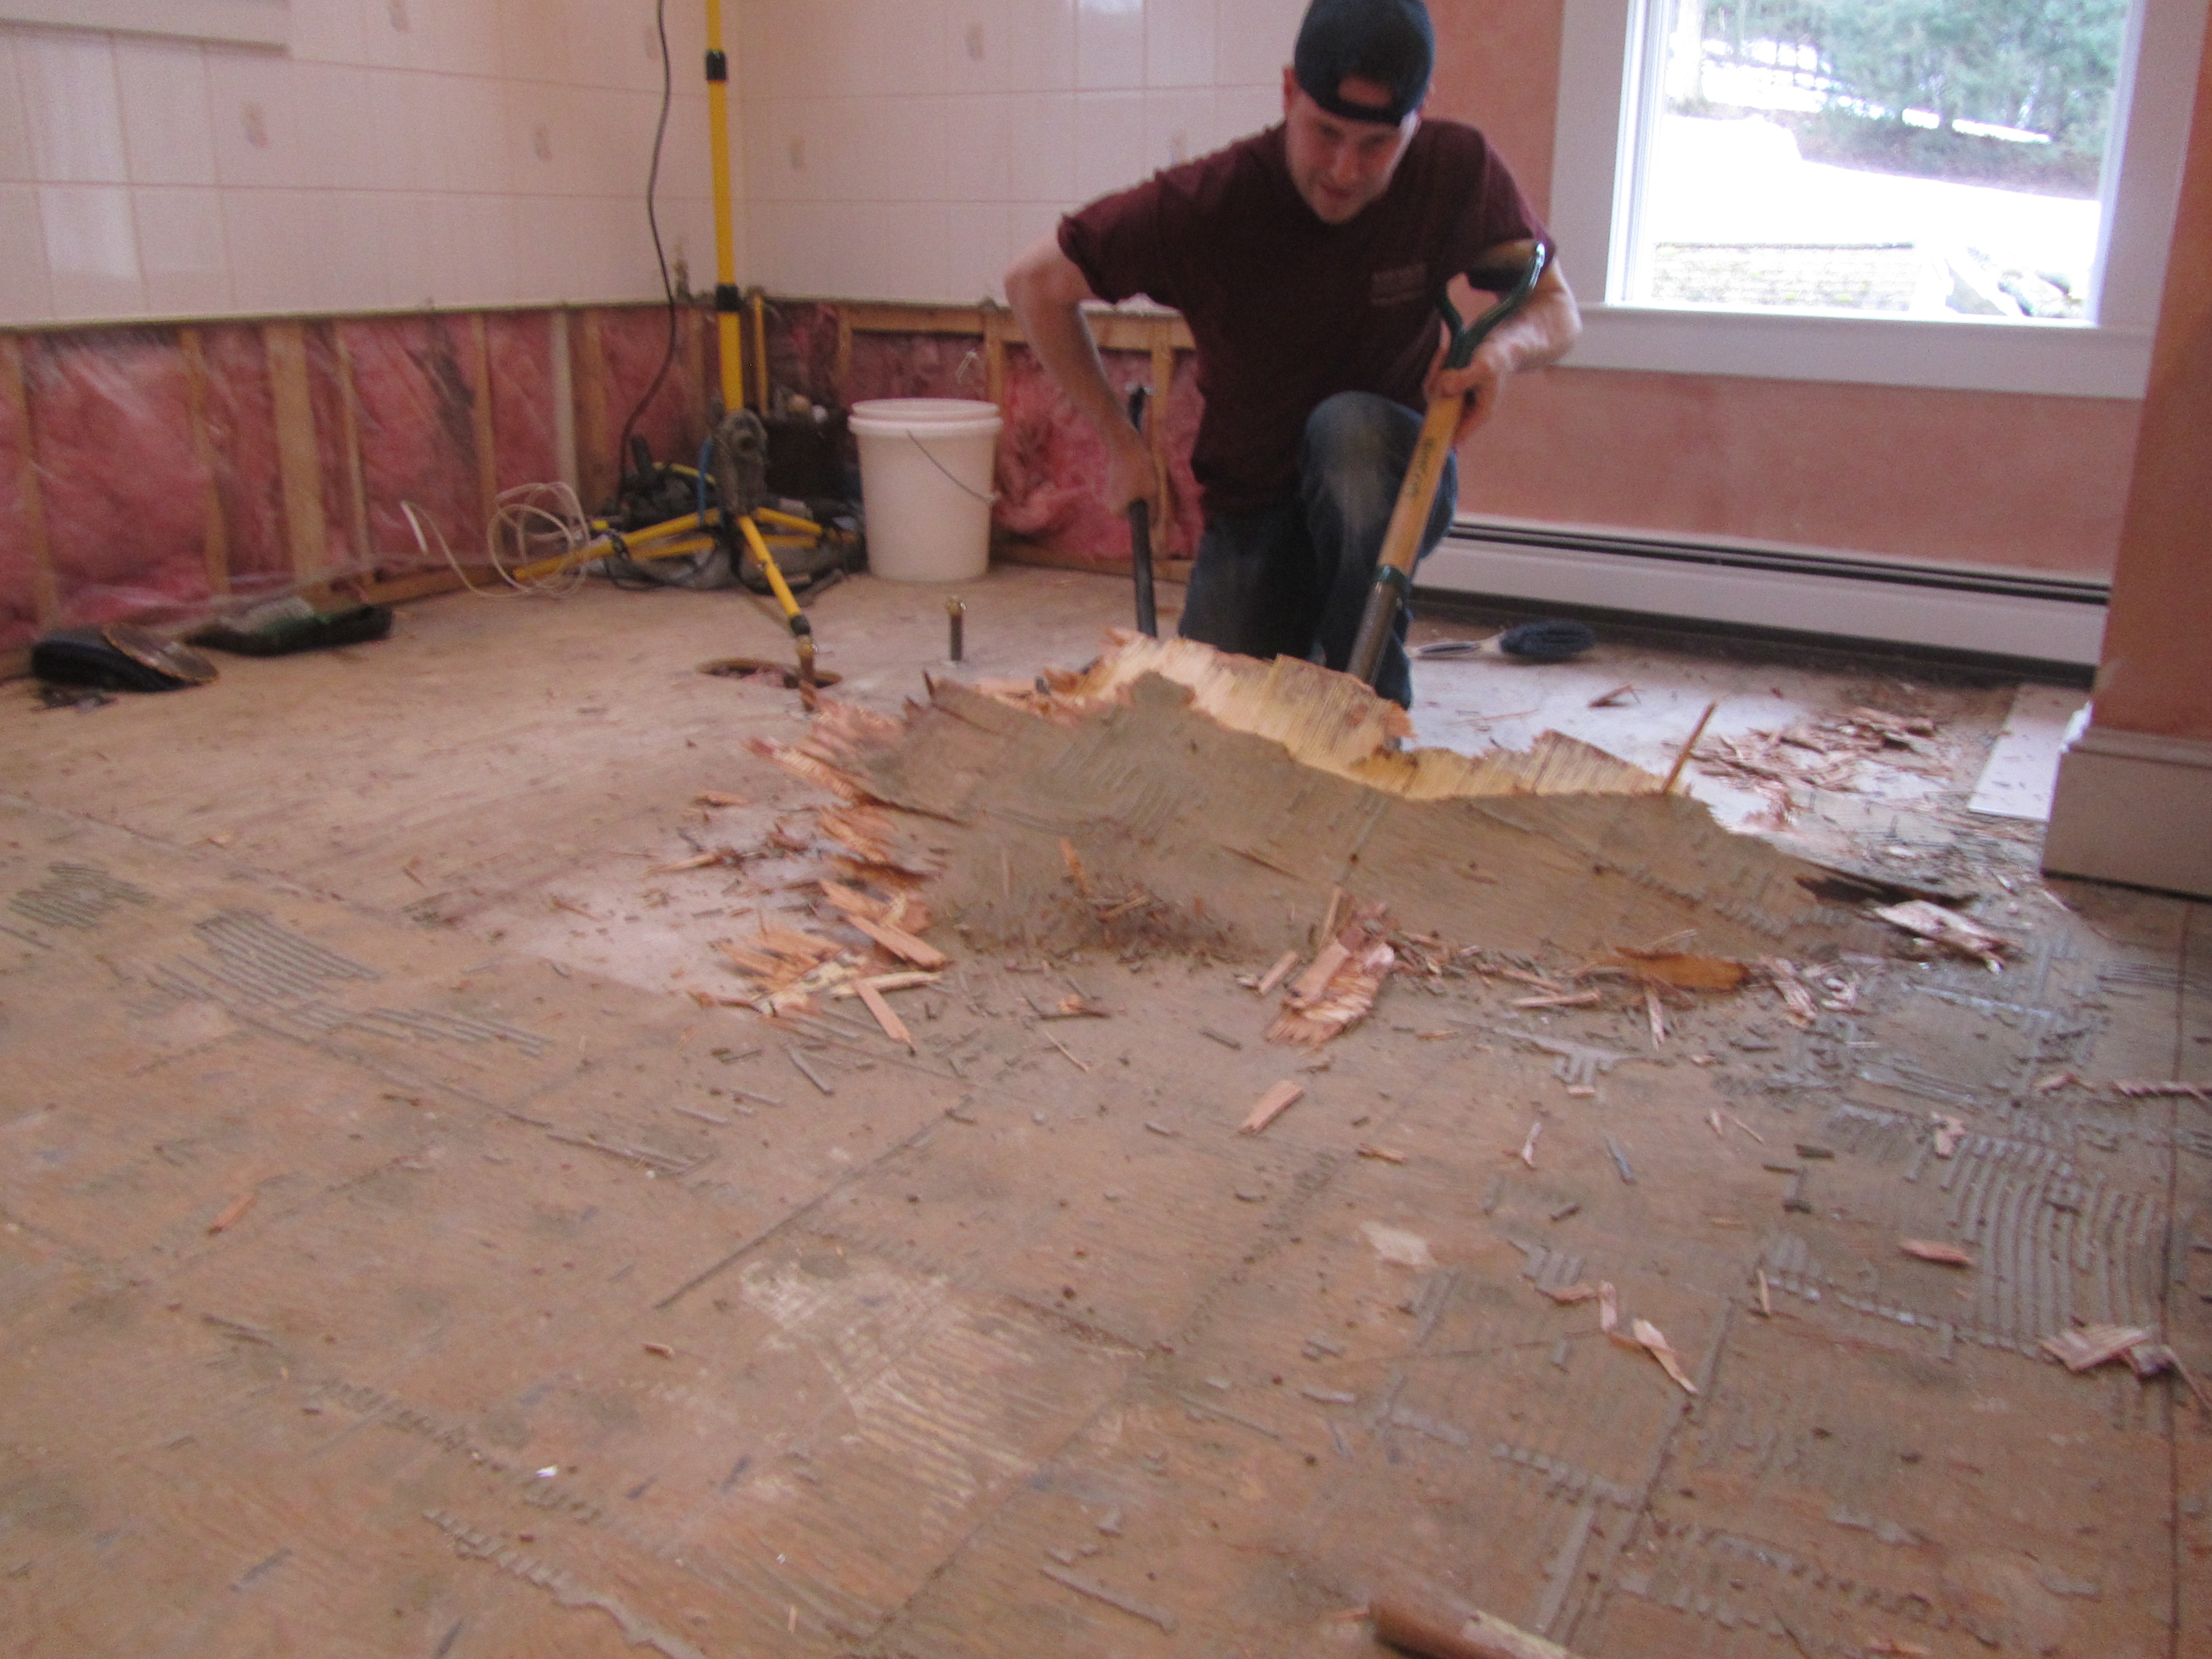
a. Inspect the Subfloor: Thoroughly examine the plywood subfloor for any signs of damage or rot. Replace any damaged sections and reinforce weak areas to ensure a sturdy foundation for your tile installation.
b. Clean the Subfloor: Remove all dust, debris, and loose particles from the subfloor using a broom or vacuum cleaner. Ensure that the surface is clean and free of any contaminants that may interfere with the tile adhesive.
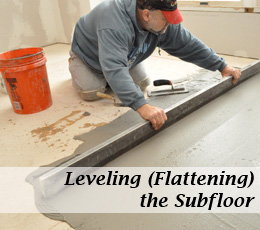
c. Leveling the Subfloor: Check for any uneven spots or high/low areas on the plywood subfloor. Use a leveling compound to fill in low spots and sand down high spots until the surface is even and smooth.
FAQs:
Q1: Can I install tile directly on plywood without any additional preparation?
A1: No, it is not recommended to install tile directly on plywood without proper preparation. Plywood tends to expand and contract with changes in temperature and humidity, which can cause cracks in the tiles over time. It is essential to follow the necessary steps for preparing the subfloor before installing tiles.
Q2: How do I determine if my plywood subfloor is level?
A2: To check for levelness, use a long straightedge or level tool placed across various areas of the subfloor. If you notice gaps between the straightedge and the subfloor, it indicates unevenness. In such cases, you will need to level the subfloor using a leveling compound or by sanding down high spots.
2. Choosing the Right Tile and Adhesive:
Selecting the appropriate tile and adhesive is crucial for a successful tile floor installation. Here are some factors to consider:
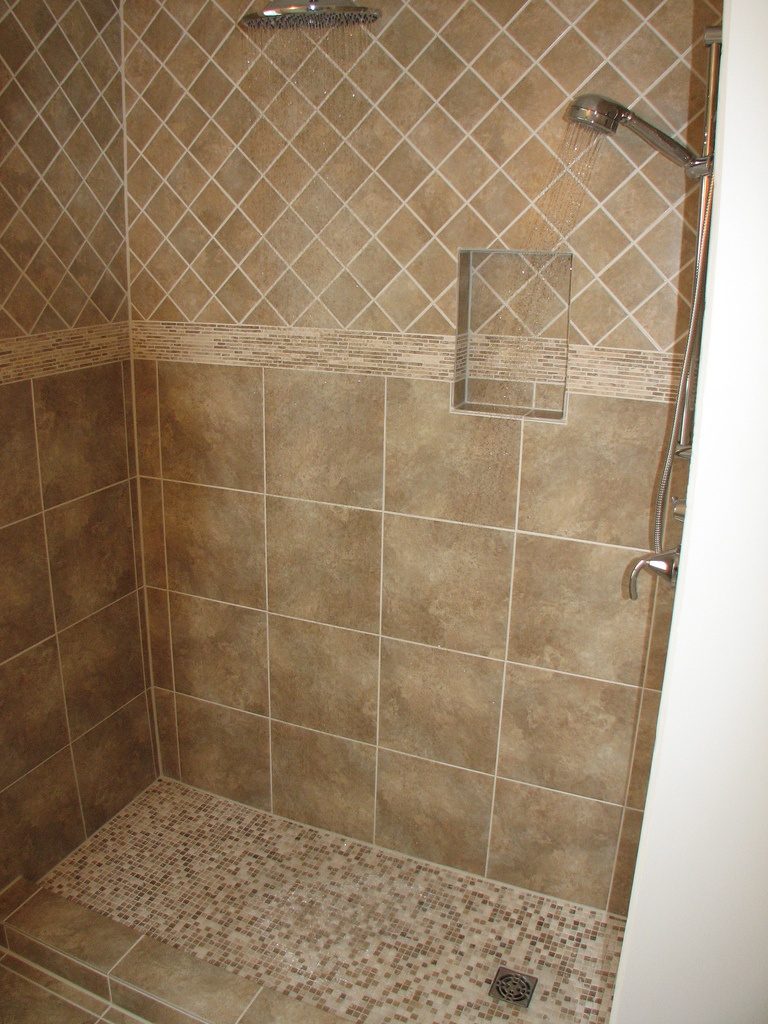
a. Tile Type: Choose a tile that is suitable for your specific needs and preferences. Ceramic and porcelain tiles are popular choices due to their durability, while natural stone tiles offer a more luxurious and unique appearance.
b. Tile Size: Consider the size of the room when selecting tile size. Larger tiles are often preferred for larger spaces as they create an illusion of openness, while smaller tiles can be used to add intricate details in small areas.
c. Adhesive Selection: Ensure that you choose an adhesive that is specifically designed for bonding tiles to plywood surfaces. It is recommended to use a flexible thin-set mortar adhesive that can withstand the movement of the subfloor without cracking.
FAQs:
Q1: Can I install any type of tile on plywood?
A1: While ceramic, porcelain, and natural stone tiles can be installed on plywood, it is essential to check with the tile manufacturer’s guidelines for compatibility with plywood subfloors. Some tiles may require additional reinforcement or specific installation techniques.
Q2: What type of adhesive should I use for installing tiles on plywood?
A2: It is recommended to use a flexible thin-set mortar adhesive specifically formulated for plywood installations. This type of adhesive allows For the slight movement of the plywood subfloor without causing cracks in the tiles. It is important to follow the manufacturer’s instructions for proper adhesive selection and application. 3. Preparing the Plywood Subfloor:
Before installing tiles, it is important to properly prepare the plywood subfloor. Here are the steps to follow:
a. Clean the Subfloor: Remove any debris, dirt, or dust from the subfloor using a broom or vacuum cleaner.
b. Repair any Damaged Areas: Inspect the subfloor for any damaged or loose sections. Secure any loose plywood boards and replace any damaged areas as needed.
c. Fill in Low Spots: Use a leveling compound to fill in any low spots or uneven areas on the subfloor. Follow the manufacturer’s instructions for mixing and applying the leveling compound, ensuring that it is spread evenly and allowed to dry completely.
d. Sand Down High Spots: Use sandpaper or a sander to smooth down any high spots on the subfloor. This will help create a level surface for tile installation.
e. Seal the Subfloor: Apply a layer of primer or sealer to the plywood subfloor. This will help improve adhesion and prevent moisture from seeping into the plywood.
FAQs:
Q1: Can I use self-leveling compound on plywood?
A1: Yes, self-leveling compounds can be used on plywood subfloors to fill in low spots and create a level surface. However, it is important to ensure that the compound is compatible with plywood and follow manufacturer’s instructions for proper application.
Q2: Do I need to sand down the entire subfloor?
A2: You only need to sand down high spots on the subfloor to create a level surface. It is not necessary to sand down the entire subfloor unless there are extensive high spots throughout.
4. Installing the Tiles:
Once the plywood subfloor is properly prepared, you can proceed with tile installation. Here are the steps to follow:
a. Layout: Begin by planning the layout of the tiles, taking into consideration any patterns or designs.
b. Apply Adhesive: Use a trowel to apply the adhesive onto the subfloor in small sections. Follow the manufacturer’s instructions for proper adhesive application and coverage.
c. Place Tiles: Press each tile firmly into the adhesive, ensuring proper alignment and spacing between tiles. Use tile spacers if needed.
d. Grout: After allowing the adhesive to dry, apply grout between the tiles using a grout float. Wipe off any excess grout with a damp sponge.
e. Allow to Cure: Let the tiles and grout cure according to the manufacturer’s instructions before walking on or applying any heavy loads on the floor.
FAQs:
Q1: How long does it take for tile adhesive to dry?
A1: The drying time for tile adhesive can vary depending on factors such as temperature and humidity. It is recommended to follow the manufacturer’s instructions for specific drying times.
Q2: When can I start using the tiled floor?
A2: It is best to wait at least 24-48 hours after tile installation before walking on or applying any heavy loads on the floor. This allows sufficient time for the adhesive and grout to fully cure.