How To Wax Marble Floors
Related Images about How To Wax Marble Floors
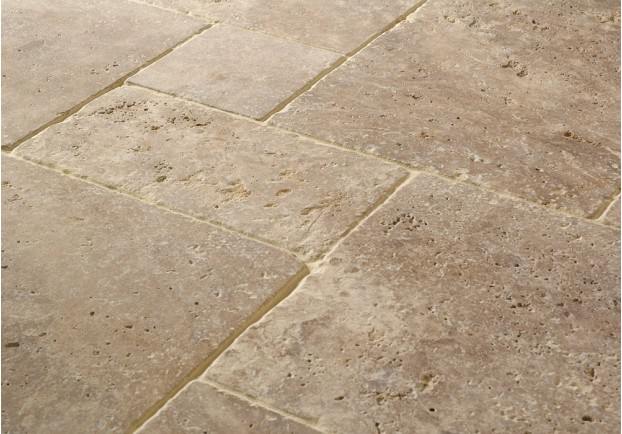
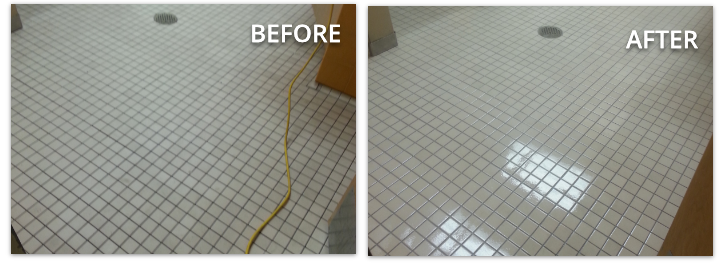
Pin by Marble Artistries Ltd. on Before & After Flooring, Tile floor, Texture

Professional cleaners might be more expensive than washing your floors on your own, although you’ll certainly be getting that which you spent on. Offered that the marble flooring come pre cut and you’ve the right tools for carrying out any minor changes, you ought to discover that this might be a quite simple project to complete in the house.
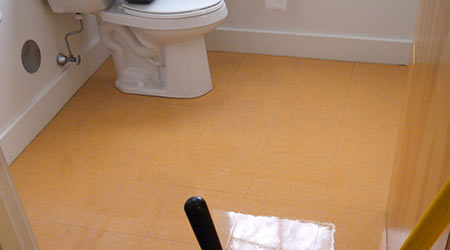
Best Wax For Tile Floors – Vintalicious.net
No matter whether you need to pick a dark marble or perhaps a lightly colored one is dependent on the color of your medicine cabinet. A few good examples, include juice, sauce, coffee and cooking oil. As I’ve already told you that the marble floors are incredibly porous and could be hurt by the strong acids. It’s a natural stone and that is very similar to granite but with a number of vital features.
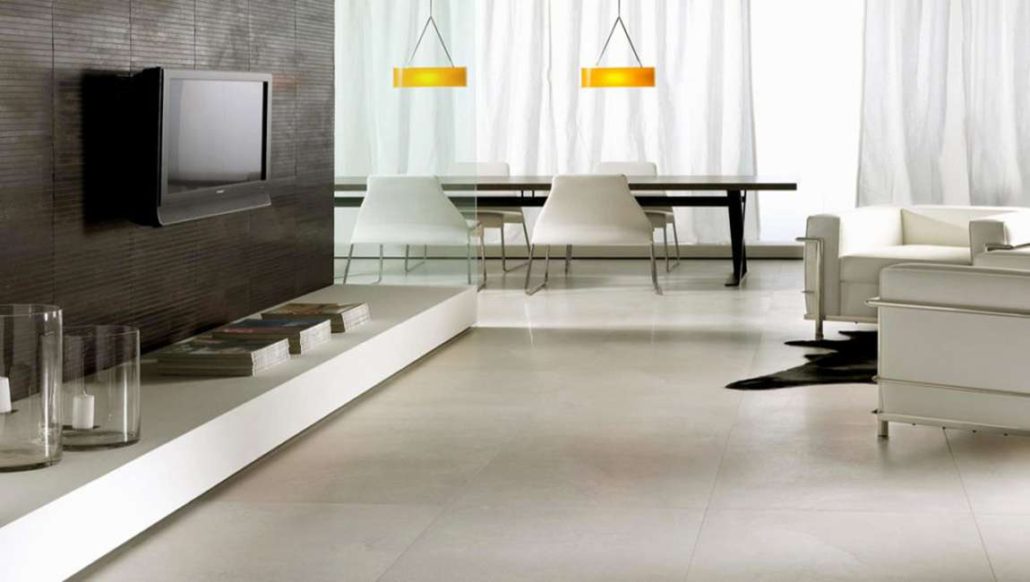
How To Take Wax Off Ceramic Tile Floor – Best Image Home

Make sure that you put in a great marble tile floor since they are going to last approximately five times longer compared to many other flooring. You will find a few of explanations why we do this and also the first is that it can occasionally be very difficult to locate a detergent which is has enough punch to get rid of all the built up ingrained dirt that we find in deep cleaning.
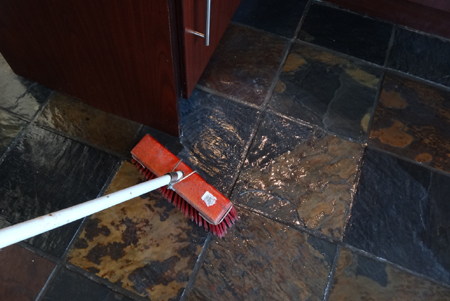
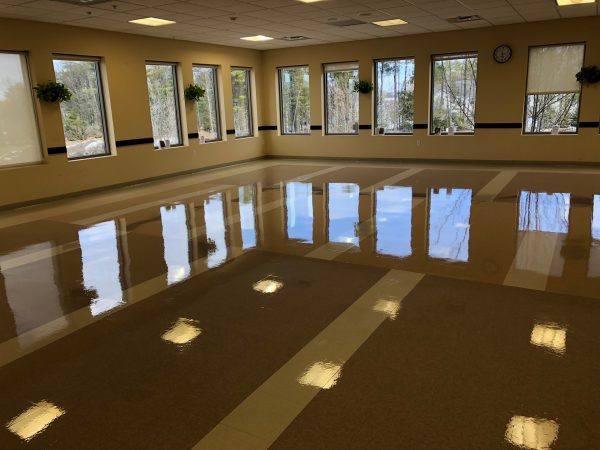
Terrazzo Floor Polishing Fort Lauderdale Cleaning Fort Lauderdale

floor tiles Archives – Page 3 of 3 – Barana Tiles
How Do I Wax a Concrete Floor? Hunker

Achieving a Deep Shine on Polished Marble Flooring in Worcester – Marble Tile Cleaning and Polishing

Floor Wax: Stone Floor Wax
MARBLELIFE® Recommended Products for Floors
Faux Projects – NewLook International

Liquid Marble – Epoxy Coat Texas – Houston Epoxy Flooring, Industrial Coatings

Floor Care Including Ceramic, Laminated, Stone, Terrazzo and Quarry Tile Cleaning
Industrial Flooring & Decorative Concrete Coatings – Desert Coatings

Marble flooring types, price, polishing, designs and expert tips

Related Posts:
- How To Restore Shine To Marble Floors
- Marble Floor Tiles Ireland
- Marble Floor Medallions Sale
- Marble Floor Repair Kit
- How To Wash Marble Floor
- Botticino Marble Floor Tiles
- Crazy Marble Flooring Designs
- How To Maintain Marble Flooring
- Marble Floor Tile Care Maintenance
- Hexagon Marble Floor
How to Wax Marble Floors: A Comprehensive Guide
Introduction:
Marble floors add a touch of elegance and luxury to any space. However, in order to maintain their beauty and shine, regular maintenance is essential. Waxing marble floors is an effective way to protect them from stains, scratches, and wear while enhancing their natural luster. In this comprehensive guide, we will walk you through the step-by-step process of how to wax marble floors, highlighting important tips and precautions along the way.
I. Preparing the Floor:
Before diving into the waxing process, it is crucial to thoroughly clean and prepare the marble floor. Follow these steps for optimal results:
1. Clear the Area:
Start by removing all furniture and objects from the floor. This will provide you with ample space to work and prevent any obstacles during the waxing process.
2. Sweep or Vacuum:
Use a soft-bristle broom or a vacuum cleaner with a brush attachment to remove loose dirt, dust, and debris from the floor’s surface. Pay close attention to corners and edges where dirt tends to accumulate.
3. Mop with Mild Cleaner:
Next, prepare a bucket of warm water mixed with a pH-neutral cleaner specifically formulated for marble surfaces. Dip a microfiber mop or cloth into the solution and wring out excess water. Mop the entire floor, focusing on stubborn stains or spills. Avoid using acidic or abrasive cleaners that can damage the marble.
Frequently Asked Questions:
Q: Can I use vinegar or lemon juice as a cleaner for marble floors?
A: No, acidic substances like vinegar or lemon juice can etch and dull the surface of marble floors. Stick to pH-neutral cleaners specifically designed for marble.
Q: Is it necessary to hire professionals for cleaning prior to waxing?
A: While professionals can provide expert cleaning services, you can achieve satisfactory results by following proper cleaning techniques at home.
II. Repairing Damaged Areas:
Before proceeding with waxing, inspect the marble floor for any cracks, chips, or deep scratches. Repairing these areas is essential to ensure a smooth and even wax application. Here’s how you can address such issues:
1. Filling Cracks and Chips:
For small cracks or chips, use a marble repair kit that matches the color of your floor. Follow the manufacturer’s instructions to mix the epoxy resin and apply it to the damaged area using a putty knife. Allow it to dry completely before sanding it down gently to achieve a level surface.
2. Polishing Scratches:
For minor scratches, you can use a marble polishing compound and a soft cloth to buff them out. Apply a small amount of the compound to the scratched area and rub it in gentle circular motions until the scratch diminishes. Wipe away any residue with a clean cloth.
Frequently Asked Questions:
Q: Can I wax over damaged areas without repairing them?
A: It is not recommended as wax will not adhere properly to uneven surfaces, resulting in an uneven finish. Repairing damaged areas ensures a smooth and uniform appearance.
Q: How often should I inspect my marble floors for damages?
A: It is advisable to inspect your marble floors for damages every few months or after any significant impact or accident.
III. Choosing the Right Wax:
Selecting the appropriate wax is crucial for achieving optimal results while considering the specific needs of your marble floor. Consider the following factors when choosing a wax:
1. Type of Wax:
There are various types of waxes available for Marble floors, including paste wax, liquid wax, and spray wax. Each type has its own advantages and disadvantages, so choose one that suits your preferences and needs.
2. Formulation:
Look for a wax specifically designed for marble floors. These waxes are typically pH-neutral and will not damage or discolor the marble surface. Avoid using waxes with acidic or abrasive ingredients.
3. Finish:
Consider the desired finish you want to achieve. Some waxes offer a high-gloss shine, while others provide a more natural or matte finish. Choose a wax that matches your desired aesthetic.
4. Durability:
Check the durability of the wax. Some waxes offer long-lasting protection and require less frequent reapplication, while others may need to be reapplied more often.
5. Ease of Application:
Consider how easy the wax is to apply. Some waxes require multiple coats or extensive buffing, while others provide a simple one-step application process.
Frequently Asked Questions:
Q: Can I use regular floor wax on marble floors?
A: No, regular floor waxes may contain harsh chemicals that can damage marble surfaces. It is important to use a wax specifically formulated for marble.
Q: How often should I wax my marble floors?
A: The frequency of waxing depends on factors such as foot traffic and usage. Generally, it is recommended to wax marble floors every 6-12 months or as needed to maintain their appearance and protection.
IV. Waxing the Marble Floor:
Once you have chosen the right wax for your marble floor, follow these steps to properly apply it:
1. Prepare the Floor:
Thoroughly clean the floor using a mild cleaner as mentioned earlier in step 3. Ensure that the floor is completely dry before proceeding with waxing.
2. Apply the Wax:
Using a clean mop or cloth, apply a thin and even layer of wax onto the marble floor. Work in small sections, starting from one corner and moving towards the exit to avoid stepping on the freshly waxed areas.
3. Allow Drying Time:
Allow the wax to dry according to the manufacturer’s instructions. This typically takes around 20-30 minutes.
4. Buff the Floor:
Once the wax is dry, use a clean and dry mop or cloth to buff the floor in circular motions. This will help enhance the shine and remove any excess wax residue.
5. Repeat if Necessary:
If you desire a higher gloss or added protection, you can repeat the wax application and buffing process for an additional layer of wax.
Frequently Asked Questions:
Q: Can I walk on the floor immediately after waxing?
A: It is best to avoid walking on the floor immediately after waxing to allow the wax to fully dry and set. Follow the manufacturer’s instructions for drying time.
Q: How long does it take for the wax to cure completely?
A: The curing time may vary depending on the type of wax used. Generally, it takes around 24-48 hours for the wax to fully cure and provide optimal protection.
Remember to always follow the instructions provided by the manufacturer of your chosen wax product for best results and safety precautions.