How To Tile Floor In Shower
Related Images about How To Tile Floor In Shower
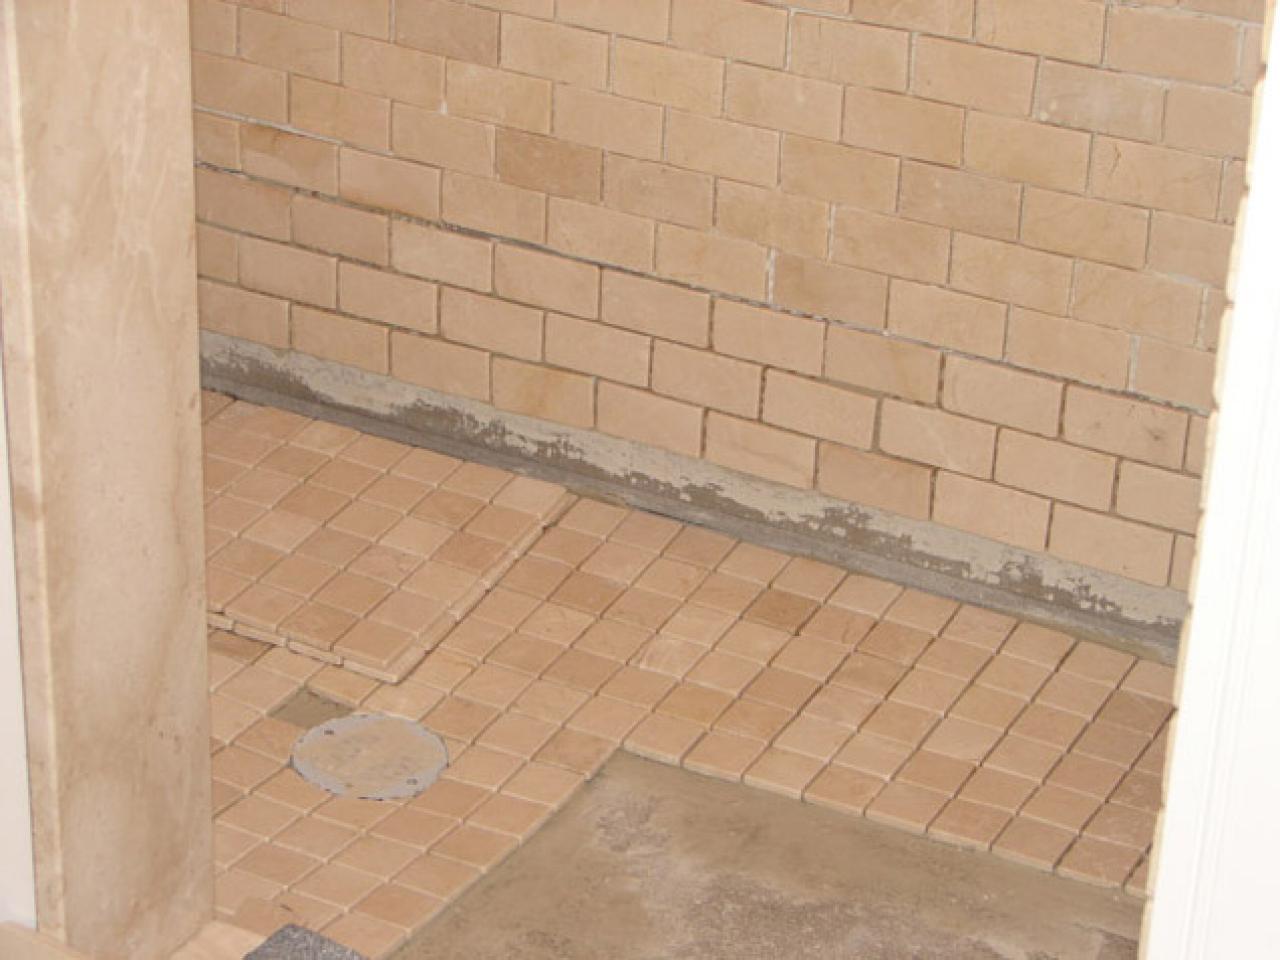
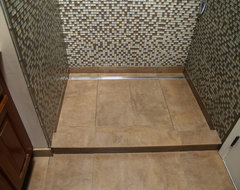
How to Install Tile in a Bathroom Shower how-tos DIY
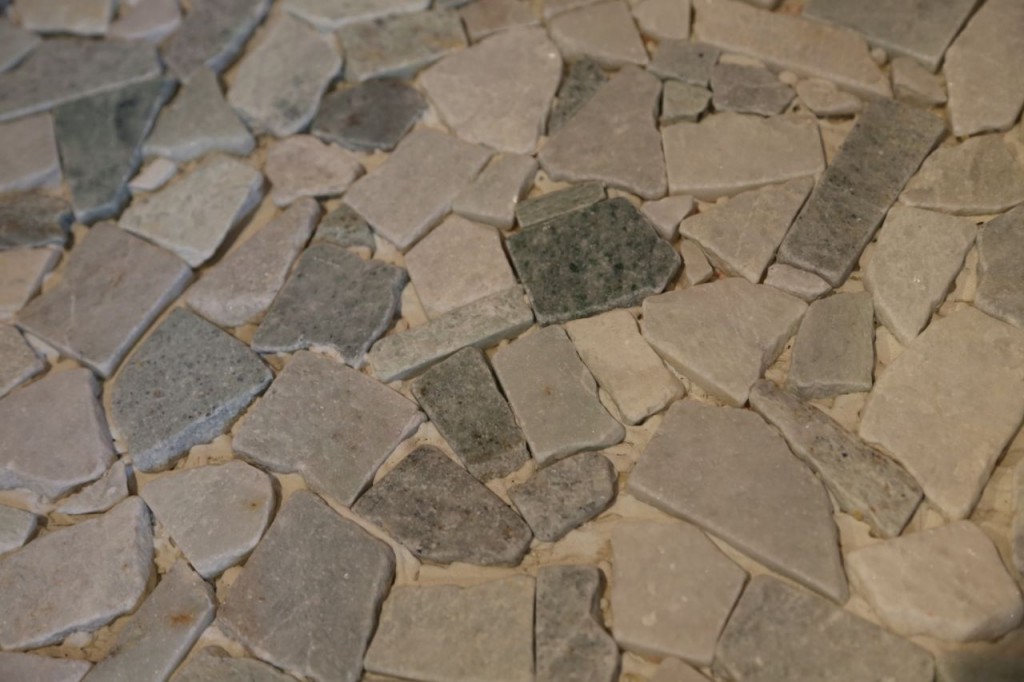
Among the most notable sorts is the stone flooring utilized in castles as well as other buildings. Quite often they generally do the setting up, unpolluted up, as well as removal of all of the old flooring as well as debris for a low price. You can even discover tile flooring on patios and barbeque parts. After that, bring up the wood top floor and expose the subfloor.
Glass tile with a pebble waterfall border and shower floor Shower tile, Waterfall shower

In case you are considering installing floor tile flooring by yourself, there are several things to consider. This can offer extra for breakage along with tiles that should be cut to place the room. They need almost no effort to clean – but a mop as well as water that is warm need to be implemented on them often to keep them looking fresh and bright.
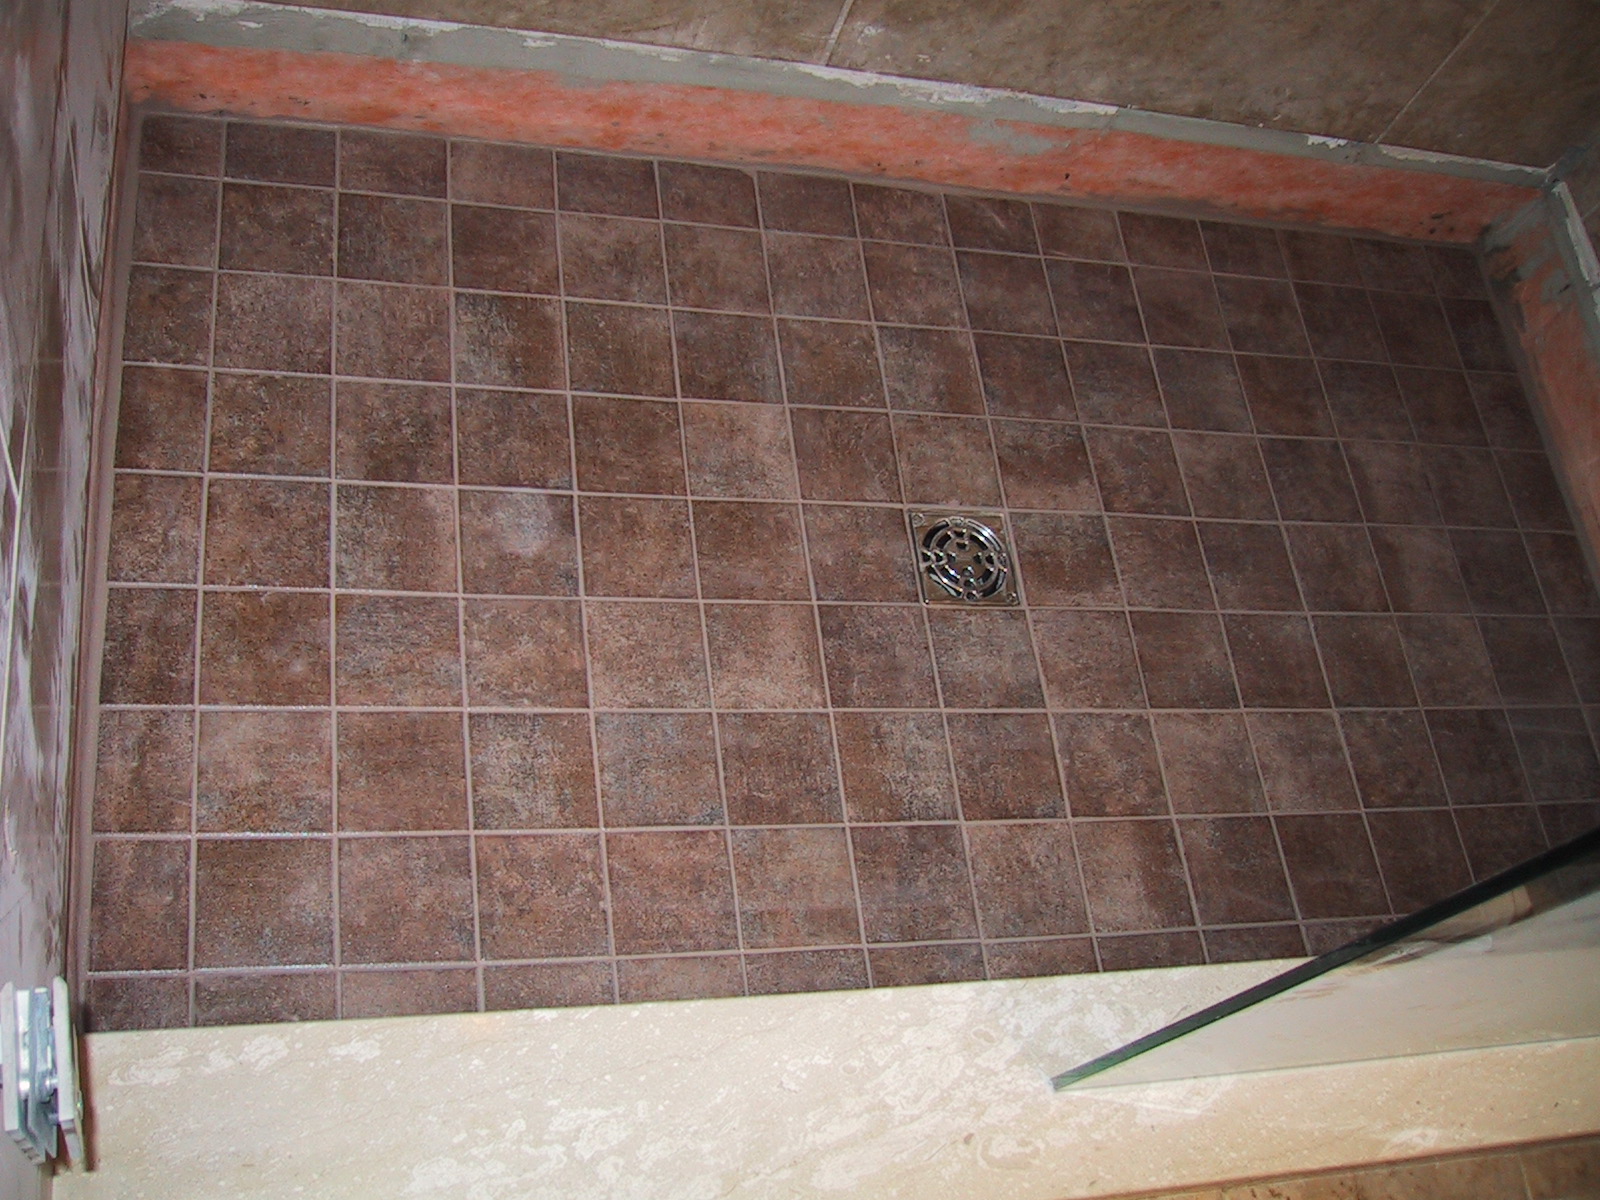
How To Install Tile Shower Floor – How to install ceramic or porcelain tile on a shower floor
Buy them pre-cut to your requirements as they need a gemstone wheel for cutting. It's going to take a few of hours before the mortar is entirely dried out. For some people garage tile flooring is the only pick and in addition they see it as the best option. Knowing the kind of subfloor you will be putting in ceramic tile flooring over is actually important. Their styles tones are light gray to solid black.
48+ Modern Doorless Shower Designs Ideas – Page 6 of 50 Teak bathroom, Teak shower floor, Teak

How to Install a Tile Shower Floor – Fine Homebuilding
Master Bath Remodel with Flat Pebble Shower Flooring – Savvy Home Supply

March 2014 – Geeky Girl Engineer
How to Install Tile in a Bathroom Shower HGTV
Bathroom Remodeling Services
shower tub peel and stick ideas – Google Search Affordable bathroom remodel, Bathroom wall

modern-stone-bathroom-with-glass-doors HomeMydesign
Finished the Lutz, Florida master bath stand up shower. Laticrete HydroBan waterproofing

How To Tile a Shower – Floor & Wall Tile Installation #4 – YouTube

What to Use for the Shower Floor
Related Posts:
- Commercial Porcelain Tile Flooring
- Ideas Covering Tile Floors
- Steam Mop For Hardwood And Tile Floors
- Shaw Vinyl Tile Flooring
- Herringbone Wood Look Tile Floor
- Chair Casters For Tile Floors
- Bona Mops For Tile Floors
- How Clean Porcelain Tile Floor
- How To Install Natural Stone Tile Flooring
- How Much To Install Tile Floor Per Square Foot
How To Tile Floor In Shower: A Step-by-Step Guide
Tiling a shower floor can be a daunting task for even the most experienced DIYer. However, with the right tools, materials, and knowledge, you can easily accomplish this home improvement project in no time. This guide will walk you through the process of tiling a shower floor from start to finish, so you can achieve the perfect tiled shower floor of your dreams.
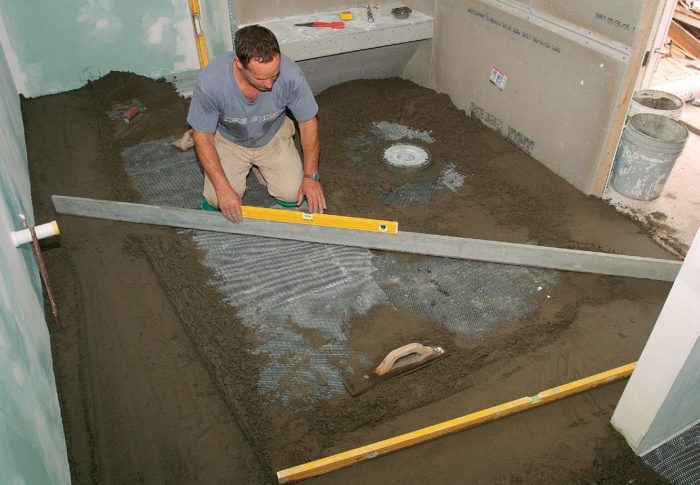
Step 1: Prepare the Shower Floor
Before you begin tiling, make sure that the area of your shower floor is completely clean and free from any dirt or debris. You may need to use a putty knife or scraper to remove any stubborn dirt or grime buildup. Also, check for any leaks in the walls or pipe joints that could lead to water damage in the future. Once you’ve ensured that your shower floor is clean and prepped properly, it’s time to move on to step two.
Step 2: Measure and Mark Your Tile Layout
Once your shower floor is prepped and ready for tile installation, measure out the area that you are going to be tiling with a measuring tape. Next, mark off where each tile will be placed on the shower floor with a pencil or marker. This will help you visualize how your finished tiled shower floor will look once it’s complete.
Step 3: Apply Tile Adhesive
Using a notched trowel, apply a thin layer of tile adhesive onto the surface of your shower floor in an even layer. Make sure to cover all areas that you have marked off for tile placement. If necessary, use spacers between tiles to ensure even spacing when laying down your tiles. Allow the adhesive to dry for 24 hours before proceeding to step four.
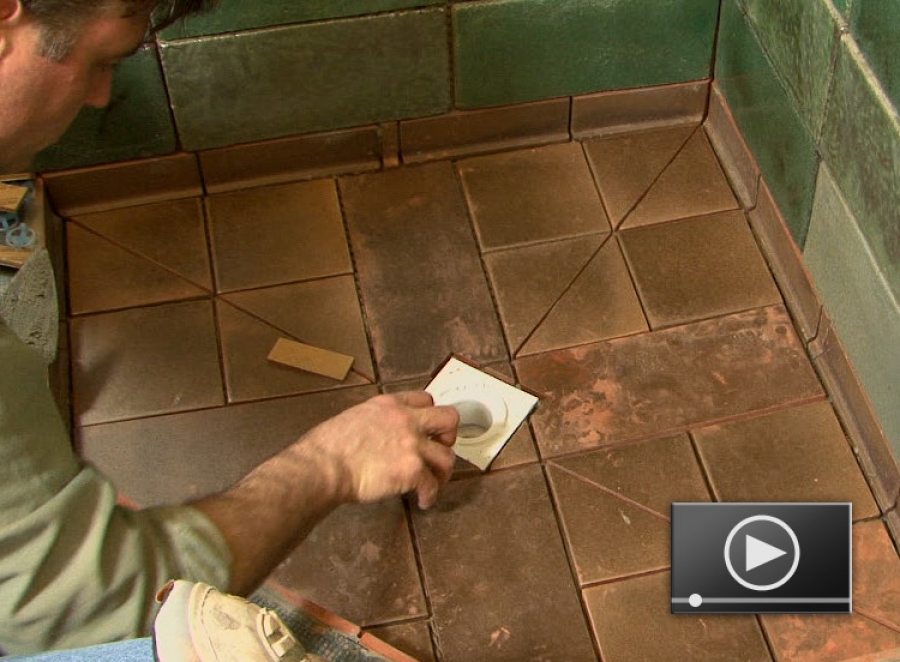
Step 4: Place Tiles on the Shower Floor
Once your tile adhesive has dried completely, it’s time for placing tile on your shower floor. Start by laying down your first tile in one corner of your marked off area and continue until all tiles are laid down in their designated places on your shower floor. Make sure to press each tile firmly into place until it is seated properly on your substrate.
Step 5: Grout Your Tiles
Once all of your tiles have been set into place on your shower floor, it’s time for grouting them together with a suitable grout product. Make sure to read all instructions carefully before applying grout as different products require different preparation steps before use. Once all instructions have been followed correctly, spread grout over all tiles using either an applicator bottle or rubber float in an even layer until all gaps between tiles are filled in completely. Allow grout to set up according to manufacturer’s recommendations before continuing to step six.
Step 6: Seal Your Tiles
Once all grout has been allowed to set up completely, you can then seal your tiles with a suitable sealer. This will help protect your tiled shower floor from water damage and ensure that it looks great for years to come. Make sure to read all instructions carefully before applying sealer as different products require different preparation steps before use. Once all instructions have been followed correctly, apply sealer in an even layer over all tiles until they are completely coated. Allow sealer to dry completely before stepping foot in your tiled shower floor.