How To Tile A Bathroom Floor And Walls
Related Images about How To Tile A Bathroom Floor And Walls
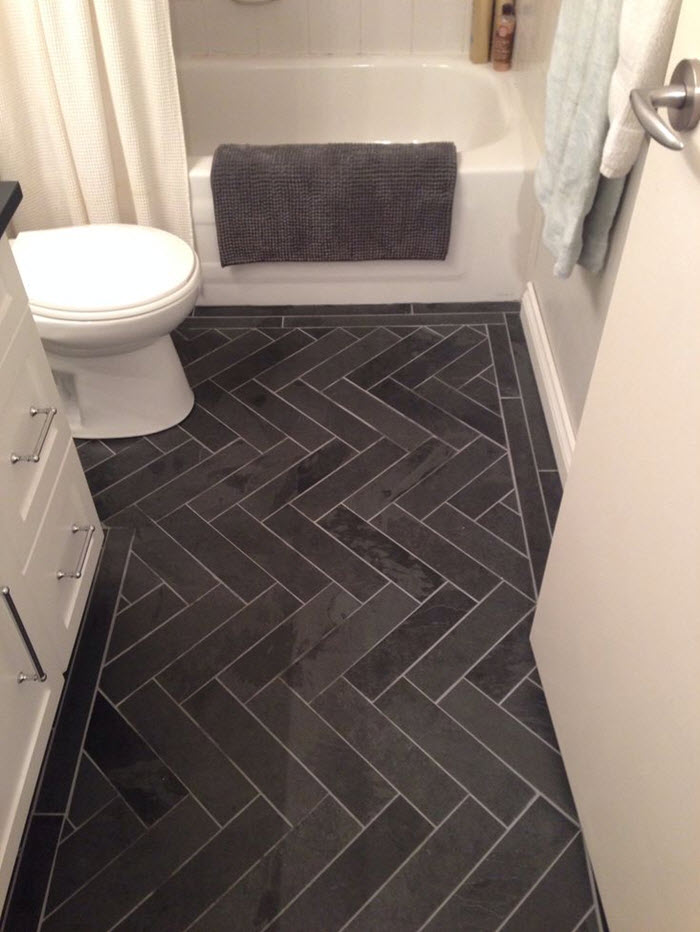
Simply DIY 2: Bathroom Floor – Part 3: Done

In the event you choose to do the floor of yours in one solid color, try using colored grout that contrasts with the color of the tile. Choose prints which mix best with the theme of the home as well as the bathroom in general. Simple, inexpensive, tough, durable and also liquid resistant, these tiles are a terrific option for virtually any kind of bathroom.
24 magnificent pictures and ideas of how to tile a bathroom floor wood subfloor 2020
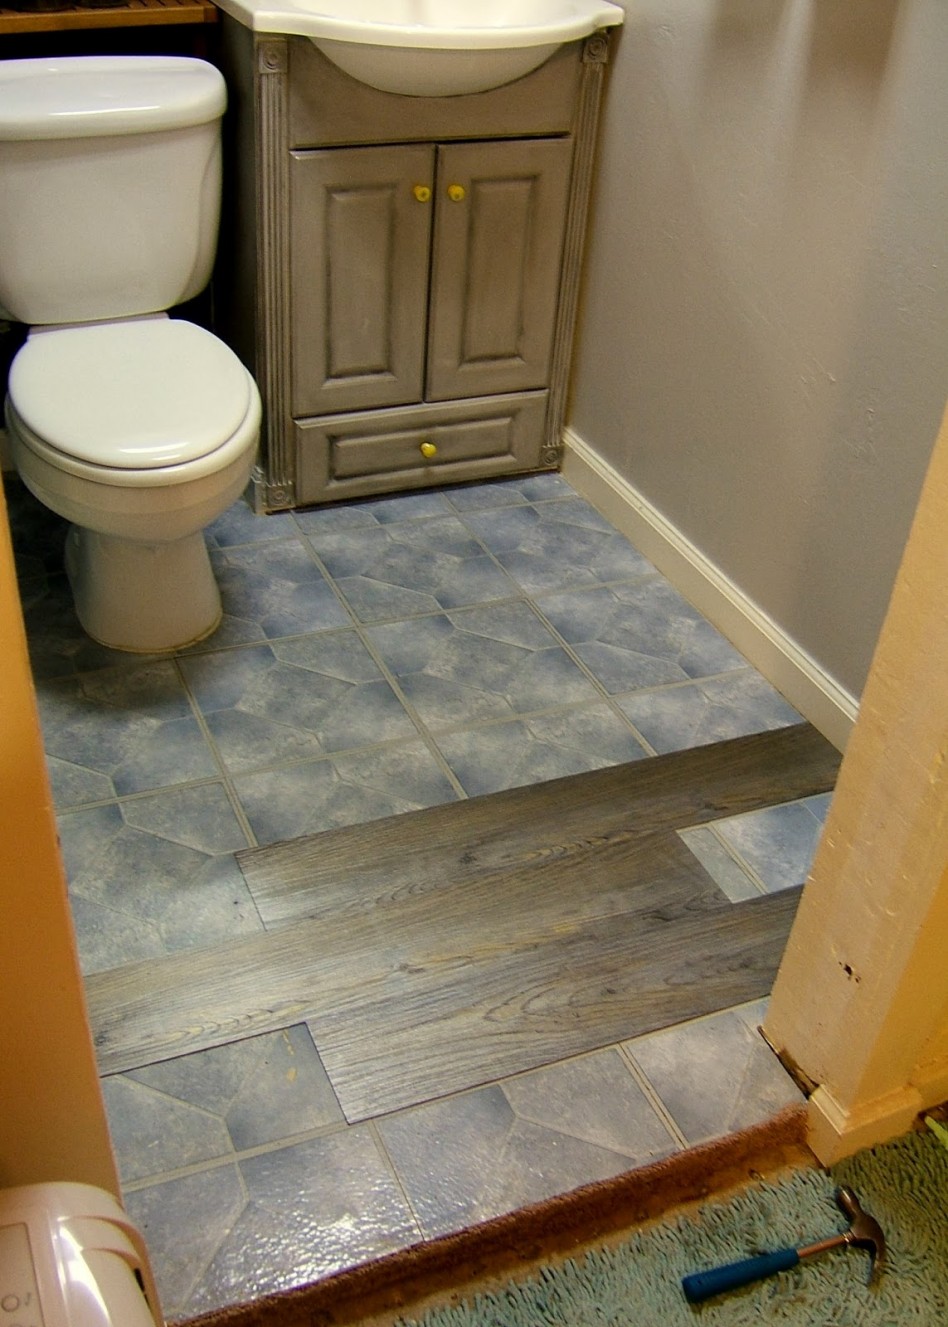
They've a pleasant glossy shimmer as well as texture which is sleek. Many folks go for vinyl because vinyl is not hard to install and may be accomplished on ones own. Lastly, you might find that you love your bath room flooring a great deal you don't want to get back it up – perhaps with your wonderful new bath room furniture.
35 Incredible Bathroom Wall & Floor Tile Designs

Whatever floor covering you choose to go with in the bathroom of yours you should not only look at the surroundings of the bathroom although keep in mind the reality that more often than not you will have bare feet when walking in the bathroom so choosing a flooring that is comfortable under foot is an essential need. The threat is often understood very easily.
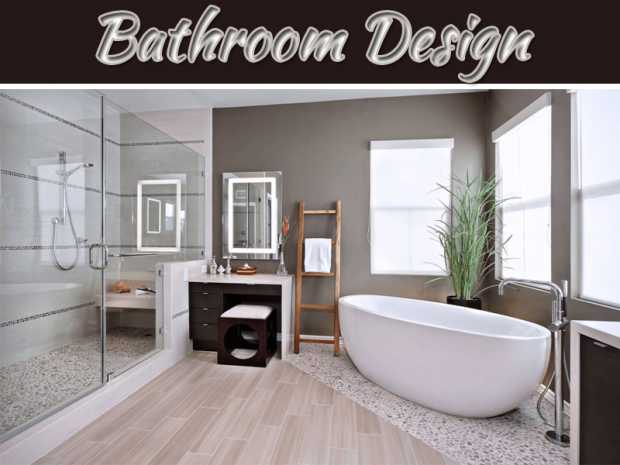
Bathroom Design My Decorative
Bathroom Floor Tile Ideas Photo Gallery 2020

Bathroom Tiles: How to Choose Designer Bathroom Floor Tiles & Wall Tiles

24 amazing antique bathroom floor tile pictures and ideas 2020
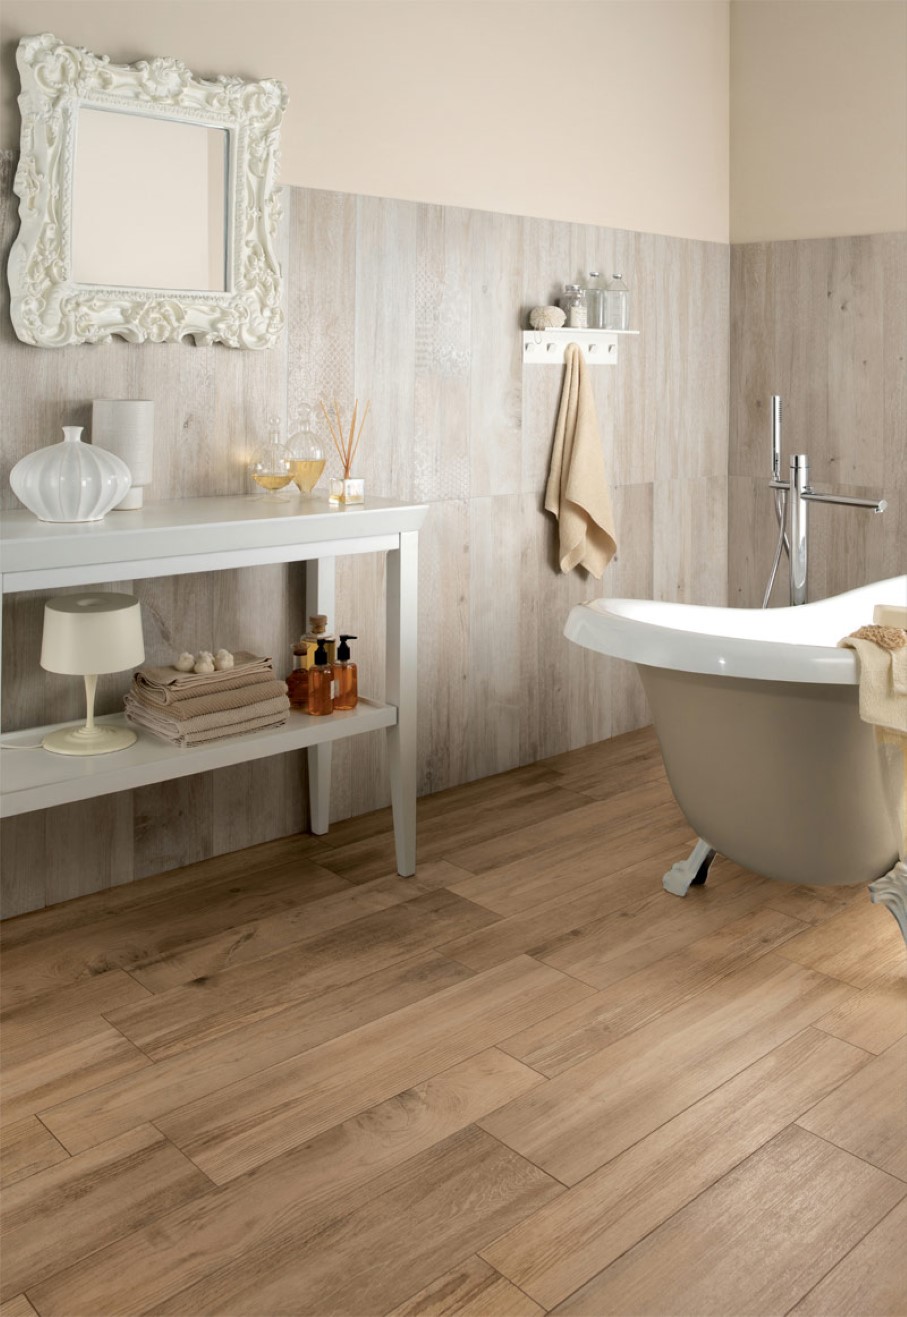
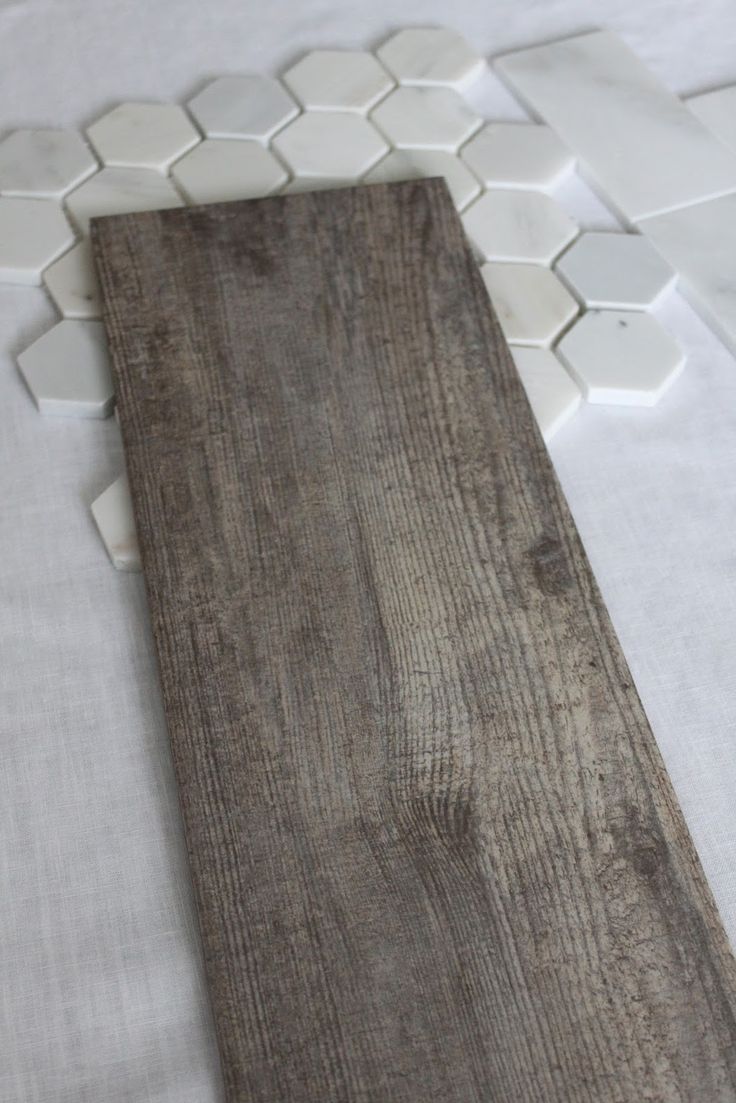
27 pictures and ideas of wood effect bathroom floor tile 2020
Floor tile extends to wall Bathrooms Pinterest Modern, Bathroom wall and Wall accents

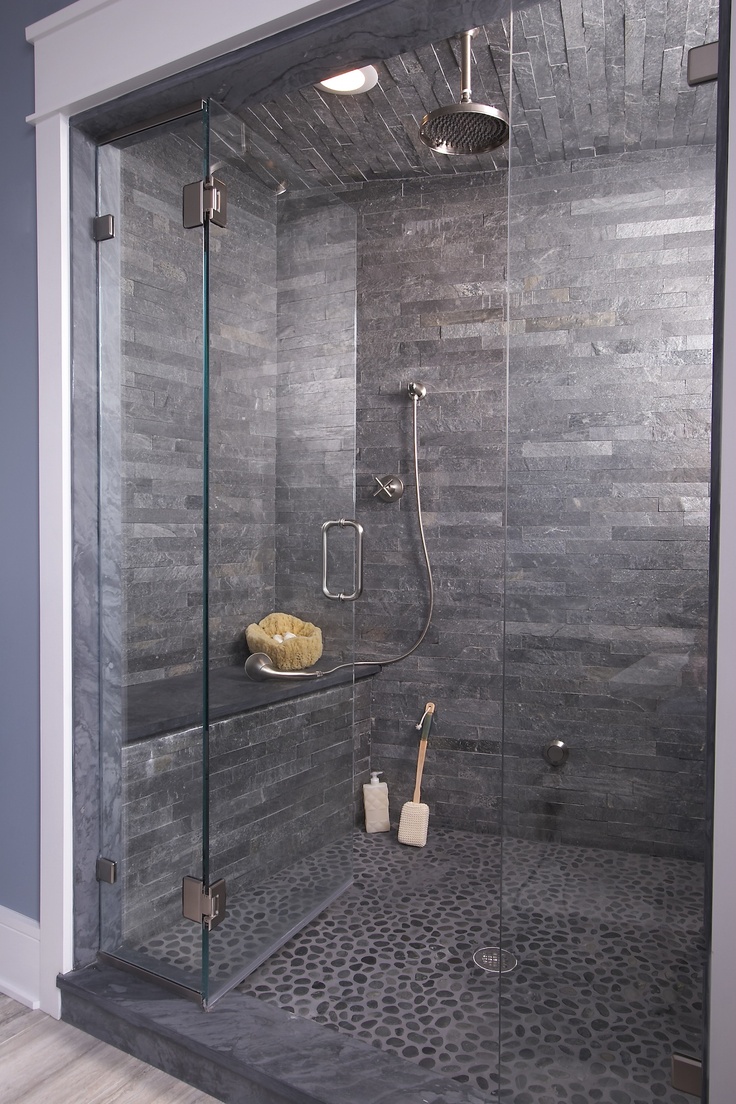
34 great ideas how to use grey textured bathroom tiles
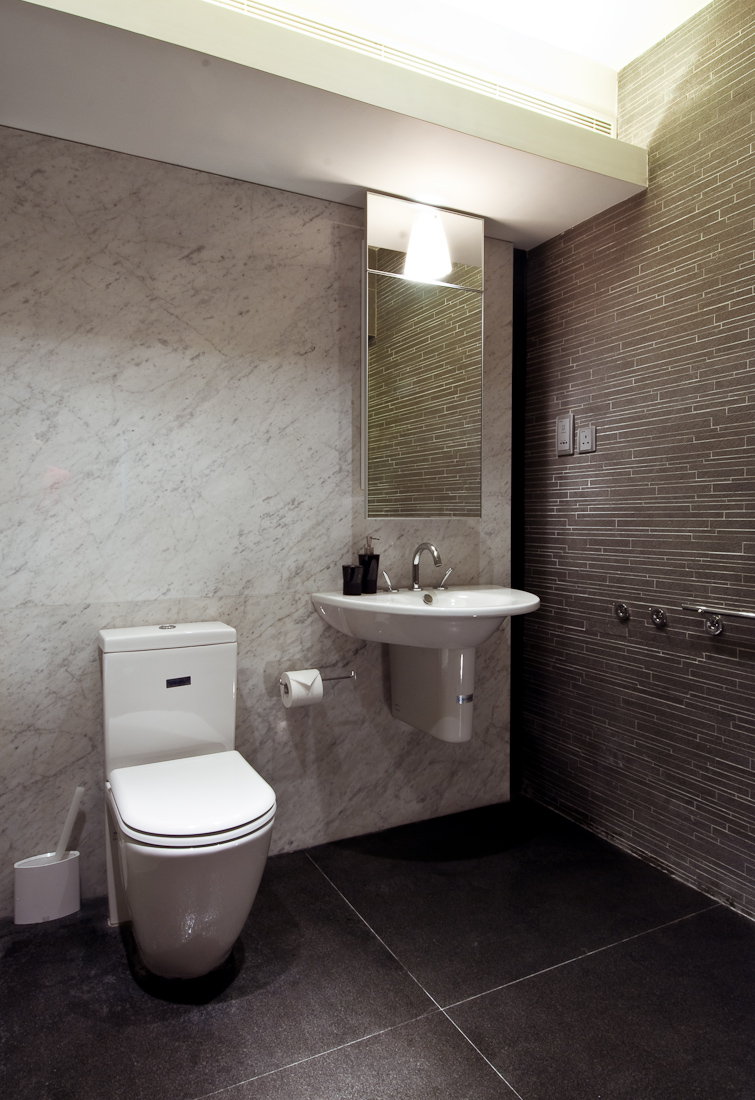
24 coolest pictures of marble ceramic tile in bathroom
Make a Statement with Large Floor Tiles
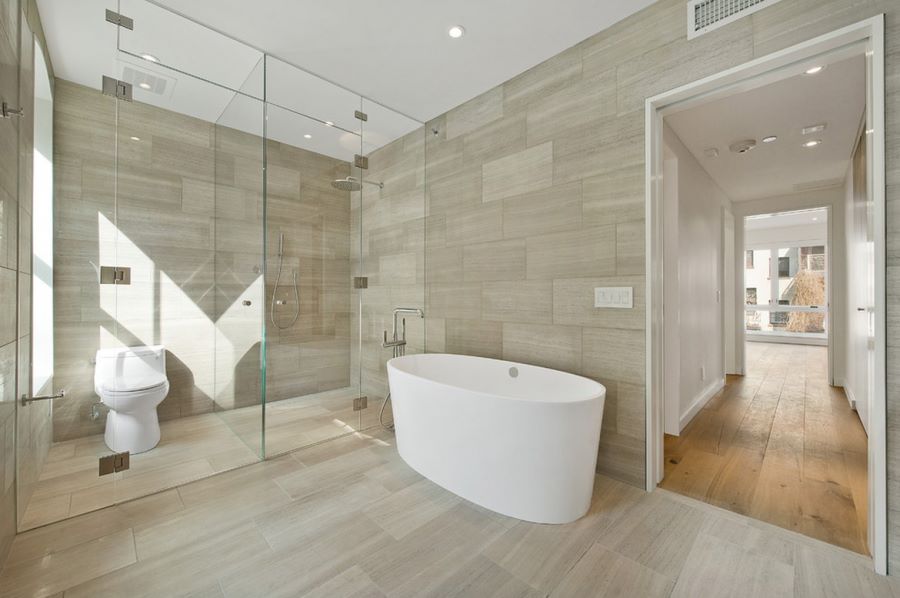
34 great pictures and ideas of neutral bathroom tile designs ideas 2020

Related Posts:
- Bathroom Floor Tiles Price
- Cement Tile For Bathroom Floor
- Bathroom Floor Sky Painting
- Caught Me On The Bathroom Floor
- Heated Tile Floor Cost Per Square Foot
- Dirty Bathroom Floor
- Replace Bathroom Floor And Subfloor
- How To Make Bathroom Floor Waterproof
- Easy Bathroom Flooring Options
- Cheap Bathroom Floor Cabinets
How To Tile A Bathroom Floor And Walls
Tiling a bathroom floor and walls can be a challenging but rewarding home improvement project. It requires some patience, attention to detail, and a thorough understanding of the steps involved. By following this guide, you will be able to successfully tile your bathroom floor and walls with ease.
Tools and Materials Needed for Tiling
Before you begin tiling your bathroom, it is important to have all the necessary tools and materials on hand. The primary items required include tile adhesive, grout, a trowel, a notched trowel for applying adhesive, tile spacers, level, saw or wet tile cutter, rubber float, sponge for cleaning, measuring tape or ruler, utility knife or scissors, drop cloths or plastic sheeting for protecting the surfaces from dust and spills. Additionally, you will need to have access to water and an electric drill with appropriate attachments.
Preparation
Once you have gathered all the necessary supplies for tiling your bathroom floor and walls, it is time to begin the preparation process. Start by removing any existing fixtures like toilet seats and towel racks from the walls. Next, clean the surfaces completely with soap and water to remove dirt and debris. If there are any existing tiles that need to be removed then you should do so prior to tiling. This can be done using a hammer and chisel or an electric drill with appropriate attachments.
Layout
Once the surface has been thoroughly prepared it is time to start laying out your tiles. Begin by measuring the surfaces of your bathroom floor and walls in order to determine the size of tiles needed. It is important to ensure that all tiles are of equal size in order to achieve uniformity in design. When cutting tiles use a saw or wet tile cutter in order to achieve precise results. Once all the tiles have been cut it is time to start laying them out on the surface of your bathroom floor or wall. Make sure that each tile is properly aligned with its adjacent ones in order to create a neat pattern when finished.
Adhesive Application
The next step in tiling your bathroom floor and walls is applying adhesive. Start by mixing up the adhesive according to manufacturer’s instructions in order to achieve optimal results. Use a notched trowel in order to spread an even layer of adhesive onto each tile before placing it onto the surface of your bathroom floor or wall. Make sure that there are no air bubbles between each tile as this could cause problems down the line when grouting is applied later on. Use tile spacers between each tile in order to maintain consistent spacing while allowing for expansion due to moisture exposure over time.
Grouting
Once all your tiles have been applied onto the surface of your bathroom floor or wall it is time to grout them into place. Start by mixing up some grout according to manufacturer’s instructions in order to achieve optimal results. Apply grout using a rubber float in order to fill up any gaps between each tile while simultaneously smoothing out any ridges created during application of adhesive earlier on in this process. Once complete allow for sufficient drying time before wiping off any excess grout using a damp sponge or cloth before proceeding further on with this project.
Finishing Touches
Once The grouting has dried it is time to apply any finishing touches needed in order to complete your tiling project. Start by cleaning up any excess grout or adhesive with a damp cloth. Apply a sealant over the tiles in order to ensure protection against water and general wear and tear. Finally, reinstall any fixtures that were removed earlier on in this process. Once everything is completed your bathroom floor and walls should now be properly tiled and sealed!