How To Replace Ceramic Tile Floor

Related Images about How To Replace Ceramic Tile Floor
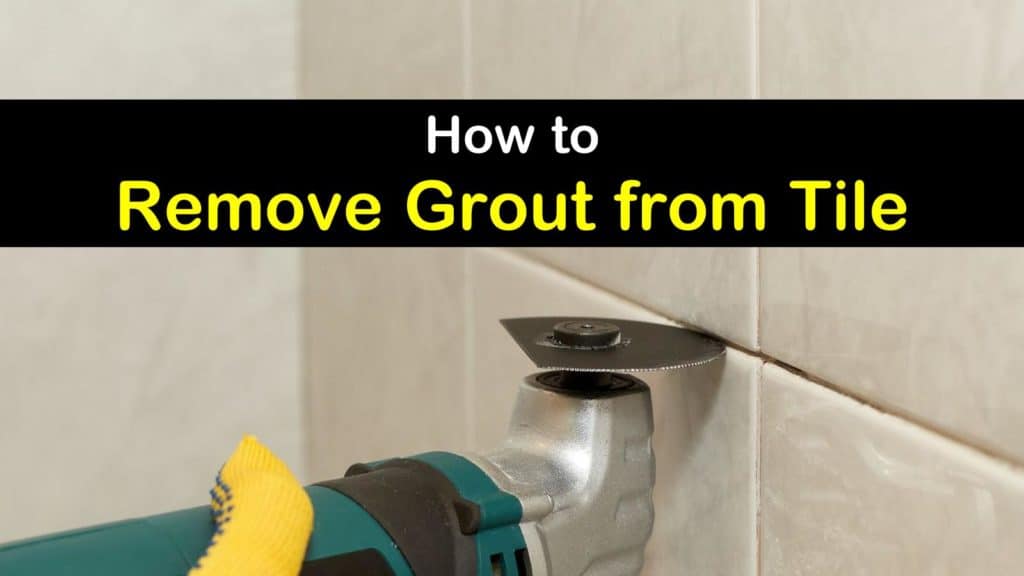
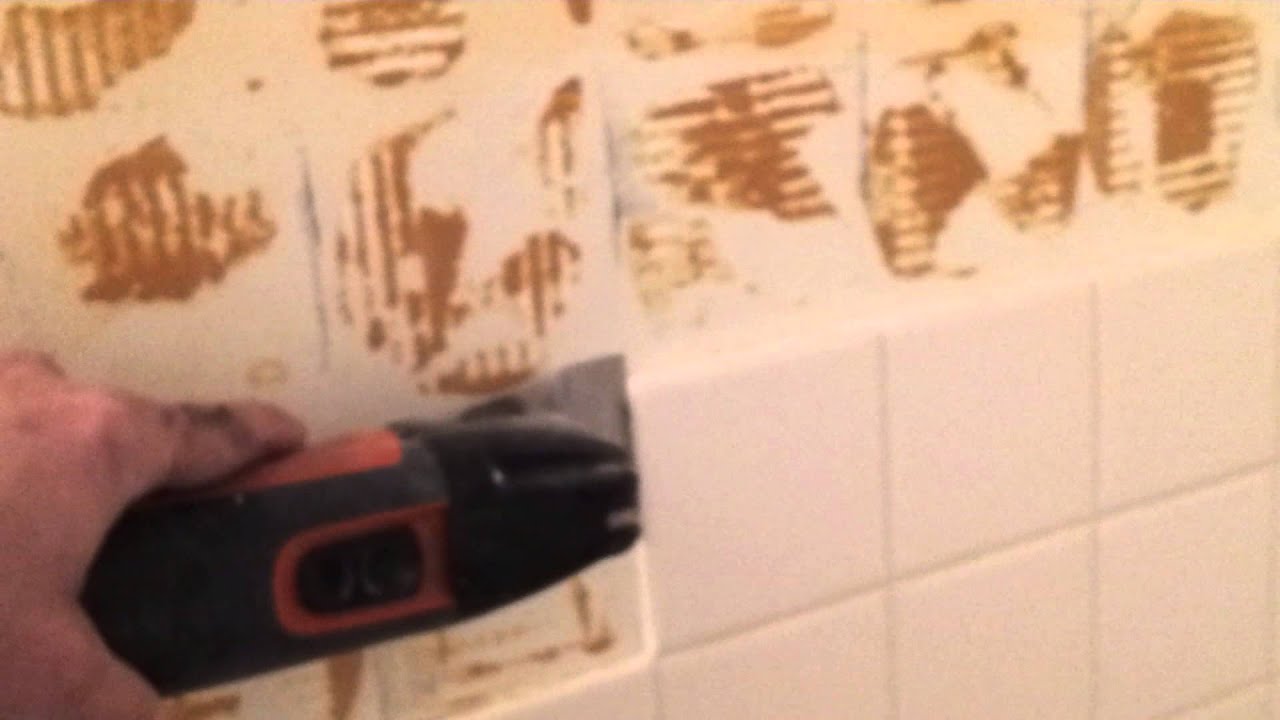
8+ Crafty Ways to Remove Grout from Tile
You are able to also get selling price list on all the kind of marble floor tiles. You are able to buy or perhaps checkout books and videos, and you are able to talk to hardware store personnel. Installation of the tiles of yours is now complete. They are okay to be broken by first scoring each side with a full glass cutter, after which snapped with a pair of pliers. This may be a fairly huge task, and sometimes even a surprise work.
Installing Ceramic Floor Tile ThriftyFun

Installing ceramic tile flooring can be accomplished by any person with great sight (or glasses), who may have the health required to scrub, scrape, kneel, and bend. But at the same time you should remember it is really important to retain these tiles. In just three actions you can lay a ceramic tile floors in the bathroom that will endure as long as the home itself.
A Quick Look At Flooring Options For Your Home

Tiles are a lot easier to install though the protection provided to concrete will be able to be accomplished by painting as well. Producing your own tile pattern and adding an accessory tile allows you to enhance the floor in the own way of yours. They're long and durable lasting – and this's why ceramic tile flooring continues to be used in kitchens and bathrooms with great success.
Installing Ceramic Floor Tile : Installing Ceramic Tile Over Different Floor Surfaces – Whether
Your Handyman Removing ceramic tile – YouTube
How to Install Ceramic Floor Tile
:max_bytes(150000):strip_icc()/Layingtile-GettyImages-1137334133-d9eeee6f78814a3b91eec1dd4c036561.jpg)
The Benefits of Ceramic Flooring Tile for Homes
.jpg)
Strat to finish Replace old bath tile floor with new porcelain tile – YouTube
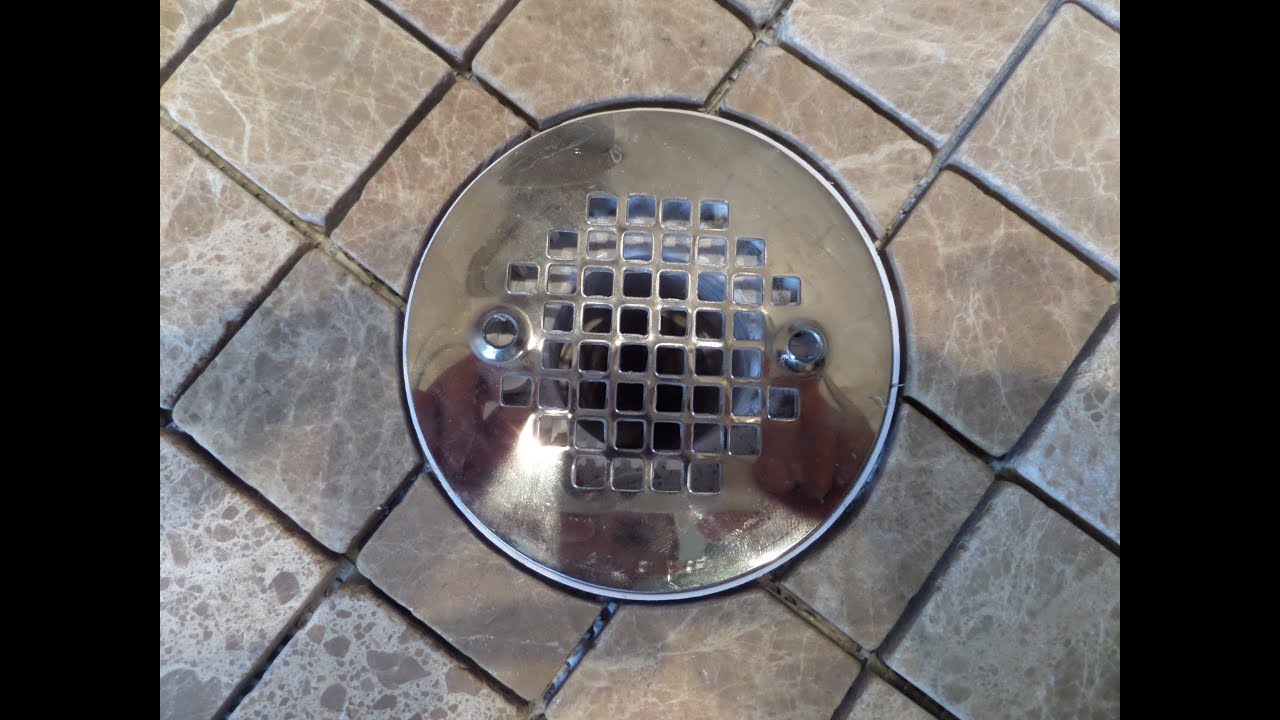
Part(1) How to measure, cut & install tile in circular shape around shower floor drain flange
Floor
DIY Guide to Ceramic Tile Floors – Extreme How To

Installing Ceramic Tiles On A Floor Stock Photo – Image: 41392394

Repair cove base tiles in 1928 home – Ceramic Tile Advice Forums – John Bridge Ceramic Tile
Laying a Ceramic Tile Floor HomeTips
Related Posts:
- Commercial Porcelain Tile Flooring
- Ideas Covering Tile Floors
- Steam Mop For Hardwood And Tile Floors
- Shaw Vinyl Tile Flooring
- Herringbone Wood Look Tile Floor
- Chair Casters For Tile Floors
- Bona Mops For Tile Floors
- How Clean Porcelain Tile Floor
- How To Install Natural Stone Tile Flooring
- How Much To Install Tile Floor Per Square Foot
How To Replace Ceramic Tile Floor: A Step-by-Step Guide
Replacing a ceramic tile floor is a big job, but it doesn’t have to be a daunting one. With the right tools and some patience, anyone can accomplish this project in a weekend. This guide will walk you through each step of the process so that you can complete the job with confidence and ease.
Gather the Necessary Tools
Before you start replacing your ceramic tile floor, make sure that you have all the necessary tools on hand. You will need:
– Hammer
– Chisel
– Putty knife
– Trowel
– Notched trowel
– Grout float
– Sponge
– Bucket
– Measuring tape
– Utility knife
– Level
– Safety glasses and gloves
Once you have gathered all of these items, you are ready to begin.
Remove the Old Tile
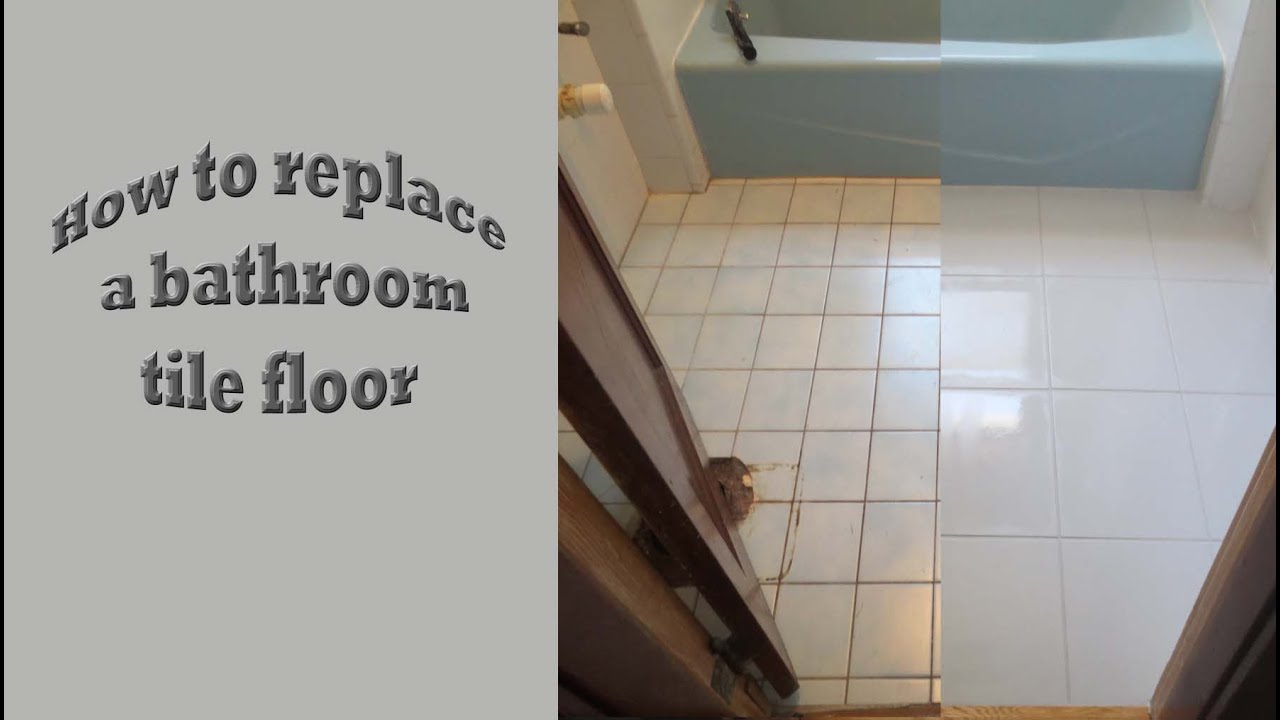
The first step in replacing your ceramic tile floor is to remove the old tile. Start by using a hammer and chisel to break up the old tile into small pieces. Make sure to wear safety goggles and gloves while doing this. Once all of the old tile is broken up, use a putty knife and trowel to pry it up from the subfloor. Be careful not to damage or scratch the subfloor as you do this. Once all of the old tile has been removed, you are ready for the next step.
Prepare the Subfloor for Installation
Once all of the old tile has been removed, it’s time to prepare the subfloor for installation. Use a level to check for any dips or valleys in the subfloor that need to be filled in with thinset mortar or self-leveling compound. Make sure that any irregularities are taken care of before moving on to the next step.
Lay Out Your New Tile
Dry fit your new tile before installing it to make sure that everything looks good and that there won’t be any surprises later on down the line. Use a measuring tape to determine where each piece should go and draw out a map on paper if needed. This will help ensure that your tiles are laid out evenly and correctly.
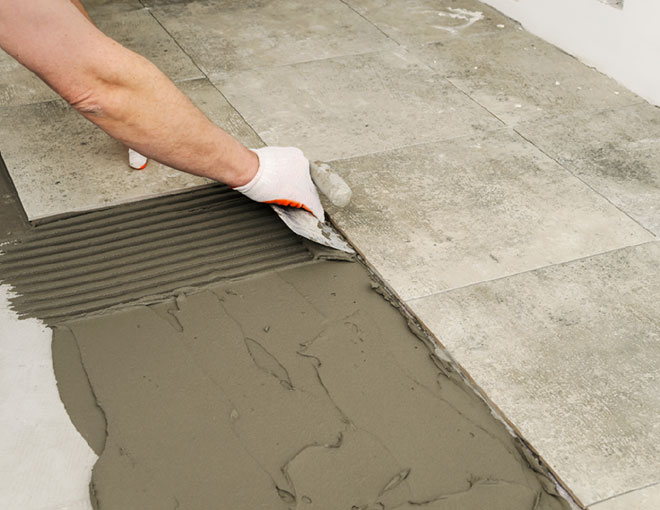
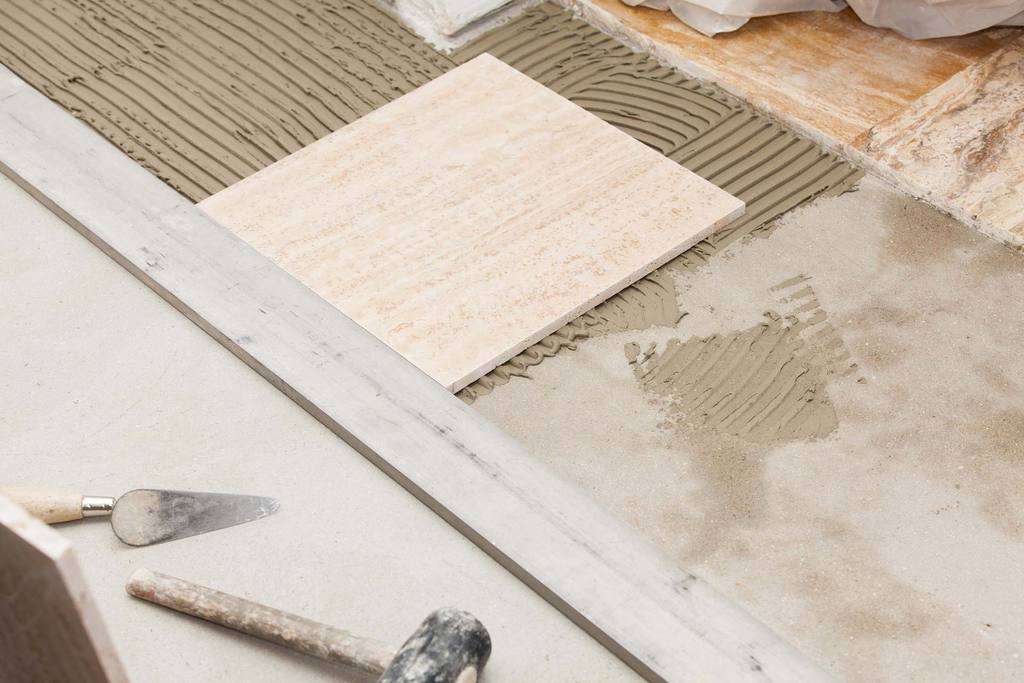
Install Your New Tile Now it’s time for installation! Start by spreading thinset mortar onto the subfloor using a notched trowel. Then, begin placing your tiles onto the thinset mortar one at a time, making sure that each piece is level and even with its neighbors. Use spacers if needed to ensure proper spacing between each piece of tile. Continue laying out tiles until your entire floor is covered with new ceramic tiles!
Grout Your New Tile Once all of your tiles are installed, it’s time to grout them! Start by mixing together grout according to package instructions in a bucket until it reaches a thick paste consistency. Then spread this grout onto your tiles using a grout float in an even layer across all of your tiles. Allow this grout mixture to dry for at least 24 hours before moving on to the next step. Clean Up Your New Tile After the grout has had time to fully dry, it’s time to clean up your new tile floor! Use a damp sponge to wipe away any excess grout from the tiles. Then use a dry cloth to buff the tiles and make them shine.
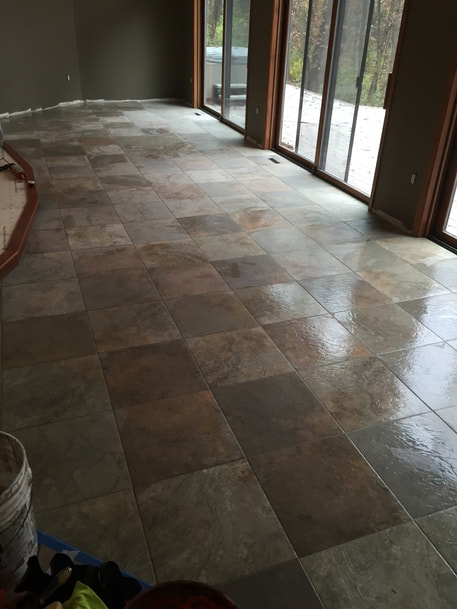
Enjoy Your New Tile Floor Congratulations! You have successfully replaced your ceramic tile floor. Now you can sit back and admire your handiwork. Enjoy the beauty of your new tile floor and the confidence that comes with knowing you did it yourself!
What tools are needed to replace ceramic tile floor?
1. Power drill or hammer drill2. Notched trowel
3. Level
4. Grout float
5. Sponge
6. Chisel
7. Safety glasses
8. Dust mask
9. Tile spacers
10. Utility knife
11. Putty knife
12. Thinset mortar
13. Self-leveling compound
14. Grout