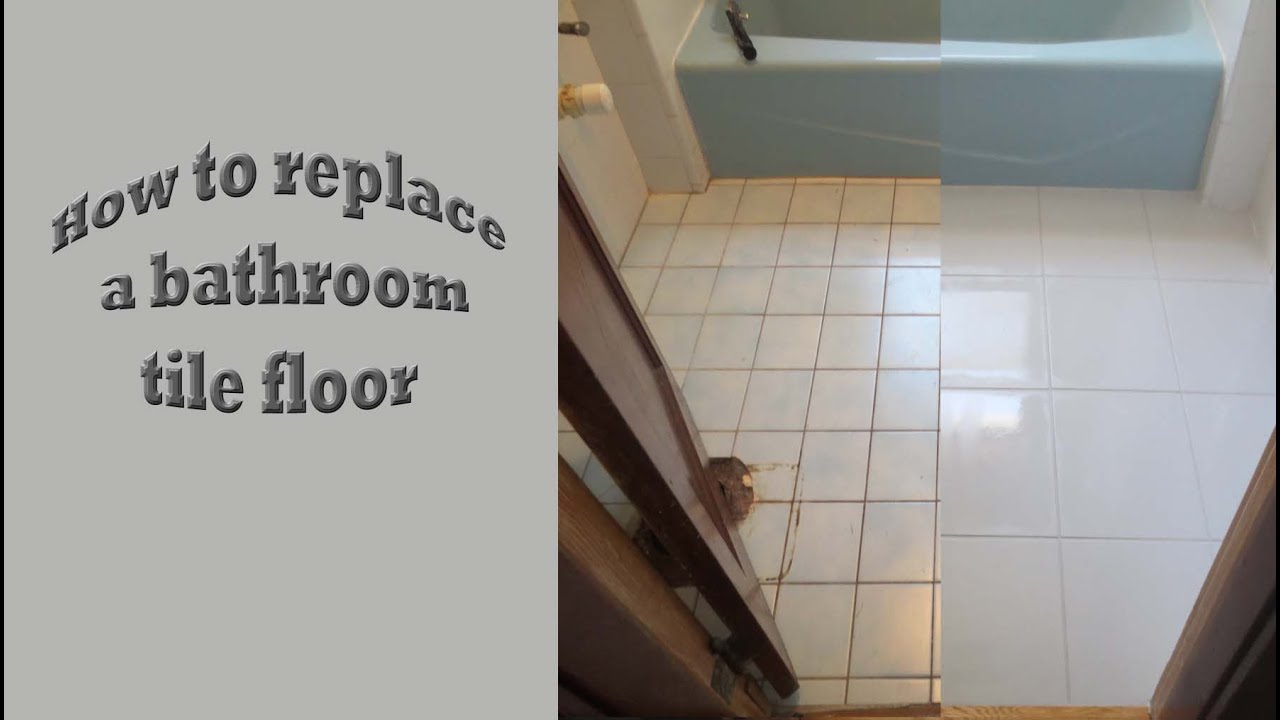
How To Replace A Bathroom Floor Tile
Related Images about How To Replace A Bathroom Floor Tile
Bathroom 2 of 2 Flooring, Bathroom, Tile floor

If you opt for ceramic tile you may want to look into an area rug for if you step out of the shower. Take your time in looking for the best floors for the bath room of yours. If you’re looking for something different go in for metallic tiles. The two best selections for the bathroom floors are tile vinyl or maybe ceramic tiles and sheet.
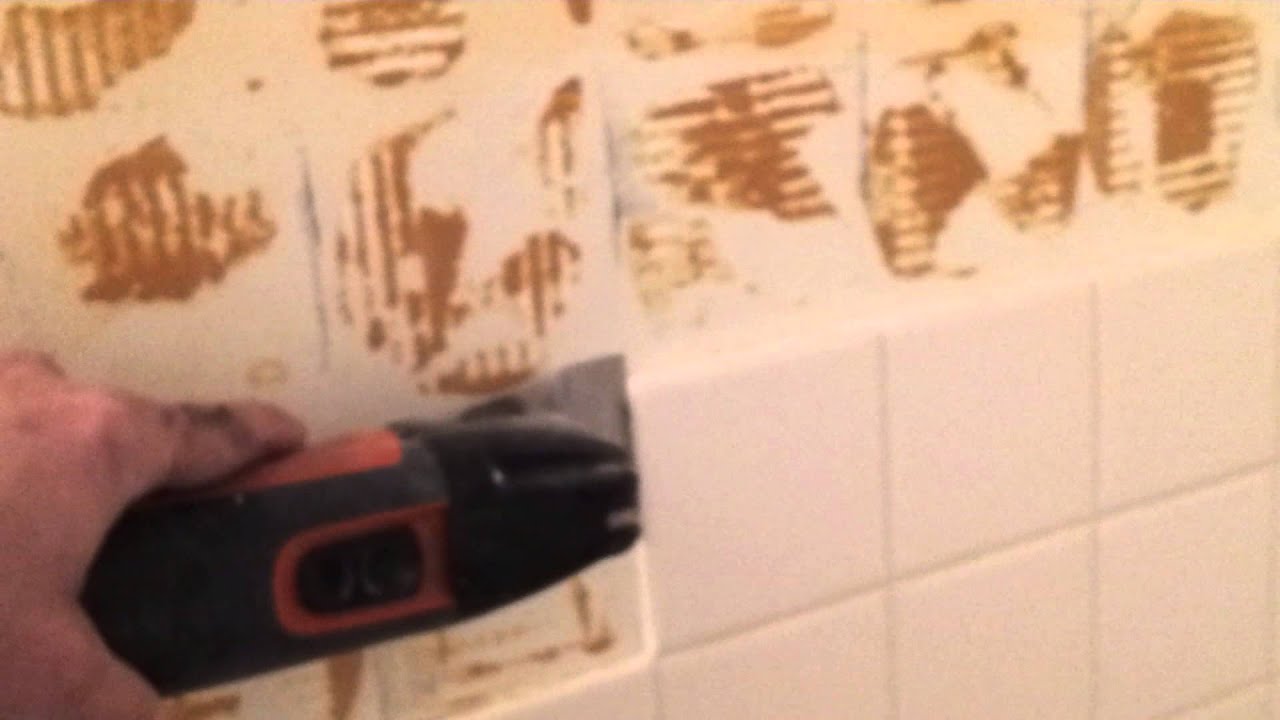
Your Handyman Removing ceramic tile – YouTube
Use bath room tile tips to help you’ve that particular bath room you can enjoy every single day. These are just some great bath room floor tiles ideas. While laminate has lots of the alternatives men and women are searching for, such as durability, ease of price and set up, it is not immune for water damage.
Installing Bathroom floor Tile. – YouTube

This’s largely aesthetic: many bathroom flooring ought to become laid on a flat surface and it certainly it does no harm to make certain that your floor is level just before you lay your flooring – so you are not going to possess any wobbly cabinet problems once you’ve installed the bathroom furniture of yours. You are able to likewise do the whole floor in printed tiles.
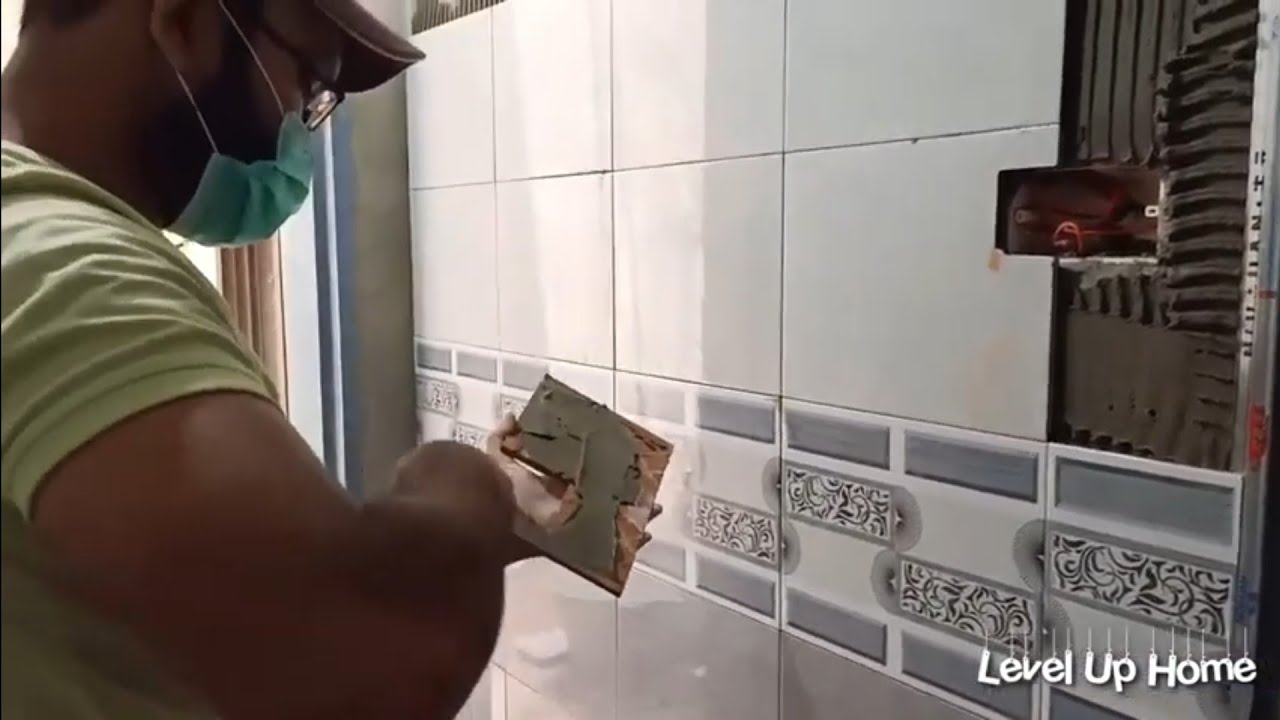
Bathroom Tiles installation Video Floor Tiles Installation How to tile a small Bathroom

Applying Bathroom Floor Tile – YouTube

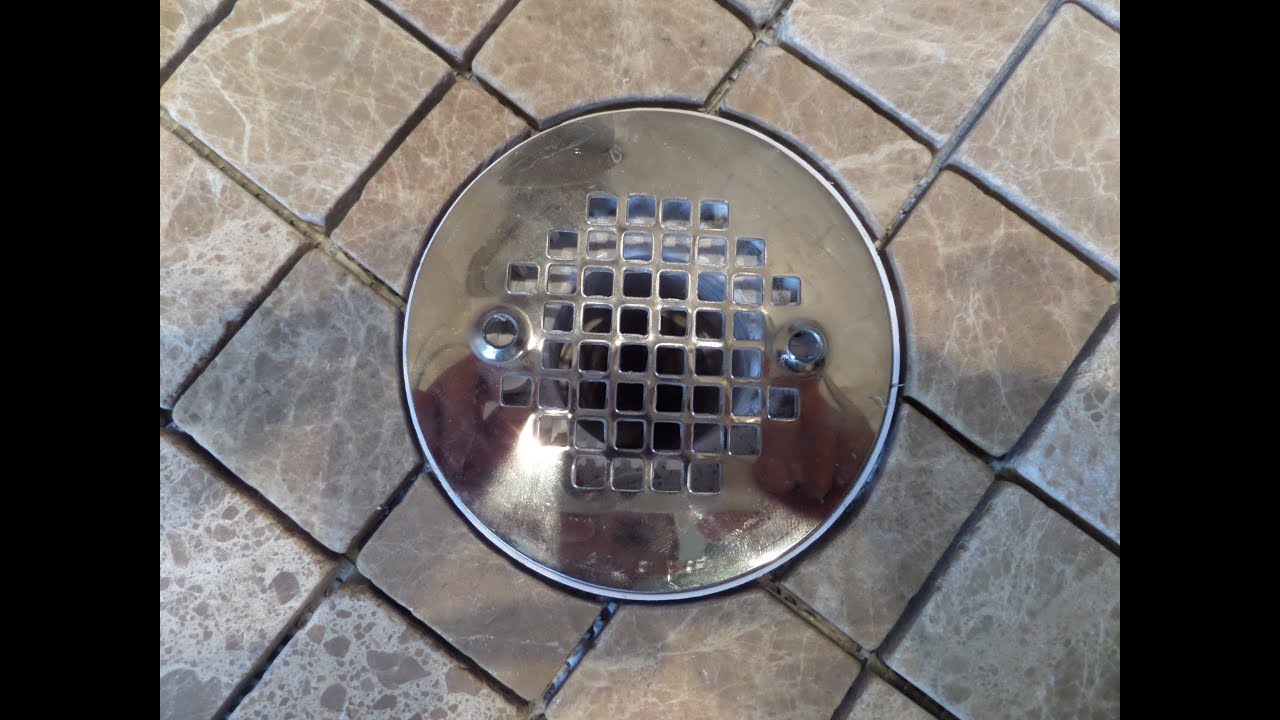
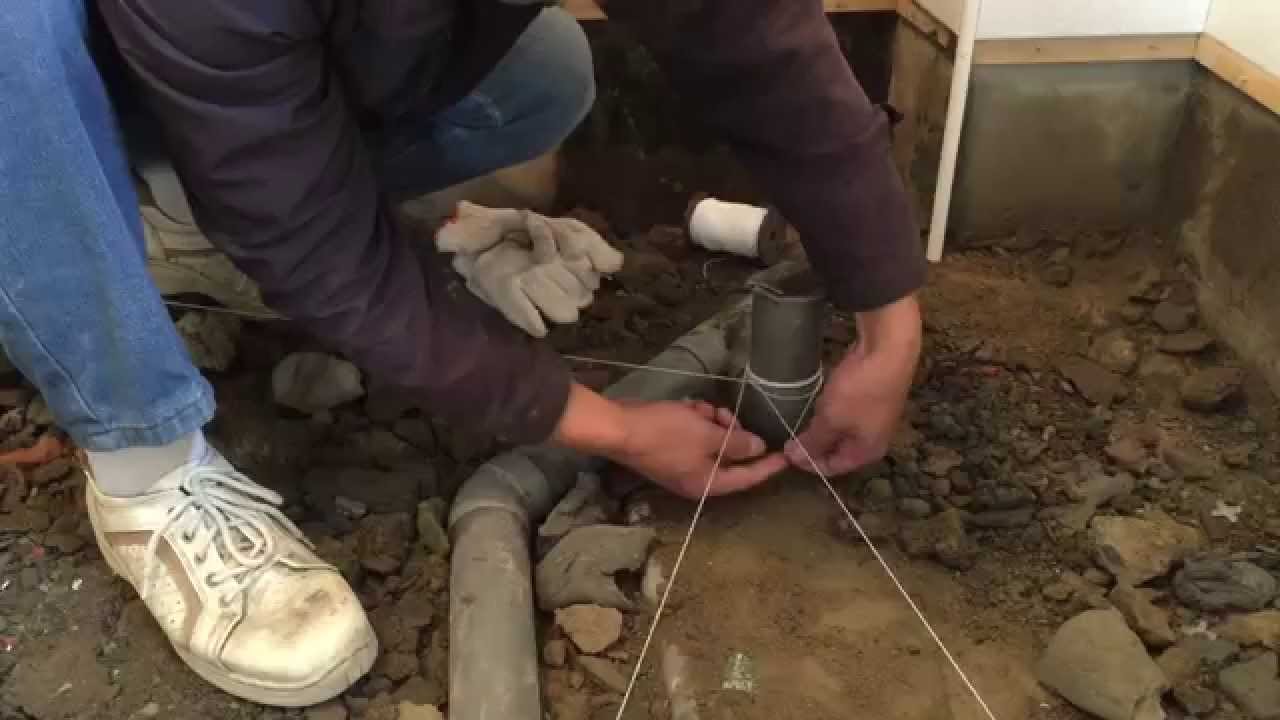
Part(1) How to measure, cut & install tile in circular shape around shower floor drain flange
Bathroom Tiles installation Part 2 Floor Tiles Installation How to tile a Bathroom – YouTube
How to Install Tile on a Bathroom Floor

Floor Tile Installation In Bathroom ~ Part 1 ( 左官 ) – YouTube
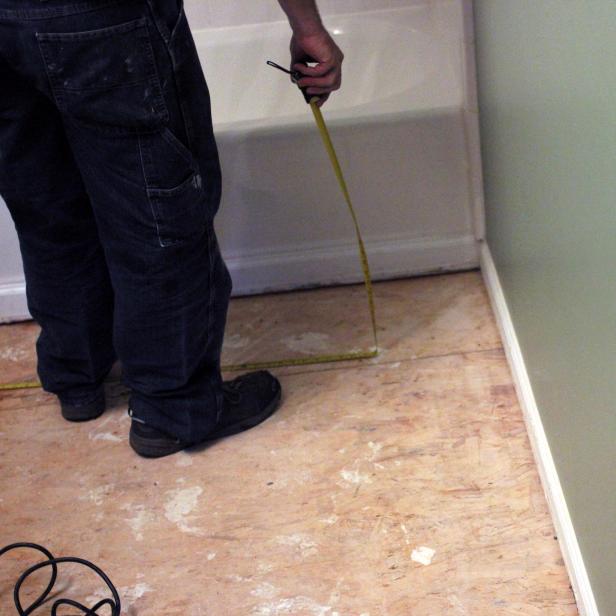
How to Install Tile on a Bathroom Floor

Installation Of New Tiles On A Bathroom Floor High-Res Stock Photo – Getty Images

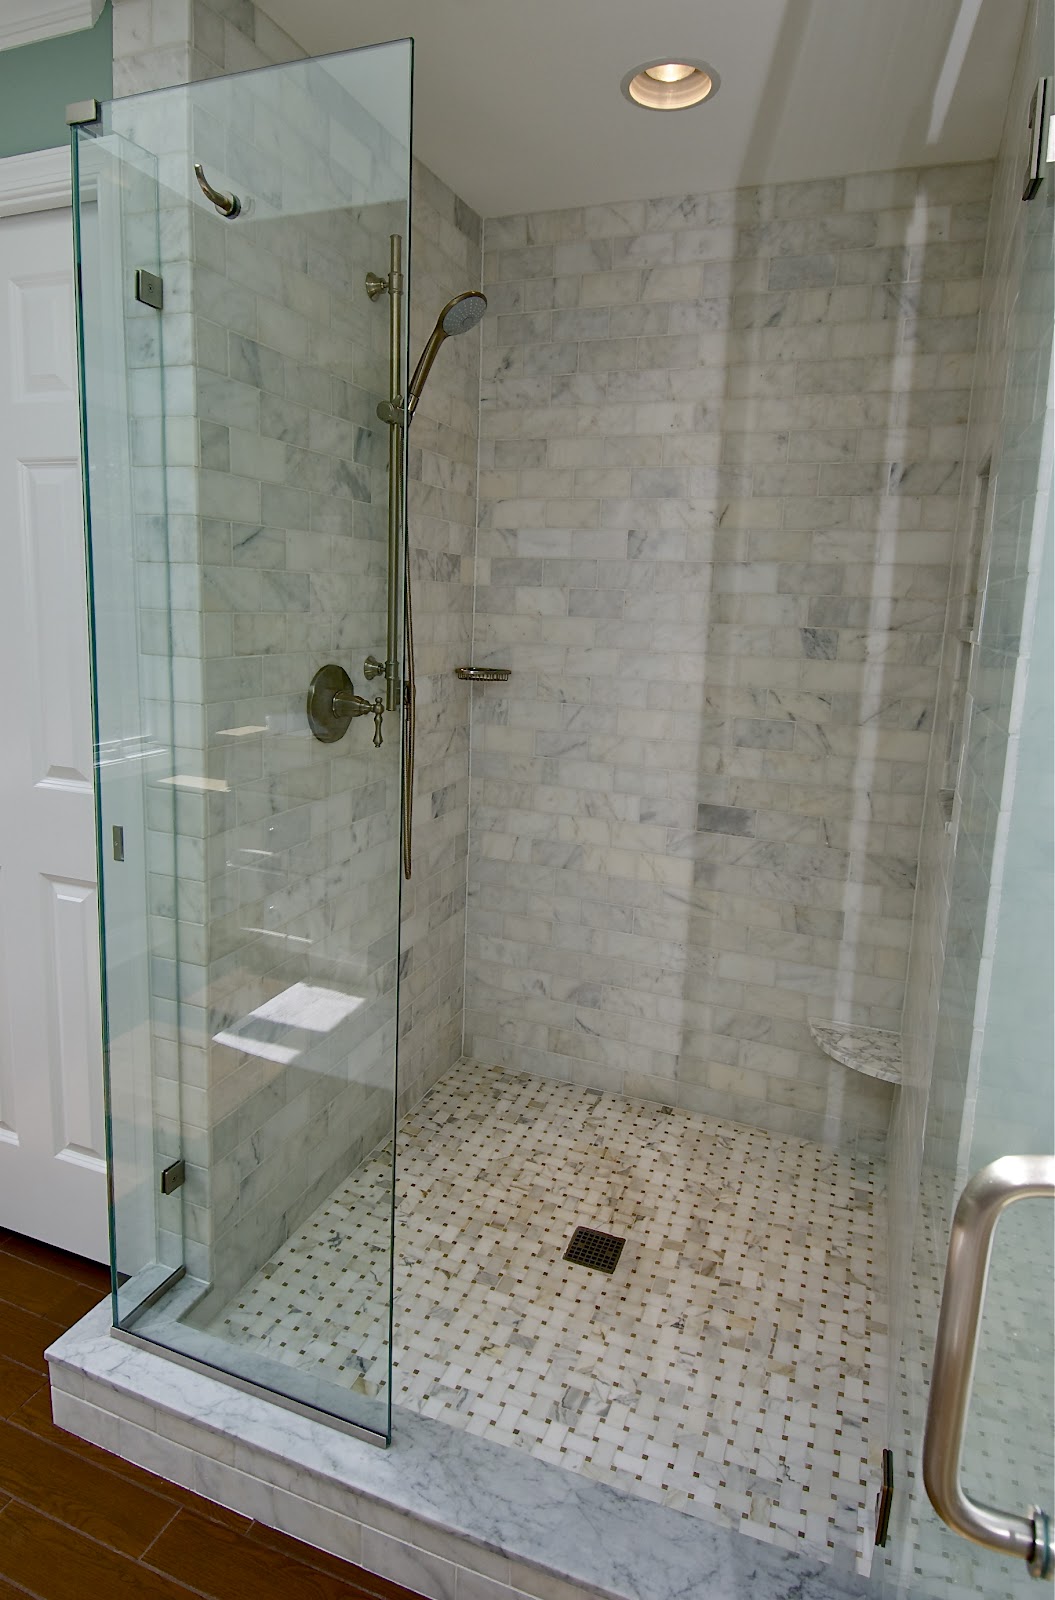
30 great pictures of marble shower tile
Bathroom Floor Tiles – Homedecorations
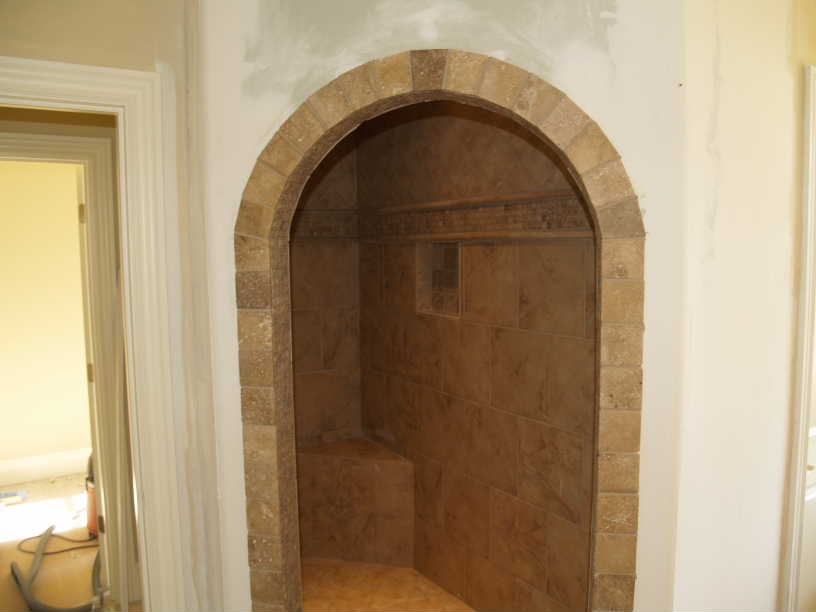
A + TILE HOME REMODELING 205-422-1758: Shower arch
Related Posts:
- Bathroom Floor Tiles Price
- Cement Tile For Bathroom Floor
- Bathroom Floor Sky Painting
- Caught Me On The Bathroom Floor
- Heated Tile Floor Cost Per Square Foot
- Dirty Bathroom Floor
- Replace Bathroom Floor And Subfloor
- How To Make Bathroom Floor Waterproof
- Easy Bathroom Flooring Options
- Cheap Bathroom Floor Cabinets
Replacing a bathroom floor tile can be a daunting task, but with the right tools and knowledge, it can be a manageable DIY project. Whether your tile is cracked, chipped, or simply outdated, replacing it can give your bathroom a fresh new look. In this article, we will guide you through the step-by-step process of replacing a bathroom floor tile.
Tools and Materials Needed:
Before you begin the tile replacement process, gather all the necessary tools and materials. You will need:
– Chisel
– Hammer
– Pry bar
– Grout saw
– Tile adhesive
– New floor tile
– Grout
– Sponge
– Bucket for water
Step 1: Remove the Old Tile
Start by removing the grout surrounding the tile using a grout saw. Once the grout is removed, use a chisel and hammer to carefully break the tile into pieces. Be sure to wear protective eyewear and gloves during this step to prevent injury.
FAQ: Can I reuse the old tile?
Answer: It is not recommended to reuse old tile as it may be damaged during removal. It is best to purchase new tiles for a clean and uniform look.
Step 2: Remove the Adhesive
After removing the old tile, you will need to remove any remaining adhesive from the subfloor. Use a chisel or pry bar to scrape away the adhesive, taking care not to damage the subfloor underneath.
FAQ: Can I use a chemical adhesive remover?
Answer: Chemical adhesive removers can be used but should be used with caution as they can be harsh and may require proper ventilation.
Step 3: Prepare the Subfloor
Once the adhesive is removed, clean the subfloor thoroughly to ensure a smooth surface for the new tile. Fill in any cracks or holes with a patching compound and allow it to dry completely before proceeding.
Step 4: Install the New Tile
Apply a thin layer of tile adhesive to the back of the new tile using a trowel. Press the tile firmly into place on the subfloor, making sure it is level with the surrounding tiles. Allow the adhesive to dry according to the manufacturer’s instructions before grouting.
FAQ: How long does it take for tile adhesive to dry?
Answer: The drying time for tile adhesive can vary depending on factors such as humidity and temperature. It is best to refer to the manufacturer’s instructions for specific drying times.
Step 5: Grout the Tile
Mix grout according to the manufacturer’s instructions and apply it between the tiles using a grout float. Use a sponge to wipe away any excess grout and smooth out the grout lines. Allow the grout to dry completely before walking on the newly tiled floor.
Step 6: Seal the Grout (Optional)
To protect your newly tiled floor from moisture and stains, consider sealing the grout. Apply a grout sealer using a brush or sponge, following the manufacturer’s instructions for best results.
FAQ: How often should I seal grout?
Answer: It is recommended to seal grout once a year to maintain its appearance and protect it from damage.
Conclusion:
Replacing a bathroom floor tile can be a rewarding project that can enhance the look of your bathroom. By following these step-by-step instructions and using the right tools and materials, you can successfully replace a bathroom floor tile on your own. Remember to take your time and pay attention to detail for professional-looking results that will last for years to Come. If you have any concerns or questions, don’t hesitate to consult with a professional for assistance. Happy tiling! In conclusion, replacing a bathroom floor tile can be a manageable DIY project with the right guidance. By following the steps outlined above and being diligent in your work, you can achieve a beautiful and durable result. Remember to take care when removing old tiles and adhesive, properly prepare the subfloor, and carefully install and grout the new tile. Consider sealing the grout for added protection and maintenance. If you encounter any difficulties or have questions, don’t hesitate to seek help from a professional. Happy tiling!