How To Repair Bathroom Floor
Related Images about How To Repair Bathroom Floor
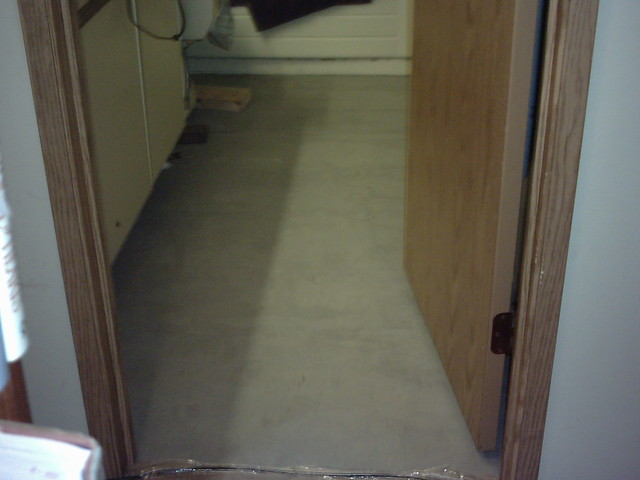
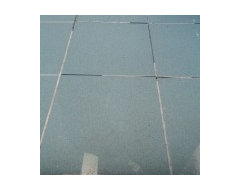
How to Remove Tile Flooring – The Navage Patch
Ceramic is a good choice of bathroom flooring as it's inexpensive, fashionable, water proof and easy to keep. These tiles are considered as one of the maximum bases as they are long-lasting and not very expensive. You are able to decide to do the bathroom tile of yours in colors which are solid or even go in for printed or even mosaic patterned tiles. Or you can make it functional and simple using plain colored tiles.
Bathroom tile ideas and tile color are very important since color could greatly impact your mood — making you feel calm or perhaps energizing you. Stone is, by much, the costliest of the choices mentioned. Do not create the final decision of yours until you have investigated every option. Let the tub, sink etc be white and smooth with no edges which are sharp.
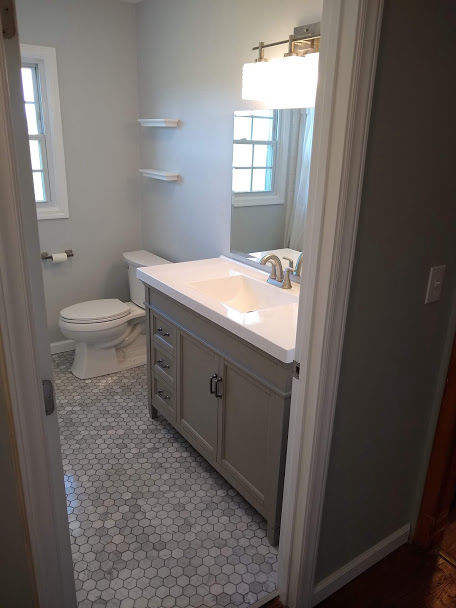
Pin on Simply St Louis Blog

As soon as you get past looks, durability, other commonalities and cost, you need to think about one component that not one other area of the house of yours has (except the basement) – drinking water. The cost range additionally varies. In addition, they deliver great grip and stop one from slipping. One other good suggestion is to arbitrarily intersperse brightly colored flooring on a truly white tiled floor.
Pin on Bathroom

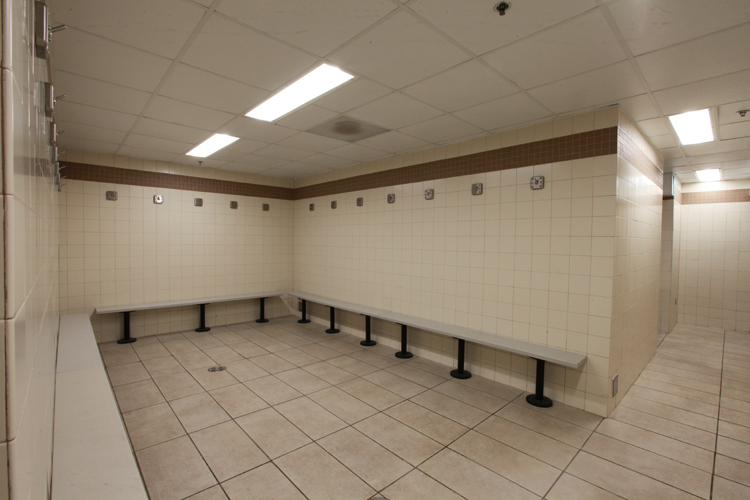
VMI Third Barracks Shower Renovation & Old Barracks Concrete Repair – Lantz Construction Company
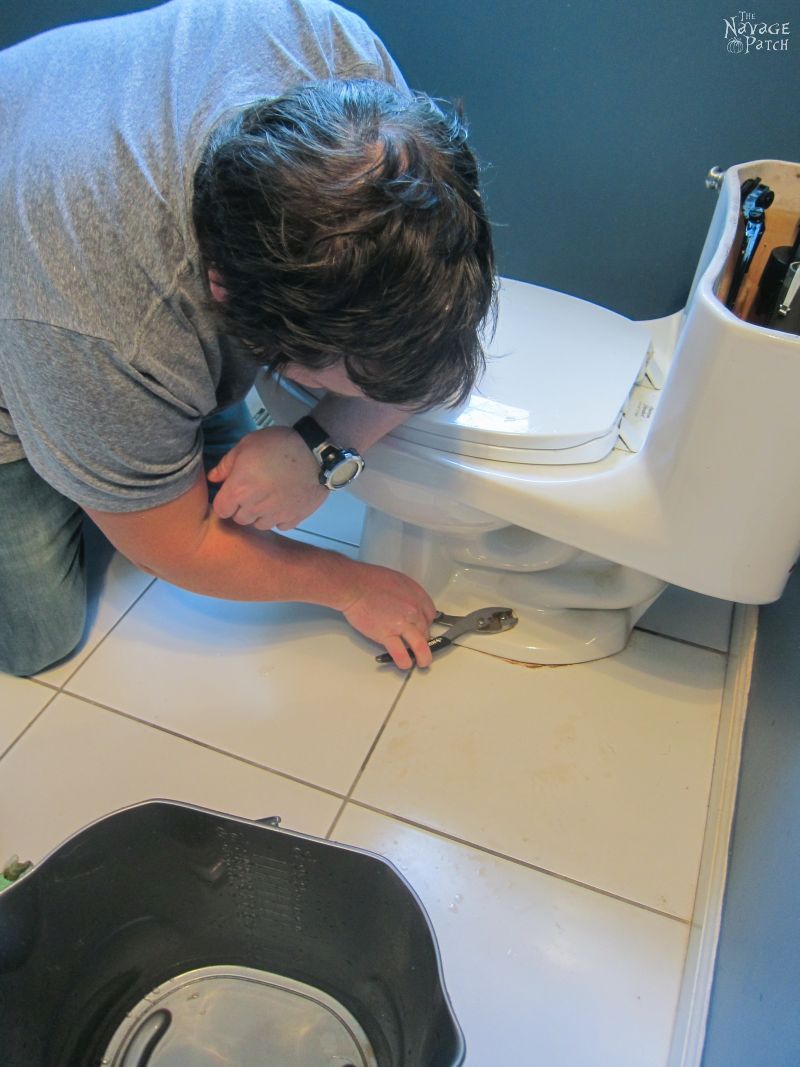
How to Fix Your Bathroom Floor (cheap) #cheaphomeremodeling in 2019 Bathroom, Diy flooring

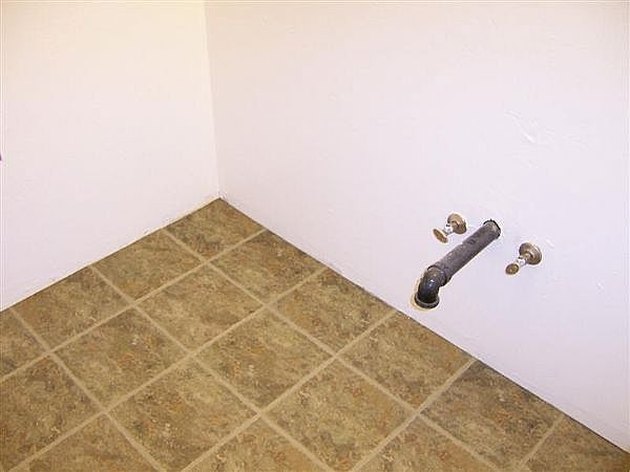
How to Fix Your Bathroom Floor (cheap) Sapling
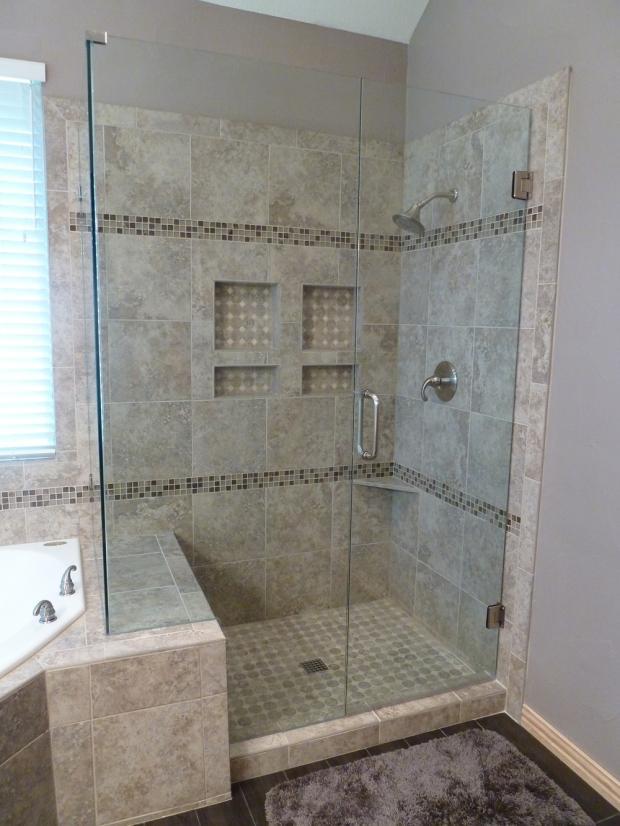
Remodeling ContractorShower Trend: Teak Wood Floor – Remodeling Contractor

How to Fix Your Bathroom Floor (cheap) Sapling.com
Larger Shower Replaces Tub in Master Bath Makeover – Monk’s in NJ

Contemporary Bathroom in Dallas – detailed, tile shower layout idea by Sardone Construction
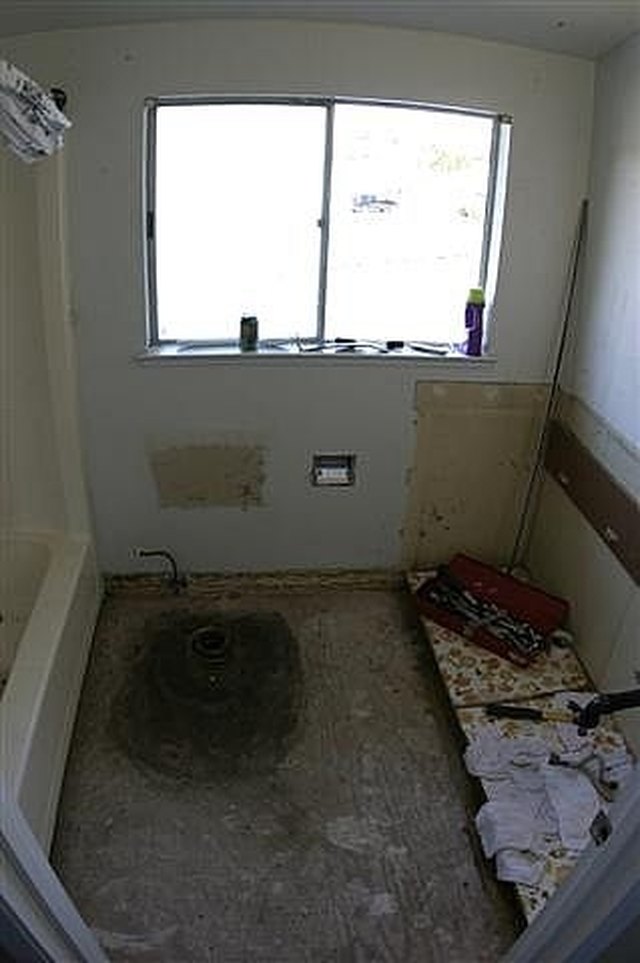
Bathroom Floor Repairing
Replace Your Bathroom Floor – YouTube

Like June 14, 2015 at 11:37AM
Related Posts:
- Bathroom Floor Tiles Price
- Cement Tile For Bathroom Floor
- Bathroom Floor Sky Painting
- Caught Me On The Bathroom Floor
- Heated Tile Floor Cost Per Square Foot
- Dirty Bathroom Floor
- Replace Bathroom Floor And Subfloor
- How To Make Bathroom Floor Waterproof
- Easy Bathroom Flooring Options
- Cheap Bathroom Floor Cabinets
How To Repair Bathroom Floor: A Comprehensive Guide
When it comes to home improvement projects, repairing a bathroom floor can be a daunting task. However, it doesn’t have to be. With the right tools and a few simple steps, you can repair your bathroom floor with relative ease. In this comprehensive guide, we’ll walk you through all the steps you need to take to repair your bathroom floor.
What You’ll Need
Before you begin any repair project, it’s important to make sure you have all the necessary tools and supplies. Here’s a list of what you should have on hand when tackling a bathroom floor repair job:
– Safety glasses and gloves
– Pliers
– Putty knife
– Screwdriver
– Hammer
– Utility knife
– Level
– Chisel
– Tile adhesive
– Grout
– Caulk
– Cleaning supplies (sponge, cleaner, bucket)
– Replacement tiles (if necessary)
Now that you have all the tools and materials needed for the job, it’s time to get started. Let’s dive into the steps.
Step 1: Preparation
The first step in any repair job is preparation. Start by removing any furniture and decorations from the room. If necessary, turn off the water supply to the area so no water will come out while you’re working. Then take off any baseboards or trim pieces to expose the edges of the tile flooring.
Step 2: Assessment
Next, take some time to assess the damage and determine what needs to be done. Are there cracks in the tile? Is there loose grout or missing tiles? Do you need to replace any tiles? Make sure you get a good understanding of the condition of your bathroom floor before moving forward with repairs.
Step 3: Cleaning
Once you’ve assessed the damage, it’s time to start cleaning up. Use a damp sponge and mild cleaner to wipe down all surfaces. Take extra care around grout lines as dirt can accumulate in these areas over time. Once your tile is clean and dry, move on to repairing any cracked or broken tiles.
Step 4: Repairing Cracked or Broken Tiles
If there are any cracked or broken tiles on your bathroom floor, they will need to be replaced quickly to prevent further damage. To do this, start by carefully chipping away at existing grout with a chisel and hammer until all debris is removed from the area around the damaged tile. Then use a utility knife or putty knife to pry up and remove the broken tile pieces from their setting bed. Once removed, scrape away any remaining adhesive with a putty knife before applying new adhesive for your replacement tile(s).
Step 5: Installing Replacement Tiles
Using tile adhesive recommended by your local hardware store, spread an even layer over your prepared surface using a trowel. Then press your new tiles firmly into place and use spacers if needed for even spacing between them. Finally, wait 24 hours for everything to set before applying fresh grout between each Tile.
Step 6: Applying Grout and Caulk
Once your new tiles are in place, mix up a batch of grout according to the instructions on the packaging. Then spread it over the tile surface with a rubber grout float. Make sure to work it into all of the spaces between tiles and wipe away any excess with a damp sponge before allowing it to dry for 24 hours. When everything is set, apply a bead of caulk along any edges or corners to finish up your repair job.
Now that you know how to repair your bathroom floor, you can tackle any damage that comes your way! With the right tools and supplies, you’ll be able to keep your bathroom looking its best for years to come.