How To Put Down Cork Flooring
Related Images about How To Put Down Cork Flooring
Pin on Vinyl Floors

If you'd love to discover more about exactly how cork flooring can boost the resale value of your house, or perhaps look for someone to put in cork flooring than make sure you follow our links below. However, if your old floor is not level we recommend you eliminate it so you are able to level the sub floor. Cork flooring is a flooring product in the group of environmentally friendly flooring.
Should I Put In a Hard Wood Floor In My Home kitchen? Hardwood floor colors, Living room

Cork is considered a renewable and sustainable resource as only 50 % of this cork bark is actually removed. Since cork is hypoallergenic anybody in your household is going to benefit from cork during allergy season. With average costs ranging from $4. First, it is typically a good idea to not have the product in constant direct sunlight.
How to Remove Cork Tiles Removing Cork Floor Tiles and Cork Tiles from Walls DIY Doctor
Suberin is actually a waxy kind of substance which makes the cork impervious to liquids and the cork will not rot if it's subjected to liquid or water such as a hardwood or laminate. The procedure for exactly how cork is commercially harvested is what makes it sustainable. Since it's essentially taken as a result of the bark of this tree, obtaining it doesn't be the source of any damage to the tree itself.
How to install cork flooring without any help
engineered tigerwood flooring Archives – Dan’s Floor Store

How to Install Cork Flooring – (Tips and Guidelines For Your DIY Project)

Should I Put In a Hard Wood Floor In My Home kitchen? White oak hardwood floors, Wood floors

The Laminate Flooring Tools Needed for Installing This Flooring

Cork Eco Green Flooring Top Floor Installation Co. – Gallery

What To Cover Flooring Before Puuting Doen Vinyl Tile – install vinyl plank flooring over laminate

How to Install Natural Cork Flooring how-tos DIY
How to Install Natural Cork Flooring how-tos DIY
How to Install Natural Cork Flooring how-tos DIY
DIY Cork Message Boards {super easy IKEA hack} ⋆ Exploring Domesticity
Related Posts:
- Cork Floor Paste Wax
- Cutting Cork Flooring Planks
- Cork Flooring Cons and Pros
- Basement Flooring Ideas Cork
- Cork Floor Cost Comparison
- Can You Stain Cork Floors
- Cork Flooring Per Square Foot
- Can Cork Flooring Be Installed Over Ceramic Tile
- Refinish Cork Floor Tiles
- Cork Floor Tiles Reviews
How to Put Down Cork Flooring
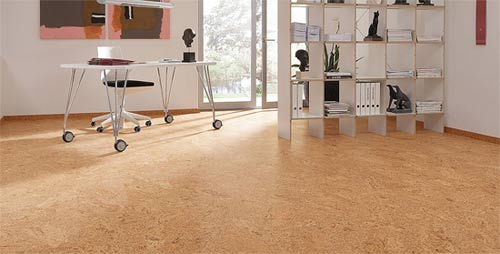
Cork flooring is a great alternative to hardwood floors, as it is more durable and has soundproofing properties. It can also be easier to install than traditional wood flooring, as it does not need to be nailed or glued down. Here are the steps for putting down cork flooring:
Preparing the Subfloor
Before you begin laying the cork floor, it is important to prepare the subfloor. This involves cleaning the subfloor of all dust, dirt, and debris before you start. It is also important to make sure that the subfloor is level and flat. If there are any bumps or indentations in the surface, you will need to fill them with a leveling compound. You should also make sure that there are no cracks or gaps in the surface of the subfloor before you begin laying the cork flooring.
Installing Underlayment
Once your subfloor is prepared, you can begin installing underlayment. This is a thin layer of foam or felt that will provide cushioning and help reduce noise from below. When installing the underlayment, make sure that it is completely flush with the subfloor and that there are no gaps or unevenness. If you need to make any cuts in the underlayment for doorways or other areas, use a sharp utility knife or scissors.
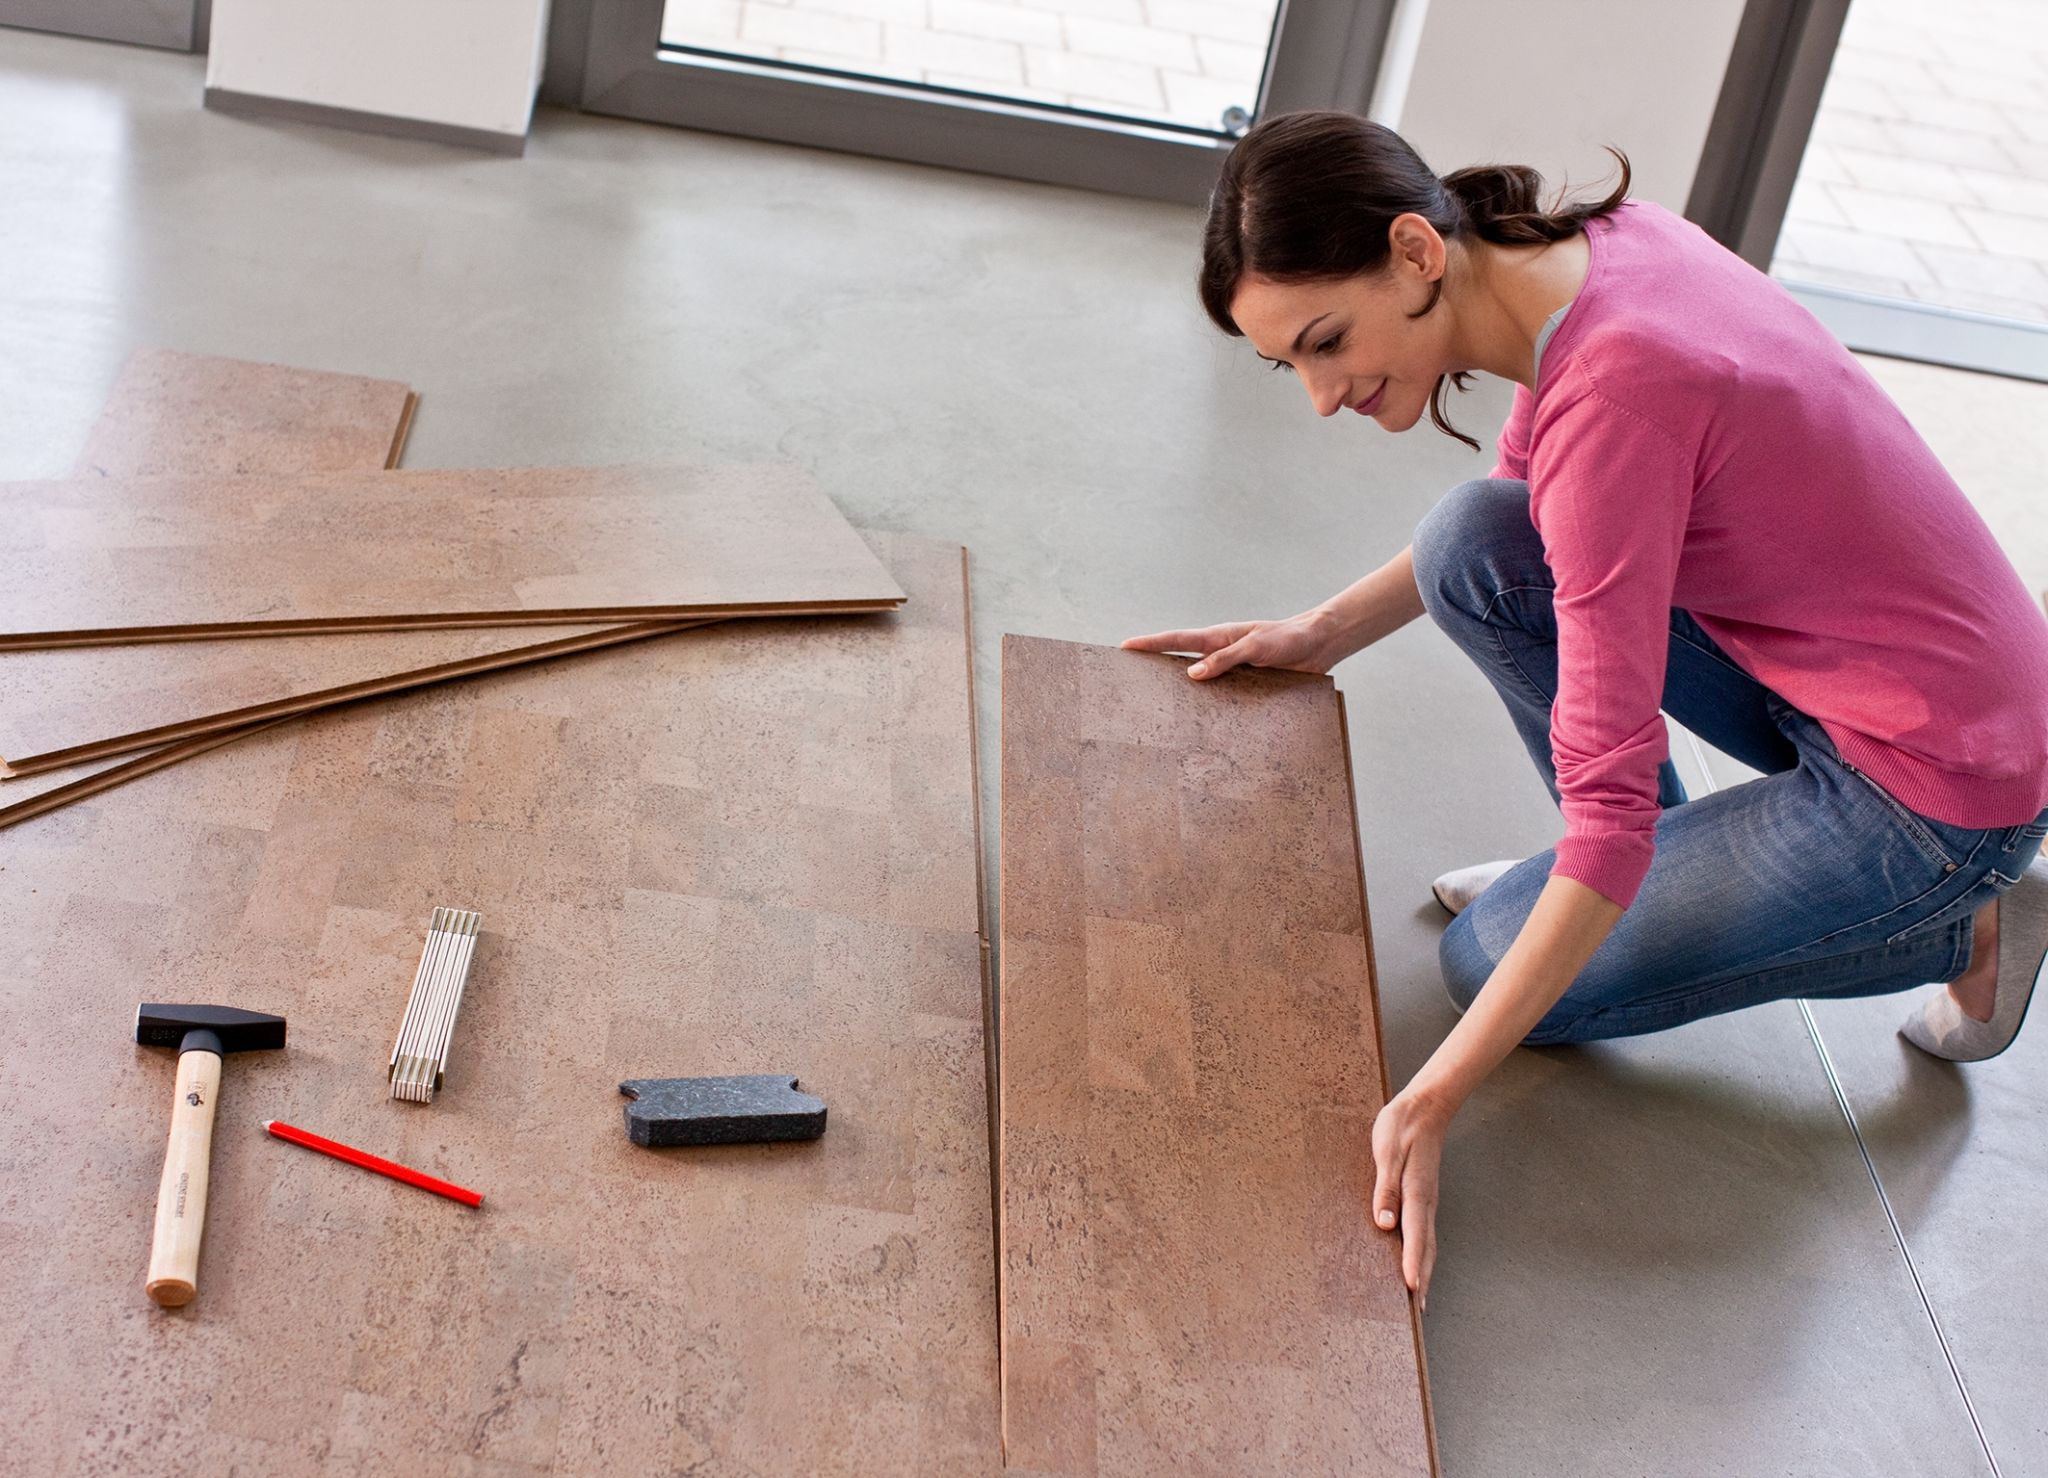
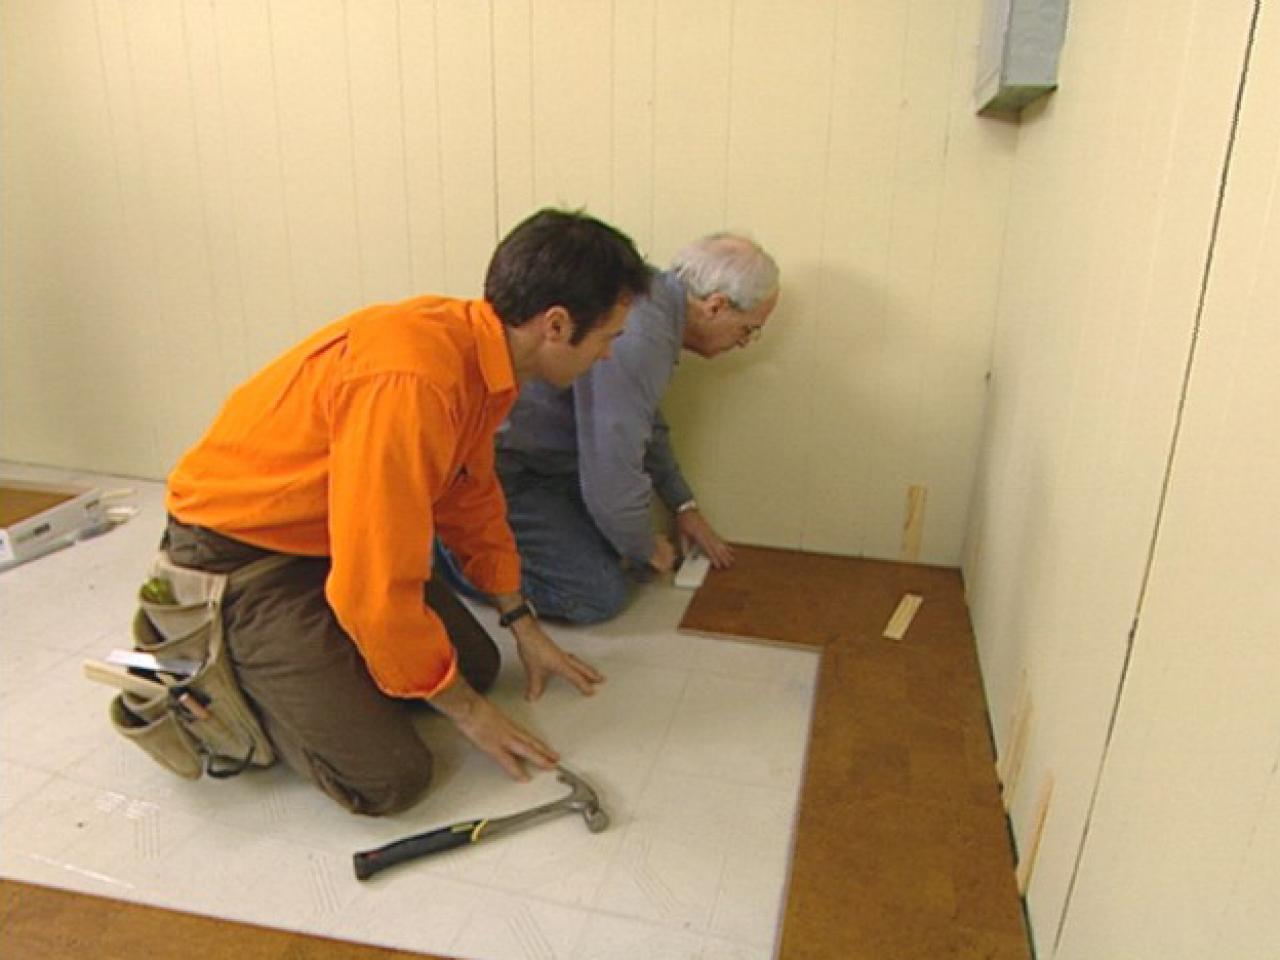
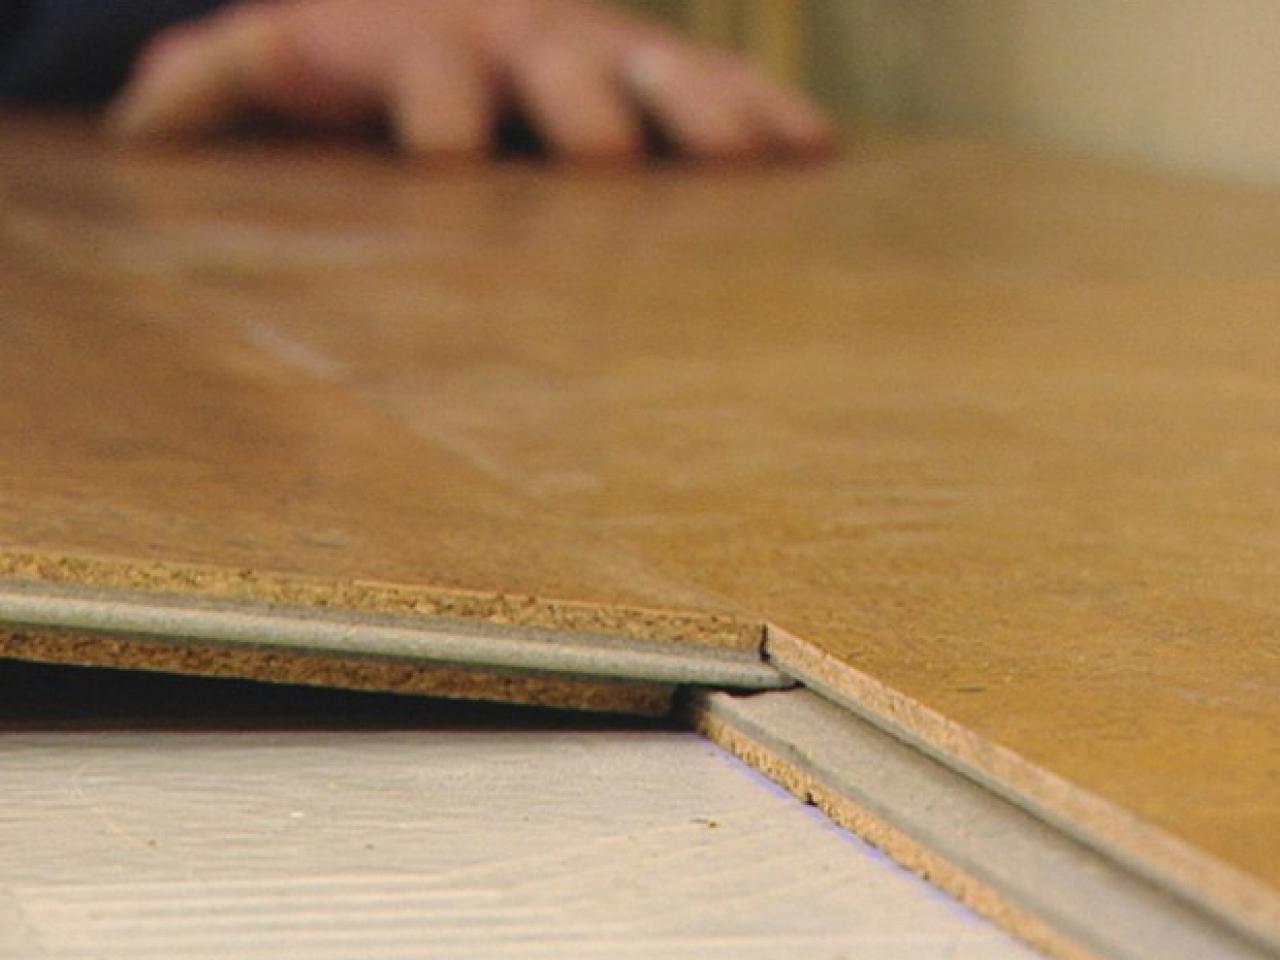
Laying The Cork Floor
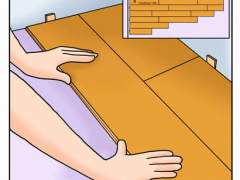
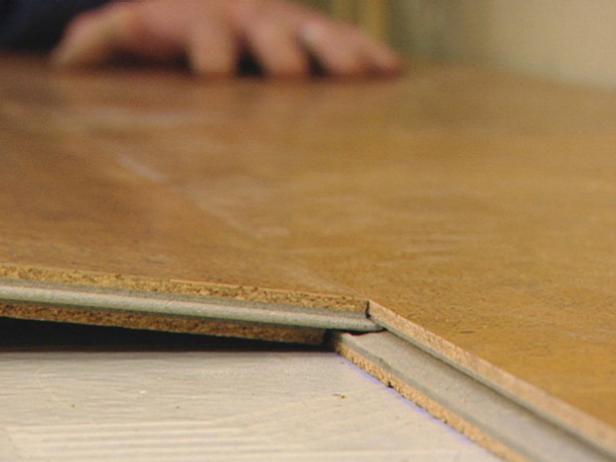
Now that your subfloor is prepared and your underlayment is installed, you can start laying the cork flooring. Begin by measuring out your room and cutting your cork tiles accordingly. Make sure each tile is cut neatly and accurately so that it fits flush with all of its surrounding tiles when installed. Once your tiles are cut, you can begin laying them down on the subfloor. Start in one corner of the room and work your way outwards towards the other walls. When laying each tile, make sure that they fit tightly together without any gaps between them. You may need to use a mallet or rubber hammer to help fit some of the tiles together snugly if they do not fit perfectly together on their own. As you lay each tile, make sure it is secure before moving onto the next one so that it does not shift once installed.
Sealing The Cork Floor
Once all of your tiles are laid down correctly, it’s time to seal them with a protective sealant. This sealant will help protect against water damage and spills while also giving your cork floor an attractive finish. Be sure to follow all instructions on your specific sealant product before applying it to your cork flooring. Once applied, allow the sealant ample time to dry before walking on or placing furniture back into your room so that it does not get smudged or scratched up by accident.
FAQs About Installing Cork Floors:
Q: Do I need special tools for installing cork floors?
A: Generally speaking, no special tools are required for putting down cork floors; however, depending on how intricate your cuts need to be for doorways and other areas, you may want to invest in a jigsaw or another type of saw specifically designed for making precise cuts in materials such as wood and tile. Additionally, if you Are laying down a large area of cork flooring, an electric stapler may come in handy for securing the tiles down more quickly.
Q: How long does it take to install cork floors?
A: This will depend on the size of the room and how intricate your cuts need to be, but generally speaking it should not take more than a day or two to finish installing cork flooring in an average-sized room.
What tools are needed to put down cork flooring?
To install cork flooring, you will need the following tools:• Measuring tape
• Utility knife
• Chalk line
• Pencil
• Hammer
• Jigsaw
• Pneumatic stapler
• Tapping block
• Spacers
• Rubber mallet
• Caulk gun
• Caulk
• Floor sealant
• Shop vacuum or broom
• Paintbrush
• Rag
What type of adhesive should be used to install cork flooring?
A water-based or solvent-based contact adhesive specifically designed for cork flooring should be used. Make sure to read the instructions on the adhesive to determine the proper drying time before walking on the cork flooring.What tools are required to install cork flooring?
Tools needed to install cork flooring include:– Utility knife
– Tape measure or ruler
– Circular saw or table saw
– Jigsaw
– Hammer
– Nails or staples
– Chalk line
– Caulking gun
– Hand roller
– Pneumatic flooring nailer (optional)
– Tapping block (optional)
– Adhesive (depending on type of cork flooring)
– Vacuum or broom
– Paintbrush
– Rag