How To Nail Laminate Flooring

Related Images about How To Nail Laminate Flooring
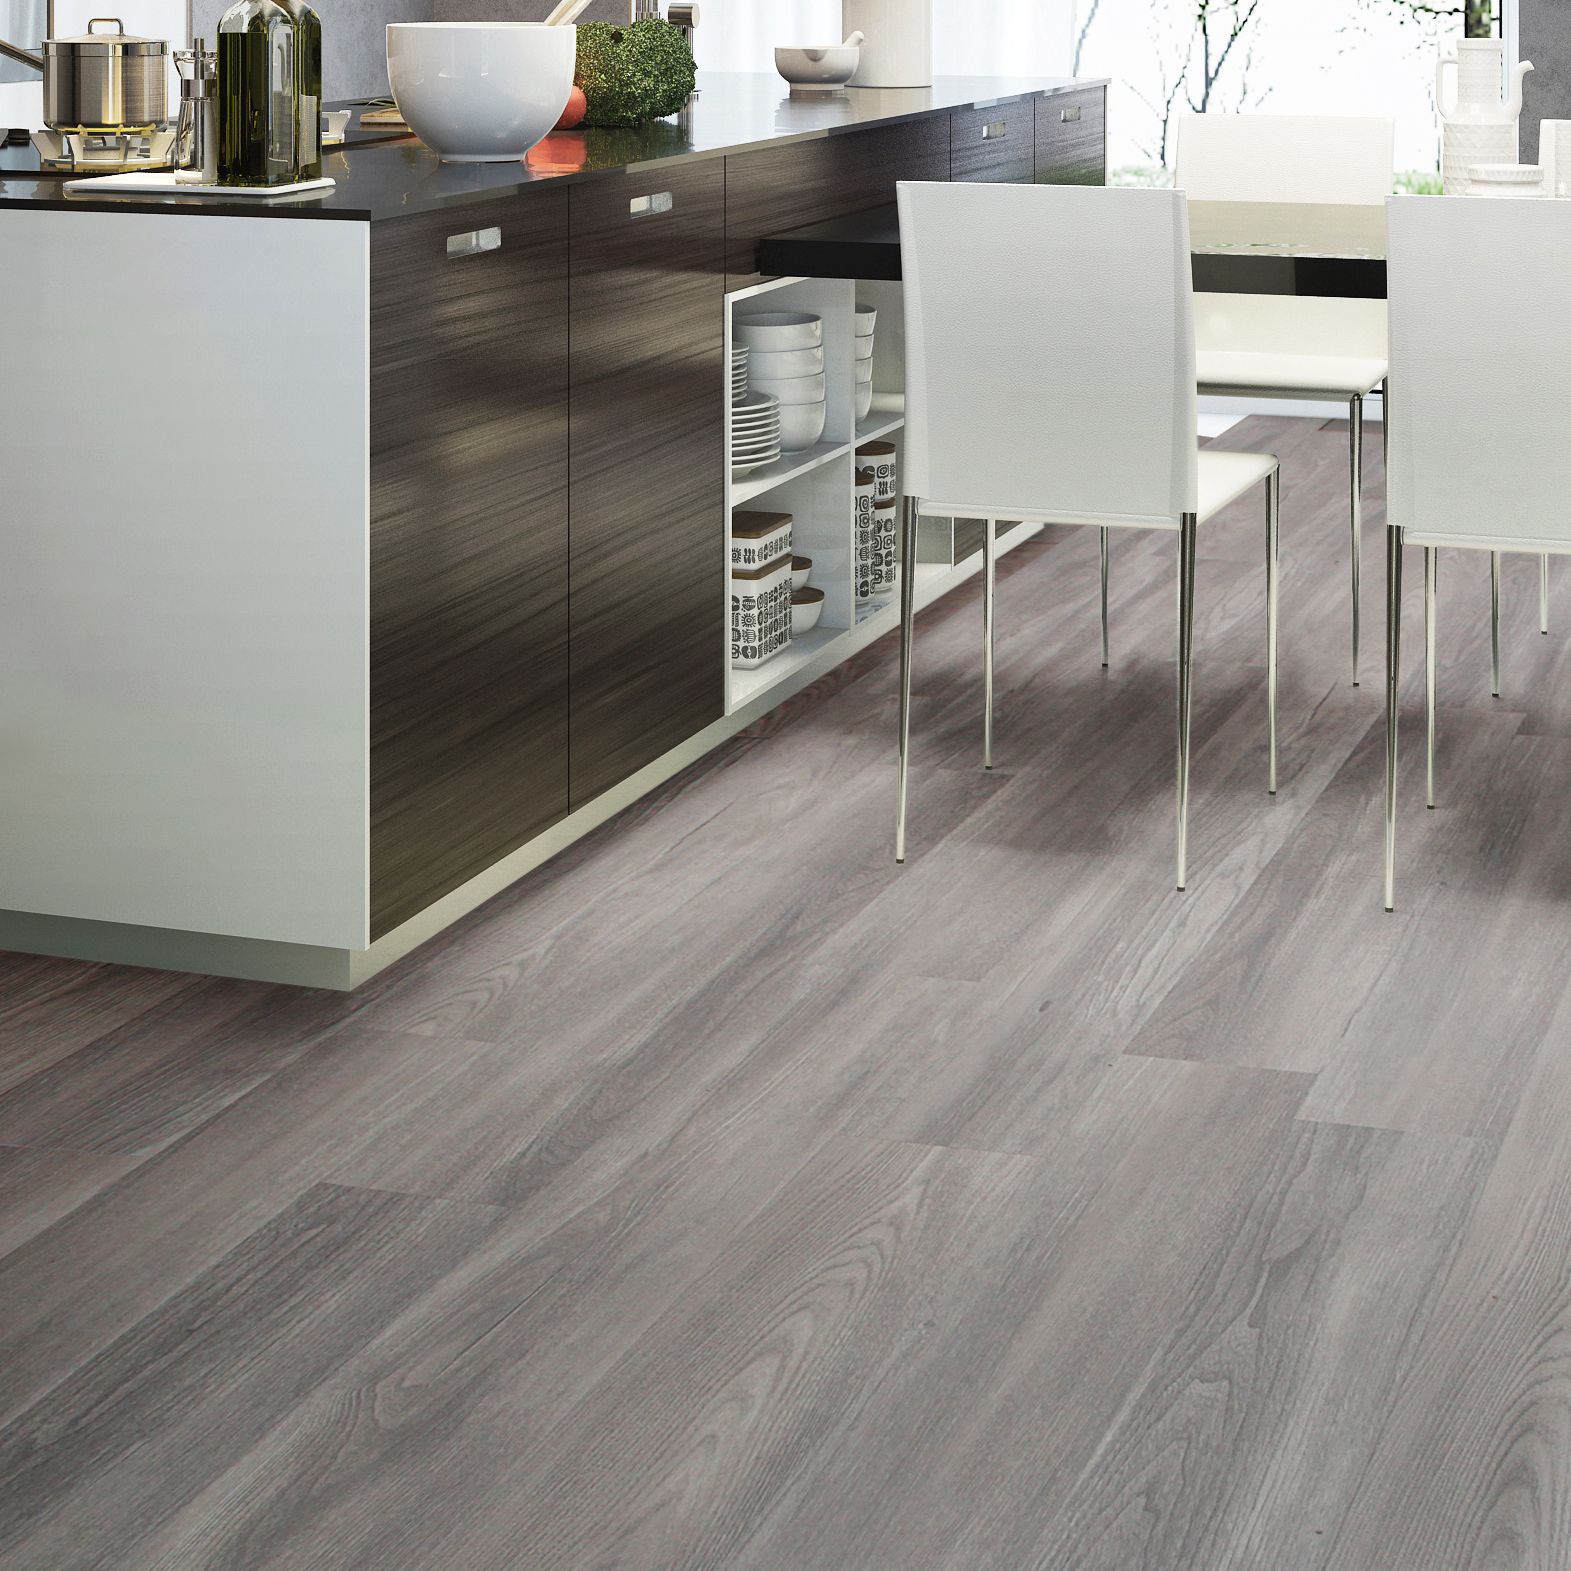
Do You Nail Down Laminate Flooring – Flooring : Home Design Ideas #6zDAVpBJQb93351

It is commonly viewed as the best option for flooring needs, regardless of cost, mainly because of its outstanding selection as well as the ease of adding laminate flooring. If you're installing laminate flooring in your kitchen, you need to have the cabinets in place in advance. Should you want your floor to follow the hottest trends, other forms of laminate floor including ceramics let you remain in trend.
How to Remove Paint from Laminate Floor Floor Techie

Right here every little thing is glued together and making use of pressure which is high that they become very difficult and long-lasting. You can be confident that laminate floor is going to give you the appearance you want for the home of yours, and probably at a considerably lower cost than what it emulates. The laminate wood floors is nearly invincible to spills, stains, burns along with a really high tolerance to chafing.
DIY laminate floor installation – Diy, Lifestyle

Floating Laminate floors aren't attach to your existing floor so that why I mean by is easy and quick. Make sure to in no way wear a hammer to strike the side area of the laminate flooring. Naturally, laminate flooring can be significantly less expensive than stone or hardwood. Laminate flooring features a high-density center with an image placed on the top layer and then sealed with a laminate overlaying.
Tips & Tricks for Installing Cheap Hardwood Flooring – Making Manzanita
Basement Renovation: Laminate Flooring DIY Danielle

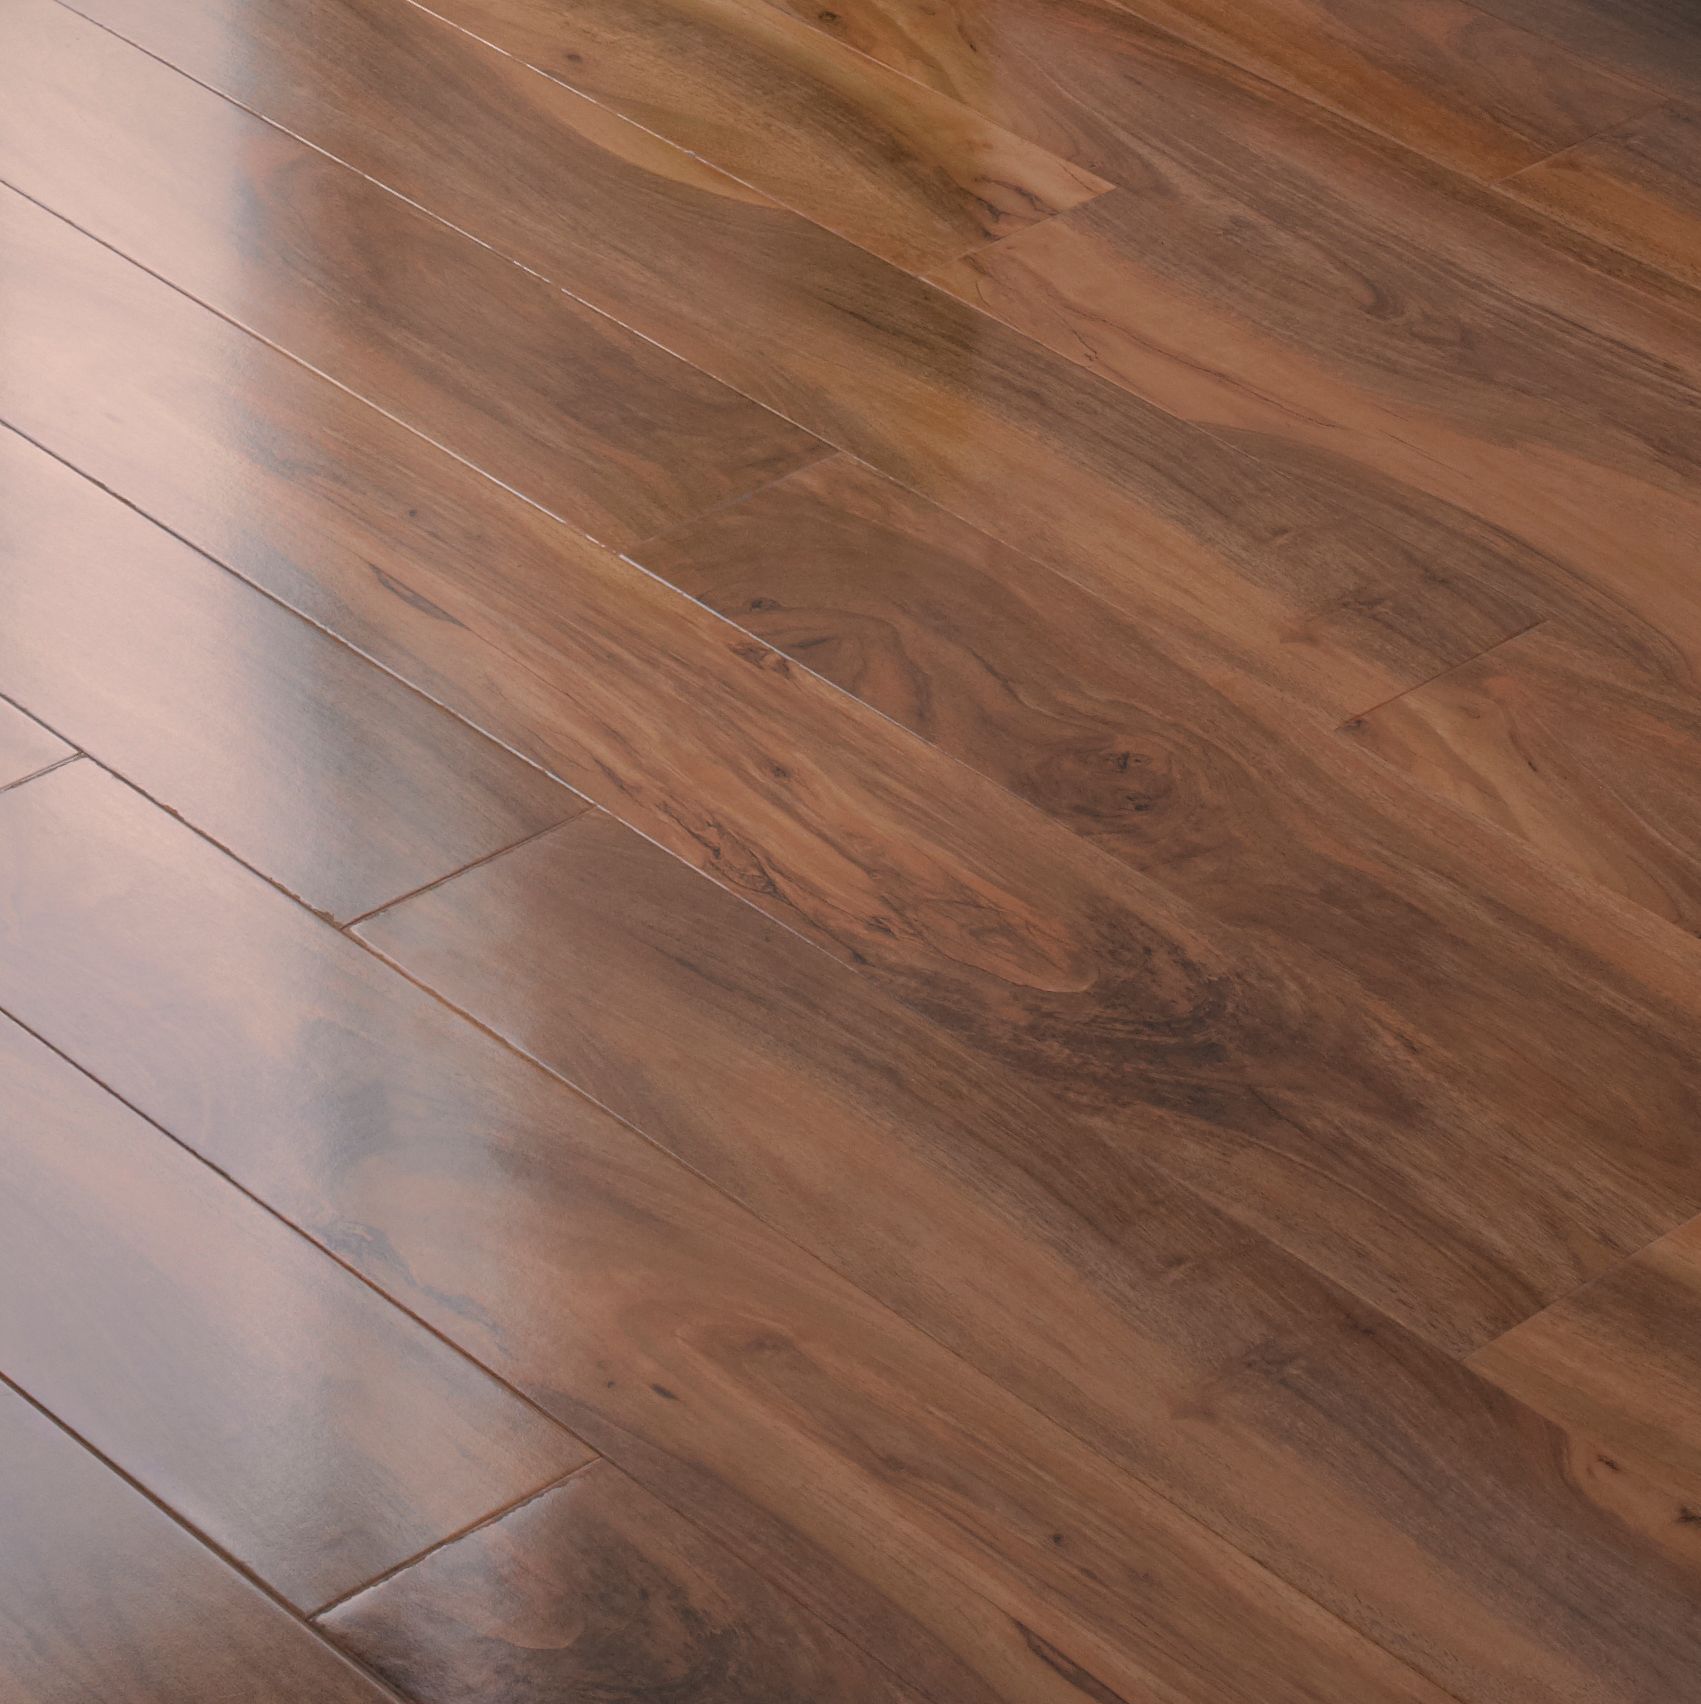
Dolce Natural Walnut Effect Laminate Flooring 0.04 m² Sample Departments TradePoint
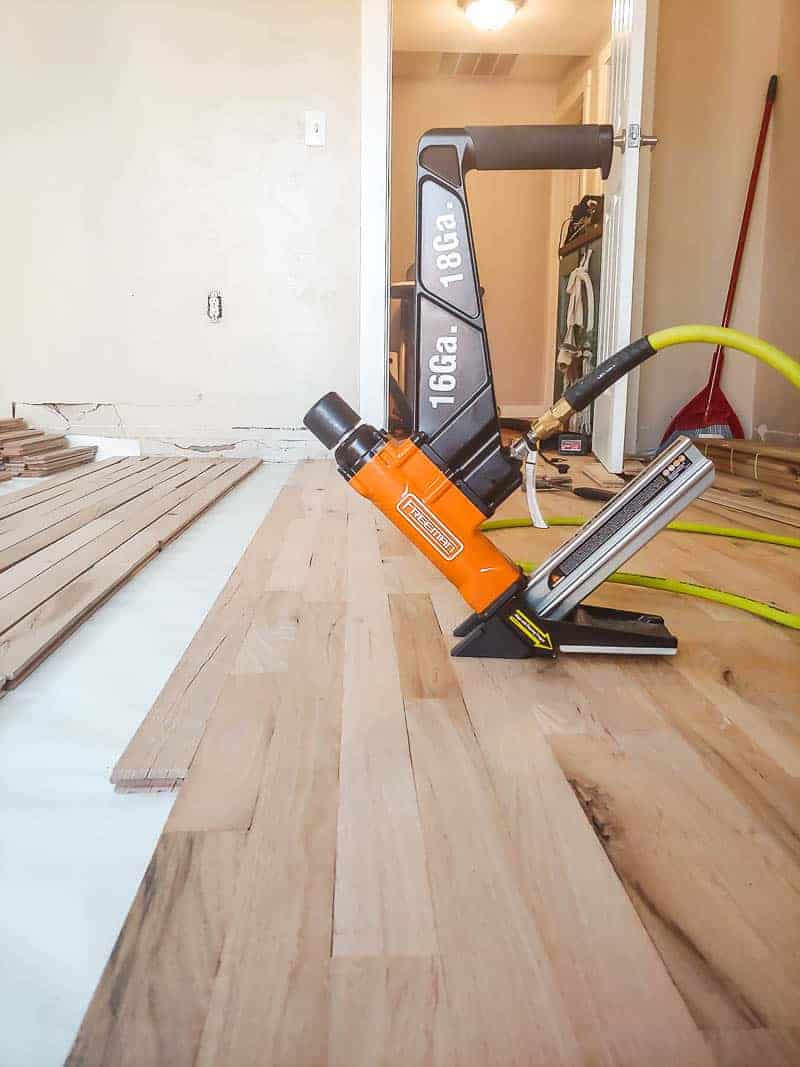
Underlayment Nails #floor and #oakflooring Flooring, Plywood flooring, Diy wood floors

Can I Replace One Section of Damaged Laminate Floor? The Money Pit
How To Secret Nail Floorboards – Nail Ftempo
Laminate Floor Mop with Washable Microfibre Removable Cleaning Pad for – The Dustpan and Brush Store

28 best Maple flooring images on Pinterest Maple flooring, Wood flooring and Hardwood floors

Yellow nail art designs – fantastic manicure ideas for a sunny mood

Grey Natural oak effect Waterproof Luxury vinyl click flooring Sample Departments TradePoint
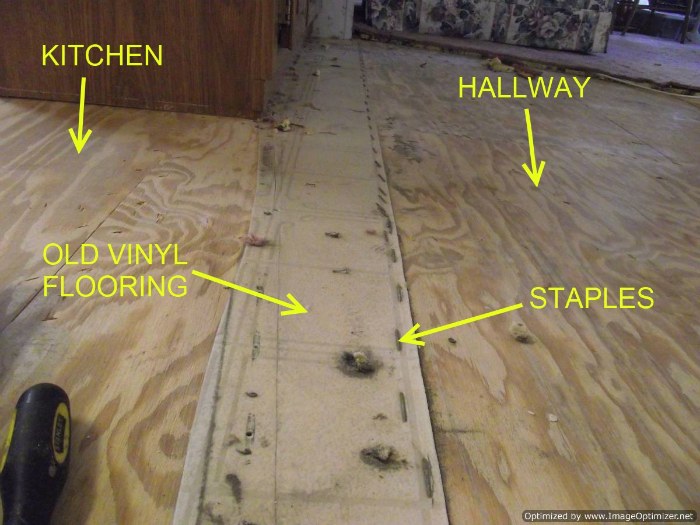
Mobile Homes Removing Vinyl Flooring, Floor Prep for Mobile Homes
Related Posts:
- Select Surfaces Click Laminate Flooring Canyon Oak
- Kaindl Laminate Flooring Installation
- Curly Walnut Laminate Flooring
- Laminate Flooring Lumber Liquidators Reviews
- Laminate Flooring 8mm Sale
- Can You Have Laminate Flooring On Stairs
- Laminate Flooring On Concrete Base
- Pergo Golden Butternut Laminate Flooring
- Ceramic Tile Vs Laminate Flooring In Basement
- Laminate Flooring Shoe Molding
How To Nail Laminate Flooring
Laminate flooring is a great way to add style and value to your home. It’s easy to install, durable, and comes in an array of colors and textures. But before you can enjoy the beauty of your new flooring, you need to know how to nail laminate flooring correctly. In this article, we’ll walk you through the process of nailing laminate flooring properly so that it looks great and lasts for years to come.
Materials Needed for Nailing Laminate Flooring
Before you begin nailing laminate flooring, make sure you have all the right materials and tools. You’ll need a hammer or nail gun, nails or staples, a saw, a measuring tape, spacers (if needed), a utility knife, and a protective eye wear.
Step-by-Step Guide for Nailing Laminate Flooring
Once you have everything ready to go, it’s time to start the process of nailing laminate flooring. Here are the steps you’ll need to follow:
1. Gather Your Materials: Gather all the materials and tools you’ll need for the job. Make sure everything is in good working order before you begin nailing laminate flooring.
2. Measure Your Room: Measure the room where you plan to install your laminate flooring so that you know how much material you’ll need for the job.
3. Install Subfloor: If necessary, install a subfloor before laying your laminate flooring down. This will help ensure that your new floor is level and secure.
4. Lay Down Underlayment: Underlayment is an important step in installing laminate flooring as it helps protect against moisture damage and reduces noise from foot traffic. Lay down your underlayment in strips that overlap each other by at least 6 inches (15 cm).
5. Install Spacers: Spacers are plastic wedges that help keep your boards even during installation and also help prevent gaps between boards when they expand or contract with humidity changes over time. Place spacers between each board as you lay them down.
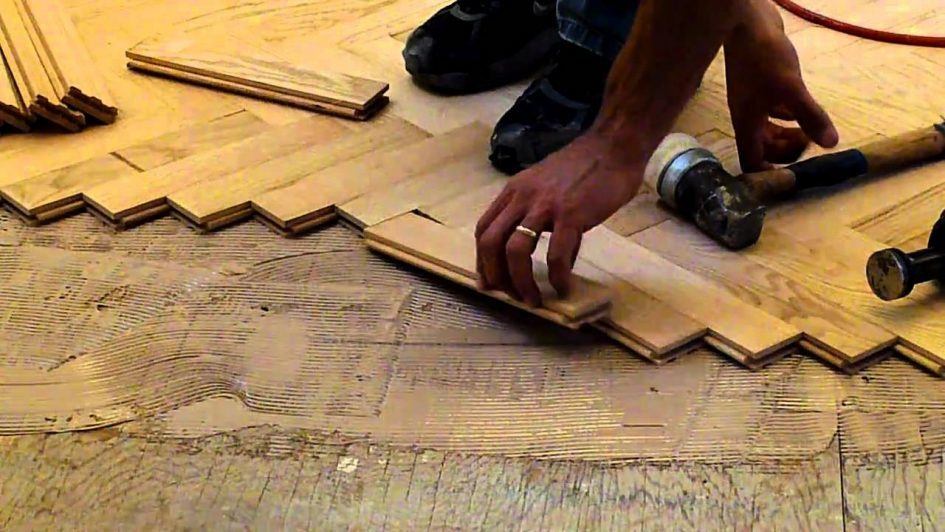
6. Nail Boards Together: Once all the boards are in place, use a hammer or nail gun to nail them together at their seams. For additional strength, use two nails at each seam if possible. Be sure not to nail through any joints or tongues on the boards as this could weaken them over time.
7. Cut Boards To Fit: Use a saw to cut any boards that don’t fit exactly into their spaces using measurements taken earlier as a guide. Make sure all cuts are straight and flush with adjacent boards so that there are no gaps when they are installed later on.
8. Clean Up: Once all the boards are in place and nailed down, clean up any excess debris left behind from cutting or nailing the boards together so that your finished product looks professional and polished when completed.
9. Admire Your Handiwork: Enjoy the beauty of your newly installed laminate floor! With proper care and maintenance it should last for years to come!
FAQs About Nailing Laminate Flooring
Q: What type of nails should I use for nailing Laminate flooring?
A: The type of nails you use will depend on the type of laminate flooring you are installing. Generally, it’s best to use finishing nails, but if the flooring is thicker or more dense, you may need a stronger nail such as a spiral shank nail.
Q: How do I ensure that my laminate flooring is level?
A: Before installing the laminate flooring, make sure that the subfloor is level and that all high and low spots have been filled in with a self-leveling compound. This will help ensure that your new laminate floor is level and secure.
Q: What do I do if I need to cut boards to fit?
A: Use a saw to cut any boards that don’t fit exactly into their spaces using measurements taken earlier as a guide. Make sure all cuts are straight and flush with adjacent boards so that there are no gaps when they are installed later on.
How long does it take to install laminate flooring?
The time to install laminate flooring depends on the size of the area, but it usually takes 1-2 days for an average-sized room (200-300 square feet).How difficult is it to install laminate flooring?
Installing laminate flooring is a relatively simple process that can usually be completed in a few hours. Most people with basic DIY skills can tackle the job, although it may take a little more time if you’re new to the task. Laminate flooring is designed to fit together like a jigsaw puzzle, so there’s no need to use adhesive or nails.What tools are needed to install laminate flooring?
Tools needed to install laminate flooring include:– Tape measure
– Chalk line
– Hammer and nails
– Saw (circular, miter, jigsaw, etc.)
– Underlayment
– Laminate flooring planks
– Spacers
– Hand or power stapler
– Flooring adhesive (optional)