How To Lay Tile On Vinyl Floor

Related Images about How To Lay Tile On Vinyl Floor
Can Wood Flooring Be Installed Over Ceramic Tile Top Home Information

You may likewise have the same pattern installed in the kitchen of yours – an area where not many would think about wood for due to the heavy foot traffic as well as strong chance of stains and spills. Perhaps even if you are enticed to cut on costs & simply DIY installation of your vinyl sheets/ tiles, be pleased to find that employing an expert will be a better option.
How to install laminate flooring on plywood subfloor – YouTube
Or say, how many times have kids neglected to fill their inline skates off prior to entering the kitchen and in addition have gouged the floor with their skates? These are simply some of the many explanations as to why people favor Vinyl Kitchen flooring. Vinyl is fairly affordable. Along with the adjustments as well as developments made to vinyl style flooring, it is hard to not give it a second look.
Laminate vinyl flooring. Color: Hickory Nutmeg Flooring, Vinyl flooring, Hardwood

Luxury flooring can be cleaned quite easily. The resistance of theirs to stain as well as moisture makes them a good prospect for installing in such type of areas as the downstairs room, kitchen or the bathroom. Excessive water is able to finish the seams as well as cracks, which can ruin glue bonds which keep the vinyl tiles to the starting flooring. Plus, you can paint all the lines that your sports need on them without any worries.
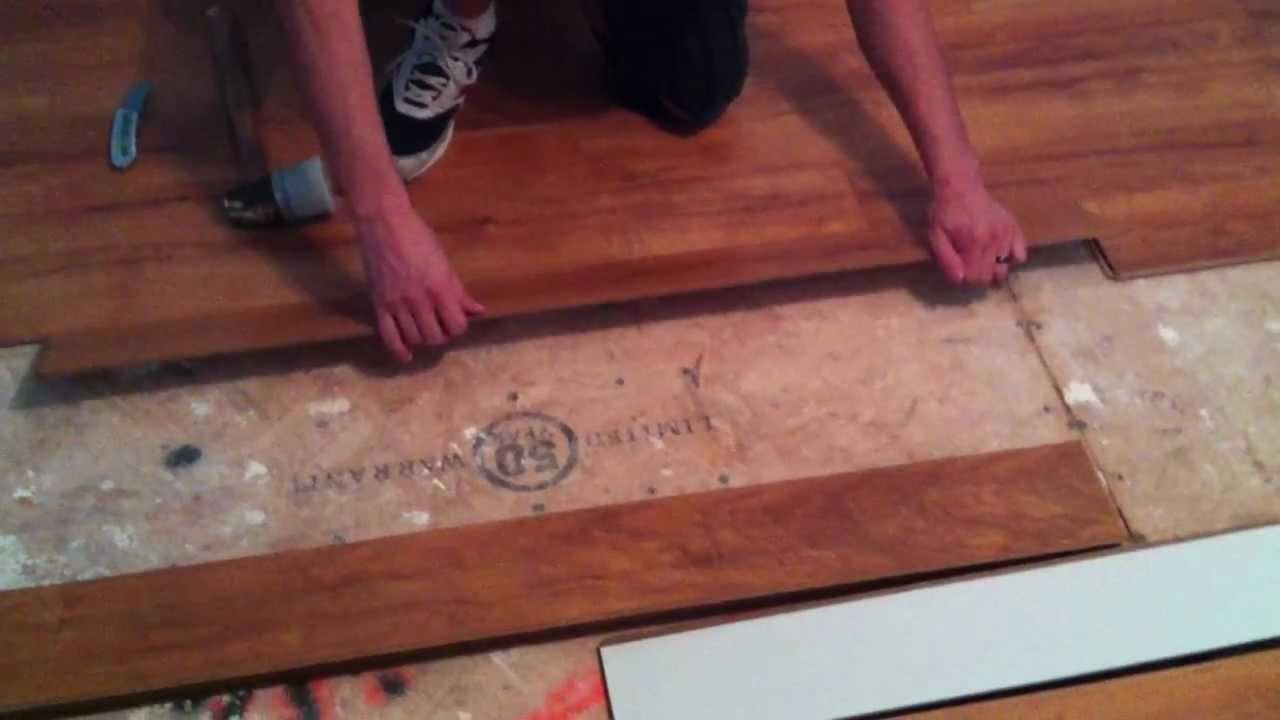
Install Hardwood Flooring Over Tile Floor Double Glue Down Method – YouTube Installing

Bathroom Floor Tile Layout Ideas Shower wall tile, Shower tile, Bathroom shower walls

Manhattan Multi Art Oak Laminate Flooring

Sub-floor Preparation for Installing Your Peel-and-Stick Vinyl Tile Floor – YouTube

Related Posts:
- Pour Leveling Compound On Existing Vinyl Floor
- Vinyl Flooring Chennai Dealers
- Vinyl Flooring Fumes
- Prestige Vinyl Flooring
- Grass Design Vinyl Flooring
- Floral Pattern Vinyl Flooring
- 5mm Vinyl Flooring
- How To Remove Old Vinyl Flooring From Wood
- Luxury Vinyl Flooring
- Rustic Wood Vinyl Flooring
How to Lay Tile on Vinyl Floor: A Step-by-Step Guide
Introduction:
If you have a vinyl floor that is outdated or worn out, laying tile on top of it can be an excellent way to revive the space and give it a fresh new look. While the process of laying tile on vinyl floor may seem daunting at first, with the right tools and techniques, it can be a relatively straightforward DIY project. In this article, we will guide you through the step-by-step process of laying tile on vinyl floor, providing detailed instructions and tips along the way.
Materials Needed:
Before you begin, ensure you have all the necessary materials at hand. Here’s a comprehensive list:
1. Tiles: Choose tiles that are suitable for your desired style and purpose. Ceramic or porcelain tiles are popular choices for their durability and aesthetic appeal.
2. Thin-set mortar: This adhesive material is essential for securing the tiles to the vinyl floor.
3. Notched trowel: Used to spread the thin-set mortar evenly.
4. Tile spacers: These small plastic pieces help maintain consistent spacing between tiles.
5. Grout: Select a grout color that complements your chosen tiles.
6. Grout float: Used to apply and smooth the grout into the gaps between tiles.
7. Level: To ensure that your tile installation is even and level.
8. Tape measure: Essential for measuring and marking out your layout.
9. Chalk line: Used to create straight reference lines for accurate tile placement.
10. Wet saw or tile cutter: Necessary for cutting tiles to fit around edges or obstacles.
11. Sponge and bucket of water: For cleaning off excess grout during the installation process.
Step 1: Preparing the Vinyl Floor
Before laying tile on vinyl floor, it is crucial to prepare the existing surface properly. Follow these steps:
1. Clean the floor thoroughly: Remove any dirt, dust, or debris from the vinyl floor using a broom, vacuum cleaner, or mop. Ensure the surface is completely dry before proceeding.
2. Inspect for damages: Check the vinyl for any cracks, loose edges, or bubbles. If you find any issues, repair them before continuing with the tile installation.
3. Sand the surface: To improve adhesion, lightly sand the vinyl floor using fine-grit sandpaper. This step will help roughen up the surface and remove any glossy finish that might hinder the mortar’s grip.
FAQs:
Q: Can I lay tile directly on top of the vinyl floor?
A: While it is possible to lay tile directly on top of vinyl flooring, it is generally recommended to apply a layer of backer board or cement board over the vinyl as an added substrate. This will provide a more stable and secure base for the tile installation.
Q: Do I need to remove the baseboards before laying tile on vinyl floor?
A: It is not necessary to remove the baseboards unless you want to replace them or if they interfere with the installation process. However, keep in mind that leaving them intact may require additional care when cutting and fitting tiles along the edges.
Step 2: Planning your Tile Layout
Now that your vinyl floor is prepared, it’s time to plan your tile layout. Here’s how:
1. Measure and mark: Use a tape measure to determine the dimensions of your floor area. Start by finding the center point of each wall and mark it with a pencil.
2. Create reference lines : Use a chalk line to create straight reference lines from the center points. These lines will serve as a guide for laying the tiles.
3. Dry fit the tiles: Lay out a few tiles along the reference lines without adhesive to get an idea of how they will fit. Make any necessary adjustments or cuts to ensure a proper fit.
4. Determine spacing: Place tile spacers between the dry-fit tiles to determine the desired spacing. This will help maintain consistent spacing throughout the installation.
FAQs:
Q: How much spacing should I leave between the tiles?
A: The recommended spacing between tiles is typically 1/8 to 1/4 inch. However, this may vary depending on the size of the tiles and personal preference.
Q: Should I start tiling from the center of the room?
A: Starting from the center of the room is generally recommended as it helps create a balanced and symmetrical layout. However, you can choose to start from any edge or focal point depending on your preference.
Step 3: Applying Thin-Set Mortar and Installing Tiles
With your layout planned, it’s time to start applying thin-set mortar and installing the tiles. Follow these steps:
1. Mix thin-set mortar: Follow the manufacturer’s instructions to mix the thin-set mortar to a smooth consistency.
2. Apply mortar: Using a notched trowel, spread a layer of mortar onto a small section of the vinyl floor along one of the reference lines.
3. Place tiles: Press each tile firmly into the mortar, twisting slightly to ensure good adhesion. Use tile spacers to maintain consistent spacing.
4. Continue tiling: Work your way along the reference lines, applying mortar and placing tiles until the entire floor is covered.
5. Cut tiles if necessary: Use a wet saw or tile cutter to make any necessary cuts around edges or obstacles.
6. Let mortar dry: Allow the mortar to dry for the recommended time specified by the manufacturer before proceeding.
FAQs:
Q: How long does thin-set mortar take to dry?
A: The drying time for thin-set mortar can vary depending on factors such as humidity and temperature. It is best to refer to the manufacturer’s instructions for specific drying times.
Q: Can I walk on the tiles immediately after installation?
A: It is generally recommended to wait at least 24 hours before walking on the tiles to allow the mortar to fully cure and set.