How To Lay Swiftlock Laminate Flooring

Related Images about How To Lay Swiftlock Laminate Flooring
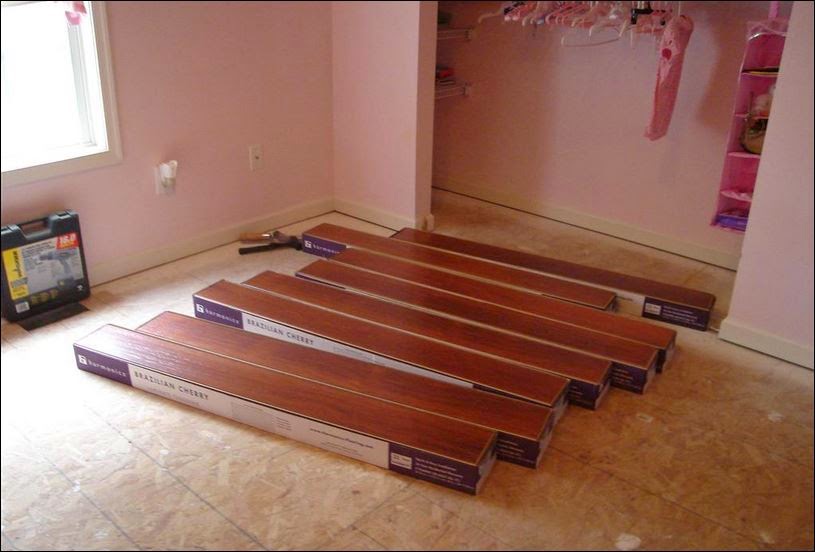
Wood and Laminate Flooring Ideas: Installing Swiftlock Laminate Flooring
When scouting for the installation for your laminate floor, it call comes down to the glue. Before you put in laminate flooring in your kitchen you need to prepare your kitchen floor for the project. While the technology developed in the counter top laminate sector it obviously became apparent that aided by the endless quantity of decors that may be produced, can also be produced and used on the floor.
Swiftlock Laminate flooring. Swiftlock Laminate flooring. Flickr

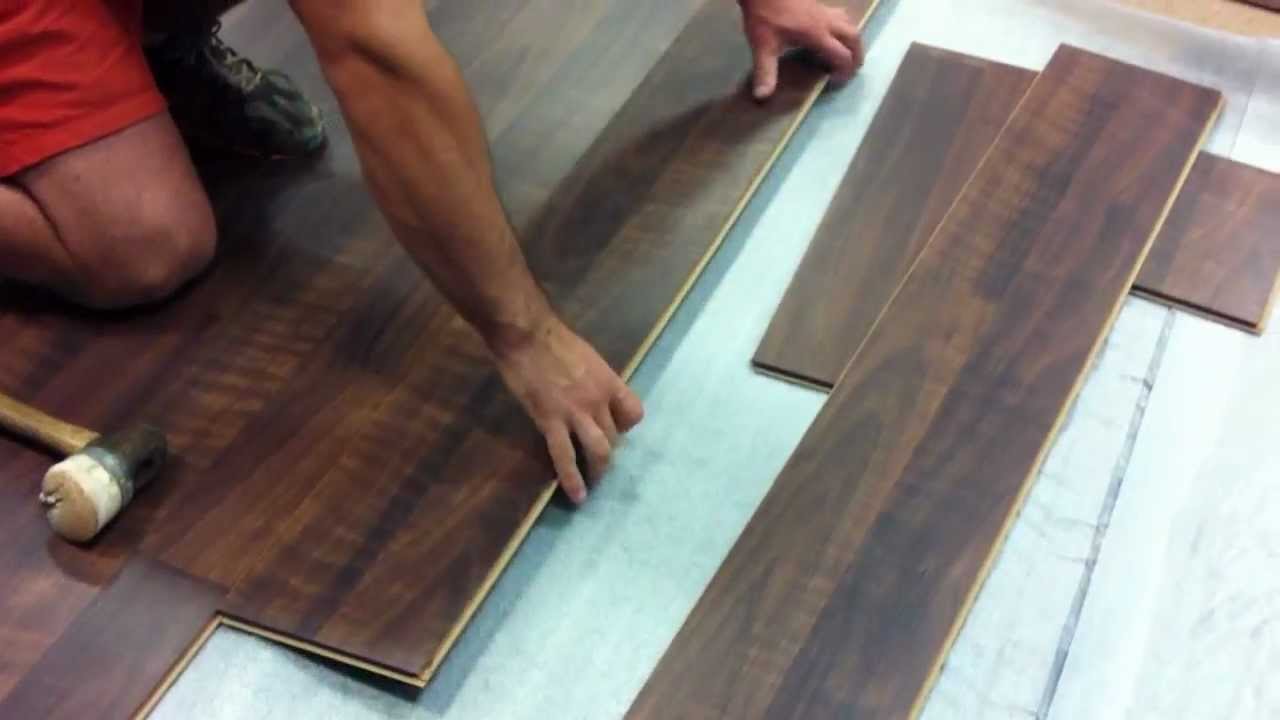
Fashioned with a durable and tough wear level, it's much stronger than many fitted sound hardwood floor surfaces, vinyl's, and carpets. When you are using tongue and groove laminate flooring, simply present each new board at a 45 degree angle on the previous one, and softly lower the new board in position. Then cut the plank with the center of the hole and fit the two parts of laminate flooring together around the pipe and glue them together.
Swiftlock laminate flooring – YouTube

This implies that the makers of laminates have more confidence in the durability of their products, and you are able to, too. In this instance, it is essential to determine whether or not there is way too much moisture within the floor area and also, if there's, you ought to be able to remove this moisture problem otherwise it'll continuously haunt you with mold as well as mildew issues.
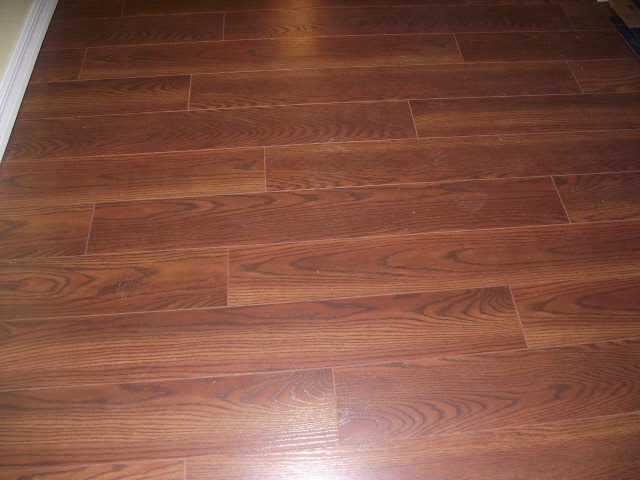
Swiftlock Plus Laminate Review
How to Lay Laminate Flooring in One Day
:max_bytes(150000):strip_icc()/Installing-Laminate-How-Locking-Mechanism-Works-56a49e423df78cf772834b19.JPG)
Swiftlock 8mm Laminate Flooring Laminate Flooring

How to install a SwiftLock laminate flooring in a commercial area – YouTube
Vinyl Stair Nosing Home Depot – Msi Edwards Oak 0 77 In T X 2 75 In W X 47 In L Luxury Vinyl
Swiftlock 25 Laminate Flooring Laminate Flooring

Swiftlock laminate wood flooring and we LOVE it! It’s the perfect tone for hiding dirt and dust

Laminate Flooring: Care Laminate Flooring Swiftlock

Laminate Floors Melbourne Laminate Flooring – Mike’s Carpet Discounters

Swiftlock Laminate Floor Installation – DIY

How to Use Spacers Along the Wall for Laminate Home Guides SF Gate
Related Posts:
- Select Surfaces Click Laminate Flooring Canyon Oak
- Kaindl Laminate Flooring Installation
- Curly Walnut Laminate Flooring
- Laminate Flooring Lumber Liquidators Reviews
- Laminate Flooring 8mm Sale
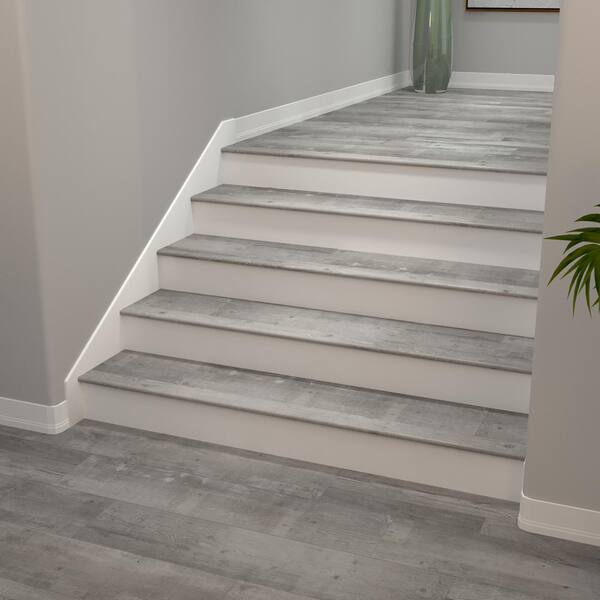
- Can You Have Laminate Flooring On Stairs
- Laminate Flooring On Concrete Base
- Pergo Golden Butternut Laminate Flooring
- Ceramic Tile Vs Laminate Flooring In Basement
- Laminate Flooring Shoe Molding
Title: How to Expertly Lay Swiftlock Laminate Flooring: A Comprehensive Guide
Introduction:
Are you looking to transform your home with a stylish and durable flooring option? Look no further than Swiftlock laminate flooring. Installing laminate flooring can be a rewarding DIY project, and with the right guidance, you can achieve professional-looking results. In this detailed guide, we will walk you through the step-by-step process of laying Swiftlock laminate flooring, ensuring you have all the information you need to create a beautiful and long-lasting floor.
I. Preparing for Installation:
Before diving into the installation process, it is crucial to prepare both yourself and the space where the flooring will be installed. Follow these steps for a seamless installation experience:
1. Gather Tools and Materials:
To ensure a smooth installation process, gather all the necessary tools and materials beforehand. You will typically need the following:
– Swiftlock laminate flooring planks
– Underlayment
– Moisture barrier (if required)
– Tape measure
– Utility knife
– Pry bar
– Hammer
– Chalk line
– Spacers
– Tapping block
– Pull bar
– Circular saw or miter saw (with a fine-toothed blade)
– Safety goggles
– Knee pads
2. Acclimate Your Flooring:
Allow your Swiftlock laminate flooring to acclimate in the room where it will be installed for at least 48 hours before beginning the installation process. This step helps prevent potential issues caused by expansion or contraction due to temperature and humidity changes.
FAQ: Why is it important to acclimate laminate flooring?
Acclimating laminate flooring ensures that it adjusts to the environment in which it will be installed, minimizing shrinkage or expansion after installation.
II. Preparing the Subfloor:
A solid foundation is essential for a successful laminate flooring installation. Follow these steps to prepare your subfloor:
1. Inspect and Clean:
Thoroughly inspect the subfloor for any signs of damage, such as unevenness, cracks, or squeaks. Repair or replace damaged areas and ensure the subfloor is clean and free from debris.
2. Install Underlayment:
Roll out the underlayment across the entire floor area, ensuring it overlaps by a few inches at the seams. Use a utility knife to trim excess underlayment along the walls.
3. Apply Moisture Barrier (if needed):
If your subfloor is concrete or prone to moisture, apply a moisture barrier according to the manufacturer’s instructions. This step helps protect your laminate flooring from potential water damage.
FAQ: Can I install laminate flooring over an existing floor?
Yes, you can install laminate flooring over various existing floors, including vinyl, tile, and hardwood. However, ensure that the surface is clean, level, and in good condition before proceeding with installation.
III. Installing Swiftlock Laminate Flooring:
Now that you have prepared both yourself and the subfloor, it’s time to start laying your Swiftlock laminate flooring. Follow these steps for a professional installation:
1. Plan Your Layout:
Before cutting any planks, plan your layout by considering factors such as room size, doorways, and natural light sources. Start by measuring the length and width of the room to determine how many planks you will need.
2. Create a Starting Line:
Establish a straight starting line using a chalk line or a laser level. This line will guide your installation process and ensure your planks are aligned correctly.
3. Install the First Row:
Begin by placing the first plank along the starting line, with the tongue side facing the wall. Use spacers to create a small gap between the plank and the wall, allowing for expansion. Secure the plank in place using a tapping block and a mallet or hammer.
4. Continue Installing Planks:
Continue installing planks by connecting the tongue and groove edges together. Use a tapping block and mallet or hammer to ensure a snug fit. Remember to stagger the planks, avoiding any visible seams or patterns.
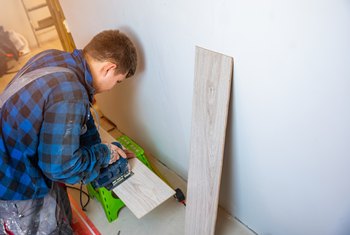
5. Cut Planks as Needed:
Measure and cut planks as needed to fit around obstacles such as doorways or corners. Use a circular saw or miter saw with a fine-toothed blade for precise cuts.
6. Install Transition Pieces:
Install transition pieces where necessary, such as thresholds or molding, to create a finished look and cover any gaps between different flooring surfaces.
7. Apply Finishing Touches:
Once all planks are installed, remove spacers and install baseboards or quarter round molding to cover expansion gaps along the walls.
8. Clean Up:
Clean up any debris or excess adhesive from the installation process using a damp cloth or mop. Allow the flooring to fully set and avoid walking on it for at least 24 hours.
This will ensure that the laminate flooring is securely in place and ready for use.
Remember to follow the manufacturer’s instructions and guidelines for installation, as they may have specific recommendations for their product. Additionally, it’s important to properly maintain your laminate flooring to prevent water damage. Avoid excessive moisture, wipe up spills immediately, and use mats or rugs in areas prone to wetness or high traffic.
If you have any further questions or concerns, consult a professional or contact the manufacturer for assistance.