How To Lay A Laminate Flooring On The Floorboards
Related Images about How To Lay A Laminate Flooring On The Floorboards
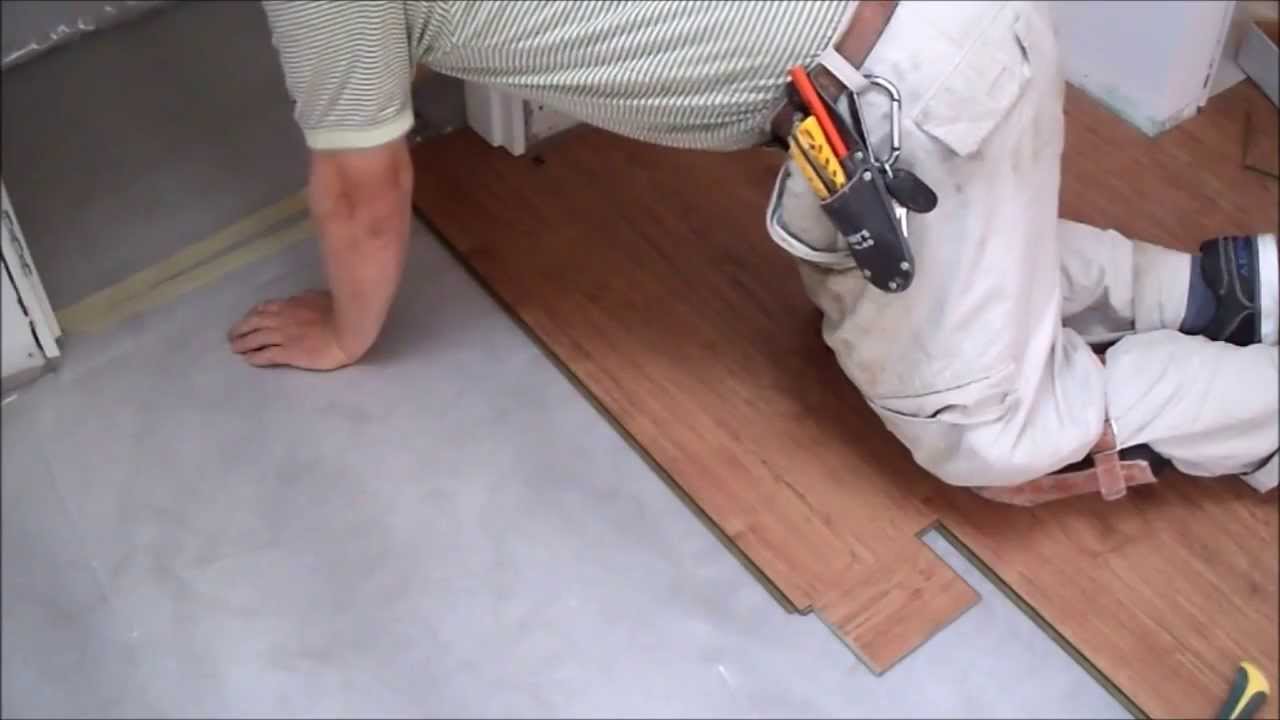
How to Fix Laminate Flooring Gaps – Episode 5 HowToSpecialist – How to Build, Step by Step DIY

The resources required for this add a pry bar to take away the shoe molding and also trim, a level to confirm the low and high locations on the floor, considered a cold chisel so that you can move up the existing flooring, along with a ball-peen hammer is going to be utilized to hit the chisel. One can get laminate floors rather cheaply at these places, frequently as low as below a buck for a square feet, depending upon the kind of laminate floor selected.
6 Affordable Flooring Options to Upgrade a Room Today’s Homeowner

The resistance of laminate floor is significantly higher than the hardwood floors because of the numerous coats of Melamine. The key behind glueless laminate flooring is each plank clipping combinations. Do not purchase the underlay and flooring for your exact floor size because you will make mistakes and need additional flooring. Nevertheless, you have to ensure you select the right laminate and one which is highly durable and well suitable for your kind of usage.
Laying Vinyl Tile Vinyl Plank Flooring How to Lay Self-adhesive Vinyl Planks DIY Doctor
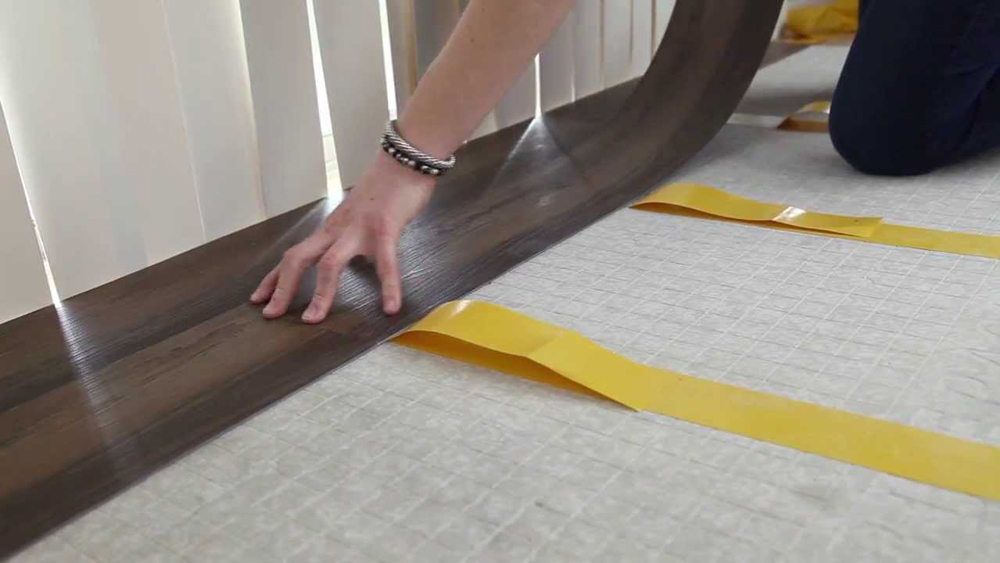
Skeptics might argue that if Westhollow wood laminates are made from 90 % wood, in that case it would necessarily follow that Westhollow's floor surfaces will suffer from the typical affliction of wood floor surfaces: fading. The very best layer is a protective sheet that prevents wear and tear, for this reason the floors of yours always look a beginner. Before you choose laminate for the project of yours we'd love to provide you with some critical information.
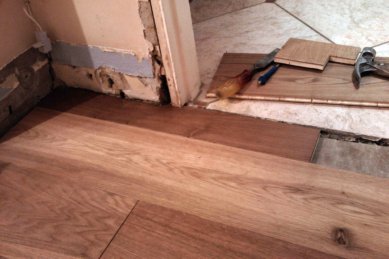
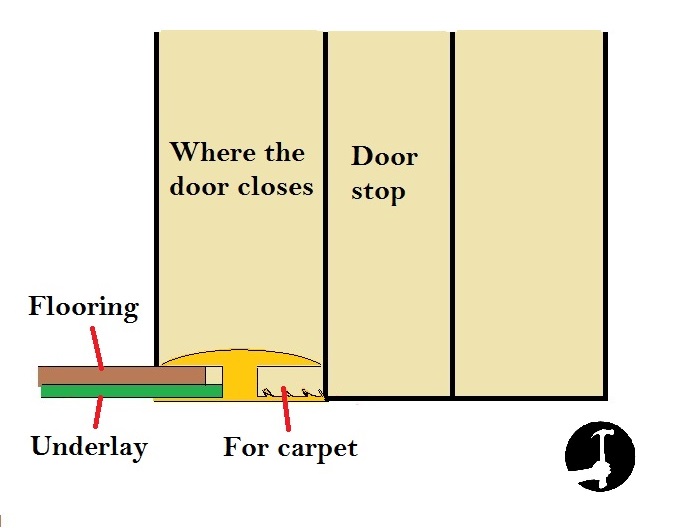
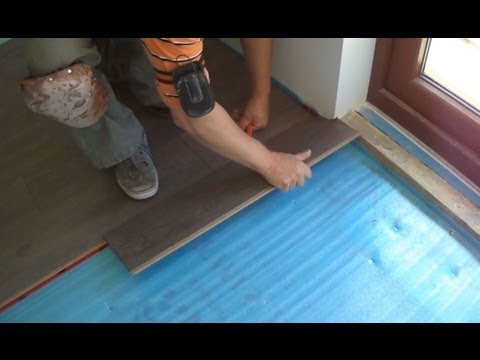
Laying laminate in a doorway
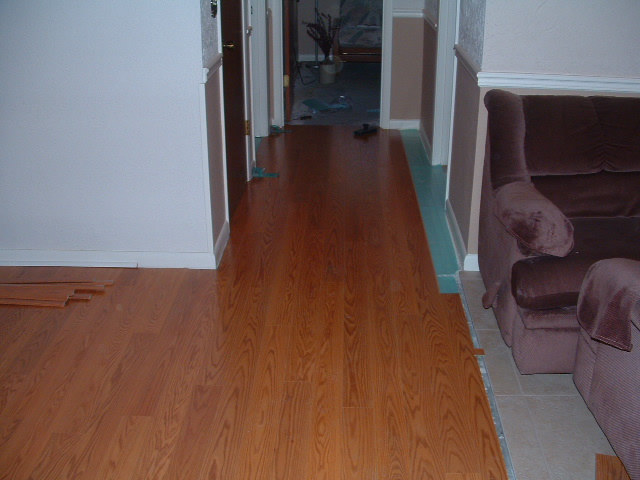
DIY Laminate Plank Flooring Installation – Simply Beautiful By Angela

Can Lay Laminate Floor Over Tiles Review Carpet – Get in The Trailer

Laminate floor installers Step Flooring Ltd.
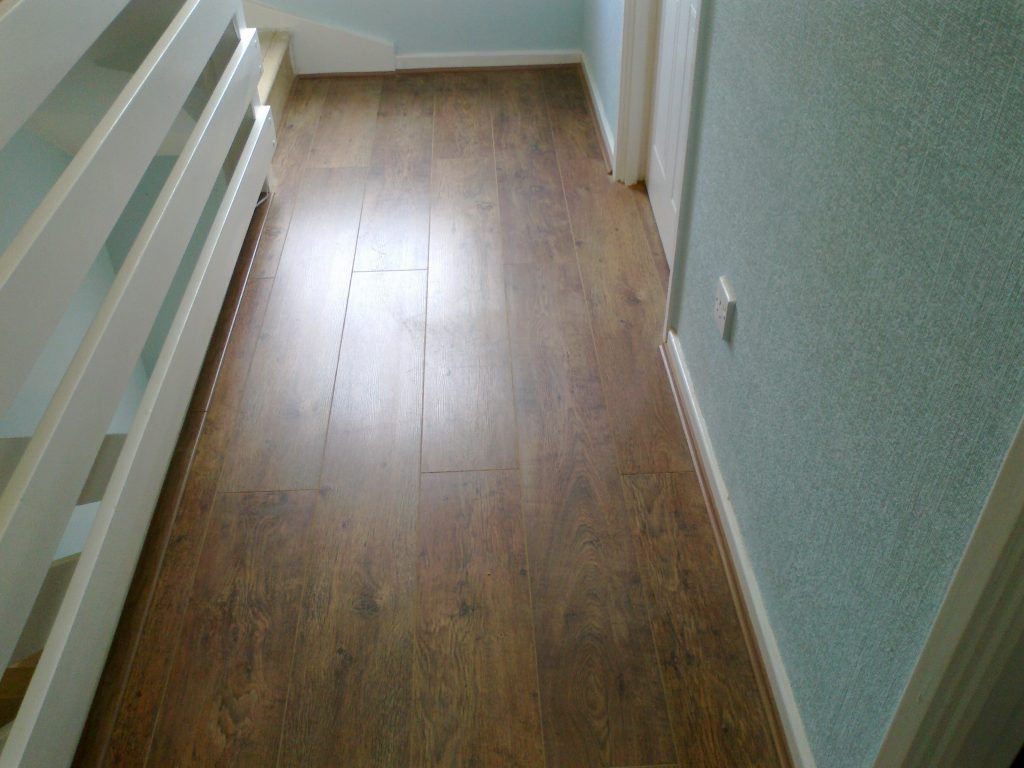
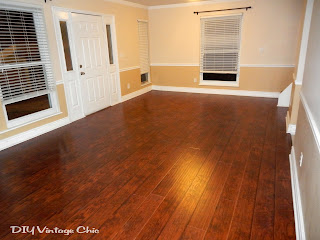
DIY Vintage Chic: DIY Laminate Flooring Project Completed
Laying laminate in a doorway
Laminate wood floor restoration The Floor Restoration Company
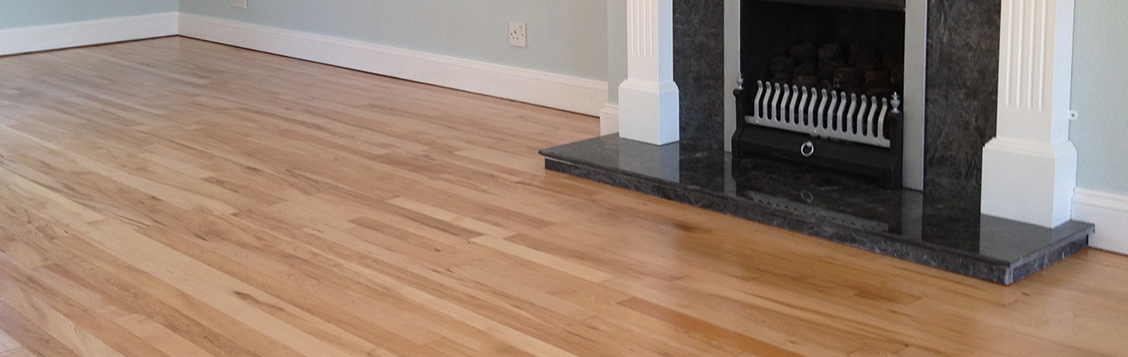
Photo Gallery Laminate Flooring Pictures
Tips for Installing Laminate Flooring – Inspiration For Moms

Installing Laminate Wood Flooring Close to the Patio Door – YouTube
Laminate Flooring: Installing Laminate Flooring Without Removing Baseboards

Related Posts:
- Select Surfaces Click Laminate Flooring Canyon Oak
- Kaindl Laminate Flooring Installation
- Curly Walnut Laminate Flooring
- Laminate Flooring Lumber Liquidators Reviews
- Laminate Flooring 8mm Sale
- Can You Have Laminate Flooring On Stairs
- Laminate Flooring On Concrete Base
- Pergo Golden Butternut Laminate Flooring
- Ceramic Tile Vs Laminate Flooring In Basement
- Laminate Flooring Shoe Molding
How To Lay A Laminate Flooring On The Floorboards
Laminate flooring is a popular choice for DIY enthusiasts and homeowners who want to give their floors a fresh, new look. It’s an easy-to-install, cost-effective alternative to traditional hardwood and provides an attractive, durable finish that can be enjoyed for years to come. Laying laminate flooring on the floorboards of your home is a relatively straightforward process that can be completed in a few hours with the right tools and materials. In this article, we’ll take you through the steps of laying a laminate floor on the floorboards of your home.
Gather Materials and Tools
The first step in laying laminate flooring on the floorboards of your home is to gather all the materials and tools you will need. You’ll need:
– Laminate flooring
– Spacers
– Underlayment
– Tape measure
– Hammer
– Nail gun (or nails)
– Saw
– Chalk line
– Pencil or marker
– Level
– Vacuum cleaner
– Putty knife or scraper tool
Once you have all your materials and tools ready, it’s time to begin laying your laminate flooring.
Prepare Your Floorboards for Installation
Before you start installing your laminate flooring, you must prepare your floorboards for installation. This means making sure that your floor is clean and free from dirt, dust, debris, and nails or screws sticking up from the boards. Use a vacuum cleaner to remove any dirt or debris from the surface of the boards before you begin. If there are any nails or screws sticking up from the boards, use a hammer or nail gun to remove them. If there are any uneven spots on the boards, use a putty knife or scraper tool to remove them. Once your floor is prepared, it’s time to move on to the next step.
Measure Your Room and Cut Pieces of Laminate Flooring
The next step in laying your laminate flooring is to measure your room and cut pieces of laminate flooring to fit. Use a tape measure to accurately measure each wall in your room so that you know how much laminate flooring you will need. Once you have measured each wall, use a saw to cut pieces of laminate flooring that will fit into each corner of the room. Be sure to leave at least 1/4 inch gap around the perimeter of each piece so that there is space for expansion when temperatures change.
Install Underlayment and Spacers
Once you have cut all of your pieces of laminate flooring, it’s time to install underlayment and spacers. Begin by rolling out a layer of underlayment across the entire surface of your room. Make sure that it covers all areas where the laminate will be laid down and that there are no gaps between pieces of underlayment. Once you have installed the underlayment, it’s time to install spacers around the perimeter of each room. Spacers should be placed every 4 inches along each wall to ensure That your laminate floor is properly supported. Once the spacers are in place, you can move on to the next step.
Lay Down and Secure the Laminate Flooring
Now that you have everything in place, it’s time to lay down and secure your laminate flooring. Begin by laying down the first piece of laminate in the corner of the room. Make sure that it is level and secure it with a hammer or nail gun. Continue laying pieces of laminate flooring until you have covered the entire room. Once all of the pieces are in place, use a level to make sure that they are all even and secure any loose pieces with a hammer or nail gun.
Finish Your Laminate Floor
The final step in laying your laminate flooring is to finish it off. Use a chalk line to draw a straight line across each wall where the edges of the pieces meet up. Then, use a pencil or marker to mark any spots that need to be filled with putty or caulking. Finally, use a putty knife or scraper tool to fill in any gaps between pieces of laminate flooring. Now, your laminate floor is ready for use!
What tools do I need to lay a laminate flooring on the floorboards?
The tools you need to lay a laminate flooring on the floorboards are:-Tape measure
-Laminate Cutter
-Hammer
-Pull bar
-Utility Knife
-Underlayment
-Laminate planks
-Laminate Floor Spacers
-Finish Nailer
-Finishing Thresholds
-Putty Knife
-Chalk Line
-Pencil or Marker
-Caulking Gun