How To Lay A Concrete Floor In An Extension
Related Images about How To Lay A Concrete Floor In An Extension
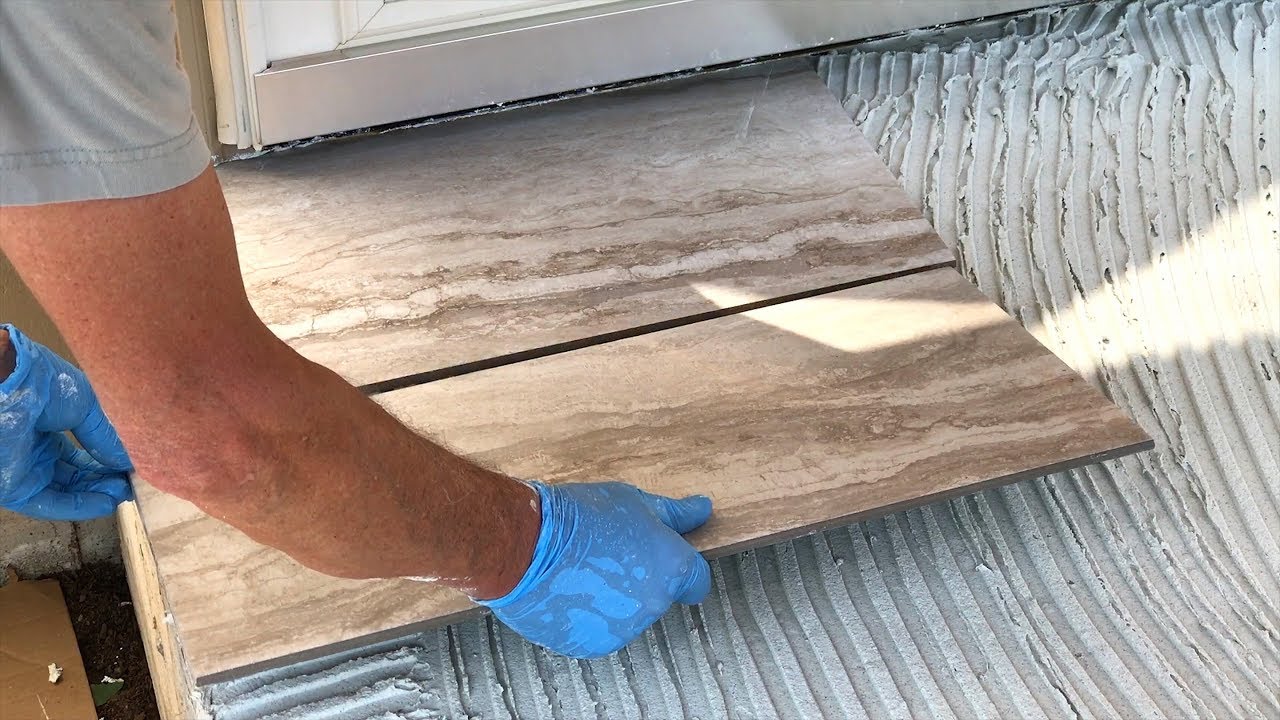
M J Darby Complete Building Services: 100% Feedback, Conversion Specialist, Bricklayer

Polishing might be applied to the majority of sound concrete floors. Evidently, a tiny floor area to be dealt with may just have a short period of time to complete while a bigger area could possibly be finished after a prolonged time period. These are embedded into the floor using a saw so the design choices are very flexible.
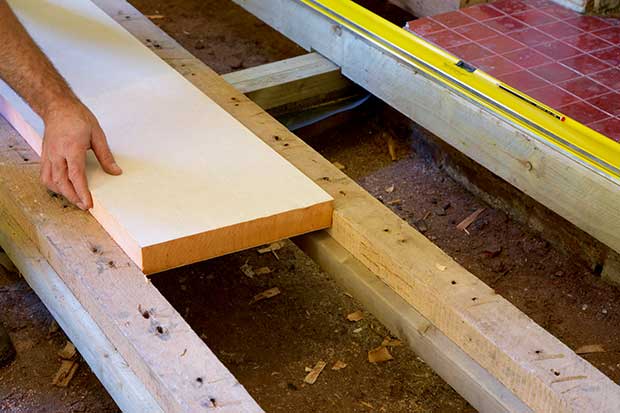
How To Lay Floor Joists On Concrete Floor Roma

Staining concrete flooring is a thing that you are able to very easily do yourself or perhaps spend a professional to do in the event that you like an even more complicated decorative concrete strategy. The advantages of polished concrete floors are really numerous and for any person looking to have great flooring, it is wise not to seem any further than the polished flooring surfaces.
6. Ground Floors – Construction Studies

Nevertheless, it is important for every home owner who's making use of the polished concrete floors to determine how the polished flooring is actually achieved when everything has been said and done. Acid Stain concrete floorings have some time and again confirmed their reliability in terms of cost the, durability, and efficiency sturdiness of the flooring.
New concrete footings formed beneath the existing ones made it possible to drop the basement flo

Insulating Lofts, Roofs and Floors Homebuilding & Renovating
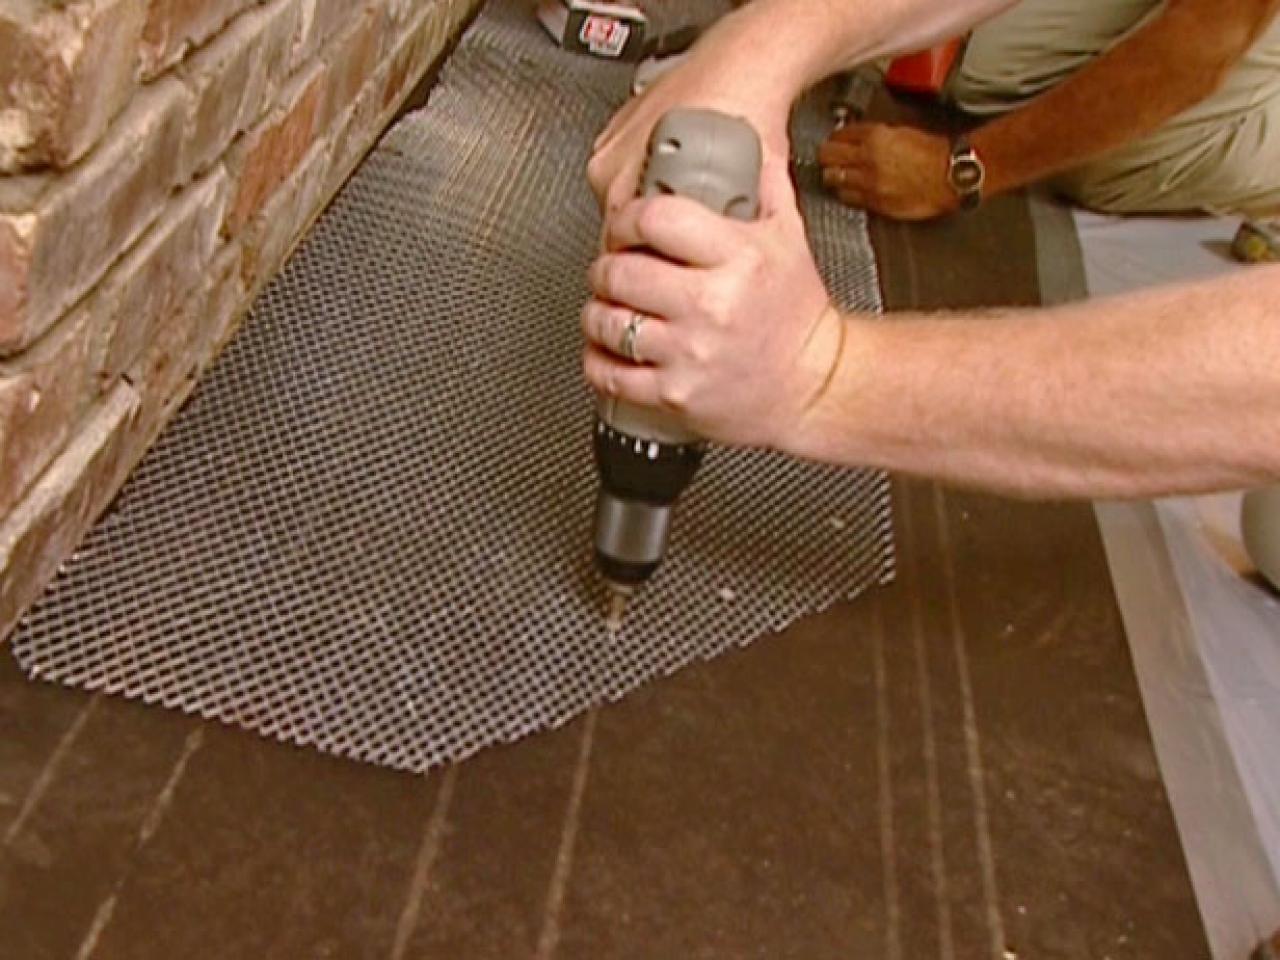
How to Create a New Hearth how-tos DIY
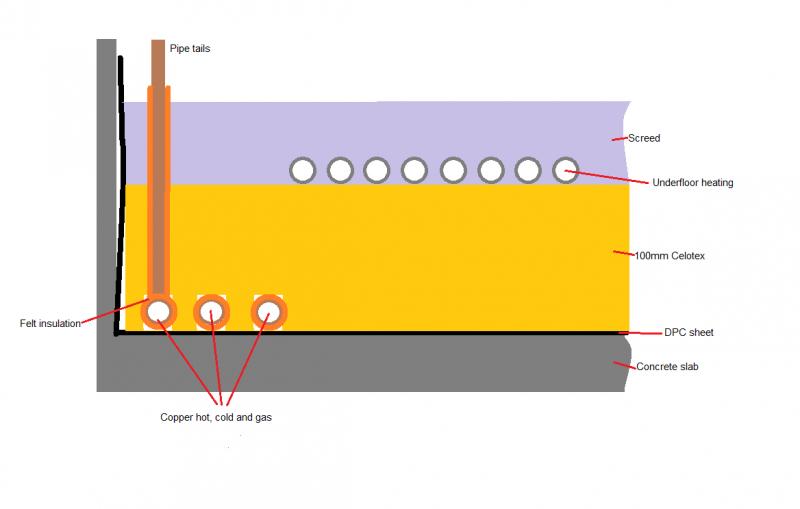
Pipes under the Celotex – but how to fix? DIYnot Forums
Strip Foundation Ground Floor Cavity Wall Interactive 3D Detail

Lowering a concrete floor DIYnot Forums

How To Make These 2 Areas With Concrete Floors Level – Building & Construction – DIY Chatroom

10 Things to Avoid When Installing Wooden Garage Flooring Pineca.com
Installing over a Concrete Slab AERATIS PORCH FLOORING
How To Level Sloping Concrete Floor – Carpet Vidalondon
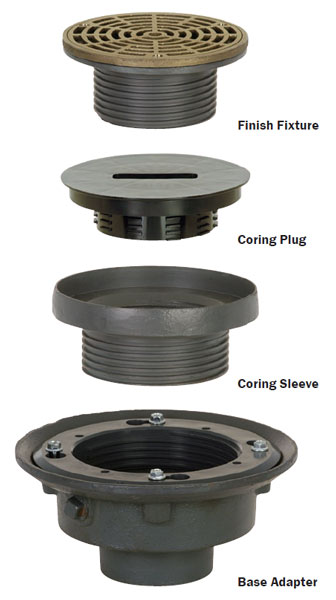
Finish Line™ Adjustable Drain Installation Instructions
Related Posts:
- Interior Concrete Floor Paint Ideas
- Concrete Floors In Homes Cost
- Level Concrete Floor With Plywood
- Concrete Floor Construction For Underfloor Heating
- Stained Concrete Floors In Basement
- Polished Concrete Floor Crack Repair
- Concrete Floor With Insulation
- Acid Stained Concrete Floors Pictures
- Installing Underfloor Heating On Existing Concrete Floor
- How Much Is Concrete Flooring
When extending your home, laying a concrete floor is an essential step in creating a solid foundation for your new space. A concrete floor is durable, long-lasting, and can provide a smooth and level surface for a variety of flooring options. Whether you are building a new extension or renovating an existing one, knowing how to lay a concrete floor correctly is crucial to the success of your project. In this article, we will guide you through the process of laying a concrete floor in an extension, from preparation to finishing touches.
**1. Planning and Preparation**
Before you can start laying a concrete floor in your extension, you need to carefully plan and prepare the area. Start by measuring the dimensions of the space where the concrete will be poured and calculate the amount of concrete needed. Make sure to account for any slopes or uneven areas that may need to be leveled out before pouring the concrete.
FAQs:
Q: Do I need to remove the existing flooring before laying a concrete floor?
A: Yes, it is recommended to remove any existing flooring materials such as tiles, carpet, or laminate before laying a concrete floor. This will ensure that the concrete has a smooth and level surface to adhere to.
Q: How thick should the concrete floor be?
A: The thickness of the concrete floor will depend on the size of the space and the intended use of the area. In general, a minimum thickness of 4 inches is recommended for residential applications.
**2. Excavation and Site Preparation**
Once you have planned out the dimensions of the concrete floor, it’s time to prepare the site for excavation. Clear away any debris or obstacles from the area and mark out where the edges of the concrete will be poured. Use a shovel or excavator to dig out the soil to the required depth, making sure to create a level base for the concrete.
FAQs:
Q: Do I need to install any reinforcement in the concrete?
A: It is recommended to install reinforcement such as wire mesh or rebar in the concrete to add strength and prevent cracking over time.
Q: Should I include expansion joints in the concrete floor?
A: Yes, expansion joints should be included in large concrete slabs to allow for movement and prevent cracking. These joints can be filled with flexible sealant to maintain structural integrity.
**3. Pouring and Leveling**
With the site prepared, it’s time to pour the concrete into place. Start by mixing the concrete according to manufacturer instructions, ensuring that it has a smooth consistency with no lumps or dry spots. Pour the concrete into the excavated area and use a screed board or bull float to level and smooth out the surface.
FAQs:
Q: How long does it take for concrete to cure?
A: Concrete typically takes about 28 days to fully cure, but it can be walked on after 24-48 hours depending on temperature and humidity levels.
Q: Can I add color or texture to the concrete?
A: Yes, you can add color pigments or stamp patterns onto wet concrete to create custom finishes such as stained or stamped concrete floors.
**4. Finishing Touches**
Once the concrete has been poured and leveled, it’s time to add finishing touches to complete your new floor. Consider sealing or polishing the surface for added durability and aesthetic appeal. You can also add decorative elements such as scoring lines or stenciled designs for a personalized touch.
FAQs:
Q: How do I seal a concrete floor ?
A: To seal a concrete floor, first make sure the surface is clean and dry. Then, apply a concrete sealer according to manufacturer instructions using a roller or sprayer. Allow the sealer to dry completely before walking on the floor. Repeat this process for additional layers if desired for added protection.
Q: How do I polish a concrete floor?
A: To polish a concrete floor, you will need specialized equipment such as a concrete grinder and polishing pads. Start by grinding the surface with coarse grit pads to remove any imperfections, then gradually work your way up to finer grit pads for a smooth finish. Finish off with a concrete densifier and buffing pads for a shiny polished look.
By following these steps and guidelines, you can successfully pour and finish a concrete floor to create a durable and stylish surface for your home or business. If you have any further questions or need assistance with your project, don’t hesitate to consult with a professional contractor or concrete specialist.
Remember, proper preparation, installation, and maintenance are key to ensuring the longevity and performance of your concrete floor. With the right techniques and attention to detail, you can enjoy a beautiful and functional concrete floor for years to come. Good luck with your project! Thank you for reading! If you have any more questions or need further clarification, feel free to ask. Good luck with your concrete floor project!