How To Install Wood Floor Trim
Related Images about How To Install Wood Floor Trim
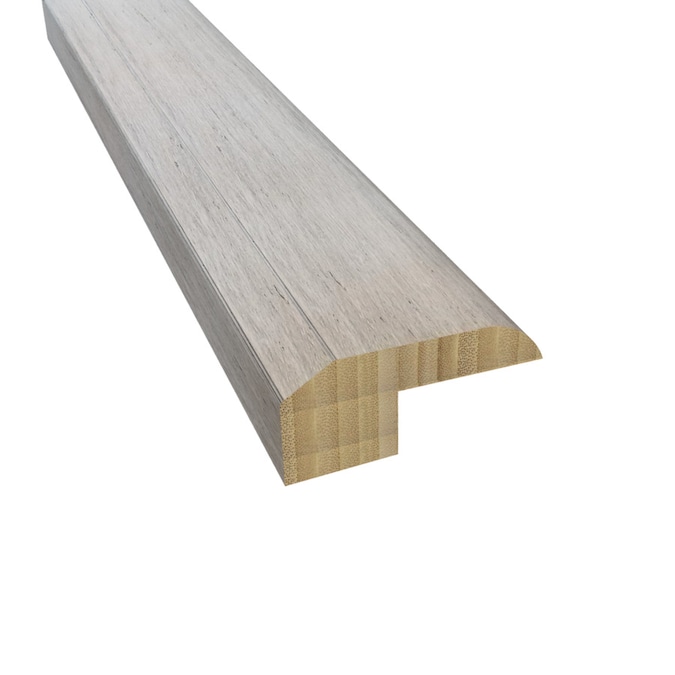
NewAge Products Flooring 46in T-Molding Transition Strip- Forest Oak in the Floor Moulding

Wood flooring are able to be installed by yourself or you'll be able to take the assistance of a contractor for installing and finishing wood floors. Laminate flooring appear to be very much the same in appears to real wood floors but are usually cheaper and in many ways being more durable, and also with distinctive finishes and bevelling avenues this kind of flooring may still give a true wood appearance at a tiny fraction of the price.
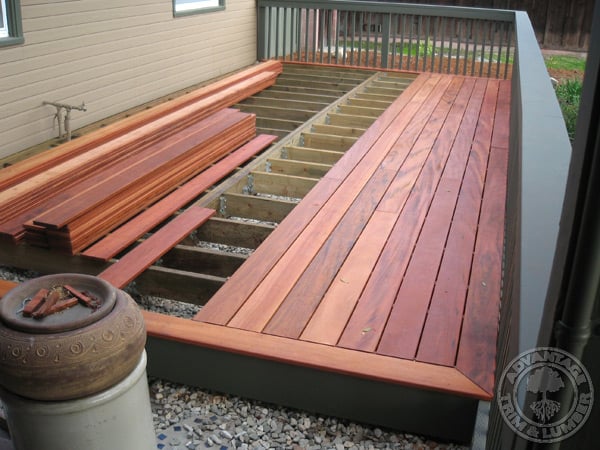
Tigerwood Decking Gallery
Due to our precise sanding throughout the lamination process for the engineered product and after, pieces are definitely more consistent in level, far more consistent for texture, fit together tighter, with no waste, cracks and gaps now filled, and hardly any sanding needed after install until you should do a light screen or even buff. You can still have that enticing hardwood warmth in addition to appeal with an engineered flooring.
Flexco Shale 2-in x 78-in Solid Wood Floor Threshold in the Floor Moulding & Trim department at

The wood seem to be comes from a thin veneer of the selected fire wood, which is pressed upon a few levels of substrate. You will additionally save the money that you would have spent on supplies and applications that are necessary for the installation. In case the flooring is porous, including hardwoods, it is a fort for harboring germs and germs. The tough, worn, lived in physical appearance won't show the scratches and marks a result of everyday use.
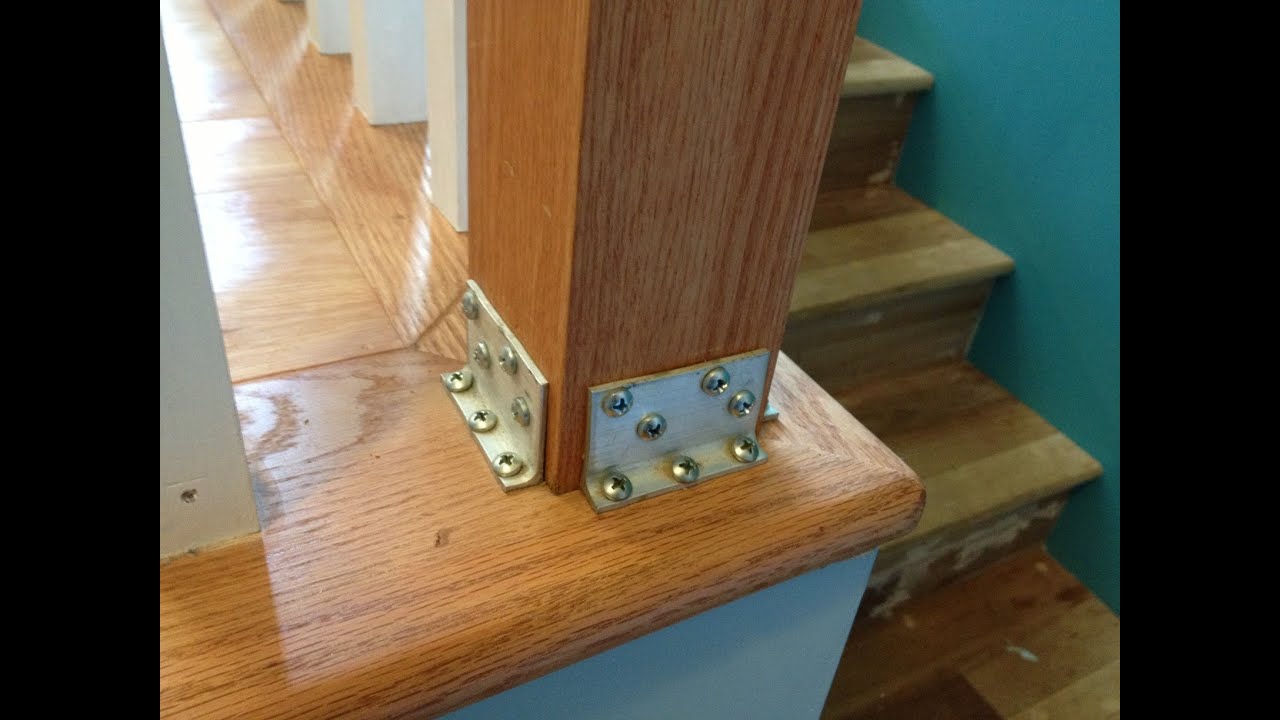
How to Hide Stair Post Brackets with Wood Molding – YouTube
Trim & Molding : How to Remove Floor Trim – YouTube

Laminate Stairs Installation: How to Make Stair Nosing Yourself Tips Mryoucandoityourself – YouTube

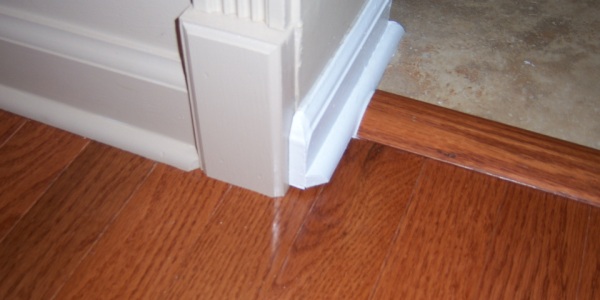
Baseboard Transition at the Top of a Stair
![]()
Bruce 2-in x 78-in Nickel Solid Wood Floor Threshold in the Floor Moulding & Trim department at
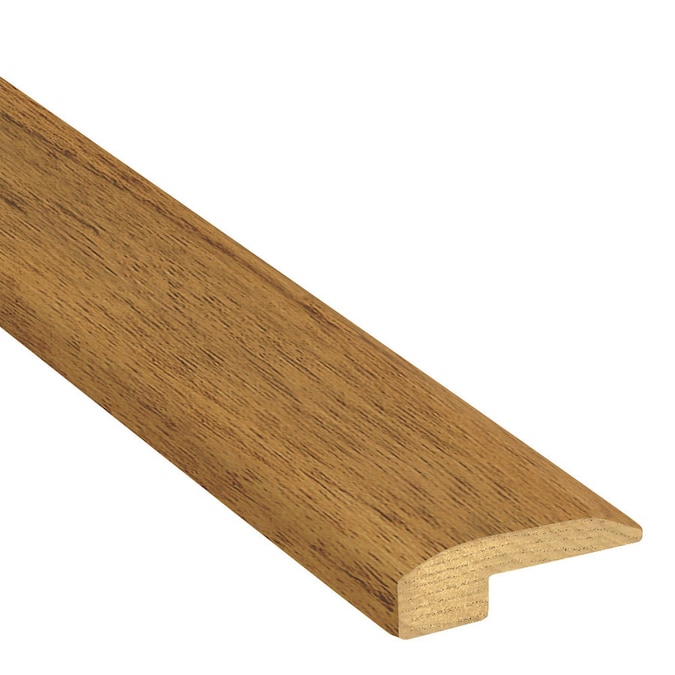
Bruce 2-in x 78-in Dark Gray Solid Wood Floor Threshold in the Floor Moulding & Trim department

landing with existing bullnose – DoItYourself.com Community Forums

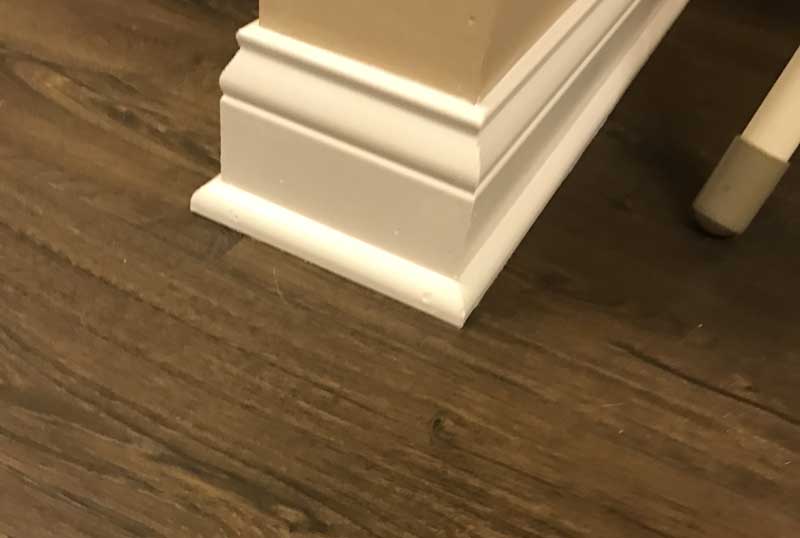
Wood Floor: Wood Floor Trim

2-in x 72-in Gray Solid Wood Floor Threshold in the Floor Moulding & Trim department at Lowes.com
Hardwood Floor Installation and Trim Work – All About The House
Should You Install Gray Wood Floors? – Maria Killam – The True Colour Expert

Related Posts:
- Wood Floor Modern Kitchen
- Wood Floor Garage Plans
- Real Wood Flooring In Kitchen
- Wood Floor Cork Underlayment
- Streak Free Wood Floor Cleaning
- Solid Wood Flooring White Washed Oak
- Engineered Wood Flooring Durability
- Wood Flooring Types Hardness
- Engineered Wood Flooring Formaldehyde Emission
- Wood Floors For Beach House
Installing wood floor trim can be a great way to add the finishing touch to your flooring project. Not only does it provide a clean and polished look to your space, but it also helps protect the edges of your floors from wear and tear. With the right tools and some basic skills, you can easily install wood floor trim yourself. In this article, we will guide you through the steps of installing wood floor trim.
Choosing the Right Trim:
Before you begin the installation process, it is important to choose the right trim for your space. There are various types of wood floor trim available, including baseboards, quarter round, shoe molding, and T-molding. Consider the style of your space and the type of flooring you have when selecting the trim. It is essential to ensure that the trim matches the color and finish of your floors for a cohesive look.
Measuring and Cutting:
Once you have chosen the trim, the next step is to measure and cut it to fit your space. Using a tape measure, carefully measure each wall where you will be installing the trim. It is recommended to cut the trim at a 45-degree angle at each corner to create a seamless look. Use a miter saw or handsaw to make precise cuts. Remember to measure twice and cut once to avoid any mistakes.
Prepping and Installing:
Before installing the trim, make sure to clean the area where it will be placed. Remove any dust or debris that may interfere with the installation process. Apply construction adhesive along the back of the trim piece and press it firmly against the wall. Use finish nails or a nail gun to secure the trim in place. Be sure to nail into studs or use wall anchors for proper support.
Finishing Touches:
Once all of the trim pieces are installed, fill any nail holes with wood filler and sand them smooth. Apply paint or stain to match the color of your trim and floors for a seamless finish. Finally, run a bead of caulk along the top edge of the trim where it meets the wall to create a clean and professional look.
Common Mistakes to Avoid:
1. Not measuring accurately before cutting trim pieces.
2. Using incorrect tools for cutting or installing trim.
3. Failing to properly secure trim with nails or adhesive.
4. Neglecting to fill nail holes and caulk gaps for a polished finish.
FAQs:
1. What tools do I need to install wood floor trim?
To install wood floor trim, you will need a tape measure, miter saw or handsaw, construction adhesive, finish nails or nail gun, wood filler, sandpaper, paint or stain, and caulk.
2. Can I install wood floor trim over existing baseboards?
Yes, you can install wood floor trim over existing baseboards for a seamless look. Just be sure that they are securely attached before placing new trim on top.
3. How do I determine how much wood floor trim I need?
Measure each wall in your space where you plan to install trim and add all measurements together to determine how much trim you will need. It is always best to purchase extra in case of mistakes.
4. Can I paint or stain my wood floor trim?
Yes, you can paint or stain your wood floor trim to match your floors or create a contrasting look. Be sure to use paint or stain that is compatible with wood surfaces.
5. How long does it take to install wood floor trim?
The time it takes to install wood floor trim Can vary depending on the size of the space and the complexity of the trim design. On average, it can take a few hours to a full day to complete the installation process. It is important to take your time and ensure that each step is done correctly for a professional finish.
In conclusion, installing wood floor trim is a great way to add a finishing touch to your space and create a seamless transition between your floors and walls. By following the steps outlined above and avoiding common mistakes, you can achieve a professional-looking result that will enhance the overall aesthetic of your home. Remember to measure accurately, use the right tools, secure the trim properly, and finish with paint or stain for a polished look. If you have any further questions or need assistance with installation, don’t hesitate to reach out to a professional for help.