How To Install Tiles In Kitchen Floor
Related Images about How To Install Tiles In Kitchen Floor
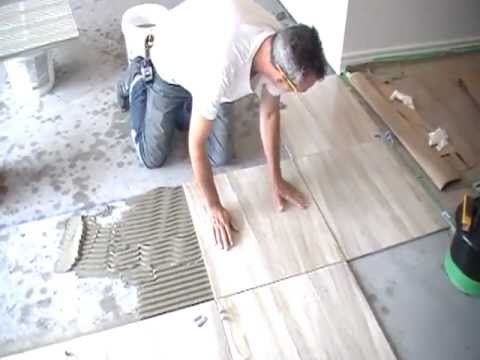
How to Tile a Kitchen Floor DoItYourself.com
There are numerous sorts of flooring that can go with everybody’s needs according to kitchen designs and need of the homeowner. These tiles are the most versatile of all kitchen flooring options, as they are available in a multitude of designs as well as colors, making them the ideal option for all those people who would like to add a bit more style to the kitchen of theirs.
How to: Choose the right kitchen floor tiles – realestate.com.au

But an attractive kitchen floor is one of the more influential elements in making an excellent impression when someone enters the kitchen of yours, or when you may be considering selling. It is vital to point out that wooden flooring will add to the normal feel of the cooking area, however, it is able to in addition contract and expand in specific temperature. Several homeowners tend to make the blunder of not giving enough thought to flooring options.
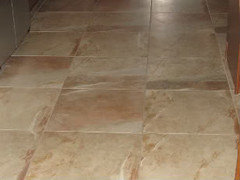
Kitchen floor tiles Kitchen floor tile, Kitchen flooring, Tile floor

Additionally, it can use a beating from storage bins along with other kitchen gear that is placed or rolled around on it. They’re undoubtedly the least expensive of all of the types of kitchen flooring readily available and are very simple to put in. Think about your needs as well as your family’s needs when you’re selecting tiles for the kitchen floor of yours.
Moving Along: That Was Easy – Let’s Do It Again! (#2)

How to Install a Tile Floor In a Kitchen how-tos DIY
Michelle Created A Luxury Bathroom with Italian Carrara Marble Tiles – Walls and Floors

Asian Statuary Herringbone 1×3 Marble Tile Herringbone backsplash, Kitchen tiles backsplash

Cents and Sensibility: How To Install A Copper Penny Floor

Anyone have time to post pictures of their tiled kitchen floors?
Completed Kitchen Tile Floor – Advanced Tiling Home Remodeling Tips – YouTube

Tiled Shower Stalls, Create Distinctive and Stylish Shower Zone – HomesFeed

Tiling the Kitchen Floors Madness & Method

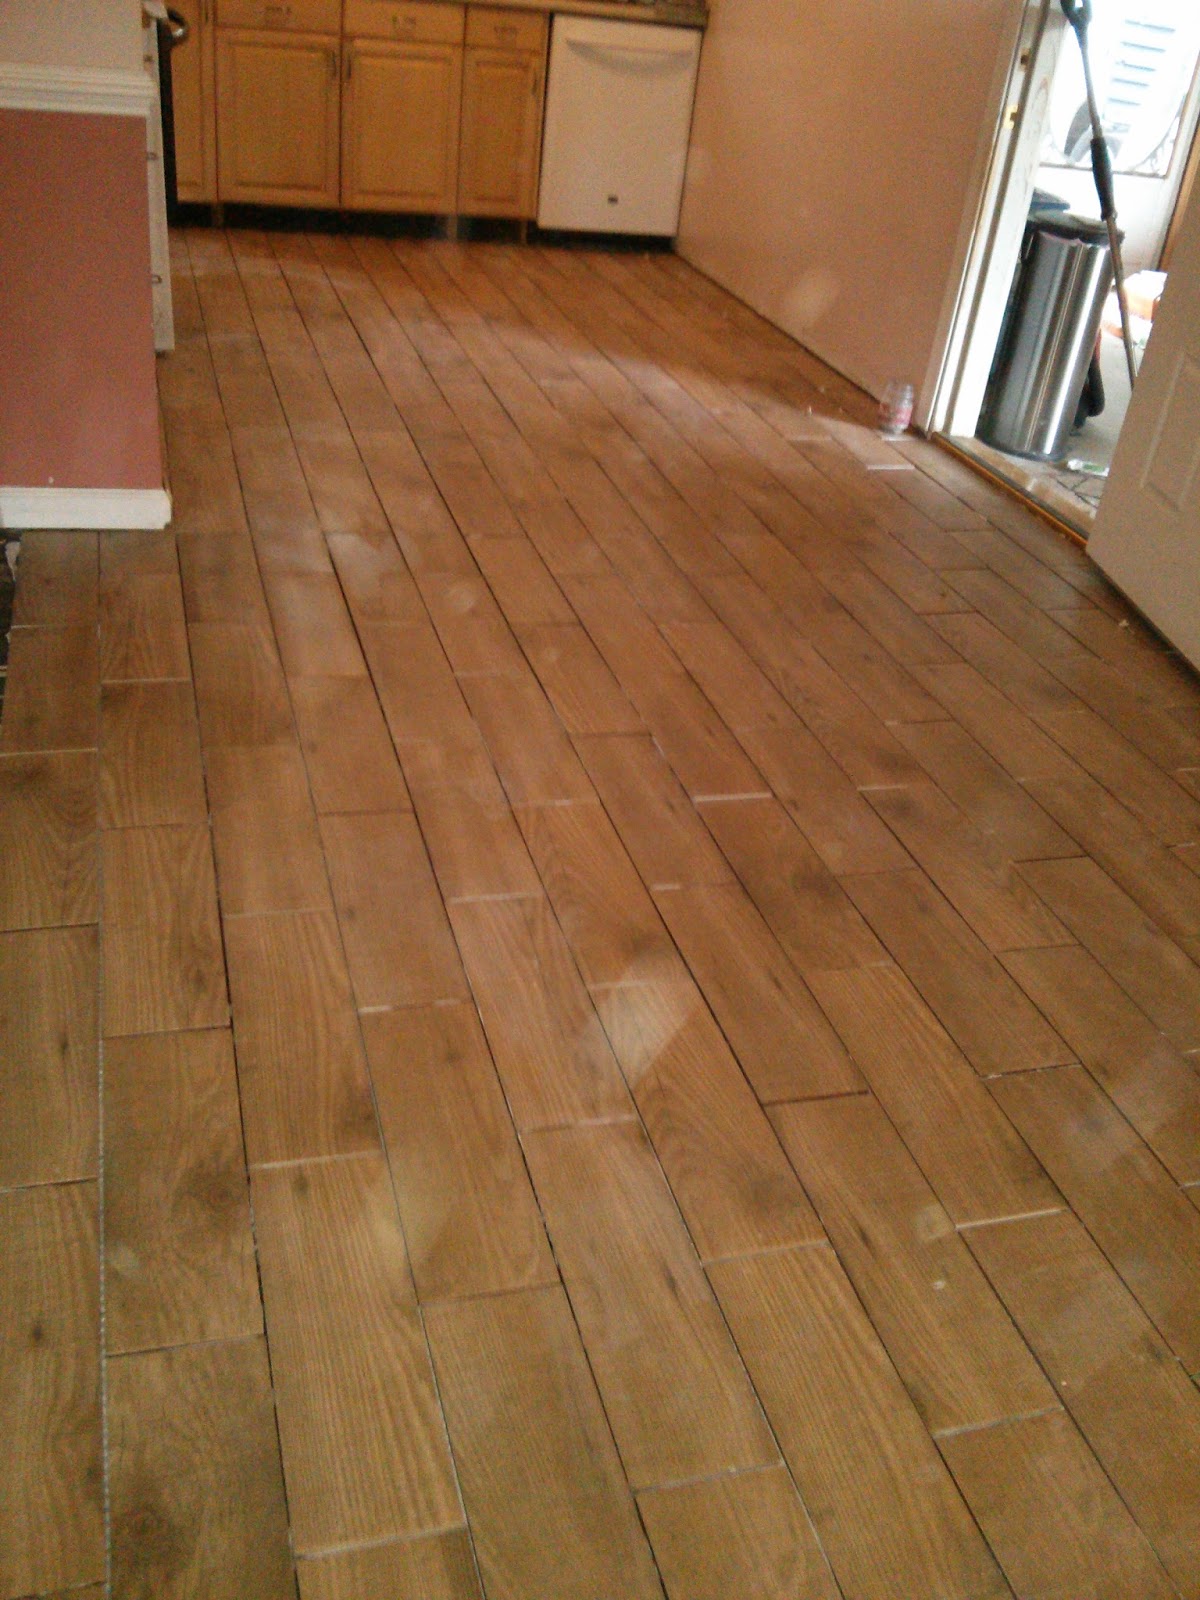
Floor Installation Photos: Wood-Look Porcelain Tile in Levittown
Loose Kitchen Floor Tiles DIYnot Forums

Related Posts:
- What Is The Most Desirable Kitchen Floor Plan
- How To Lay Out A Kitchen Floor Plan
- Best Hardwood Floor Finish For Kitchen
- Wickes Kitchen Floor Tiles
- Kitchen Floor Replacement Options
- 20 X 10 Kitchen Floor Plans
- Kitchen Floor Plans By Size
- Kitchen Floor Storage Cabinets
- Kitchen Cabinets Flooring And Countertops
- Bamboo Kitchen Flooring Ideas
How To Install Tiles In Kitchen Floor – A Step-By-Step Guide
Tiling a kitchen floor is an important part of any home renovation project. It can add a fresh, modern look to your kitchen and protect the floor from wear and tear. Installing tiles in your kitchen floor can be a daunting task, but with the right preparation and careful attention to detail, it can be done easily and successfully. This guide will provide you with all the information you need to know about how to install tiles in your kitchen floor.
Preparation
Before starting the installation process, it is important to make sure that your kitchen floor is completely prepared for tiles. The first step is to clean the existing floor surface and remove any dirt, debris or old adhesive. If there are any cracks or holes in the surface, these should also be filled with filler compound. Once this has been completed, it is important to lay a thin layer of mortar on the floor before tiling begins. This helps create a level surface for the tiles and ensures that they are properly adhered to the floor.
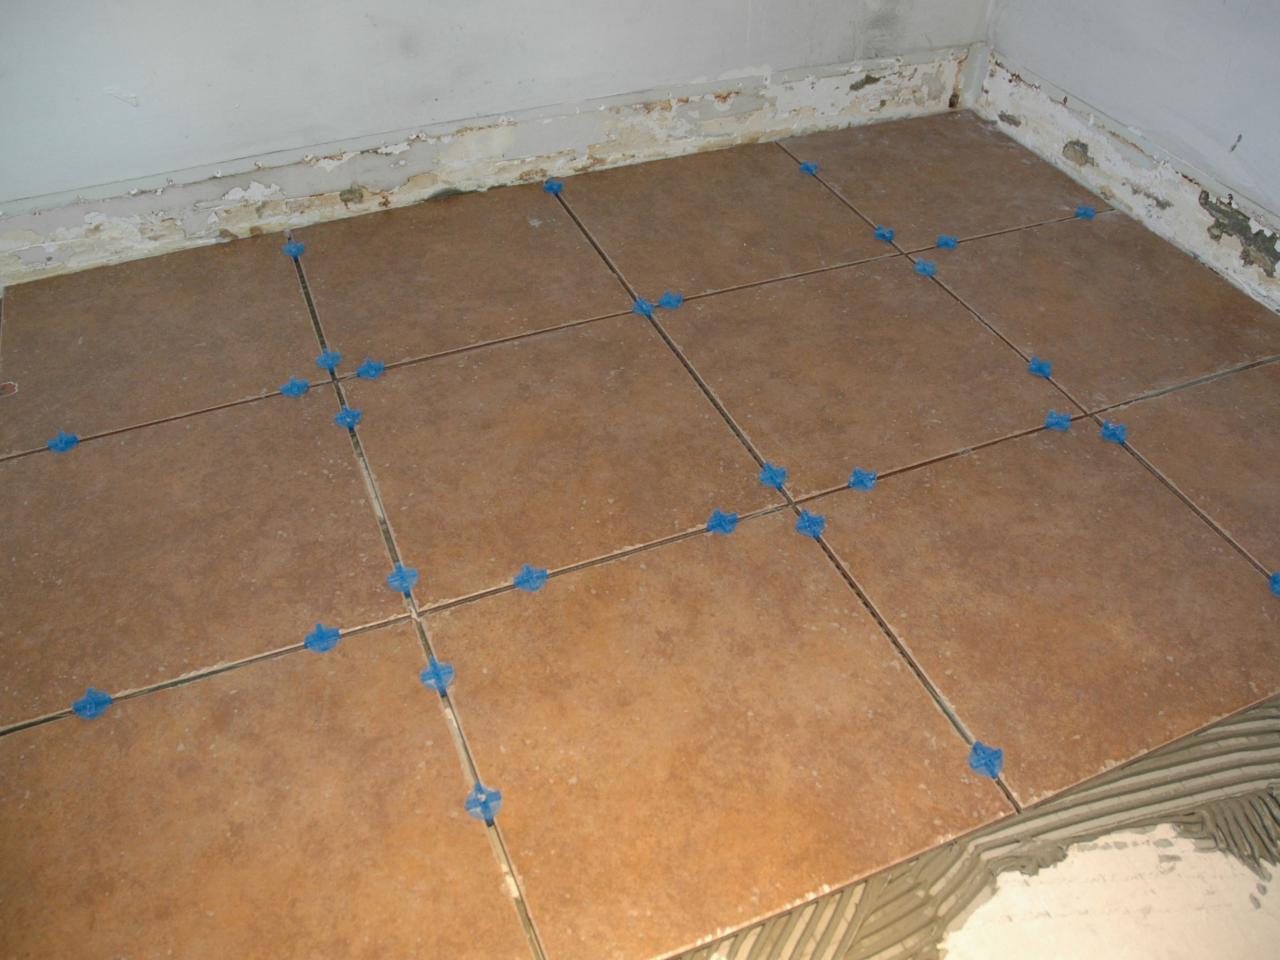
Laying Out The Tiles
Once the floor has been prepared, it’s time to start laying out the tiles. Begin by measuring the room and marking off where each tile will be placed, taking into account any edges or corners. The layout of the tiles should be done carefully so that it looks even and attractive when completed. It’s also important to remember that tiles should always be laid with their longest side facing outwards, as this will create a more aesthetically pleasing look.
Cutting The Tiles
The next step is to cut any tiles that need to fit around edges or corners. This should be done carefully using a tile saw or nipper tool so that they fit together perfectly. Once all of the necessary cuts have been made, it’s time to start laying out the tiles on the floor according to their layout plan.
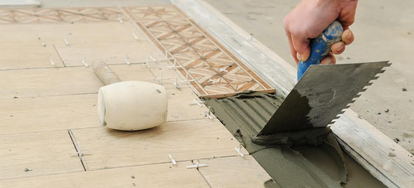
Adhesive And Grout
Once all of the tiles have been laid out on the floor, it’s time to apply adhesive and grout around them. Start by applying adhesive around each tile using a notched trowel and then spread grout over top using a grout float. Make sure that both adhesive and grout are evenly spread across each tile so that they are properly adhered to the floor. Allow the adhesive and grout to dry for at least 24 hours before walking on them or adding any furniture or appliances back into place.
Finishing Touches
Finally, once all of the adhesive and grout has dried completely, it’s time for some finishing touches. You may want to add sealant around each tile if you want extra protection from moisture or dirt buildup over time. Additionally, you can also add accent pieces such as trim pieces or decorative borders around each tile for extra flair and style in your kitchen design.
FAQs
Q: What type of adhesive should I use when installing tile?
A: The type of adhesive you use will depend on what type of tiles you are installing in your kitchen floor as well as what type of subfloor you have underneath them (concrete, wood etc.). Generally speaking, most types of Tile require a high-quality latex adhesive to ensure that they are properly adhered to the floor. However, it is always best to consult a professional to make sure you choose the right product for your specific project.
Q: What tools are needed to install tiles in a kitchen floor?
A: The tools needed to install tiles in a kitchen floor include a tape measure, level, chalk line, tile saw or wet saw, grout float, trowel, sponge, bucket, sealant, notched trowel, spacers, and tile nippers. Depending on the type of tile you are installing, you may also need a hammer or chisel. Additionally, you may need to purchase any specialty grout or adhesive that is needed for the specific project.
Q: What type of grout should be used for tile installation in a kitchen floor?
A: The best type of grout to use for a kitchen floor is a high-performance, water-resistant epoxy grout. This type of grout is resistant to staining and cracking and provides a durable and long-lasting finish. Additionally, it is also easy to clean and maintain over time.
Q: How do I seal grout after tiling a kitchen floor?
A: After tiling a kitchen floor, the best way to seal the grout is to use a grout sealer. This can be done by applying the sealer with a brush, sponge, or roller and then allowing it to dry completely. Make sure to apply multiple coats and let each coat dry completely before applying the next one. It’s also important to use a sealer that is specifically designed for the type of grout you are using.
Q: What type of sealer should I use for grout on a kitchen floor?
A: The best type of sealer to use for grout on a kitchen floor is a penetrating sealer, such as one made from siloxane or acrylic. These types of sealers penetrate deep into the grout and form an invisible barrier that helps prevent dirt and grime from staining the grout.