How To Install Mosaic Tile On Bathroom Floor
Related Images about How To Install Mosaic Tile On Bathroom Floor
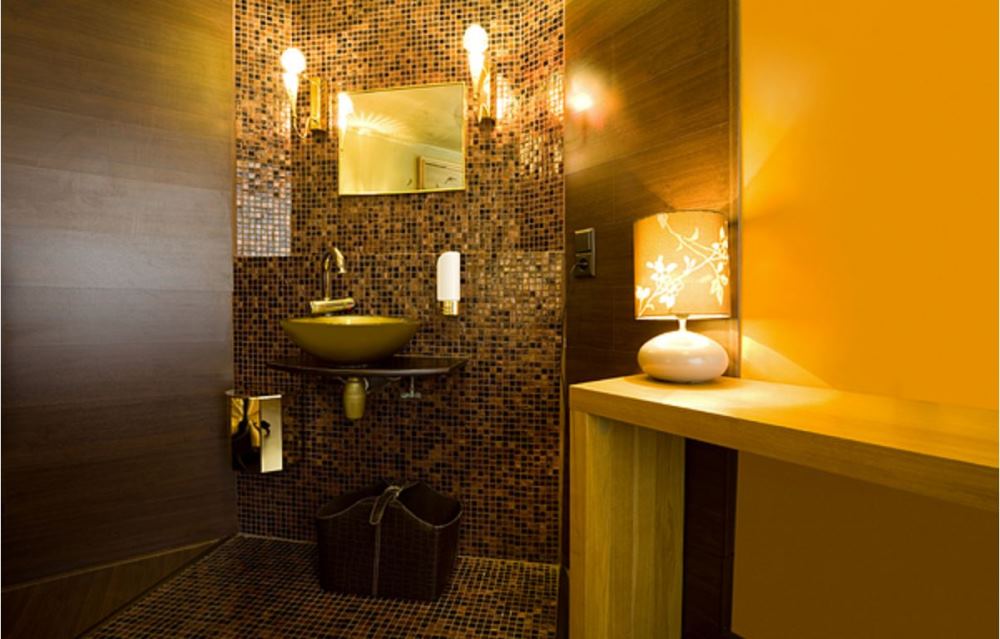
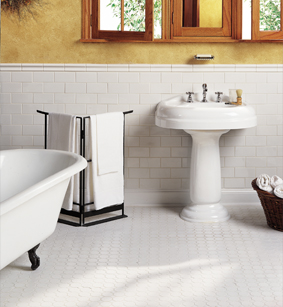
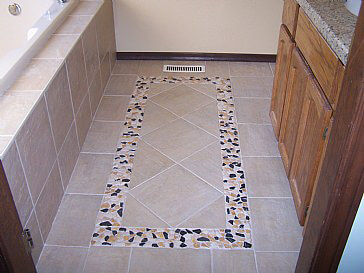
Mosaic Bathroom Floor Tiles – Home Improvementer

Utilizing mosaic flooring tiles or perhaps stone tiles is also one of the more innovative bath room floor tiles ideas. In case you select ceramic tiles for your bathroom, think about using a tile that has a slip-resistant surface for bathroom security, which is one of the very best bath room tile ideas. However, there are specific reasons for that.
Bathroom Floor Tile Ideas: Bathroom Tile Ideas For Floors Livingetc
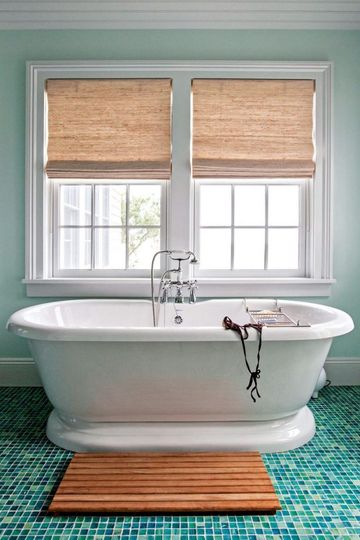
Bathroom flooring, more than anything different, can have a stunning effect on the general look and feel of a bathroom; choose bathroom flooring smartly and you will achieve the bathroom of your dreams – or maybe a bathroom that should meet your temporary needs. The majority of floors demand special cuts to fit the right way.
How to install mosaic tile on a ceiling – YouTube

The idea of a high-class wood floors in the bathroom may sound great, but it's fraught with all types of problems. This's clear since it only has the foot of yours to attend to, as opposed to sinks, toilets and shower enclosures that have crucial specifications impacting their performance and usage. You can find tiles with patterns created specially to form good borders.
How to Remove Peel-and-Stick Tile How To Build It
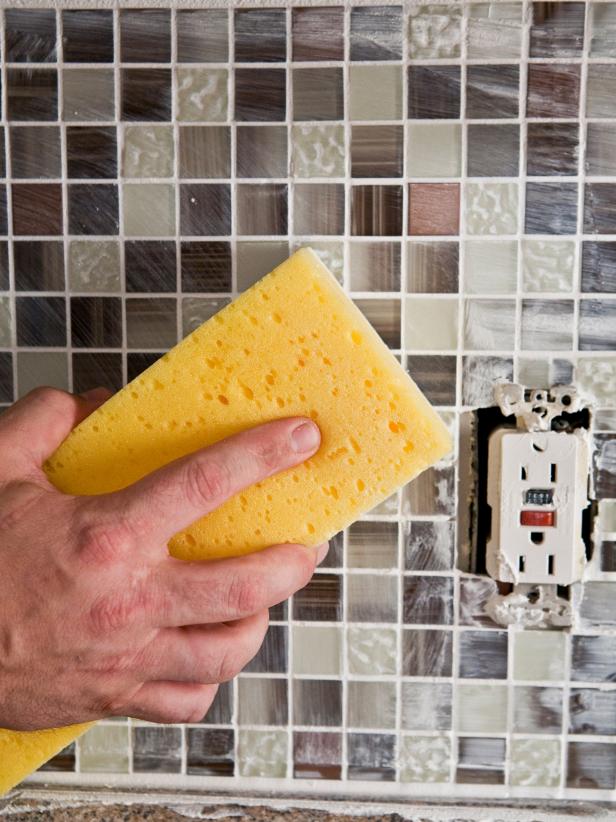
How To Clean Mosaic Bathroom Tiles – How To Clean Bathroom Tiles At Home Youtube – Mosaic tiles
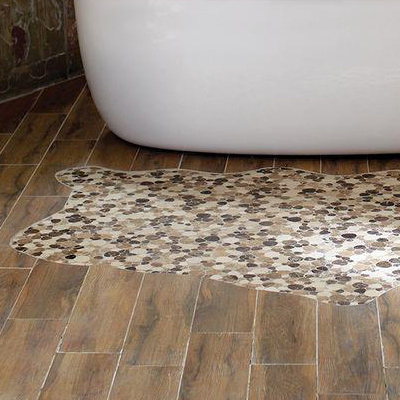
Using Mosaic Floor Tiles To Add Modern Sytle To Your Bathroom – Precision Tile
Mosaic tiling Lexa Tiling 0425 802 036

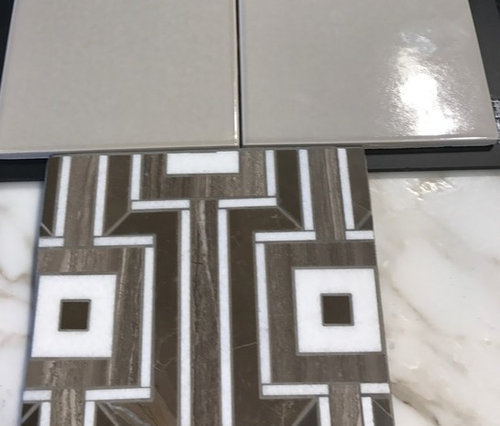
MSI Cancun Beige 12 in. x 24 in. Matte Ceramic Floor and Wall Tile (16 sq. ft. / case

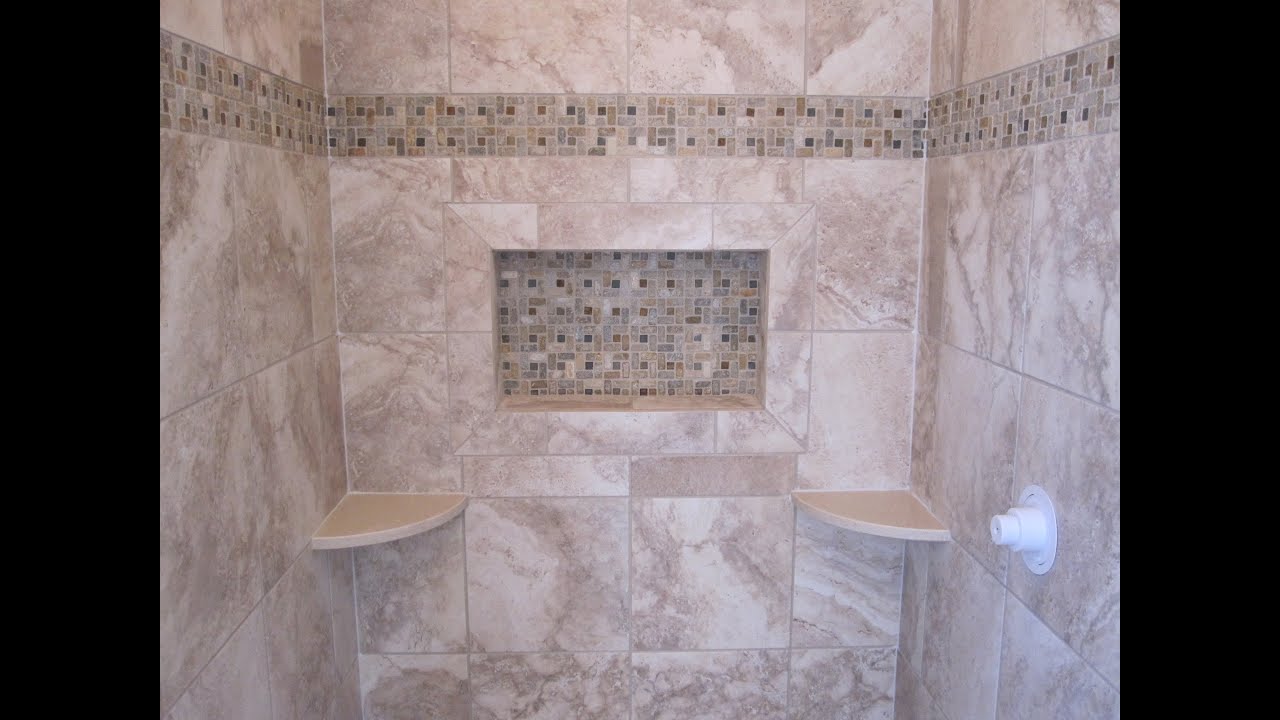
Ceramic Tile Shower Stall – YouTube
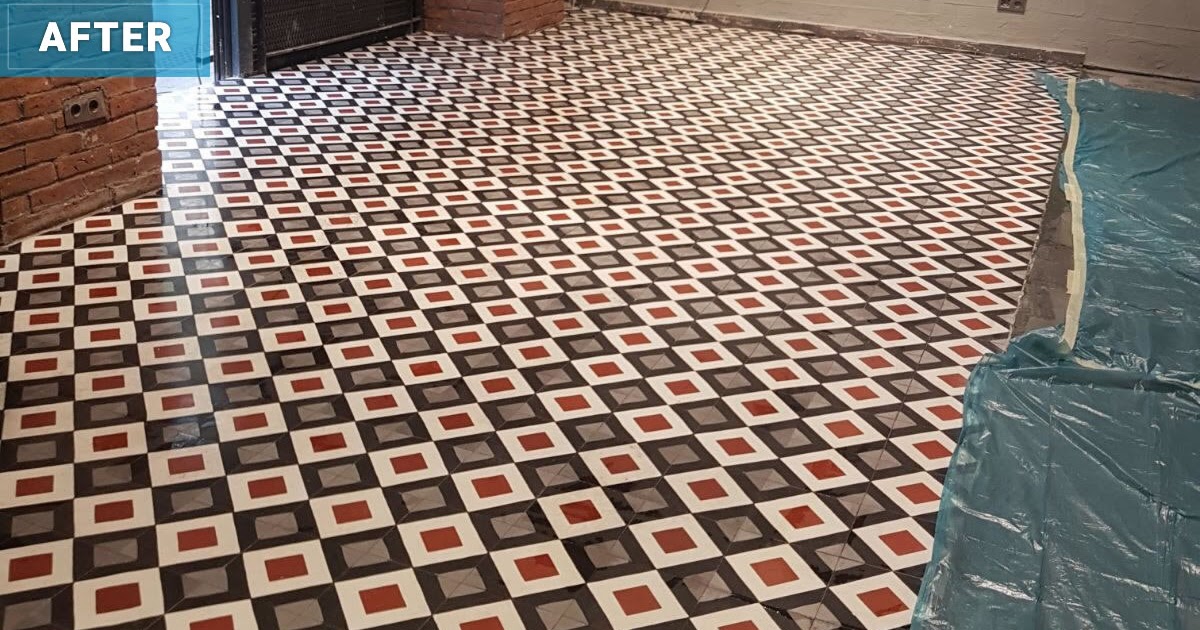
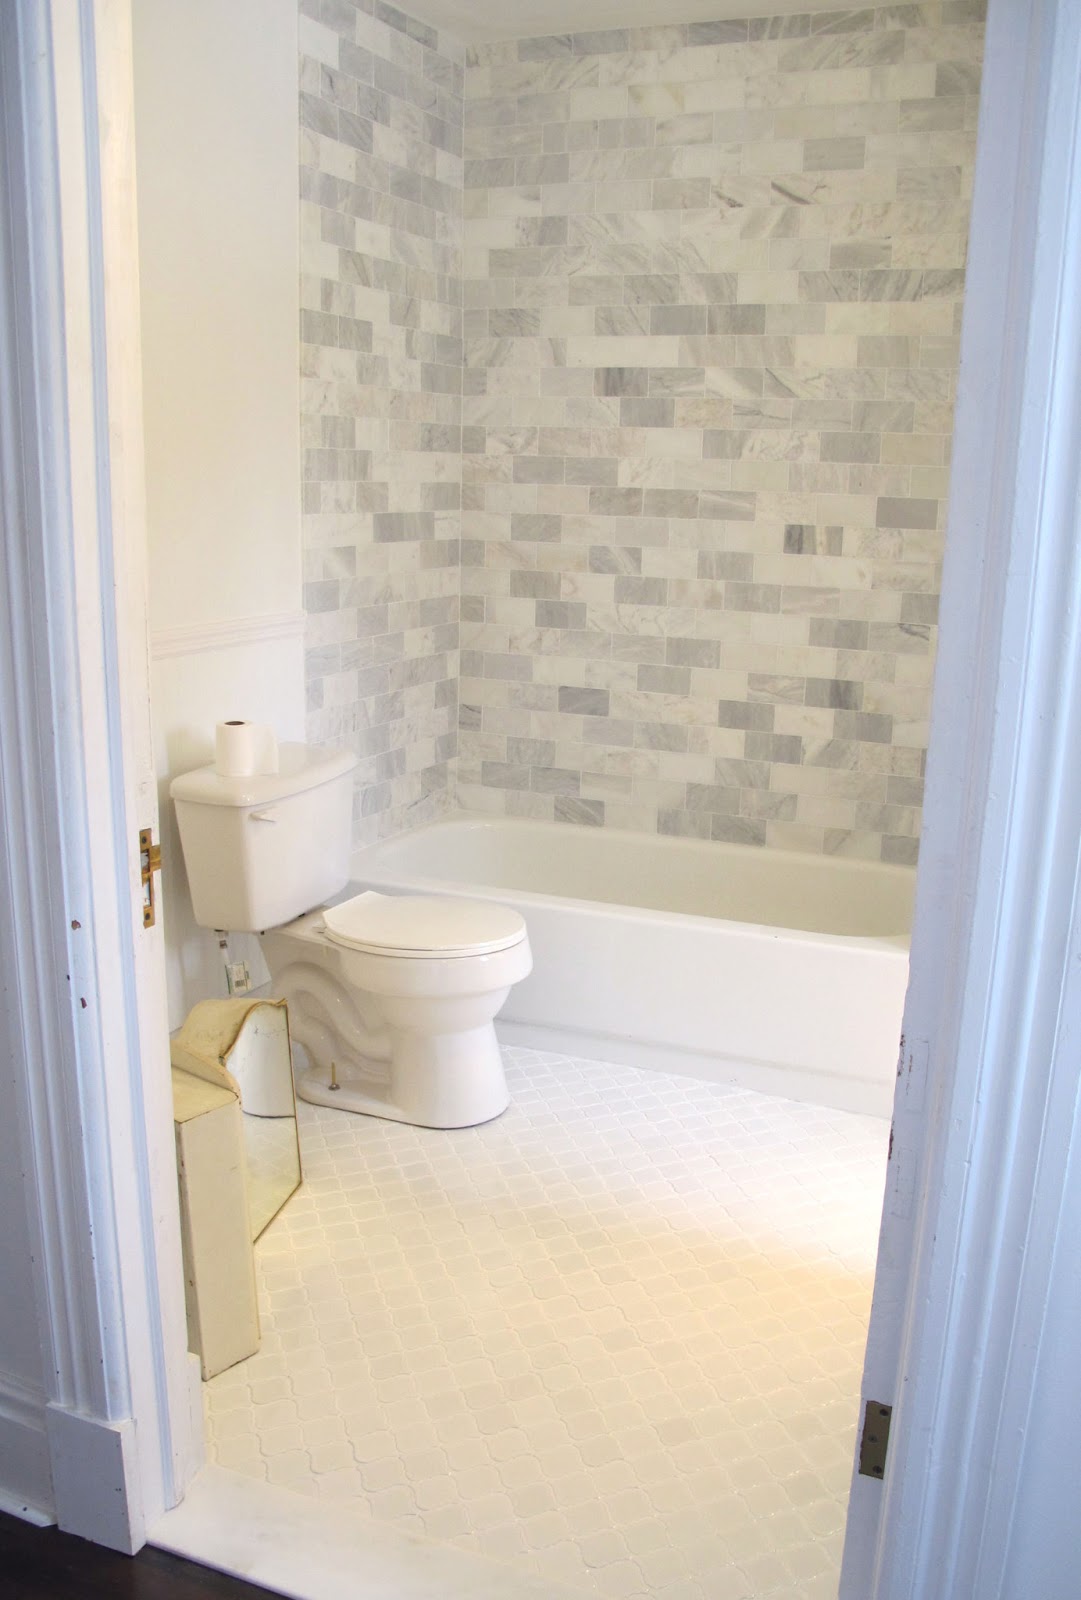
Old House, New Home: En-Suite Bathroom Reveal Part 1

Bathroom Floor Tile Mosaic
Bathroom Tile
Bathroom floor tile
24 ideas to answer is ceramic tile good for bathroom floors
Related Posts:
- Bathroom Floor Tiles Price
- Cement Tile For Bathroom Floor
- Bathroom Floor Sky Painting
- Caught Me On The Bathroom Floor
- Heated Tile Floor Cost Per Square Foot
- Dirty Bathroom Floor
- Replace Bathroom Floor And Subfloor
- How To Make Bathroom Floor Waterproof
- Easy Bathroom Flooring Options
- Cheap Bathroom Floor Cabinets
How To Install Mosaic Tile On Bathroom Floor
Installing mosaic tile on your bathroom floor is a relatively straightforward process that can quickly spruce up the look of your space, adding style and texture to the room. While it may seem intimidating, installing mosaic tile is actually quite easy when you know the right steps to take. With the correct tools and materials, you can easily complete this renovation project in no time.
Materials Needed
Before you start the installation process, make sure you have all of the necessary materials at hand. This includes your chosen mosaic tiles, grout, a notched trowel, a rubber float or sponge, a bucket and a sponge. You will also need a tile saw or wet saw to cut the tiles to fit your space. You may also want to invest in a pair of protective gloves to keep your hands safe during the installation process.
Preparing The Floor for Installation
The first step in installing mosaic tile on your bathroom floor is to properly prepare the surface. Make sure that the area is free from dirt, dust, and debris before laying down any tiles. If possible, remove any existing tiles or adhesive from the area before starting. Once you’ve cleared away any obstacles, clean the area with a vacuum cleaner and then mop with warm water and mild detergent. Allow the area to dry completely before continuing with installation.
Laying Out The Tiles
Once your floor is ready for installation, begin by laying out all of your tiles on top of one another. It’s best to start from one corner of the room and work towards the opposite corner so that you can ensure an even pattern throughout. Make sure that each tile has adequate space between it and its neighbors so that grout will be able to fit between them once they are laid down on the floor. Once you have laid out all of your tiles in an aesthetically pleasing way, mark off where each should go with chalk so that you can easily refer back to it during installation.
Applying Adhesive
Now that you have laid out your tiles, it’s time to begin applying adhesive to the floor. Depending on what type of adhesive you are using, this process may vary slightly; however, generally speaking, you will want to spread it evenly across a small section of your bathroom floor at a time using a notched trowel or squeegee tool. Be sure to press down firmly as you go so that there are no gaps between each tile when installed on top of it. Continue spreading adhesive until you have covered all areas where tiles will be placed before moving onto the next step.
Installing The Tiles
Once all of your adhesive has been applied correctly, begin installing each tile onto its designated spot on your bathroom floor according to your chalk markings from earlier. Make sure each piece fits snugly into its place and press down firmly so that it adheres well to the adhesive beneath it. If necessary, cut any pieces of tile into smaller pieces using either a wet saw or tile saw so that they fit correctly around any corners or edges in your bathroom space. Continue installing each piece until all tiles have been securely laid down onto their designated spots on the floor.
Grouting The Tiles
Once all of your tiles have been installed, it’s time to grout them in order to seal the gaps between each one. Start by mixing your grout according to the instructions on its packaging and then spread it over the entire area using a rubber float or sponge. Make sure that you press it firmly into all of the crevices between each tile and scrape away any excess before allowing the grout to dry completely. Finally, use a damp sponge to wipe away any remaining residue before allowing the grout to cure for at least 24 hours.
Installing tiles on a bathroom floor is an easy and budget-friendly way to give your space an updated look. With just a few tools and materials, you can breathe new life into your bathroom in no time. Before starting your project, make sure to measure the area of your bathroom floor so that you can purchase enough tiles to cover it. Once your tiles have been purchased, you can begin preparing your floor by removing any existing flooring or adhesives and cleaning the area before laying out the tiles and applying adhesive. After installation, be sure to grout the tiles in order to seal the gaps between each one before allowing them to cure for at least 24 hours. With these simple steps, you’ll have beautiful new tiles on your bathroom floor in no time! What type of adhesive is best for installing mosaic tile on a bathroom floor?
A thinset mortar adhesive is the best type of adhesive to use for installing mosaic tile on a bathroom floor. Thinset mortar is a cement-based adhesive that is designed specifically for use with ceramic and porcelain tiles. It is highly water-resistant and provides a strong bond between the tile and the substrate.