How To Install Floating Laminate Flooring On Concrete
Related Images about How To Install Floating Laminate Flooring On Concrete
Installing Laminate Flooring On Stairs Laminate flooring on stairs, Installing laminate

Floating Laminate floors aren't attach on your existing floor so that precisely why I mean by is easy and quick. Make sure to never ever use a hammer to strike the edge of the laminate flooring surfaces. Of course, laminate flooring is usually substantially more affordable than hardwood or stone. Laminate flooring features a high density core with a photo positioned on the top layer and sealed with a laminate covering.
How to Install Pergo Flooring: 11 Steps (with Pictures) – wikiHow

Right here every thing is glued together and utilizing pressure which is high that they become quite difficult and long-lasting. You could be sure that laminate floor will give you the appearance you want for your home, and probably at a significantly lower cost than what it emulates. The laminate wood floors is nearly invincible to spills, staining, burns along with a very excessive tolerance to scratches.
Cheap Flooring Ideas Over Concrete – Idalias Salon

Laminate flooring was simple to private label you just changed the insert or the packaging and then that produced another brand or line of flooring. When you enter your home, make it a habit to remove your shoes. You can also go to my3cents.com to see whether there's a lot of major complaints together with the products you are considering. For an alternative, try using a special block. The last backer layer provides extra support and stability.
How to Install a Laminate Floating Floor how-tos DIY
Vinyl Flooring for Basements
/concrete-floor-02-58f6c84b3df78ca1598fb01c.jpg)
Photo Gallery Laminate Flooring Pictures

How to install laminate flooring
Related Posts:
- Select Surfaces Click Laminate Flooring Canyon Oak
- Kaindl Laminate Flooring Installation
- Curly Walnut Laminate Flooring
- Laminate Flooring Lumber Liquidators Reviews
- Laminate Flooring 8mm Sale
- Can You Have Laminate Flooring On Stairs
- Laminate Flooring On Concrete Base
- Pergo Golden Butternut Laminate Flooring
- Ceramic Tile Vs Laminate Flooring In Basement
- Laminate Flooring Shoe Molding
How To Install Floating Laminate Flooring On Concrete
Installing floating laminate flooring on a concrete surface is an easy and affordable way to add a new dimension to your home or office space. Floating laminate flooring is designed to be installed without the need for nails, glue, or any other fastening materials. This makes the installation process quick and easy. In this article, we will cover the steps needed to install floating laminate flooring on concrete and answer some commonly asked questions about the process.
What You Will Need
Before beginning the installation of floating laminate flooring on concrete, you will need to gather some supplies. These include:
-Laminate flooring
-Underlayment
-Floor leveling compound
-Carpenter’s level
-Tape measure
-Utility knife
-Chalk line
-Roller
-Hammer
-Nail set
-Caulk gun
-Silicone caulk
Step 1: Prepare the Concrete Surface
The first step in installing floating laminate flooring on concrete is to prepare the concrete surface for the flooring. This includes cleaning the surface with a vacuum and a damp cloth, filling any holes or cracks with concrete patch, and smoothing out any bumps or dips in the surface. It is important to make sure that the surface is completely dry before proceeding with installation. Once the surface has been prepared, it is time to install an underlayment.
Step 2: Install Underlayment
Underlayment is an important component of floating laminate flooring installation as it helps to protect and cushion the flooring from wear and tear. The underlayment should be laid in strips onto the concrete surface and left slightly overlapping at each seam. Once all of the underlayment has been laid down, it should be secured with tape or staples around its perimeter. To finish up this step, use a rubber roller to flatten out any bumps or air pockets in the underlayment.
Step 3: Measure and Cut Laminate Flooring Planks
Once you have successfully installed your underlayment, it’s time to measure and cut your planks of floating laminate flooring. Before cutting your planks, be sure to measure twice as mistakes can be costly when it comes to laminate flooring installations. When cutting your planks, use a utility knife along with a straight edge for best results. As you cut your planks, leave extra room for expansion by leaving about a ¼ inch gap between each plank when laying them down onto the underlayment.
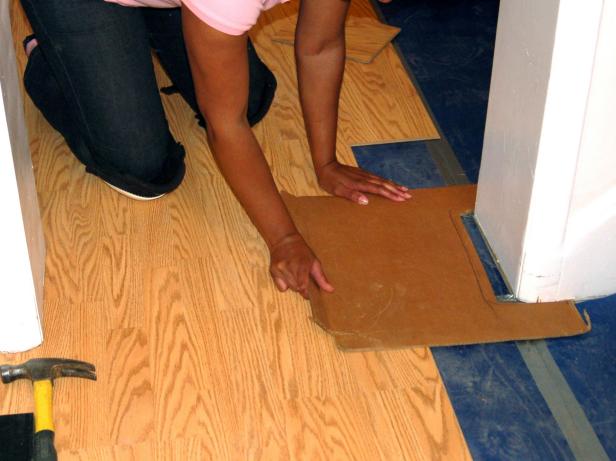
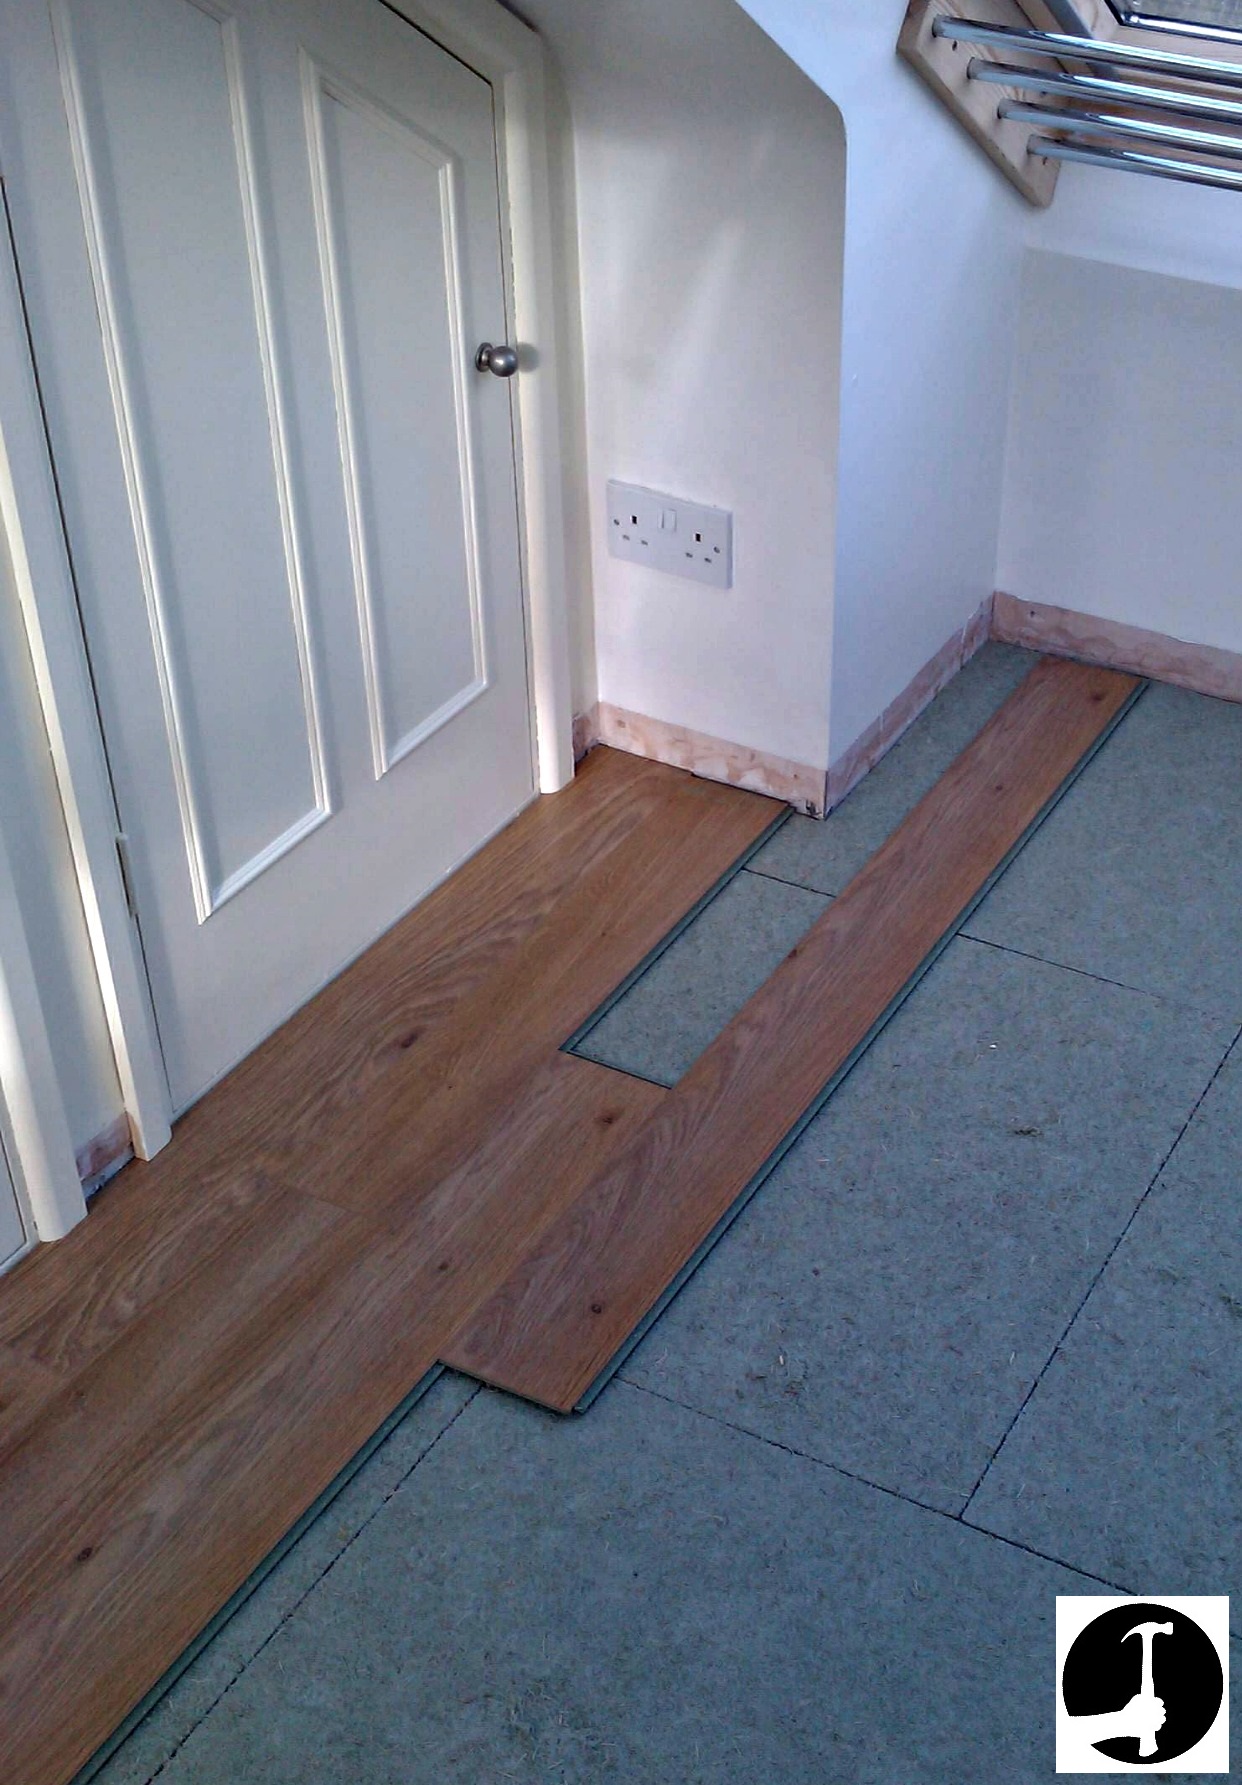
Step 4: Lay Down Laminate Flooring Planks
Once all of your planks have been measured and cut, you can begin laying them down onto the underlayment one at a time. Start by laying down your first plank at one end of your room, then lay down additional planks side by side until you reach the other end of your room. Be sure that each plank is tightly butted together so that there are no gaps showing between them. Also keep in mind that you will want to stagger each row of planks so that they don’t All line up in a straight line.
Step 5: Secure Laminate Flooring Planks
Once all of your planks have been laid down onto the underlayment, the next step is to secure them. This can be done by using a hammer and nail set to drive nails into the tongue and groove edges of each plank. It is important to make sure that you are not driving the nails too deep as this can damage the planks.
Step 6: Caulk Perimeter
The last step in installing floating laminate flooring on concrete is to caulk around the perimeter of your laminate floor. This will help prevent moisture from seeping under your flooring and causing water damage or warping of your planks. To caulk around the perimeter, simply run a bead of silicone caulk along the edge of your floor and use a caulk gun to spread it out evenly.
Once you have completed these steps, your floating laminate flooring installation on concrete should be complete!
Q: How do I make sure my laminate planks line up correctly?
A: When laying down your laminate planks, it is important to make sure that they are tightly butted together so that there are no gaps between them. You can also use a carpenter’s level to ensure that each plank is perfectly aligned. Additionally, it is important to remember to stagger each row of planks so that they don’t all line up in a straight line.
What tools are needed for installing floating laminate flooring on concrete?
Tools needed for installing floating laminate flooring on concrete include:– Tape measure
– Pencil and paper
– Chalk line
– Rubber mallet
– Pry bar
– Jigsaw (to cut around door frames and other obstacles)
– Utility knife
– Laminate flooring installation kit (which includes a tapping block, pull bar, spacers, and felt padding)
– Hammer drill and masonry bit (if you’re using concrete anchors to secure the laminate flooring)